The Pull-Out Step Stool That Hides Behind Your Cabinet Base
Ever found yourself stranded on a stool, stretching awkwardly to reach that top shelf, only to have it wobble and threaten to send dishes flying? I know the feeling all too well. One day, I finally realized that my kitchen’s biggest problem was not about the shelves or the color of the cabinets— it was how I was storing and accessing the space above. That’s when I discovered the clever little solution: a pull-out step stool that hides behind your cabinet base.
Reclaim Your Kitchen Space with a Clever Hidden Step Stool
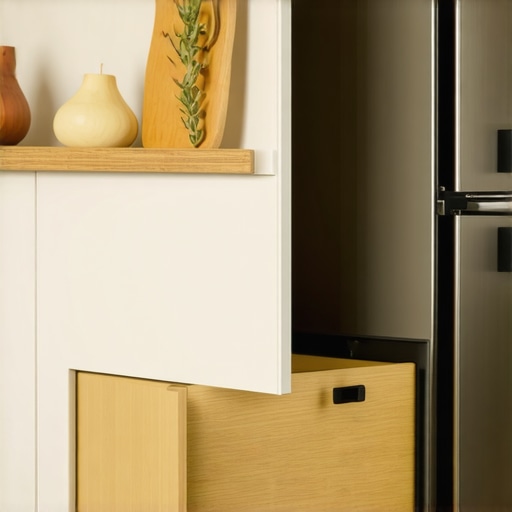
Unlike bulky step ladders that take up precious floor space or makeshift solutions that aren’t safe, a pull-out step stool tucked behind your cabinets offers an elegant and practical answer to those troublesome heights. Whenever I needed to reach the top shelf, instead of scrambling or risking a fall, I simply slid out the discreet stool. Not only did it save space, but it also made my kitchen feel more organized and safer.
Today, I want to share how this hidden gem can transform your kitchen experience. We’ll look at installing a pull-out step stool that integrates seamlessly with your cabinets, saving you time, space, and potential accidents. If you’ve ever been annoyed by hard-to-reach places or tired of clunky stools cluttering your kitchen, keep reading—this might be just the upgrade you need.
What about safety and durability? Are these hidden steps reliable?
Early on, I made the mistake of assuming that all pull-out steps were flimsy or unsafe. That’s not the case. When properly installed, these fixtures are sturdier than many traditional step ladders, thanks to quality hardware and reinforced cabinetry techniques. According to experts, a well-designed pull-out step can support the weight of an average adult comfortably, making it both a practical and safe choice for everyday use.
Think of it as a custom solution. You can tailor the height and integration to match your specific storage needs. Curious about how to choose or install one in your own kitchen? I’ll walk you through the key considerations in the next sections, along with tips to avoid common pitfalls. Ready to make your kitchen safer and more efficient? Let’s dive into the details.
Measuring and Planning Your Space
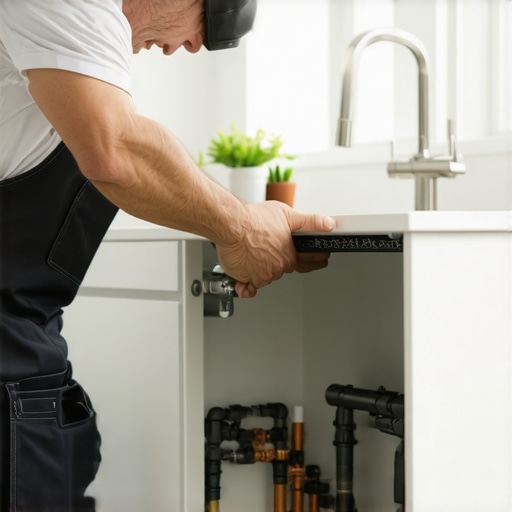
Start by removing the cabinet toe kick panel to access the cabinet interior where you’ll install the pull-out stool. Use a tape measure to determine the height needed for your step, typically aligning with the top of the base cabinet for a seamless look. Mark the area where the drawer slide will mount. I once mistakenly measured too high, which resulted in the step being awkward to reach, so double-check your measurements before proceeding.
Choosing the Right Hardware and Materials
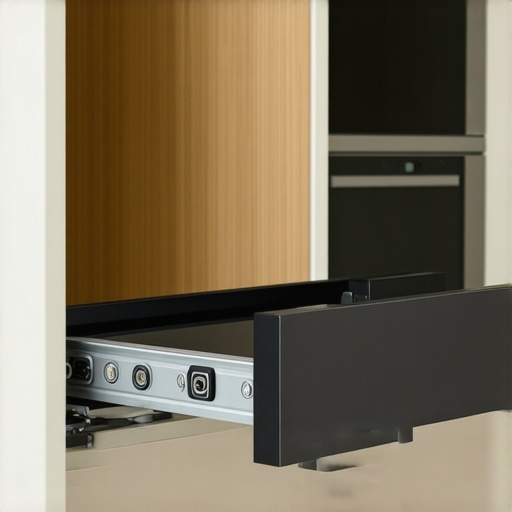
Select heavy-duty, soft-close drawer slides rated to support at least 150 pounds—this ensures safety and durability. Opt for a sturdy wooden or molded plastic step that complements your cabinets. I found that using stainless steel slides provided smoother operation over time. For added safety, consider a non-slip surface on the step. Remember, quality hardware is vital—cheap slides will wobble or fail quickly, negating benefits.
Preparing the Cabinet for Installation
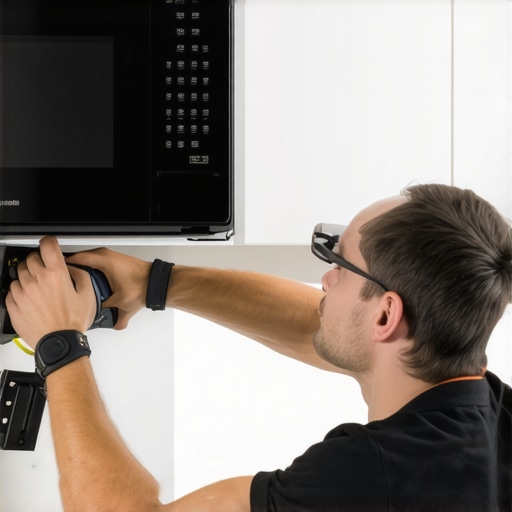
Remove any existing trim or fixtures that might obstruct the fit. Drill pilot holes for the slides, aligning them precisely with your measurements. Use a level to ensure the slides will operate horizontally. I once installed the slides slightly off, which caused the step to tilt—take your time with this step for perfect alignment. Reinforce mounting points if your cabinet walls are thin or damaged by adding backing strips.
Attaching Hardware and Assembling the Step
Mount the slides inside the cabinet, making sure they are flush and properly secured. Attach the corresponding slides on the underside of the step according to the manufacturer’s instructions. Slide the components together, checking for smooth movement. I tested the assembly multiple times, adjusting as necessary to avoid sticking or wobbling, especially since a wobbly step can be dangerous.
Integrating the Step into Your Cabinet System
Carefully slide the assembled step into the cabinet, ensuring the slides engage fully. Secure the front of the slide with screws or a faceplate to hide the hardware and provide a finished look. Consider adding a small latch or magnet to keep the step stowed when not in use. I also painted or stained the step to match my cabinets, which made it blend seamlessly because it looked like a natural part of the cabinetry system.
Final Checks and Adjustments
Open and close the pull-out step several times to test operation. Ensure it slides smoothly without catching or slipping. Check for wobbling or unevenness, making minor adjustments if needed. Remember, safety comes first—never skip testing the weight capacity. For more expert tips on custom storage ideas that maximize your kitchen’s functionality, see our storage solutions guide.
 }When it comes to renovating a kitchen or customizing storage, many homeowners assume that opting for built-in solutions or bespoke cabinets automatically guarantees practicality and style. However, let’s dig deeper into some common misconceptions and advanced pitfalls that even seasoned remodelers often overlook. Recognizing these nuances can elevate your project from good to truly exceptional.
One widespread myth is that all built-ins are inherently space-efficient. In reality, poorly designed or incorrectly installed built-in units can cause more clutter than they prevent. For example, if you neglect to account for door swing clearance or drawer path mechanics, you might find yourself struggling within a space that was supposed to optimize storage. To avoid this, study the exact movement of cabinetry doors and drawers—an in-depth analysis recommended in expert guides such as our detailed guide on custom cabinets.
Another misconception is that custom does not necessarily mean better quality. While custom cabinetry offers tailored aesthetics, the craftsmanship quality hinges on the cabinetmaker’s expertise. Cutting corners with cheap materials or hardware can lead to long-term issues like warping, squeaking, or misalignment. For instance, using particleboard in high-moisture areas might seem cost-effective initially, but it can swell and deteriorate quickly, causing costly repairs later. To ensure durability, always specify high-quality materials and hardware—an area where consulting with experts can make a difference.
A hidden nuance often missed involves integration details. Homeowners focus on appearance but sometimes overlook how built-ins influence workflows. For example, a custom pantry should consider not just shelf height but also the ease of access to frequently used items. In some cases, adjusting the depth of shelves or incorporating pull-out spice racks (see smart storage ideas for small kitchens) can dramatically improve usability.
Have you ever fallen into this trap? Let me know in the comments.
Speaking of advanced design strategies, consider the impact of spatial ergonomics. Custom cabinets that ignore ergonomic principles might look stunning but hinder daily use. A focus on reach zones and movable elements can revolutionize your kitchen’s functionality, especially in multi-user households. For this, learning about the latest trends, such as modular built-ins, is essential. Check out modern kitchen remodels with integrated storage for inspiring examples.
Finally, be wary of the ‘more is better’ mind-set. Over-customization can lead to cluttered interiors that are difficult to maintain. Instead, prioritize a balanced approach: bespoke solutions that serve specific needs without overwhelming the space. Reaching out to seasoned designers or cabinetmakers who understand both aesthetics and function can prevent this mistake. For a personalized consultation, visit our contact page.
In summary, the keys to successful built-ins and storage solutions are understanding the finer details—material choices, ergonomic placement, proper installation, and realistic expectations about space. Insight into these nuances will help you avoid common pitfalls and achieve a harmonious, functional kitchen. Ready to elevate your remodeling game? Explore our comprehensive guides for more expert tips and take the first step towards a smarter, more beautiful space.Maintaining your custom kitchen elements and storage solutions requires more than simple cleaning; it involves the right tools, regular checks, and intentional upgrades to ensure longevity. One essential tool I personally rely on is a high-quality cordless drill with variable speed and multiple chuck sizes. It makes installing hardware and adjusting hinges effortless, especially when working alone. Additionally, a precision square and a digital level are invaluable for keeping built-ins perfectly aligned over time, preventing issues caused by shifts in the structure or normal settling. For cleaning, I prefer microfiber cloths paired with specialty wood and cabinet cleaners, which preserve the finish without stripping protective coatings. Regularly inspecting hinges, slides, and latches is crucial; I schedule quarterly checks to tighten screws, lubricate moving parts with silicone spray, and replace worn components before they cause damage. When it’s time to refresh surface finishes or update hardware, I recommend using advanced paint systems like UV-cured paints that resist scratches and stains, extending the lifespan of your cabinets. These paints are also eco-friendly and dry quickly, making touch-ups less invasive. As technology evolves, the trend points toward smart storage solutions that integrate with home automation, such as motorized shelves or app-controlled lighting, which can drastically improve accessibility and long-term usability. Looking ahead, investing in durable, adaptable hardware combined with routine maintenance can save significant costs and effort down the line. How do I maintain built-ins and storage over time? The secret lies in consistent inspections, the right toolkit, and embracing innovative materials like epoxy-coated or thermofoil surfaces that resist moisture and wear. For a comprehensive approach, consulting expert guides—such as our stash of expert tips on maintaining custom cabinets—can inform your routine. I encourage you to try installing a sliding shelf or upgrade your hinge hardware this month—small improvements can significantly enhance your kitchen’s durability and functionality. Whether you’re updating an existing system or building new, consistent maintenance and quality tools are your best allies in preserving your investment for years to come.
Three Surprising Mistakes I Learned the Hard Way About Built-ins and Storage
One of my biggest revelations was that choosing custom cabinets without considering the overall workflow can turn your dream kitchen into a daily inconvenience. I once installed a beautiful set of cabinets, only to realize the placement of certain built-ins hindered my movement, making prep work cumbersome. Now I plan with ergonomics in mind, ensuring everything is within reach and flows naturally.
Second, I underestimated the importance of hardware quality. It might seem trivial, but cheap hinges and slides failed me repeatedly, causing misalignments and frustration. Investing in durable, high-quality hardware has been a game changer, extending the life and functionality of my custom solutions.
Lastly, I learned that a well-executed maintenance routine is vital. Even the best-built cabinets will suffer over time without proper care. Regular inspections, timely adjustments, and using the right cleaning tools preserve both aesthetics and function, saving money in the long run.
Tools and Resources That Elevate My Kitchen Projects
- Digital Level: Ensures everything stays perfectly aligned, which is crucial for seamless built-ins. I trust this tool over traditional bubble levels for accuracy.
- Expert Guides from Artisan Cabinetry: Their comprehensive articles and tutorials, such as this guide, have helped me avoid common pitfalls and refine my skills.
- Quality Hardware Suppliers: I stick to trusted brands for hinges and slides. Their durability guarantees a smooth operation and safe installation, reducing frustration over time.
- Maintenance Checklists: Regularly reviewing a simple checklist helps me catch issues early—tightening screws, lubricating moving parts, and cleaning surfaces—keeping my kitchen looking and functioning its best.
Let Your Kitchen’s Potential Shine—Start Today
Every improvement you make brings you closer to a space that’s both beautiful and highly functional. Remember, the key is attention to detail, proactive maintenance, and trusting quality tools and resources. Your dream kitchen with perfectly integrated built-ins and optimized storage isn’t just a distant possibility—it’s within reach. Take that first step now, and watch your space transform into a haven of efficiency and style.