The Secret to Perfectly Aligned Cabinet Handles Every Time
Have you ever stood in your kitchen, fumbling with those cabinet handles, only to realize they’re crooked again? I can’t count how many times I’ve spent precious weekend hours trying to line up handles perfectly, only to end up frustrated and second-guessing my DIY skills. One particular Sunday, after measuring and re-measuring for the third time, I had a lightbulb moment—there had to be a better way, a secret that pros use to get this right every single time.
Why Misaligned Handles Drive Us Nuts—and What’s at Stake
Honestly, it might seem like a small detail, but inconsistent handle alignment can make or break the overall look of your entire kitchen remodel. When handles are crooked, it screams “unfinished” or “rushed,” even if everything else is spot-on. Plus, it messes with the functionality, especially if you’re pulling on handles that aren’t quite where they should be. I realized early on that my DIY attempts to eyeball spacing often led to more crooked handles and, frankly, a sense of dissatisfaction every time I looked at my cabinets.
Did you know even seasoned professionals sometimes struggle with perfect alignment? According to expert cabinetry artisans, consistency in handle placement is crucial to achieving a sleek, polished appearance (find more tips on smart storage solutions). Yet, I made the mistake of rushing through the marking process, assuming my eye could do the job. Spoiler: it can’t, at least not reliably. This was a mistake I paid for, repeatedly.
So, if you’re tired of feeling the sting of crooked handles and want a foolproof method, stick around. Tomorrow, I’ll share the exact steps I’ve learned that help me and countless others get handle placement just right, every single time.
Mark Your Starting Point Precisely
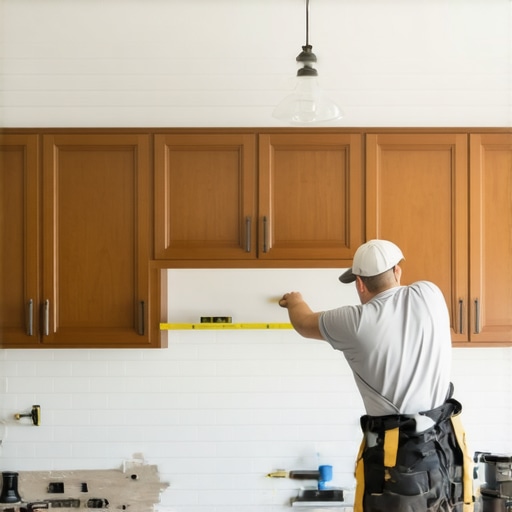
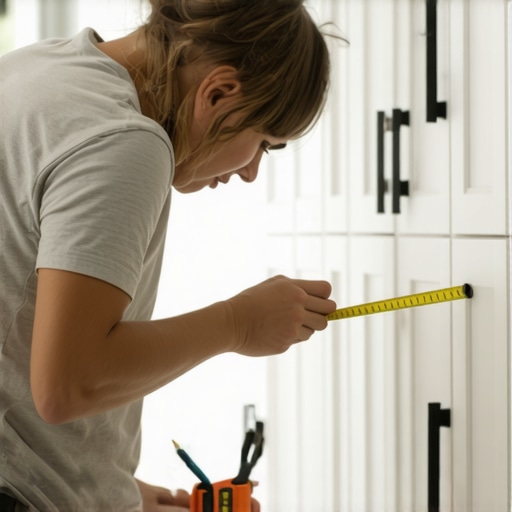
In my first attempt, I eyeballed the handle placement, which resulted in crooked lines. To do it right, measure from the edge of the cabinet to where the handle will sit, using a reliable tape measure. Mark this spot lightly with a pencil, ensuring consistency across all cabinets. Once, I spent an hour re-measuring because I didn’t double-check my initial mark, leading to a cascading misalignment. Now, I take my time with this step, knowing precision here saves headaches later.
Use a Guide for Even Spacing
Employ a straightedge or a carpenter’s square to draw a light, straight line where the handle center should be. This visual guide helps in aligning all handles uniformly. I once used a piece of painter’s tape as a temporary guide, which was surprisingly effective. With this, your handle centers will line up perfectly, creating a sleek, professional look, especially when installing multiple handles on a row of cabinets.
Pre-drill with a Transfer Jig
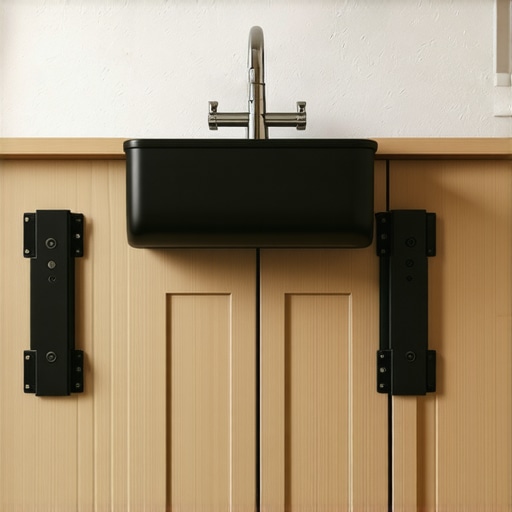
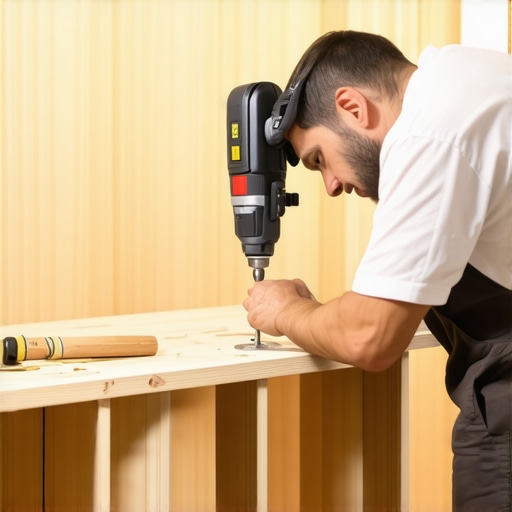
Instead of eyeballing handle drill holes, create or buy a handle positioning jig. This device ensures the holes are drilled exactly where you marked. I made my own using spare wood pieces and clamps. Wrap it around the cabinet door, align it with your marks, and drill through the jig’s holes. This guarantees that all handles are drilled at the same height and spacing, avoiding uneven placement that distracts from your kitchen’s aesthetic.
Consistently Apply the Same Technique
Stick to your method each time you install or replace handles. Variations often cause misalignments. During my recent remodel, I used the same tape measure and jig setup for every cabinet. Keeping this consistency resulted in handles that looked like they came from a professional shop. If you’re replacing handles, double-check your measurements before drilling — a small mistake now can be glaringly obvious once handles are in place.
Double-Check Before Final Installation
Once all handles are marked and drilled, step back and review their alignment visually. Place a level or a straight edge across the row of handles to confirm straightness. I once skipped this step and had one handle slightly off, which bothered me every time I looked. Adjust if necessary before tightening the screws fully. This extra step ensures every handle is perfectly in line, dramatically elevating your kitchen’s look.
For more detailed guidance on cabinetry alignment and other custom solutions, explore built-in storage techniques and learn how professional artisans ensure every detail is flawless.
 When considering kitchen storage, many homeowners tend to accept popular myths that oversimplify complex design principles. For instance, it’s a common belief that installing more cabinets always leads to better organization. In reality, overstuffed or improperly configured built-ins can hinder accessibility and create clutter, detracting from an otherwise sleek aesthetic.
Another misconception is that custom cabinets are inherently more expensive and less flexible than semi-custom or stock options. However, without proper planning and understanding of your storage needs, bespoke solutions can end up wasting space or being difficult to modify later. Advanced homeowners know that thoughtful, well-placed built-ins tailored to specific workflows dramatically improve functionality, especially in tight spaces or high-use areas.
Think that all storage solutions are created equal? Think again. Many overlook the importance of integrating smart organization features—like pull-out trays, adjustable shelves, and integrated lighting—that maximize utility and aesthetics. Neglecting these details can lead to frustration and the need for costly remodels down the line. In fact, industry experts suggest that focusing on these nuanced details not only elevates the overall design but also enhances daily convenience.
Now, for the advanced question—how can you leverage the principles of ergonomic design to optimize your kitchen storage for health and efficiency? Incorporating proper reach heights, minimizing unnecessary bending, and ensuring that frequently used items are easily accessible are critical factors often missed in DIY projects. According to a study published in the Journal of Ergonomics, such considerations significantly reduce strain and increase productivity during meal prep, especially in kitchens used by multiple household members.
While some believe built-ins are only suitable for modern, minimalist styles, seasoned designers emphasize their versatility across a range of aesthetics—from rustic to traditional—by customizing finishes, hardware, and layout. Don’t fall into the trap of settling for cookie-cutter solutions; instead, explore how these nuanced details can transform your kitchen into a tailored, functional masterpiece. For inspiration and expert insights, check out modern kitchen remakes with custom cabinets and built-ins.
Have you ever fallen into this trap? Let me know in the comments.
Investing in quality tools and establishing a routine maintenance plan are key to ensuring your custom cabinets and built-ins stay beautiful and functional over the years. One tool I swear by is a digital caliper. Unlike traditional tape measures, a caliper offers precise measurements down to the hundredth of an inch, which is invaluable when checking the alignment of handles or ensuring drawers open smoothly. I use my digital caliper regularly during installation and adjustments, especially when fine-tuning the fit of doors and shelves, preventing misalignments that can compromise aesthetics and usability.
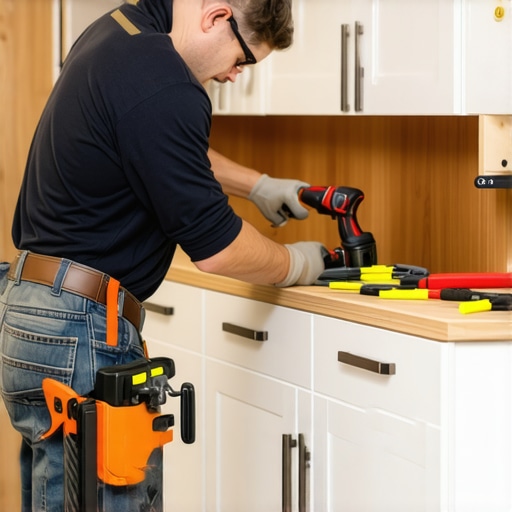
Alongside measurement tools, a high-quality cordless drill is indispensable. Personally, I prefer a model with variable speed control and a built-in LED light—such as the Dewalt DCD791D2—because it provides reliable power and visibility in tight spots. A good drill helps with pre-drilling, securing hinges, or installing hardware, all while reducing the risk of damaging delicate cabinet faces or hardware stripping. Regularly checking the drill bits for wear and keeping batteries charged ensures smooth operation during big projects or routine touch-ups.
Maintenance shouldn’t be an afterthought. Establishing a routine clean and check schedule helps prolong your cabinetry’s lifespan. I recommend inspecting hinges, drawer slides, and handles every six months. Lubricating moving parts with silicone spray (I like 3-IN-ONE Multi-Purpose Oil) keeps drawers sliding effortlessly and hinges swinging smoothly. An often-overlooked aspect is protecting the wood finish. Applying a layer of high-quality furniture wax once a year can preserve the surface and prevent scratches. Remember, the key to long-term success with built-ins and cabinets is consistency—set reminders to perform these checks so small issues don’t become costly repairs.
When it comes to software, digital project management tools like Trello or Asana help organize your remodel timeline, track measurements, and schedule maintenance tasks. Keeping digital notes on hardware specifications and installation details streamlines future upgrades or repairs. As the trend moves toward smart kitchens, integrating apps that monitor appliance performance or automate lighting and climate control will make upkeep even more manageable. Stay ahead by adopting these digital solutions early; they can save hours and prevent costly mistakes down the line.
Looking ahead, I believe smart maintenance systems will become standard. Imagine sensors embedded in cabinetry that alert you when hinges need oil or when doors are misaligned—the next evolution of upkeep convenience. To get started today, try calibrating your handle placement with your digital caliper, ensuring every detail aligns perfectly. Small upgrades like this can dramatically improve your kitchen’s longevity and your enjoyment of the space.
How do I maintain my built-in storage over time?
Maintaining your storage solutions involves regular inspection and gentle cleaning to prevent dirt buildup and wear. Check hinges, slides, and locks periodically, lubricate moving parts with appropriate lubricants, and replace worn hardware promptly. Protect surfaces from moisture and scratches by using appropriate cleaning products—avoid harsh chemicals that can damage finishes. Also, keep an eye on the structural integrity of the cabinetry, ensuring screws remain tight and supports are secure. Incorporating these simple habits will keep your custom kitchen looking pristine and functioning smoothly for decades. For more tips on perfecting your storage, explore future-proof storage solutions.
Remember, precise tools combined with a proactive maintenance routine will save you time and money. I encourage you to try calibrating your handles with a digital caliper today—small steps like this lead to lifelong improvements in your home’s functionality and style.
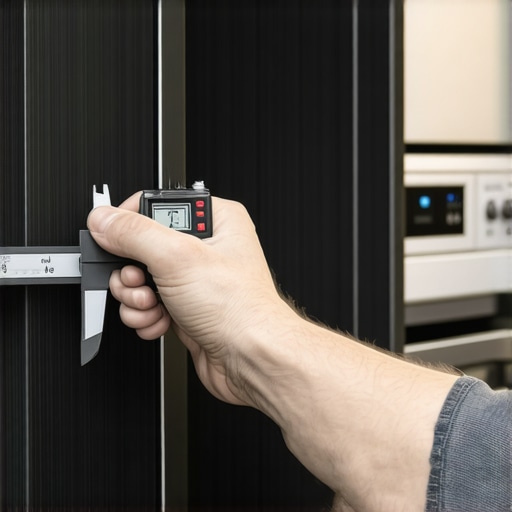
Image prompt:A professional’s hand measuring cabinet handle spacing with a digital caliper on a modern kitchen cabinet, highlighting precision tools in action.
Alt text: Measuring kitchen cabinet handle spacing with a digital caliper for perfect alignment.
Title: Precision Measurement for Perfect Handle Alignment.
Lessons That Changed My Approach to Built-Ins and Custom Cabinets
- I learned that relying solely on eyeballing measurements can lead to years of frustration—precision tools like digital calipers are game-changers, transforming guesswork into certainty.
- Creating a dedicated jig for handle placement saved me hours and saved my sanity, proving that investing a bit of extra effort upfront pays dividends in flawless details.
- Double-checking every handle before final tightening prevented awkward re-dos, highlighting the importance of patience over haste in high-end kitchen remodels.
- Consistency isn’t just about repeating steps; it’s about adopting a mindset that values craftsmanship over shortcuts, elevating even DIY projects to near-professional standards.
- I realized that even seasoned pros sometimes overlook basic checks—embracing continuous learning and being detail-oriented keeps your renovation and storage solutions top-notch.
Tools and Tips That Elevate Your Kitchen Remodel Game
- A digital caliper is essential—precision in measurement ensures handle placement that’s aligned perfectly, giving your kitchen a sleek look and smooth operation. Learn more about the best tools for cabinetry at Expert Tips on Selecting Storage Solutions.
- Invest in a quality cordless drill with variable speed and good lighting—this makes drilling holes for handles and hardware effortless and accurate. Brands like Dewalt or Milwaukee are trusted by professionals and DIYers alike.
- Consistency in your approach—use the same measuring tape, jig, and technique across all cabinets—creates harmonious, professional-looking results and simplifies troubleshooting.
- Don’t skip the visual check once handles are installed. Use a straightedge or level to ensure everything lines up precisely—details matter when elevating your kitchen’s aesthetic.
- Establish a routine maintenance schedule: clean, lubricate, and inspect hardware regularly. Simple habits like this prolong beauty and ensure smooth operation over the years, turning your storage solutions into long-term investments.
Time to Transform Your Space—Get Started Today
Remember, mastering handle alignment isn’t just about visual appeal; it’s about creating a space where every detail feels intentional and professional. Embrace the process, invest in the right tools, and enjoy the transformation—not just of your kitchen, but of your confidence in your DIY skills. Ready to take your storage solutions and cabinet projects to the next level? Dive into the detailed guides and expert insights available at Built-In Storage Guides and start shaping your dream kitchen today.
What’s the biggest challenge you’ve faced when aligning handles or customizing cabinets? Share your story below—I’d love to hear your experience!