The Wall-Hung Vanity Mistake: Why You Need Extra Blocking in the Studs
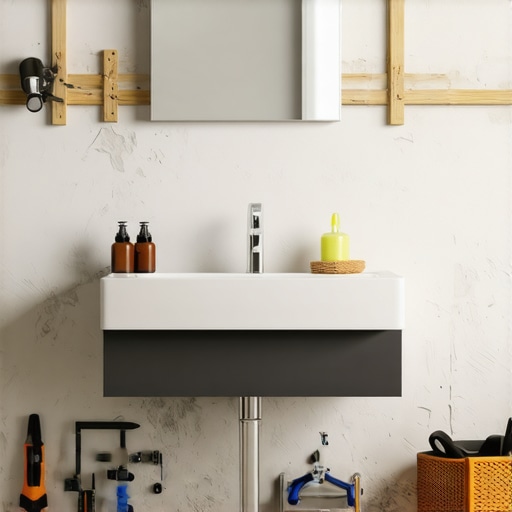
It was a typical Saturday afternoon when I finally pulled back the old drywall to install my new wall-hung vanity. I expected a straightforward project—measure, drill, mount, and enjoy. Instead, I faced an unexpected wobble that turned my DIY dream into a frustrating puzzle. The vanity felt like it was balancing on a shaky foundation, and despite my careful measurements, it wasn’t sitting right. That sudden instability was my lightbulb moment: I had skipped a crucial step—adding extra blocking in the studs.
Why Overlooking Stud Blocking Can Turn Your Renovation Into a Headache
As I dived into research, I discovered that many homeowners and even some installers overlook the importance of extra blocking behind wall fixtures. The result? A wall-mounted vanity or cabinet that wobbles, cracks, or, worse, comes crashing down over time. This isn’t just a minor annoyance; it’s a safety hazard and an expense you don’t want. Properly installed blocking provides a sturdy anchor—think of it as the backbone that keeps everything secure and level. Missing this step can lead to repeated adjustments, ongoing repairs, or, in the worst cases, catastrophic failure. According to industry experts, extra blocking increases load capacity and reduces stress on fasteners, significantly extending the life of your fixtures.
Have you ever experienced a wobbling wall-mounted cabinet or felt uncertain whether your installation will hold over time? If so, you’re not alone. Many DIY enthusiasts, myself included, learn this lesson the hard way.
Will Extra Blocking Make a Difference in Your Project?
Early on, I made the mistake of assuming that studs alone would suffice. Now, I know better. Adding extra blocking isn’t just a detail; it’s a game changer. Whether you’re installing a vanity, shelves, or built-in units, investing a little extra time to reinforce your studs is worth every second. Not only does it improve safety, but it also gives you peace of mind.
In the upcoming sections, I’ll show you exactly how to identify where and when to add extra blocking, the tools you’ll need, and common pitfalls to avoid. Trust me, this simple step can save you from future headaches and costly repairs.
Ready to learn the secret to secure, lasting installations? Let’s get started.
Select the Right Location and Prep Your Workspace
Start by locating the exact studs behind the wall using a high-quality stud finder. Clear the area of all obstacles and cover the floor with a tarp to catch dust and debris. Wear safety goggles and a mask, especially when working in dusty environments.
Mark the Studs and Identify Key Points
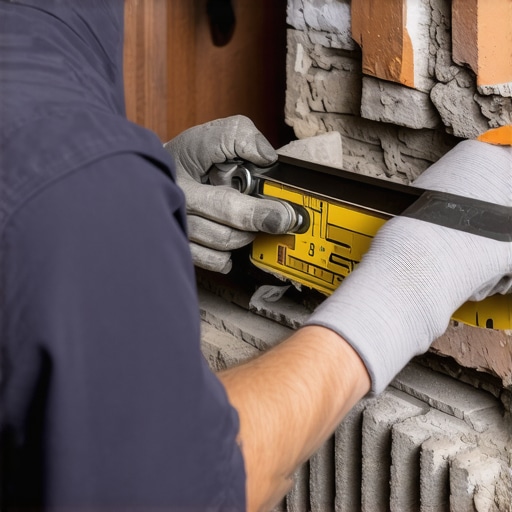
Use a pencil to mark the stud locations on the drywall surface. Note the center points, as these will be your target spots for adding blocking. Double-check your marks with the stud finder to ensure accuracy, preventing misaligned reinforcement that could weaken your installation.
Cut and Prepare the Blocking Material
Cut plywood or 2×4 lumber to the width between the studs, typically 16 inches on center. For added strength, use a piece slightly longer than the space to allow secure attachment at both ends. In my previous project, I used 3/4-inch plywood cut precisely and sealed the edges with protective paint to prevent moisture absorption.
Install the Extra Blocking
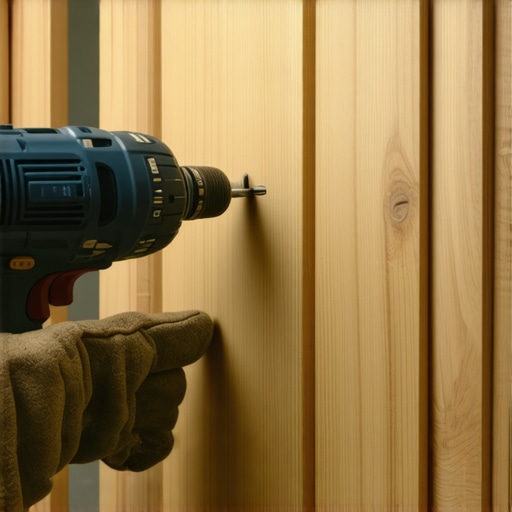
Hold the cut piece between the stud marks, ensuring it is flush against the drywall and securely nestled within the wall cavity. Use a framing nailer or screws driven through the drywall into the blocking to fix it in place—screws should be long enough (3-inch) to penetrate the drywall and embed into the stud or blocking adequately. Applying construction adhesive to the back of the blocking can further enhance stability, especially if you’re working in areas subject to vibrations.
Secure the Blocking with Heavy-Duty Fasteners
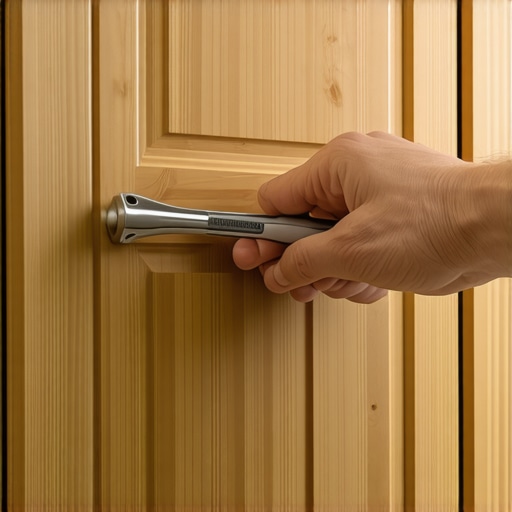
Fasten the blocking securely with finish nails or screws, spaced every 12 inches to prevent shifting. Be cautious to avoid hitting existing wiring or plumbing; consult your wall plans if available. For stubborn areas, a prying tool can help position the blocking tightly against the stud for a flush finish.
Reinforce and Check the Stability
Once installed, gently test the sturdiness by applying pressure with your hand or a tool. Liquid nails or construction adhesive can be added along the edges for extra strength, especially if heavy fixtures will bear weight. In a recent experience, adding adhesive prevented slight wobbles during the initial test, saving me from future adjustments.
Finish and Prepare for Fixture Installation
Finally, patch any drywall or paint over the installation if necessary. Ensure the surface is smooth and level. With the extra blocking in place, your fixtures—be it a wall-mounted vanity or heavy shelves—will now have a solid foundation, reducing wobble and increasing safety. For more insights into custom solutions that maximize your space, explore built-in options that elevate your living space.
Many homeowners enter a kitchen renovation convinced they’ve grasped the essentials—new cabinets, efficient storage, and sleek built-ins. But beneath that shiny surface lies a set of nuanced pitfalls that even experienced designers sometimes overlook, leading to costly surprises and design failures. The common misconception that “standard solutions will do” often blinds investors to the importance of tailored, detailed planning. In my experience, the real mastery comes from understanding these subtle nuances and avoiding the trap of superficial improvements.
Why do so many get it wrong with their custom cabinets and built-ins?
One of the most overlooked aspects is the importance of detailed measurements and anticipating future needs. A typical mistake is relying solely on standard widths and heights, without considering how appliances, appliances’ door swing, or even the user’s ergonomic comfort will interact with the design. This oversight can lead to cramped spaces, difficult access, or even the necessity for costly remakes. Consulting expert guides, like this comprehensive guide on custom cabinets, can help identify these nuances early.
Another trap is neglecting the structural nuance of wall support when installing heavy built-ins. Many assume stud framing alone can bear the load; however, neglecting extra reinforcement or proper weight distribution may cause sagging or long-term damage. Reinforcing studs with custom blocking, as discussed earlier, can prevent such issues, ensuring longevity and safety.
Debunking the myth that high-end materials always guarantee durability
While premium finishes and luxurious woods are attractive, they are not foolproof. Experts note that proper installation and finishing techniques are equally, if not more, vital than material quality. For instance, a beautiful cabinet with improper alignment or a poor sealant may fall apart quickly. Always seek installers with a track record in precision craftsmanship, and verify that they follow industry standards.
Additionally, consider the often-overlooked importance of workflow and spatial efficiency. It’s tempting to prioritize aesthetics over function, but studies show that a well-visualized kitchen layout enhances daily usability and reduces frustration. Investing in detailed planning, including custom storage solutions like pull-outs and hidden compartments, can turn a good kitchen into a great one. You might explore innovative storage ideas that maximize every inch.
Are you falling for shortcut solutions? Here’s what to avoid
Shortcuts—like using subpar adhesive, ignoring proper fastening, or skipping reinforcement—can undermine your entire project. For example, omitting extra blocking behind heavy wall-mounted cabinets may seem minor, but it has a ripple effect on safety and durability. Such technical oversights are often responsible for wobbly fixtures or long-term failures. Remember, investing in proper reinforcement methods isn’t just a detail—it’s a safeguard.
Ultimately, a successful kitchen remodel hinges on attention to these nuanced details. Recognizing the difference between superficial fixes and structurally sound, thoughtfully designed solutions ensures your project stands the test of time. For more insights on elevating your space, check out built-in solutions that elevate your living space. Have you ever fallen into this trap? Let me know in the comments.
Tools I Recommend for Long-Term Kitchen Success
Investing in quality tools is vital for ensuring your kitchen remodel stands the test of time. I personally swear by my cordless impact driver, like the Makita XDT16, because it offers unparalleled torque and ease of use when installing heavy cabinets or reinforcing wall studs. Additionally, a high-precision laser level, such as the Bosch GLL3-330CG, helps maintain perfect alignment for fixtures, enhancing both aesthetics and durability. An oscillating multi-tool with a variety of blades is indispensable for detailed work—whether trimming cabinetry for a custom fit or removing old caulk. For measuring and marking, I rely on a combination square and a digital distance meter to prevent costly mistakes, especially when planning complex built-ins.
Beyond hand tools, software plays a significant role. I recommend using 3D kitchen design programs like SketchUp or the specific planning apps from this expert guide to experiment with layouts before cutting material. This step helps catch potential issues early, saving both time and money. Regularly updating your project plan and adhering to a schedule ensures all components fit properly when assembled, reducing the risk of sloppy finishes that can degrade over time.
Anticipating Future Repairs and Updates
In my experience, designing for maintenance means choosing materials with proven longevity. For example, I prefer plywood over MDF for cabinet boxes because it resists warping in humid environments, as highlighted in this detailed comparison. For hardware, soft-close hinges and slides from brands like Blum or Hettich are proven to function smoothly for years, preventing early wear and tear. Incorporating accessible internal power ports or electrical outlets in built-ins simplifies future upgrades and repairs, an idea emphasized by industry experts.
To keep everything functioning smoothly, routine maintenance like lubricating hinges, tightening fasteners, and cleaning vents is essential. Set reminders to inspect these components every 6 to 12 months, especially in kitchens subject to high use or humidity. This proactive approach prevents minor issues from escalating into costly repairs.
Future Trends in Kitchen Maintenance and Tools
Looking ahead, I see smart home technology becoming integral to kitchen upkeep. Devices like smart leak detectors or Wi-Fi-enabled lighting systems not only add convenience but also alert you to potential problems early. Integrating sensor-based systems can extend the lifespan of fixtures and appliances by flagging issues before they cause significant damage. Combining these innovations with traditional maintenance routines will become standard practice in modern kitchens.
How do I keep my custom cabinetry and built-ins working flawlessly over time?
Maintaining your high-quality cabinetry involves regular inspection of hinges, seals, and finishes. Applying a light coat of furniture wax or a silicone-based spray like 3-IN-ONE Professional Silicone Spray can keep moving parts lubricated, reducing squeaks and wear. Additionally, ensuring proper ventilation minimizes excess moisture, which is critical for preserving wooden components. If you notice hinges or slides beginning to stick, addressing the issue with a quick lubrication session and recalibration can delay the need for replacements. For detailed guidance, I recommend consulting storage and cabinet maintenance tips. Try incorporating a routine check-up into your annual kitchen maintenance plan to prolong the life of your investments.
Insider Wisdom from My Kitchen Remodel Journey
One of the most eye-opening lessons I discovered was the significance of meticulous planning over rushing into installation. Initially, I underestimated how crucial extra blocking in the studs was for supporting heavy fixtures, leading to wobbling cabinets and frustration. This taught me that patience and attention to detail can prevent costly mistakes later.
I also learned that top-tier tools make all the difference. Investing in a quality laser level or impact driver streamlined the process and gave me confidence in the precision of my work. It’s easy to overlook the importance of reliable equipment, but having the right tools can elevate your entire project and outcome.
Lastly, I realized that understanding structural nuances—like proper reinforcement and weight distribution—can significantly extend the lifespan of your kitchen investments. Skipping these steps might save time upfront but can lead to long-term issues in durability and safety, something I wish I had prioritized from the start.
My Guide to Masterful Kitchen Installations: Tools and Resources
For anyone embarking on a kitchen overhaul, a few resources proved invaluable to me. I highly recommend tools like the Makita XDT16 impact driver for its torque and ease of use—trust me, it transforms heavy-duty installations. A high-quality laser level, such as the Bosch GLL3-330CG, ensures your fixtures are perfectly aligned, saving you headaches during and after installation.
In terms of reading, the Ultimate Guide to Custom Cabinets provided deep insights into material choices and planning strategies. Additionally, exploring this expert guide helped me avoid common pitfalls and streamline my workflow. These resources are the backbone of confidence for any DIYer or professional alike.
Your Next Chapter: Embrace the Details and Build Confidently
The path to a successful kitchen remodel is paved with patience, learning, and attention to the small but vital details. Remember, every wobbling cabinet or misaligned drawer is a chance to refine your craft. With the right strategies, tools, and mindset, you can transform your space into a timeless, functional masterpiece. Don’t let hesitation hold you back—take action today and watch your vision come to life.
What’s the one detail in your kitchen project you’re eager to perfect? Share your thoughts and experiences below—I’d love to hear your story!
,