The 5-Inch Rule for Choosing the Right Size Cabinet Pulls for Large Drawers
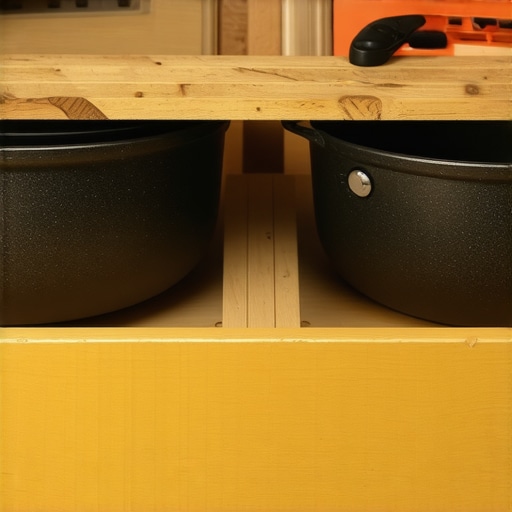
I stood there, sweat dripping onto my brand-new hardwood floors, clutching a screwdriver like it was a lifeline. I had just finished my custom kitchen remodel journey and was down to the supposedly easy part: the hardware. I’d spent thousands on beautiful maple boxes, but when I stepped back to look at my massive 36-inch pot-and-pan drawer, something felt terribly wrong. I’d installed a dainty, three-inch brass pull that I’d fallen in love with at a boutique shop. It looked like a postage stamp on a billboard. Worse, when I tried to open the drawer filled with cast iron, my fingers barely fit in the gap, and the strain on the screws was audible. It was a classic hardware mistake that makes expensive cabinets look cheap, and I was the one who made it.
Why Your Big Drawers Look and Feel So Awkward
The struggle is real. Most people think a handle is just a handle, but for large drawers, it is a matter of leverage and visual scale. If the pull is too small, you are putting all that torque on two tiny points, which is a recipe for disaster. I have seen cases where a heavy drawer actually begins to struggle because the pull isn’t wide enough to distribute the force of the pull across the face. If you are already dealing with a sagging pot and pan drawer, the wrong hardware only makes the mechanical stress worse. That is where the 5-inch rule—or more accurately, the one-third rule—comes into play to save your sanity. We are going to ensure your kitchen doesn’t just look like a magazine spread, but actually works when you’re in the middle of a Sunday roast.
Is the 5-Inch Rule actually worth the hype?
You might be thinking, “It is just two inches of metal, does it really change that much?” Absolutely. According to ergonomic design standards supported by the National Kitchen & Bath Association (NKBA), the ease of use in a kitchen depends heavily on the ability to use a full-hand grip rather than a finger-pinch. A 5-inch pull (or larger) provides the necessary clearance for a comfortable grip. Have you ever tried to yank open a heavy drawer with a bag of groceries in one hand and only two fingers free? That is when this rule becomes a lifestyle upgrade, not just a design choice. It prevents the wood from warping under uneven pressure and keeps your solid oak drawers performing smoothly for decades. Have you ever installed hardware only to realize it looks completely off once the tools are put away? I would love to hear about your own kitchen design hurdles in the comments below!
Measure Your Way to a Professional Look
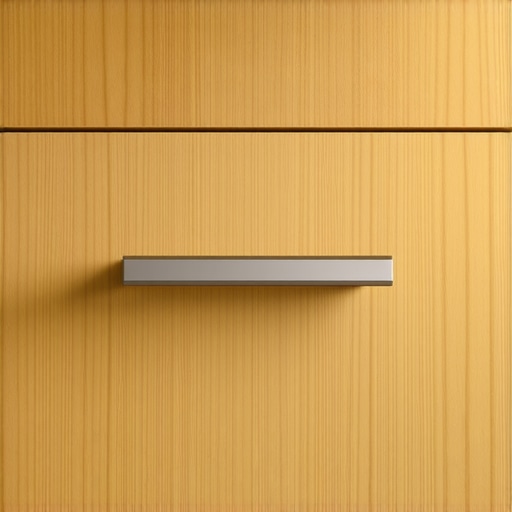
To get your kitchen looking like those high-end showrooms, you need to abandon the idea that one size fits all. When dealing with wide drawers—anything over 24 inches—the standard 3-inch or 4-inch pull will look lost and perform poorly. This is where the one-third rule becomes your best friend. It suggests that the hardware should span roughly one-third of the total width of the drawer front. If you are browsing through custom cabinets ideas that transform your homes style, you will notice that the most striking designs always respect this sense of scale. It creates a visual anchor that makes the cabinetry feel intentional rather than assembled from whatever was on the shelf at the hardware store.
Calculate the Perfect Proportion
The math is simple: take the width of your drawer and divide by three. If you have a 30-inch drawer, you are looking for a 10-inch pull. If it is 36 inches, a 12-inch pull is your target. I once worked on a project where the homeowner insisted on using tiny knobs on every single surface. By the time we finished the island, it looked like the cabinets had a case of the measles. We ended up filling the holes and starting over because the scale was so disjointed. In modern kitchen remodels featuring custom cabinets and built-ins, using oversized pulls is actually a shortcut to making the space feel more expensive and architecturally sound.
Stop Using Two Small Handles on One Large Drawer
There is a common temptation to put two small handles on a wide drawer instead of one long one. Resist this. Unless you are committed to using two hands every single time you open that drawer, you are going to regret it. When you pull a wide drawer from just one of the two handles, it puts immense torque on the drawer box and the slides. Over time, this is the real reason your cabinet drawer slides are grinding or failing prematurely. One long, centrally located pull ensures the force is distributed evenly, protecting your investment. I remember a client who spent a fortune on heavy-duty slides but chose dual handles for her heavy pot drawer. Within six months, the drawer was racking so badly it wouldn’t close flush because she always pulled it from the right side.
Jigs and Templates Save Your Sanity
Precision is the difference between a masterpiece and a mess. Even the most beautiful hardware looks amateur if it is an eighth of an inch off-center. Never, ever eyeball your drill holes. 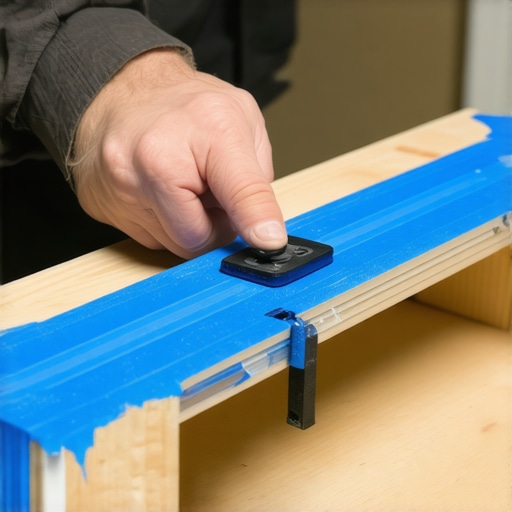 Using a professional-grade cabinet hardware jig is non-negotiable. Think of it like a GPS for your drill bit; it eliminates the guesswork and ensures that every pull on your built-in storage solutions is perfectly level and vertically centered. If you are following expert tips on selecting storage solutions for a perfect kitchen upgrade, you know that the final 5% of the work—the installation—is what determines the longevity of the look.
The Blue Tape Trick for Splinter-Free Holes
When you are ready to drill into those expensive faces, apply a strip of blue painter’s tape over your target area. Mark your holes on the tape instead of the wood. Not only does this provide a clearer mark for your pencil, but the tape also holds the wood fibers together as the drill bit exits, preventing the dreaded blow-out or splintering on the face of the cabinet. This is particularly vital when avoiding the cabinet screw mistake that causes heavy drawers to fail, as a clean hole ensures the screw seats perfectly against the hardware without any gaps or wobbles.
Beyond just the aesthetics of the pulls, the internal architecture of your remodel is where the most expensive ‘oops’ moments happen. While many designers push for every square inch to be filled with cabinetry, I have found that over-crowding actually decreases the value of your custom kitchen remodel journey. If you do not leave enough clearance for workflow, your high-end space feels like a narrow hallway rather than a chef’s sanctuary.
One major myth is the necessity of the standard corner Lazy Susan. Everyone says you need one to ‘save’ a corner, but in my experience, they are often a graveyard for lost Tupperware lids and spice jars you will never see again. This is one of the many reasons why kidney-shaped pull-outs are superior; they bring the contents out to you rather than forcing you to crawl into the cabinet. If you are exploring innovative storage solutions for modern kitchen remodels, look for systems that prioritize visibility and accessibility over just ‘filling the hole.’

Is your cabinet maker hiding a ‘B-Grade’ secret?
The real nuance—the thing that separates a 10-year kitchen from a 40-year kitchen—is the grading of the substrate. According to the Architectural Woodwork Institute (AWI) standards, the difference between ‘Premium’ and ‘Custom’ grade plywood can mean the difference between a shelf that stays flat and one that bows under the weight of your heirloom stoneware. It is a classic trap to fall for a beautiful factory finish while ignoring the structural bones. You must learn how to tell if your cabinet maker is using low-grade plywood before the boxes are even delivered to your home. Low-grade materials are often the primary culprit when heavy pantry shelves begin to sag prematurely.
Another hidden nuance involves ergonomic height. I see homeowners spend thousands on built-ins and storage hacks for a sleek functional kitchen, only to realize too late that a custom surface is ergonomically useless. For instance, the built-in desk error is incredibly common; why 29 inches is the only correct height for a workspace comes down to shoulder strain and spinal alignment standards. If you are off by even an inch, the space becomes a storage catch-all instead of a functional work area.
When you are planning your next step, whether it is creating seamless kitchen remasters with built-in storage solutions or a total gut-job, remember that the best storage works with your body, not against it. Have you ever fallen into the trap of choosing ‘more’ storage only to find it harder to actually find things? Let me know in the comments below!
Invest in the Right Jig to Save Your Cabinet Faces
I’ve learned the hard way that a $20 plastic template from a big-box store isn’t going to cut it when you’re working on high-end panels. If you want results that mirror modern kitchen remodels featuring custom cabinets and built-ins, you need the True Position Drill Guide. I personally use the TP-1312 because it has case-hardened steel bushings that won’t wallow out over time, ensuring your holes stay perfectly perpendicular. When you are following expert tips on selecting storage solutions for a perfect kitchen upgrade, the goal is always repeatability. With a professional jig, I can set the vertical and horizontal stops once and drill fifty drawers in a row knowing every single one is within a hair of being identical. It turns a high-stakes, stressful afternoon into a calm mechanical process. I have seen DIYers spend weeks on a build only to ruin a $300 drawer front in seconds with a wandering drill bit; don’t let that be you.
How do I keep my custom hardware moving smoothly for years?
Maintenance is the part of the kitchen journey most people skip until they hear a sickening squeak. For high-end hardware, like Blum or Grass, the secret isn’t adding more grease—it’s actually removing the dust. According to Blum’s technical documentation, their Blumotion hinges are cycle-tested for 200,000 openings, which is designed to last a lifetime. However, those tests are conducted in laboratory-clean conditions. Real-world kitchens have flour, steam, and aerosolized cooking oils that act like a magnet for grit. If you notice your doors are suddenly stiff or sluggish, it is often because this debris has settled into the soft-close piston. Instead of reaching for WD-40, which is a massive mistake because it attracts even more gunk, I use a simple can of compressed air and a dry microfiber cloth to clear the mechanism. This is the same proactive logic you should apply when figuring out why your soft-close slides are failing. Keep the tracks clear, and the hardware will likely outlive the house itself.
If you have already started creating seamless kitchen remasters with built-in storage solutions, you should also be checking your drawer slides for debris every six months. If you hear a crunching sound when you pull out the trash bin, that is the real reason your cabinet drawer slides are grinding and potentially destroying the ball bearing carriage. A quick vacuuming of the tracks with a brush attachment can prevent a full hardware replacement down the road.
Look Toward Integrated Sensors and Motorized Glides
As we look at where custom cabinetry is heading over the next five years, the trend is moving away from physical pulls and even finger-pull channels. We are seeing a massive shift toward “servo-drive” systems—motorized openers that respond to a gentle tap of the knee or elbow. This isn’t just about the cool factor; it is about universal design and accessibility. If you are currently in the middle of your custom kitchen remodel journey, I highly recommend wiring your island and base cabinets for low-voltage power now. Even if you don’t install motorized drawers today, having that power source available makes scaling your kitchen’s technology a breeze later. My advanced tip for you this week: before you install your next set of pulls, grab a high-quality jig and test it on a scrap piece of your actual cabinet material first. It is the only way to verify your offsets without risking your beautiful finish. Give it a try on your next project and see how much faster the installation goes.
Hard Lessons from the Back of a Kitchen Cabinet
Over the years, I have realized that the most beautiful kitchen can still be a failure if the physics aren’t right. The ‘finger-pinch’ fatigue is a real phenomenon; if you cannot open a heavy drawer with one hand while holding a bag of flour in the other, your hardware has failed you. I once saw a homeowner choose beautiful, minimalist knobs for a heavy-duty trash pull-out. Within a month, the wood around the knob had darkened from the oils on her hands because she had to grip the door frame just to get enough leverage to open it. This is why I stress that your custom kitchen remodel journey should always prioritize ergonomics over aesthetics alone.
Another hard-earned truth: the ‘Sample Test’ is your best friend. Never commit to a finish—especially if you are leaning toward trendy options—without seeing it under your specific lighting. Remember that black cabinet hardware shows every speck of dust and water spot, which might drive you crazy if your kitchen gets direct afternoon sun. Test a single pull on a scrap board before you commit to the whole room.
The Toolkit That Actually Delivers Results
If you want a professional-grade finish, you cannot rely on a tape measure and a prayer. I personally swear by the True Position Drill Guide (TP-1312). It is an investment, but when you consider that it prevents you from ruining a $400 custom-finished drawer front, it pays for itself in one afternoon. I also highly recommend keeping a roll of high-quality painter’s tape on hand. It is the secret weapon for marking your drill points without damaging the lacquer and preventing the wood from splintering as the bit exits.
For those looking for long-term inspiration and technical specs, the National Kitchen & Bath Association (NKBA) guidelines are my go-to source. They provide the ergonomic data that helps me decide things like the 12-inch island overhang rule, ensuring the space is actually comfortable for your family. If you are still in the planning phase, checking out a transform-your-kitchen expert guide for 2025 can help you spot which tools and trends are worth your time.
Take the Leap Toward Your Dream Space
Your home deserves to be more than just a place where you store dishes; it should be a sanctuary that anticipates your needs. Every choice you make, from the scale of your hardware to the quality of your slides, contributes to a home that works with you rather than against you. Don’t be afraid to choose the larger pull or the more robust hinge. When you look back at your **custom kitchen remodel journey**, you won’t regret the extra few dollars spent on quality; you’ll only regret the shortcuts that led to squeaky hinges or cramped fingers. #IMAGE_PLACEHOLDER_E#
By implementing smart storage ideas to maximize your kitchen space this year, you are not just renovating; you are upgrading your daily life. Have you ever accidentally drilled a hole in the wrong spot or chosen hardware that felt way too small once it was installed? Let me know your ‘oops’ moments in the comments below!