How to Reinforce a Sink Base Cabinet for a 100-Pound Cast Iron Sink
It was a Saturday afternoon when I realized I was about to make a three-thousand-dollar mistake. I’d just hauled a gorgeous, 100-pound enameled cast iron sink into my kitchen, ready to drop it into a standard base cabinet. I set it down gently, but the groan that came from that thin particle board bottom was visceral. It wasn’t just a creak; it was a warning. If I hadn’t stopped right there, I would have been looking at a catastrophic failure, a flooded kitchen, and a very expensive piece of cast iron shattered on the floor. Most stock cabinets are designed for lightweight stainless steel, not the heavy-duty titans we love in modern farmhouse designs. When you add seventy pounds of water and a vibrating garbage disposal to a hundred-pound sink, you’re asking a lot from a few staples and some glue. If you are currently in the middle of a kitchen remodel journey, you simply cannot afford to overlook the structural bones of your setup.
Why Your Standard Cabinet is Secretly Screaming for Help
The physics of a heavy sink are unforgiving. According to structural guidelines from the National Kitchen & Bath Association, a cabinet must support not just the static weight of the fixture, but the dynamic load of a full basin and the torque of a disposal unit. In my early days, I made the amateur mistake of thinking a few extra screws would suffice. I quickly learned that plywood box construction is the only real way to go when dealing with high-moisture areas and heavy loads. If your cabinet is made of compressed furniture board, that 100-pound sink will eventually turn it into a pile of wet sawdust. I’ve seen it happen. I once had to help a friend rip out an entire week-old installation because his cabinet base started rotting from a tiny leak that the structural sag had caused. It wasn’t pretty, and it certainly wasn’t cheap.
Is beefing up the frame actually worth the extra effort?
You might be tempted to just ‘wing it’ and hope for the best, but trust me, the peace of mind is worth every second of extra labor. Reinforcement ensures your countertops don’t crack and your plumbing seals stay tight. Have you ever heard that terrifying ‘crack’ when setting something heavy on a shelf? I want to help you avoid that sound forever. We are going to build a structural cradle that transfers all that weight directly to the floor, rather than letting the cabinet walls carry the burden. This is how you ensure your modern kitchen remodel stands the test of time and doesn’t become a cautionary tale for the next homeowner.
Build a Support Cradle That Actually Works
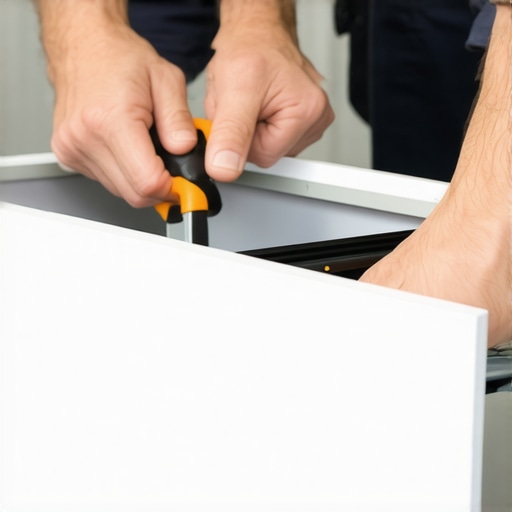
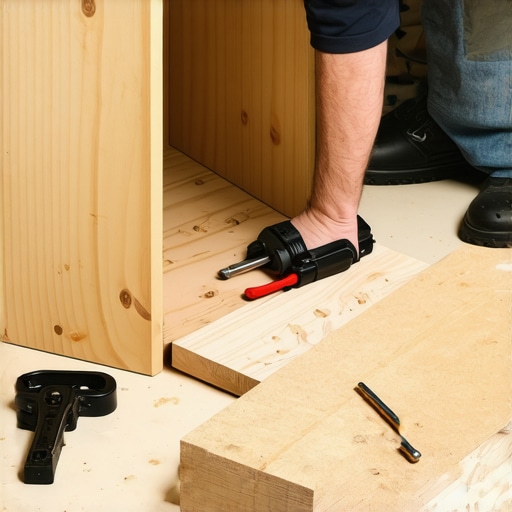
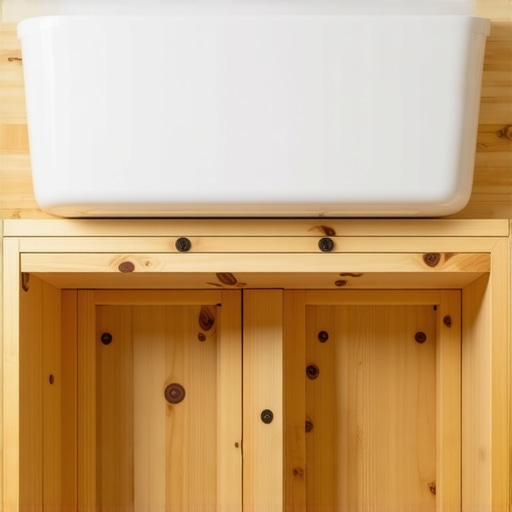
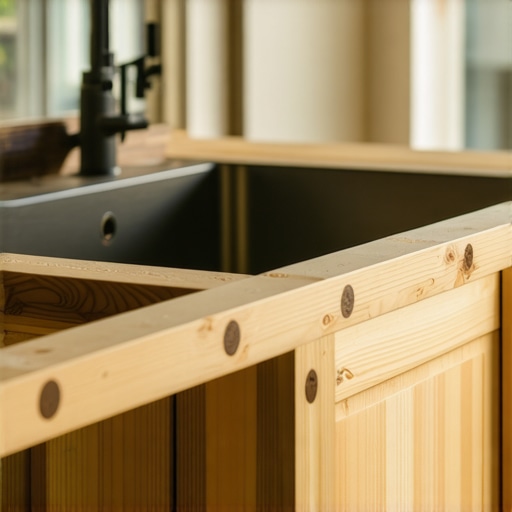
You can’t just screw a few blocks into the side of a cabinet and call it a day. To properly support a cast iron sink, you need to build a structural cradle—essentially a “table” inside your cabinet. I learned this the hard way on a job in a century-old house. I thought the existing framing was solid, but as soon as the water hit the basin, I saw the side panels bow ever so slightly. That movement is the enemy of your custom cabinets ideas and your countertop longevity. Now, I always use 2x4s or 3/4-inch plywood scraps to create a frame that sits flush against the cabinet floor and the underside of the sink flange. This creates a solid foundation that ensures the fixture never moves a millimeter.
Transfer the Weight Directly to the Floor
The secret is simple: gravity wants to go down. If you hang the sink from the cabinet walls, you’re relying on the shear strength of a few screws. Instead, cut four vertical supports that sit on the cabinet floor and reach up to the bottom of the sink rim. This transfers 100% of the weight to the ground. If you are working on a slab, this is why every base cabinet needs adjustable feet on uneven concrete. Without a level base, your support cradle will be crooked, putting uneven pressure on your granite or quartz tops, which eventually leads to those hairline cracks nobody wants to see. I’ve spent many hours with a laser level ensuring these supports are perfect because even a sixteenth of an inch off can cause a disaster later.
Don’t Forget About the Plumber’s Access
I once built a support frame so “secure” that it blocked every single shut-off valve and drain pipe. It was a masterpiece of structural engineering, and it was a total disaster for the plumber who had to reach the P-trap. This is why we design sink cabinets with a removable center post or strategically placed supports that leave the middle clear. You want your reinforcement to be around the perimeter. While you’re at it, think about future leaks. Even the best plumbing can fail, which is why you need a waterproof liner in your sink base cabinet. It’s a five-minute addition that saves the structural integrity of your expensive plywood box when the P-trap eventually decides to drip.
Stop the Vibration from Vibrating Your Cabinet Apart
If you’re installing a heavy-duty garbage disposal, you’re introducing a jackhammer to your cabinetry. A 100-pound sink stays still, but a disposal unit adds torque and vibration. If your supports are just tacked in, they will eventually rattle loose. I always use a bead of high-quality construction adhesive and structural screws to bond my internal framing to the plywood cases. This creates a monolithic structure that doesn’t just hold weight—it absorbs energy. In my early days, I skipped the glue once and had to return a year later because the owner complained of a “humming” noise every time they washed dishes. The support had vibrated just enough to create a gap, turning the cabinet into a giant speaker box for the motor. By adding those extra structural bonds, you ensure your kitchen remains quiet and your joints stay tight for decades.
Let’s dig deeper into where most homeowners—and even some general contractors—get it wrong. People often assume that ‘more space’ equals ‘better storage.’ This is the Great Pantry Deception. I’ve walked into countless high-end homes where the walk-in pantry is a disorganized mess of expired cans hiding in the shadows of 16-inch deep shelves. In my professional opinion, why a pull-out pantry beats deep walk-in shelves for visibility is all about the ‘first-in, first-out’ principle. When you can see every item from both sides, nothing gets lost. It’s one of those built-ins and storage hacks for a sleek functional kitchen that actually changes how you shop and cook. But here is the ‘Oops’ factor that keeps me up at night: the failure of the ‘oversized drawer.’ We all love those massive 36-inch wide drawers for pots and pans, but most stock cabinets use slides rated for only 75 or 100 pounds. Once you factor in the weight of the drawer box itself, you’re left with very little margin for that heavy cast iron collection. According to the Builders Hardware Manufacturers Association (BHMA), exceeding the static load capacity of a slide leads to immediate ball-bearing deformation. If you’ve noticed the real reason your cabinet drawer slides are grinding, it’s probably because you’re asking a Grade 2 slide to do a Grade 1 job.
Will your drawer slides actually survive a stack of Dutch ovens?
It’s not just about the weight; it’s about the extension. A full-extension slide creates a massive amount of leverage on the cabinet carcass when it is pulled all the way out. If you haven’t used plywood cases, that leverage can literally pull the mounting screws right through the side of a particle board cabinet. I always tell my clients to look for ‘over-travel’ slides rated for at least 150 pounds for any drawer wider than 30 inches. If you’re already seeing a dip in the bottom of your drawers, you might need to learn how to fix a sagging pot and pan drawer with a center support before the bottom completely blows out. 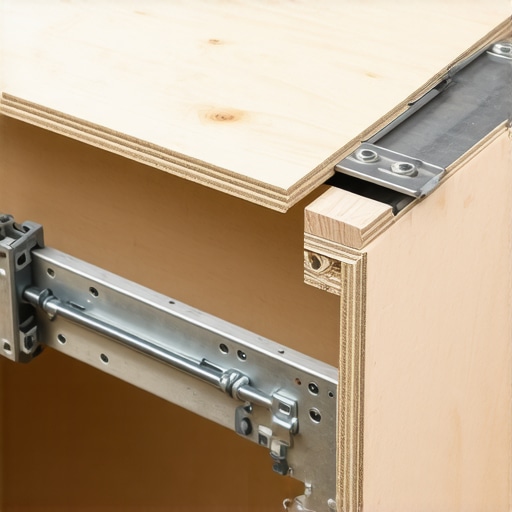 The nuance that separates a ‘nice’ kitchen from a ‘forever’ kitchen is often found in these unglamorous mechanical details. We often focus on the paint or the stone, but the mechanical engineering is what determines if the kitchen still feels new in ten years. Have you ever fallen into this trap of overfilling a drawer only to hear that sickening crunch of a failing slide? Let me know in the comments. If you’re planning a remodel and want to avoid these technical pitfalls, contact us today to discuss how we can build something that actually stands the test of time.
Stop Guessing with a High-End Laser Level
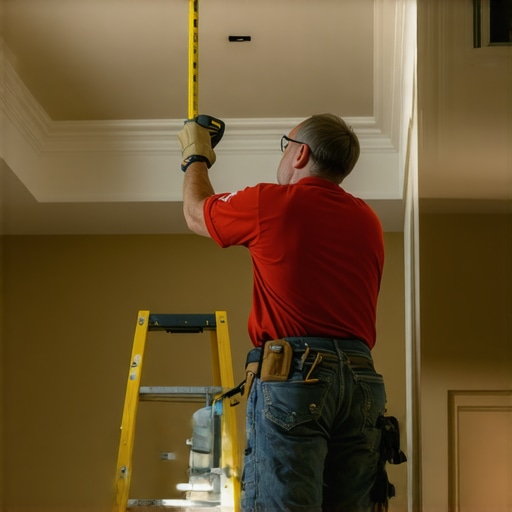
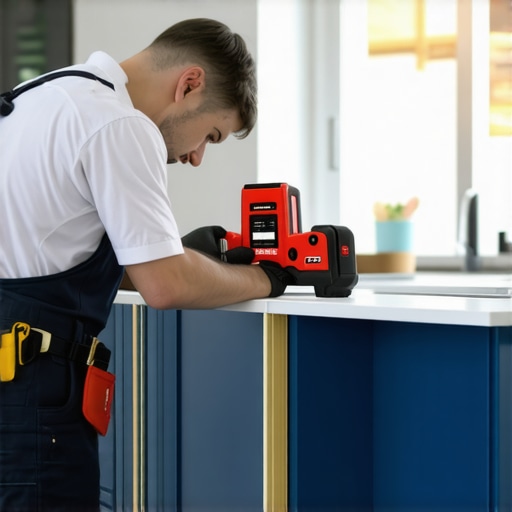
If you are serious about your installation, put away the 2-foot bubble level. I’ve seen more failed kitchen islands and sagging countertops caused by ‘close enough’ leveling than by any other error. Personally, I never step onto a job site without my Bosch GLL self-leveling cross-line laser. Why? Because a bubble level is only as accurate as your eyesight, but a laser provides a perfectly plumb line across twenty feet of cabinetry. This is critical when you are trying to anchor a heavy bathroom vanity to metal studs securely or ensuring your upper cabinets don’t have a visible tilt. When your base cabinets are perfectly level, everything else—the crown molding, the backsplash, and the countertop seams—falls into place without a fight. If you’re working on a basement or a garage, remember that every base cabinet needs adjustable feet on uneven concrete to account for the natural pitch of the slab. I’ve spent years perfecting the art of the ‘shim,’ and I can tell you that mechanical feet beat wooden wedges every single time for long-term stability.
How do I keep my custom cabinets working perfectly over time?
Maintenance isn’t just about wiping down the doors; it’s about mechanical upkeep. According to the Cabinet Makers Association (CMA), the industry standard for ‘Level, Plumb, and Square’ must be maintained to prevent hinge fatigue. Over time, the house settles, and those perfectly aligned doors might start to rub. Don’t wait for the finish to chip. You need to know how to adjust European hinges when your doors are crooked. A simple turn of a Phillips head screw can re-center a door in seconds. Also, keep an eye on your hardware’s performance. If you notice your drawers aren’t closing with that satisfying silence anymore, it’s likely why your slow-close hinges are suddenly sluggish and how to clean them. Dust and aerosolized cooking grease are the silent killers of soft-close mechanisms. A quick wipe with a dry microfiber cloth and a tiny drop of silicone-based lubricant can restore them to factory-new performance without needing a full replacement.
Integrated Sensors are the Next Big Thing
Looking ahead, I predict the next decade of transforming your kitchen with custom cabinets will move away from just ‘pretty wood’ and toward ‘smart infrastructure.’ We are already seeing high-end builds include integrated moisture sensors inside sink bases. Imagine a small LED on your toe kick that turns red the second a leak is detected, long before you notice the smell of mildew. It’s the natural evolution of why you need a waterproof liner in your sink base cabinet. We are also seeing a shift toward more complex lighting. I always advocate that the under-cabinet lighting trick for a high-end kitchen look isn’t just about the bulbs, but about recessing the channels so you never see the ‘dots’ reflecting in your stone. This level of detail is what makes a space feel professional. If you want to future-proof your home, start thinking about how to integrate tech now. My advanced tip for you today: go grab a screwdriver and check the tension on your most-used cabinet door. If it’s sagging even a millimeter, adjust it now before it ruins the paint. If you’re ready to scale your project or need a professional eye on your layout, contact us today to get started on a design that lasts a lifetime.
The Hardest Lessons I Learned Under a Sink Cabinet
Over the years, I’ve realized that the best installations aren’t the ones that look the prettiest on day one; they’re the ones that still look identical ten years later. One lightbulb moment for me was realizing that switching from nails to screws for cabinet backing wasn’t just an upgrade—it was a necessity for structural rigidity. I also learned that if you can’t fit your hand comfortably around the plumbing, you’ve over-engineered the support cradle. Space for maintenance is just as important as the support itself. Lastly, never underestimate the power of plywood box construction in high-moisture zones. It’s the difference between a minor leak being a 10-minute cleanup and a 5-day demolition project.
My Must-Have Gear for a Lifetime Kitchen
I don’t just recommend these tools because they’re popular; I recommend them because they’ve saved my reputation on more than one occasion. First, a high-quality self-leveling laser is non-negotiable for ensuring your modern kitchen remodel stays perfectly aligned. Second, keep a bottle of silicone-based lubricant handy; it’s the only way to fix sluggish slow-close hinges without replacing the hardware. Finally, always have a set of adjustable mechanical feet on hand. They are far superior to cedar shims when you need to level a heavy base cabinet on an uneven slab.
#IMAGE_PLACEHOLDER_E#
Start Designing Your Forever Space Today
Remodeling is a journey of a thousand small decisions, but the most important ones happen behind the cabinet doors where no one can see. By focusing on the structural bones and smart storage, you aren’t just buying furniture; you’re investing in the longevity of your home. Whether you are deep in a kitchen remodel journey or just starting to dream, remember that a beautiful kitchen is nothing without a solid foundation. If you’re ready to build a space that stands the test of time, contact us today to start your custom project. Have you ever discovered a structural surprise after moving into a new home? Let me know in the comments below!