How to Fix a Stripped Hinge Hole with a Simple Wooden Matchstick
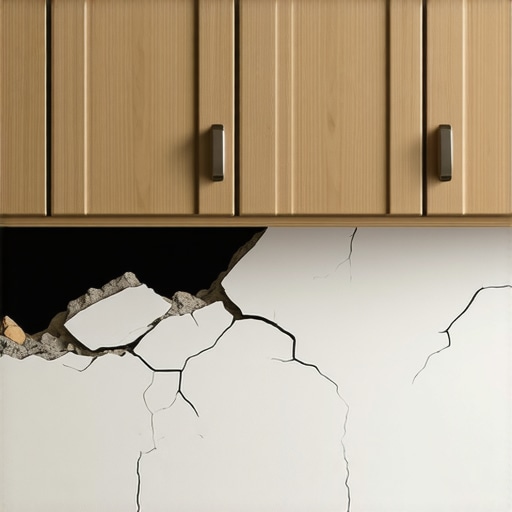
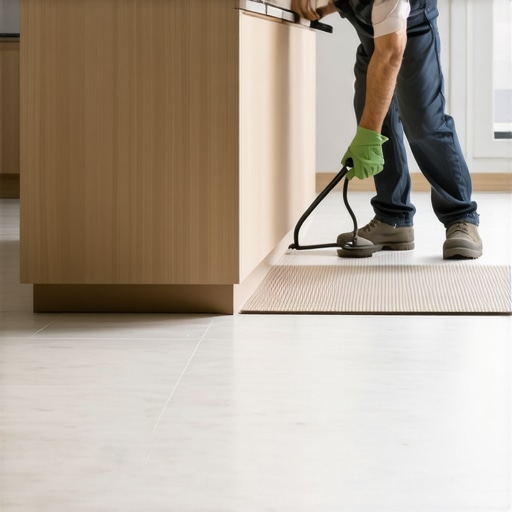
I was standing in my kitchen, a screwdriver in one hand and a sagging cabinet door in the other. Every time I tried to tighten that top hinge, the screw just spun around like a bored teenager. It’s a gut-wrenching feeling when you realize your expensive custom cabinets might have a flaw you can’t easily hide. I’ve been there. You’re halfway through a modern kitchen remodel, or maybe you’re just trying to keep your existing storage from falling apart. You reach for the screwdriver, give it a firm twist, and—*crunch*. The wood gives way. Suddenly, that hinge that was supposed to last forever is hanging on by a thread. In my early days, I made the mistake of just grabbing a bigger screw. Big mistake. I ended up splitting the wood of a perfectly good door, turning a five-minute fix into a weekend-long headache. Today, I’m going to show you a trick that seems too simple to work. We are going to fix that stripped hole using nothing but a wooden matchstick and a dab of glue. It’s the ultimate ‘neighborly’ hack that saves you from having to replace your custom cabinetry or hire a professional for a two-minute job.
Your Screws Deserve a Better Grip
A stripped hole isn’t just an annoyance; it’s a structural failure. When the wood fibers inside that pre-drilled hole are pulverized, there’s nothing left for the screw threads to grab. This often happens if you’ve been dealing with a cabinet door that is rubbing the frame, causing you to over-tighten the hardware in frustration. According to the USDA Forest Products Laboratory, the pull-out strength of a screw is directly tied to the density and integrity of the wood fibers it engages. When those fibers are gone, you have to replace them. While some folks swear by plastic anchors, I’ve found that matching wood with wood creates a far superior bond, especially in high-traffic areas like a busy kitchen.
Is a Matchstick Actually Strong Enough for Heavy Hinges?
I get the skepticism. You look at a tiny piece of wood used to light candles and think, ‘There’s no way that’s holding up my solid oak door.’ But here’s the secret: once you jam that matchstick in there with some wood glue, it compresses. It essentially becomes a custom-fitted dowel that recreates the lost ‘meat’ of your cabinet frame. Have you ever had a screw just spin and spin until you felt like you were going to lose your mind? Tell me about your worst hardware horror story—I promise I’ve seen worse. Before we get our hands dirty, remember that the goal isn’t just to fill the hole; it’s to create a surface that allows the screw to bite back in with the same tension it had on day one. If you’ve been following my advice on how to fix a stripped screw hole in a solid wood cabinet door, you know I value fixes that last years, not days.First, you need to clear the hole of any loose debris or pulverized wood fibers. Think of it like dental work; you cannot fill a cavity without cleaning it out first. I usually take a small pick or even the tip of a nail to scrape out the dust. This ensures your glue actually sticks to the solid wood rather than just floating on a layer of sawdust. If you are working on built-ins and storage hacks, you know that the tighter the fit, the better the result. Once the hole is clean, grab a handful of wooden matchsticks. I prefer matches over toothpicks because they are made of softer wood that compresses more easily when you drive the screw back in.
Pack the Hole with New Wood Fibers
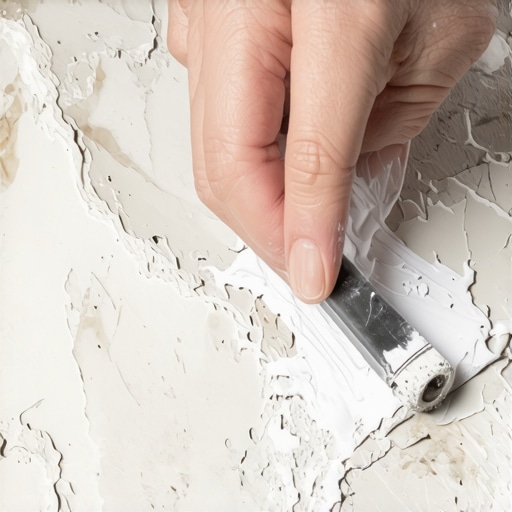
Dip the tip of two or three matchsticks into a quality wood glue—knowing how to choose the right glue is essential here. Shove them into the hole as far as they will go. Don’t be afraid to use a little force. I once had a client with a massive dovetail drawer that was falling off its track because the mounting screw had pulled out of the side wall. I jammed four matches in there, let them dry, and the repair was so solid I could barely find where the original hole was. Once you have packed the hole, snap the matchsticks off so they are roughly flush with the surface. Don’t worry about perfection yet.
Trim the Excess and Prepare the Pilot
You now have a hole filled with a wet, gluey mess of wood. This is the hardest part for most DIYers: waiting. You need to let that glue cure for at least thirty minutes, though an hour is better. If you rush it, the screw will just push the matchsticks deeper into the wood rather than biting into them. While you wait, you might consider checking if your drill holes for new hardware on other doors are still tight. When the glue is dry, take a sharp utility knife or a chisel and trim the matchsticks perfectly flush with the cabinet face. You want a flat surface so the hinge sits square against the wood.
Re-drill and Secure Your Hardware
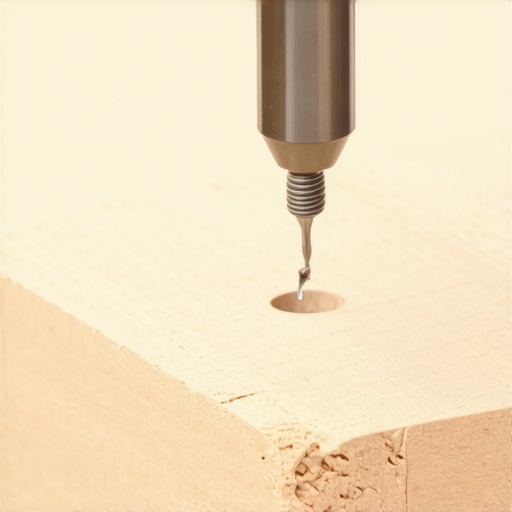
Don’t just hammer the screw into your new wood plug. You have essentially created a solid piece of wood, and forcing a screw in without a pilot hole could split your repair or even the surrounding frame. Use a drill bit that is slightly smaller than the shank of your screw. Drill a straight pilot hole directly into the center of your matchstick bundle. This gives the screw threads a path to follow while allowing them to displace enough wood to create a mechanical lock. When you drive the screw back in, you should feel that satisfying resistance. That bite tells you the repair is successful. It is the same level of integrity I look for when building built-ins that elevate your living room. You are not just filling a gap; you are restoring the structural grip of the wood itself.I’ve noticed a recurring pattern where homeowners think a high price tag automatically guarantees a lifetime of durability. It’s easy to get swept up in the aesthetics of custom cabinets as a game changer in your kitchen remodel journey, but the real magic—or the real mess—happens behind the face frames. Most people believe that ‘all-wood’ construction is the gold standard, but in some environments, high-quality furniture-grade plywood actually outperforms solid wood because it is less prone to warping. If you’re being sold a ‘solid wood’ cabinet that doesn’t account for expansion and contraction, you’re looking at a ticking time bomb. This is especially true in wet areas where why particle board sink bases are a disaster and the plywood alternative becomes the most important choice you’ll make for the longevity of your kitchen.
Stop Prioritizing Storage Over Flow
One of the biggest mistakes I see is the ‘more is better’ fallacy. Homeowners often try to jam every possible inch of wall space with boxes, ignoring the basic physics of how humans move. While we all want expert tips on selecting storage solutions for a perfect kitchen upgrade, adding too many cabinets can actually make a kitchen feel smaller and less functional. According to the National Kitchen & Bath Association (NKBA), neglecting the ‘work triangle’—the path between your sink, stove, and refrigerator—is the quickest way to ruin an expensive renovation. If your layout requires you to walk around a massive island just to get a glass of water, no amount of custom millwork will fix that daily frustration. This is why I always tell my clients that why your kitchen layout should follow the work triangle rule is not just a suggestion; it’s a requirement for a high-performing space.
What happens when your floating vanity starts to sag?
The ‘oops’ factor usually comes into play when we talk about modern, minimalist trends like floating vanities or heavy pantry systems. Many DIYers and even some ‘pro’ installers forget that these heavy units are essentially cantilevered off your wall. If you don’t have proper structural support hidden behind the drywall, you’re headed for a disaster. In my professional opinion, why your floating vanity needs structural blocking before the tile is the single most ignored step in modern bathroom design. You cannot rely on a standard 2×4 stud to hold a 150-pound vanity plus the weight of a stone countertop and a full basin of water without extra reinforcement.
Don’t Trap Your Floors Under Your Cabinets
Another nuance that separates the veterans from the rookies is the order of operations regarding flooring. There’s a common belief that you should install your beautiful new floors first so the cabinets sit on top of them. However, if you are using a floating floor like LVP, you are making a massive mistake. I’ve seen entire kitchen floors buckle because why luxury vinyl plank should not be trapped under your base cabinets is a real phenomenon; that flooring needs to move, and pinning it down with thousands of pounds of cabinetry prevents it from doing so. Always think about how the materials will behave two years from now, not just on install day. Also, don’t forget that why your kitchen remodel needs a lighting plan first is just as vital as the wood you choose—shadows can make even the most expensive custom cabinets look cheap. Have you ever fallen into this trap or dealt with a ‘pro’ who skipped these steps? Let me know in the comments.Once the sawdust settles and the last handle is screwed in, you are in the honeymoon phase of your renovation. But let me tell you from experience: the difference between a kitchen that looks great for two years and one that stays perfect for twenty lies in the tools you use for upkeep and how you handle the inevitable shifts in your home. I never show up to a job site without my self-leveling cross-line laser. While a bubble level is fine for hanging a picture, why your kitchen remodel should start with the floor plan often involves complex vertical alignments that only a laser can catch. When I am scaling a project or adding built-ins that elevate your living rooms functionality, I use the laser to find the ‘true’ high spot. If you are doing this yourself, remember the proper way to shim cabinets on a high spot in the floor is to work outward from that peak; otherwise, you are just chasing a ghost of a level line all day.
What is the secret to keeping cabinet hinges from sagging?
Maintenance isn’t just about cleaning; it is about mechanical tension. According to technical documentation from Blum, their high-end hinges are tested for 200,000 opening and closing cycles, but that durability assumes the mounting plate stays tight. Every six months, I recommend taking a #2 Pozi-drive screwdriver—not a standard Phillips, as it will strip the specialized European screws—and giving each mounting screw a quarter-turn. If you notice a door starting to drift, don’t ignore it. Learning how to fix a cabinet hinge that squeaks every time or one that has lost its alignment prevents the wood from being chewed up by the metal hardware.
The Precision Tools I Never Leave at the Shop
Beyond the laser, I swear by a set of high-quality digital calipers. When I am installing innovative storage solutions for modern kitchen remodels, I use them to measure the exact thickness of my face frames to within a thousandth of an inch. This might seem like overkill, but when you are dealing with seasonal changes, you need to know exactly how much room you have to play with. You might find the real reason your soft-close drawers are sluggish in winter is that the grease in the slides has thickened or the wood has contracted just enough to put friction on the rails. A little bit of silicone-based lubricant—never WD-40, which attracts dust—can make those slides feel like butter again.
Where the Future of Storage is Heading
Looking ahead, I see a massive shift toward ‘active’ cabinetry. We are moving beyond static boxes and into the realm of smart storage solutions for small kitchens in 2025 that include integrated lighting and motor-assisted opening. Imagine tapping a drawer with your knee when your hands are covered in flour and having it glide open effortlessly. This isn’t sci-fi; it’s the current gold standard for high-end custom cabinetry. However, more tech means more potential points of failure, which is why understanding the basics of hinge tension and structural integrity remains the foundation of a good kitchen. I want you to try this: go to your busiest cabinet right now—usually the trash pull-out or the spice rack—and check the mounting screws on the runners. If they feel even slightly loose, tighten them today. That thirty-second task will save you a hundred-dollar repair down the road.
Why Your New Cabinets Might Start Sagging Sooner Than You Think
Over the years, I have seen homeowners spend thousands on the most expensive finishes only to have the doors dragging on the floor within six months. The hardest lesson I ever learned was that moisture and weight are relentless. If you don’t account for the cumulative weight of heavy ceramic plates in your design, even the best wood will eventually bow. Also, never underestimate the power of a seasonal shift; wood breathes, and if you haven’t left room for that movement, your hinges will pay the price in tension. I once saw a beautiful set of custom cabinets literally pull themselves off the wall because the installer didn’t use a proper way to shim them against an uneven floor, creating a mechanical strain that the screws couldn’t handle.
The Essential Kit That Prevents Costly Contractor Calls
If you want to maintain that ‘just-installed’ look, you need a few specific tools in your drawer. I always recommend keeping a small bottle of high-tack wood glue and a pack of matchsticks handy for those hardware emergencies. You should also look into how to fix a loose cabinet knob that keeps spinning before the hole becomes unsalvageable. For those who want to take their organization to the next level, I suggest checking out these innovative storage solutions that can be retrofitted into almost any space. These small investments in time and basic tools are what separate a standard house from a finely tuned home. #IMAGE_PLACE_HOLDER_E#
Create a Kitchen That Actually Works for You
A successful remodel isn’t just about picking the right colors or the trendiest backsplash. It is about creating a flow that makes your life easier every single morning. Whether you are looking for custom cabinets ideas that transform your homes style or just trying to get one door to stop squeaking, remember that the smallest details often have the biggest impact. Your home is an investment in your daily happiness, so don’t be afraid to get your hands a little dirty to keep it in top shape. If you ever feel stuck or need professional eyes on a project, feel free to contact us for expert guidance. Have you ever had a cabinet repair go spectacularly wrong, or did the matchstick trick save your weekend? Let me know in the comments below.