How to Fix a Stripped Screw Hole in a Solid Wood Cabinet Door
I still remember the first time I felt that gut-wrenching “give” in my screwdriver. I was trying to align a heavy inset door during a particularly ambitious kitchen project. One too many turns and—*crunch*—the threads in that beautiful solid cherry were gone. I tried to ignore it, but every time I opened the door, it sagged just a little bit more. At first, I made the classic rookie mistake of just driving in a much longer, fatter screw. Huge mistake. I ended up splitting the stile entirely, turning a five-minute fix into a weekend-long disaster that required a complete door replacement. If you are currently staring at a screw that won’t stop spinning, take a deep breath. Whether you are dealing with custom cabinets that transform your home’s style or a simple bathroom vanity, a stripped hole does not mean the wood is ruined. In fact, it is a rite of passage for anyone who spends enough time working with wood. Today, I am going to show you exactly how to rebuild that hole so it is actually stronger than the day it was first drilled. We are going to stop the sagging and save your hardware without resorting to the messy, ineffective fillers that usually fail within a week.
Why a Spinning Screw is More Than a Minor Nuisance
A loose hinge is never just about a crooked door; it is a structural hazard for your entire cabinetry setup. When one screw fails, the remaining screws on that hinge are forced to carry twice the weight. This eventually leads to a chain reaction of failure that can rip the hinge right out of the wood frame, potentially taking a chunk of the face frame with it. In my early days, I used to think a quick 5-minute hinge adjustment would mask the problem. It did not. You need a solid foundation because your cabinet boxes should be built to last, and that starts with secure fasteners. According to technical data from the Forest Products Laboratory, the withdrawal strength of a wood screw is entirely dependent on the density and integrity of the wood fibers it bites into. Once those fibers are crushed or stripped away, the mechanical connection is gone. Using a larger screw often just expands the damage or splits the grain, especially in hardwoods like oak or maple. Have you ever felt that sinking feeling when a screw just won’t tighten? Tell me I am not the only one who has tried to fix it with a bit of hope and a prayer.
Is this fix actually going to hold up over time?
I get the skepticism. You might be thinking that shoving a couple of glue-soaked toothpicks or a dowel into a hole sounds more like a “life hack” than a professional repair. But here is the secret from my workbench to yours: when you use the right wood glue and a material that matches the density of your door, you are not just plugging a hole. You are performing a mini-skin graft on the wood. We are going to create a new, solid mass of cellulose and resin that the screw can bite into for another twenty years. We are moving past the quick fixes and getting into the real solutions that master carpenters use when things go sideways on a job site. Before we grab the drill, let’s talk about why the “glue and toothpick” method is actually a legitimate repair and when you should step it up to a full dowel plug.
Rebuild the Fiber with the Toothpick Trick
For those smaller screw holes where the threads have just started to mush out, the toothpick method is your best friend. Think of it like adding rebar to wet concrete; the toothpicks provide the structural skeleton that the glue and the screw will eventually bond with. Start by cleaning out any loose wood debris from the hole using a small compressed air canister or a vacuum. I remember a frantic afternoon during a custom cabinets as a game-changer in your kitchen remodel journey where a client’s heavy spice rack door started to fail. I didn’t have time to run to the hardware store, so I used what I had: round birch toothpicks and high-quality PVA wood glue. I coated three toothpicks in glue, tapped them into the hole until they bottomed out, and snapped them off flush with the surface. Once that glue dried, it was like drilling into a fresh piece of oak. 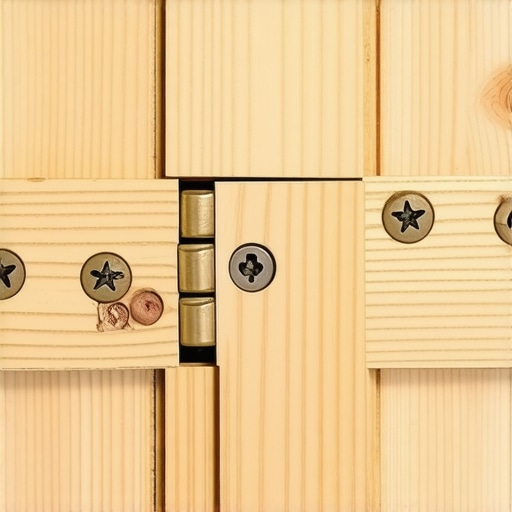
Don’t Just Shove Them In
The key to this working is the glue. You aren’t just filling space; you are creating a composite material. If you simply jam dry wood into the hole, the new screw will just push the toothpicks deeper or compress them without grabbing. You need that glue to saturate the old, tired fibers of the cabinet wall. This is especially critical when dealing with the secret to hanging inset doors without leaving a gap, where the tolerances are so tight that any slight movement in the screw will cause the door to rub against the frame.
When to Step Up to a Hardwood Dowel Plug
Sometimes the hole is too far gone for toothpicks—perhaps a previous owner tried the ‘bigger screw’ method and blew out the side of the hole. In these cases, you need to go bigger to get smaller. Use a drill bit to enlarge the stripped hole to a standard dowel size, usually 1/4 inch or 3/8 inch. By creating a clean, uniform cylinder, you provide a perfect mating surface for a hardwood dowel. Smear glue inside the hole and on the dowel, then tap it home. I once had to do this on twenty different hinge locations for a built-ins that elevate your living rooms functionality project because the original installer used drywall screws that shredded the MDF core. It was tedious, but it saved the entire installation from the scrap heap.
Choose the Right Wood Species
Matches matter. If you are working with softwoods, a soft pine dowel is fine. However, if your cabinets are cherry or maple, use a hardwood dowel. You want the density of the plug to be similar to the surrounding wood so your drill bit doesn’t ‘wander’ into the softer material when you go to re-install the hardware. If your why your drawer fronts are crooked and the adjuster screw fix isn’t working because the wood is too soft, a hardwood plug provides the bite needed for those fine-tuning adjustments.
Precision Drilling Prevents a Second Disaster
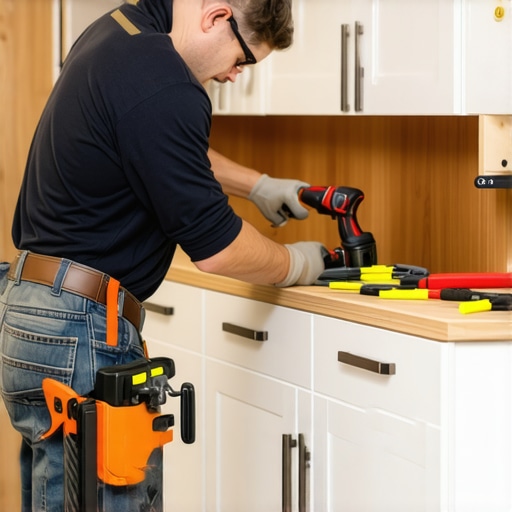
Once your glue has cured—give it at least four hours, though overnight is better—you have a solid block of wood again. Do not just drive the screw back in. You must use the best way to drill holes for new cabinet hardware, which involves a Vix bit or a self-centering drill bit. This tool ensures your pilot hole is perfectly centered in the hinge leaf. If you are off by even a sixteenth of an inch, the screw will pull the hinge out of alignment as it seats, and you’ll be right back where you started with a door that won’t close. I always use a bit of wax or a bar of soap on the screw threads before the final drive; it reduces friction and prevents the wood from splitting under the new pressure.Once you have mastered the physical repair of the cabinet itself, it is time to look at the bigger picture of how those units function within your daily life. Most homeowners assume that a successful kitchen overhaul is purely a game of square footage. They want to cram every wall with upper cabinets to maximize every inch. But here is the contrarian truth: more cabinets often lead to a less functional kitchen. If you are just stacking standard boxes, you are creating ‘dead zones’ where items are lost for years in the dark recesses of a shelf. In my experience, innovative storage solutions for modern kitchen remodels are not about the volume of the space, but the efficiency of the access. I have seen 100-square-foot kitchens that outperform massive estates because the designer understood the difference between ‘active’ and ‘passive’ storage. Have you ever found yourself digging through a dark corner cabinet only to find three identical jars of expired spices? That is a failure of design, not a lack of shelf space. You should prioritize smart storage ideas to maximize your kitchen space like vertical pull-outs and internal organizers that bring the contents to you, rather than forcing you to dive in after them.
Is your custom layout actually future-proof?
This is the advanced question you need to ask during the planning phase. A common ‘trap’ I see is building hyper-specific storage—like a custom-carved slot for a specific 2024-model espresso machine or a niche blender—without considering that appliance dimensions evolve. According to the National Kitchen & Bath Association (NKBA), while a quality cabinet box can last 20 years or more, the specialized tech inside it rarely sees year seven. If you lock yourself into a rigid, bespoke layout, you are setting yourself up for a massive renovation bill when that appliance inevitably breaks and the new model is two inches wider. Instead, I suggest you look at why we recommend 36-inch base cabinets for every modern remodel; they provide a standard, adaptable footprint that allows for internal reconfiguration without ripping out the woodwork.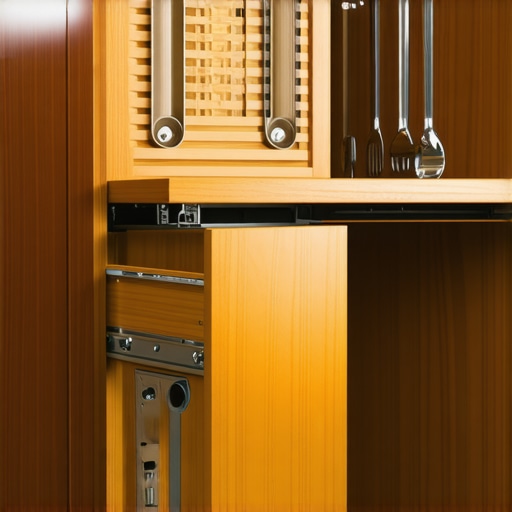 One nuance that many DIYers and even some contractors miss is the invisible battle between wood species and the final finish. Everyone wants that seamless, ‘Pinterest-perfect’ white kitchen, but they often choose the wrong wood for the job. If you are going for a painted look, you must understand the best wood species for painted cabinets that will not crack at the joints. Solid oak or hickory under a hard enamel paint is a recipe for disaster. As moisture levels change, the wood expands across the grain with immense force, but the paint film remains rigid. This results in the dreaded ‘hairline fracture’ look at every joint. This is where custom cabinets as a game-changer in your kitchen remodel journey come into play; a master builder knows to use engineered materials for center panels or specific rift-sawn cuts to minimize this movement. The real ‘oops’ factor usually happens at the very end of a project. People spend thousands on the boxes but pennies on the hardware. If your drawers are grinding or catching, the best wood in the world won’t save the user experience. Always check why your drawer slides are grinding and how to clear the ball bearings before you assume the whole unit needs replacing. Another trap involves the placement of heavy items. You should explore the best way to organize heavy dutch ovens in a deep drawer to ensure the weight is distributed over the floor-mounted base rather than straining the side-mounted hardware of an upper unit. Have you ever fallen into the trap of choosing aesthetics over structural stability? Let me know in the comments.
The Tools That Saved My Sanity on the Job Site
After years of fighting with traditional bubble levels and warped 2x4s, I finally invested in a high-end 360-degree laser level—specifically the Bosch GLL series. It changed everything. When you are trying to find the proper way to shim cabinets on a high spot in the floor, having a constant, perfectly level green beam across the entire room is the only way to ensure your countertops don’t end up looking like a mountain range. I also never step onto a job site without my cabinet claws; these specialized clamps pull face frames together for a perfect flush fit while you drill your pilot holes. According to the Architectural Woodwork Institute (AWI) standards, the tolerance for a vertical cabinet gap in premium installations should be no more than 1/64 of an inch. Achieving that level of precision isn’t about talent; it is about having the right mechanical advantages in your toolbox. 
How do I maintain my custom cabinets over the long haul?
Maintenance is the part most homeowners skip until they see a crack or a stain. The biggest enemy of your high-end wood is actually the air. If your home’s humidity swings wildly between seasons, your wood will breathe, expand, and eventually fail at the joints. I recommend keeping your indoor humidity between 30% and 50% year-round. This prevents the moisture-related degradation that leads to why your white cabinets are turning yellow and how to prevent it. Beyond the air, the cleaning chemicals you use are vital. Stay away from anything containing ammonia or silicone. I personally use a very diluted solution of pH-neutral soap; it is the same stuff I would use on a luxury car finish. If you have specialty finishes, you need to know how to clean matte black cabinet hardware without scratches, because one scrub with a green scouring pad will ruin a expensive hardware set instantly.
The Future of Smart Cabinetry
I predict that within the next five years, we are going to see a massive shift toward “active” maintenance. We are already seeing prototypes for hinges with built-in cycle counters and moisture sensors that ping your phone if a leak starts under the sink. We are moving away from static boxes and toward the goal to maximize space with innovative storage solutions for every room that integrate seamlessly with home automation. Imagine built-ins that elevate your living rooms functionality by automatically adjusting shelf height based on the weight of the objects placed on them. It sounds like sci-fi, but the tech is already being refined in European trade shows. For now, focus on the fundamentals: keep them dry, keep them level, and stop using harsh sprays. If you want to really level up your kitchen’s durability, go grab a laser level and check your current base cabinets—you might be surprised how much they have settled over time.
Lessons from a Decade of Stripped Screws and Sagging Doors
If there is one thing that years in the shop have taught me, it is that a cabinet’s beauty is only as deep as its structural integrity. I used to think I could outsmart the wood by using oversized screws, but the wood always wins that fight. The real ‘lightbulb moment’ for me was realizing that your cabinet boxes should be built to last from the inside out. Another hard-earned truth: never rush the glue. If you re-install a hinge before the wood glue has fully polymerized, you are just lubricating the hole for the next failure. Finally, always look at the layout as a living thing. Integrating innovative storage solutions for modern kitchen remodels today saves you from the frustration of a cluttered, dysfunctional workspace tomorrow.
#IMAGE_PLACEHOLDER_E#
My Essential Kit for Cabinet Perfection
You don’t need a massive workshop to get professional results, but you do need a few non-negotiables. First, get a set of self-centering bits; they are the best way to drill holes for new cabinet hardware without the bit wandering and ruining your alignment. Second, invest in a 360-degree laser level. It is the only way to find the proper way to shim cabinets on a high spot in the floor with absolute accuracy. For maintenance, I strictly use pH-neutral cleaners to ensure I don’t accelerate why your white cabinets are turning yellow and how to prevent it. These tools aren’t just gadgets; they are the bridge between a ‘good enough’ DIY job and a masterpiece.
Build for the Long Haul
Your home is likely your biggest investment, and the kitchen is its heart. When you take the time to fix a stripped hole properly or carefully plan your custom cabinets as a game-changer in your kitchen remodel journey, you aren’t just doing maintenance—you are preserving your legacy. Don’t be afraid to pull that screw out and start over if it doesn’t feel right. The goal is to maximize space with innovative storage solutions for every room while maintaining the quality that makes custom work so special. Have you ever had a simple cabinet repair turn into a weekend-long project? Let me know in the comments below.