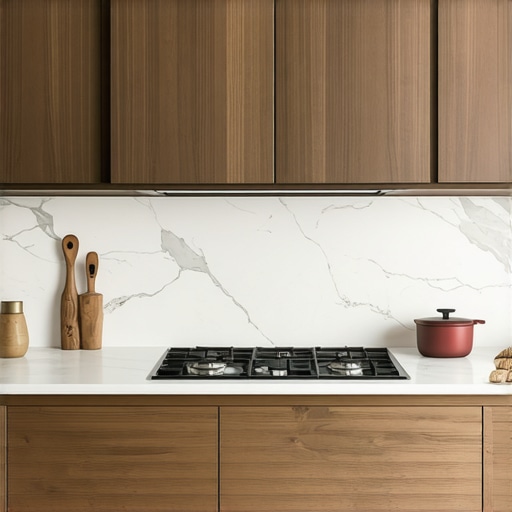
The Custom Range Hood Cover: Why We Prefer Metal Liners Over Wood
It was a Saturday evening, and I was searing ribeye steaks in my newly finished kitchen. The sizzle was magnificent, but within seconds, the room filled with dense, greasy smoke. As I looked up at my gorgeous, hand-crafted wooden custom range hood cover, my heart sank. I noticed a tiny, dark bead of moisture forming on the raw interior wood where the ventilation unit met the casing. It wasn’t water; it was liquefied cooking grease soaking directly into the soft pine. That was the exact moment I realized I had made a massive, potentially dangerous mistake in my design.
The Invisible Threat Lurking Inside Your Beautiful Wood Hood
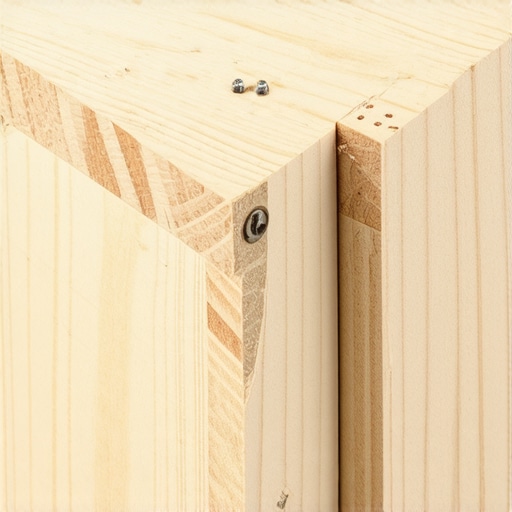
When planning modern kitchen remodels featuring custom cabinets and built-ins, we tend to focus entirely on the exterior aesthetics. We want that perfect shiplap, plaster, or stained oak statement piece over the stove. However, the interior of that hood cover is a harsh environment exposed to extreme heat, steam, and airborne oils. Skipping a proper metal liner to save a few dollars or simplify the installation is a recipe for disaster. Wood is porous, highly combustible, and nearly impossible to sanitize once grease penetrates the grain.
Is a metal liner actually worth the extra cost?
I get this question from skeptical homeowners all the time. They ask if they can just paint the inside of the wood cover with high-temp paint and call it a day. The short answer is an absolute, non-negotiable no. According to safety standards outlined by the National Fire Protection Association, commercial and residential cooking exhaust systems must be constructed of non-combustible materials to effectively contain potential grease fires. A metal liner acts as an impenetrable shield, keeping intense heat and moisture away from your beautiful custom cabinets and structural wall framing.
My early mistake taught me that without a metal barrier, steam will slowly warp the wood joint by joint, while trapped grease becomes a ticking time bomb for house fires. Have you ever noticed sticky residue or discoloration on the underside of your hood? Drop a comment below and let me know—I would love to help you diagnose if your current setup is putting your kitchen at risk before we dive into how to retrofit the perfect metal sleeve.
Step-by-Step Retrofitting for a Fire-Safe Kitchen
Installing a metal liner inside a wooden custom hood is a lot like putting an engine block inside a classic car chassis. The exterior is all about style and craftsmanship, but the interior must be built for raw performance and high heat. If you try to mount your blower motor directly to your custom wood casing, you are creating a major fire risk. Here is how you bridge the gap between beauty and mechanical safety during your project.
Measure with Extreme Precision
Before you purchase a single sheet of metal, you need to calculate your clearances. This is not the time for estimating. I once worked on a craftsman-style kitchen remodel in which we built a gorgeous white oak hood cover. We assumed the manufacturer’s liner dimensions were identical to the nominal size listed online. They were off by a quarter of an inch. That tiny discrepancy forced us to completely disassemble the lower molding of the finished hood on-site. Save yourself the headache: always have the physical metal liner in your workshop before you finalize the interior framing of your hood.
Build a Solid Internal Framing Ledger
Your metal liner cannot simply float inside the wooden shell. It requires a robust support structure. Build a ledger system using 2×4 or 2×2 lumber secured directly into the wall studs behind your range. When planning out your layout, it is helpful to think about how this integration fits into the bigger picture of your renovation, much like why you should install your base cabinets before your flooring. This solid foundation ensures that the heavy blower motor and metal lining do not put any physical stress on the decorative outer wood paneling.
Seal Every Joint with High-Temp Foil Tape
Once your liner is screwed securely into your internal wood framing, you must seal the perimeter. Any tiny gap between the metal shield and the wood hood will act as a chimney, pulling hot grease and steam upward into the hollow cavities of your upper cabinetry. Use professional-grade, high-temperature aluminum foil tape to seal every seam where the metal meets the wood structure. While managing these small details, always remember to protect your investment in other areas too, such as why your sink cabinet needs a drip tray right now to catch moisture before it ruins your custom carpentry.
Allow for Proper Duct Alignment
The final mechanical step is connecting the liner collar to your exterior ductwork. Make sure your duct transitions are smooth and taped securely. Just like resolving a stubborn cabinet issue—such as learning how to fix a drawer that wont close all the way—ventilation alignment requires patience and fine-tuning. If your ducting is misaligned even slightly, it can cause excessive vibration, which will rattle your beautiful custom hood and eventually loosen the mounting screws holding your liner in place.
When we dive deeper into modern kitchen remodels featuring custom cabinets and built-ins, we move past the basic aesthetics of cabinet door styles and start dealing with the physics of a hardworking kitchen. The biggest mistake I see advanced DIYers and even seasoned contractors make is treating kitchen design like a puzzle of beautiful boxes rather than an engineered ecosystem. If you do not plan for the physical forces of heat, moisture, and daily mechanical strain, your high-end investment will degrade years before its time.
Why most standard storage advice actually limits your efficiency
Everyone in the design world tells you to pack your kitchen with as many deep drawers as humanly possible. While I love deep drawer bases for pots and pans, relying on them exclusively is a major trap. The hidden nuance of high-end storage design is that drawers force a vertical reach-down motion that can actually slow you down when handling daily-use, high-frequency cooking oils, spices, or heavy countertop appliances. In my custom builds, I advocate for a balanced, hybrid layout. For instance, why your kitchen island should have a mix of drawers and doors comes down to the ergonomic reality of how we prep meals. Heavy, tall items belong behind doors on pull-out shelves with heavy-duty slides, not buried in a deep drawer where they can tip over and roll around.
Another critical detail that people overlook is the structural load of specialized pull-outs. I have seen beautiful, custom pantry pull-outs fail within six months because the installer used standard side-mount slides instead of floor-mounted, heavy-duty hardware. If you are tackle-mounting these heavy units yourself, you need to understand the structural physics involved. I highly recommend reading my guide on the secret to installing heavy pantry pull-outs solo to ensure your hardware can support the weight of fifty canned goods without sagging or warping the cabinet box.
Should you prioritize adjustable or fixed shelving in a premium walk-in pantry?
This is a highly debated topic among custom cabinet makers. Many high-end designers push for fixed, built-in wooden cubbies because they look cleaner and more substantial in architectural photos. However, this is a classic case of form over function. Our storage needs change over time. If you lock yourself into fixed heights, you will eventually find yourself unable to store a taller cereal box or a new stand mixer. According to a study on residential spatial efficiency by the National Kitchen & Bath Association, rigid storage configurations account for nearly 40% of wasted vertical space in modern pantry designs. For a pantry that evolves with your lifestyle, you should read about why your pantry shelves should be adjustable, not fixed. It allows you to maximize every single inch of vertical real estate as your family’s needs change.
Ultimately, designing a kitchen that stands the test of time requires looking beyond the trends and understanding how materials interact under pressure. Have you ever fallen into the trap of choosing pretty, rigid cabinet layouts only to find they did not fit your actual cookware? Let me know in the comments below—I would love to hear your experiences and help you brainstorm a better solution for your next project!
Once you move past the initial installation hurdles, the focus shifts to long-term survival. A high-end kitchen is a massive financial commitment, yet many homeowners assume that once the contractor packs up their tools, the work is completely done. Over the next decade, your custom cabinets will experience thousands of opening and closing cycles, constant exposure to ambient humidity, and the occasional heavy-handed slam. Keeping everything working like new requires a proactive maintenance strategy and a few specialized tools that I keep in my own personal arsenal.
How do I maintain custom cabinet hardware and wooden surfaces over time?
I do not rely on standard supermarket spray cleaners or generic multi-surface oils. In my workshop, I keep two specific products on hand at all times: a high-quality beeswax paste for conditioning wood cabinet faces and a dry PTFE spray lubricant for the moving hardware. Standard wet lubricants like WD-40 actually attract kitchen dust and aerosolized grease, creating a grinding paste that destroys ball-bearing drawer slides over time. A dry lubricant keeps things moving silently without attracting debris.
For the wood itself, keeping the finish intact is your primary defense against moisture damage. Steam from dishwashers and cooktops can easily penetrate hairline cracks in paint or lacquer. If you notice sticky residue near your cooking zone, you must address it gently. I recommend reading about how to remove grease from wood cabinets without ruining the finish to avoid stripping away the protective topcoat. Additionally, seasonal temperature shifts can cause wooden components to swell or contract, leading to sluggish drawer performance. If you experience this in colder months, it is helpful to look into the real cost to paint kitchen cabinets and why diy often fails to understand how professional finishes stand up to environmental stress, or check out my troubleshooting guide on the real reason your soft-close drawers are sluggish in winter.
Looking toward the future, the integration of smart technology into custom cabinetry is moving fast. We are already seeing a shift toward motorized touch-to-open cabinet systems and integrated interior lighting that activates via proximity sensors. According to the Blum Technical Research Group, touch-activated servo-drive mechanisms are projected to become standard in over 40% of premium kitchen renovations by 2030. To stay ahead of the curve, I highly recommend starting with a simple project: try installing a high-quality dry PTFE lubricant on your busiest drawer glides this weekend to experience the dramatic difference professional-grade maintenance makes.
When we look beyond the dust of demolition, we realize that a kitchen is not just a collection of beautiful surfaces—it is a high-functioning workspace that must withstand intense daily use. Protecting that investment requires blending mechanical safety with clever, long-term organization.
The Hardest Lessons I Learned Managing High-Heat Zones and Custom Cabinet Layouts
Through years of designing and retrofitting luxury spaces, I have discovered that the most critical vulnerabilities are completely hidden from plain sight. Here are the lightbulb moments that changed how I approach every single build:
- Heat and steam are silent cabinet killers: Installing appliances without thinking about thermal transition can ruin your finish in months. If you are fitting cabinets snug against your range, you absolutely must read about why you need a heat shield next to your oven cabinets.
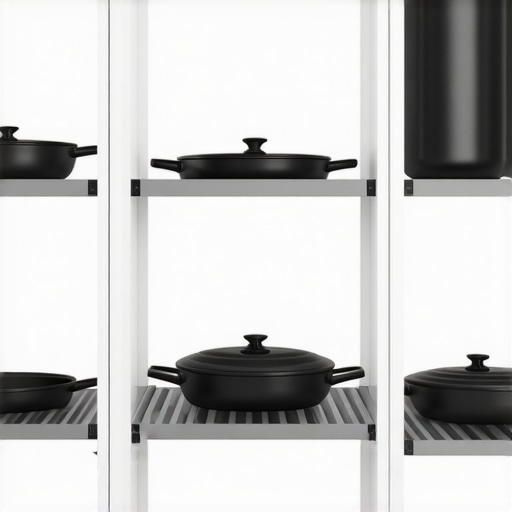
- Wire shelving is a design compromise you will regret: While wire racks are cheap, they allow small spice bottles to tip over and collect dust. To keep your pantry functional, understand why your pantry should have solid shelves not wire.
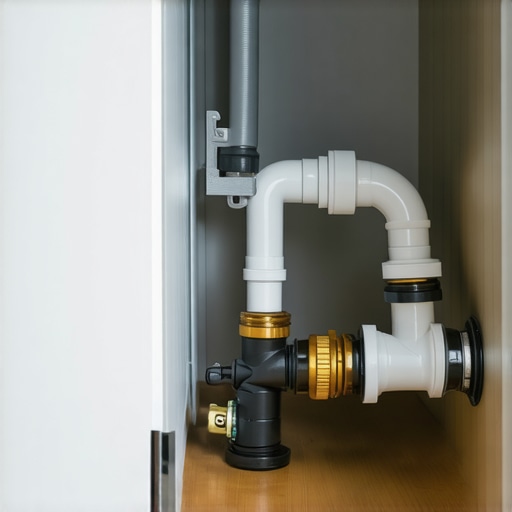
- Under-sink moisture is inevitable: Whether it is a slow drip from a garbage disposal or a leaky pipe, untreated wood bases will rot. Using a robust plywood construction instead of particle board is your first line of defense.
My Essential Maintenance and Protection Toolkit
To keep a kitchen performing beautifully for decades, you need more than a standard screwdriver set. Here are the specific items I recommend to every homeowner post-renovation:
- Dry PTFE Lubricant Spray: Unlike WD-40, dry Teflon spray will not attract aerosolized kitchen grease, making it the perfect solution for keeping heavy pantry glides and soft-close drawer runners moving silently.
- Solid Silicone Drip Trays: Placed under your kitchen sink, these trays catch leaks before they destroy your cabinet box.
- A High-Quality Beeswax Conditioning Polish: This creates a natural barrier on stained wood doors, protecting the grain from airborne moisture and grease buildup.
Don’t Be Afraid to Build for the Future
Your kitchen should evolve with your lifestyle, and setting a firm foundation today prevents expensive retrofits tomorrow. Whether you are finalizing a full layout or simply swapping out hardware, focusing on the physics of your kitchen ensures your home remains both safe and incredibly beautiful. If you are ready to make your layout truly functional, consider how planning ahead can elevate your entire home during modern kitchen remodels featuring custom cabinets and built-ins.
Have you ever run into unexpected wear or steam damage on your wooden hood or upper cabinets? Let me know in the comments below—I would love to help you troubleshoot your setup!