How to Remove Grease from Wood Cabinets Without Ruining the Finish
The sun hit my kitchen cabinets at just the right angle last Tuesday, and I nearly dropped my coffee mug. There it was: a thick, hazy, textured film of grease that had seemingly materialized overnight. My beautiful custom cabinets looked like they’d been through a war zone. I felt that instant pang of homeowner guilt. How had I let it get this bad? It was a visceral reminder that the kitchen is a workspace first and a showroom second. The grease from every sautéed onion and Sunday morning bacon strip had quietly bonded to the wood. I knew I had to act, but I also knew that one wrong move could turn a cleaning task into a costly repair.
Stop Scrubbing Before You Scuff Your Wood Finish
In my early days of DIY, I made a massive mistake that I still cringe about. I attacked a greasy spot with a stiff nylon brush and a concentrated industrial degreaser. I thought I was being thorough. Instead, I stripped the top layer of the clear coat, leaving a permanent dull spot that stood out like a sore thumb. It’s the same reason white cabinets turn yellow over time—improper cleaning or neglect leads to a breakdown of the finish itself. According to the Architectural Woodwork Institute (AWI), finishes are designed to be chemically resistant, but they aren’t invincible to high-pH cleaners or abrasive friction. I’ve spent years figuring out how to balance being tough on grease while remaining gentle on wood, and today I’m going to share the exact method I use. We aren’t just wiping surfaces; we are preserving the heart of your kitchen remodel. Whether you have sleek modern slabs or intricate custom cabinets, the goal is the same: dissolve the oil without dissolving the protection.
Does a gentle cleaner really stand a chance against old grease?
I know what you’re thinking. You’ve probably tried a damp rag and it did absolutely nothing but move the slime around. You might be tempted to reach for the steel wool. Don’t do it. The secret isn’t in the strength of the chemical, but in the chemistry of the emulsification. Have you ever felt like you were winning the battle against grime only to realize you were actually scratching your expensive doors? If you’ve ever accidentally cleaned the shine right off your wood, you know how heartbreaking that discovery is. When you’re planning a modern kitchen remodel, you focus so much on the aesthetics that maintenance feels like an afterthought. But trust me, knowing how to handle a mandatory de-greasing step is the difference between cabinets that look new for twenty years and cabinets that need replacing in five. Let’s get into the way to fix this mess without a single trip to the hardware store for sandpaper.
The Gentle Emulsification Method That Actually Works
The first thing you need to understand is that we aren’t trying to blast the grease off; we are trying to invite it to leave. I always reach for a bucket of warm—not boiling—water and a high-quality grease-cutting dish soap. I swear by the blue Dawn. Think of the soap molecules as tiny magnets; one end loves water, and the other end is obsessed with oil. When they meet that sticky film on your custom cabinets, they hook into the grease and lift it away from the wood fibers without disrupting the finish underneath. I remember helping a neighbor prep her home for a modern kitchen remodel, and she was adamant about using a heavy-duty vinegar solution. I had to step in. Vinegar is an acid, and while it is a household hero for windows, it can slowly eat through the protective clear coat of your woodwork, eventually leading to the same structural breakdown seen when white cabinets turn yellow. 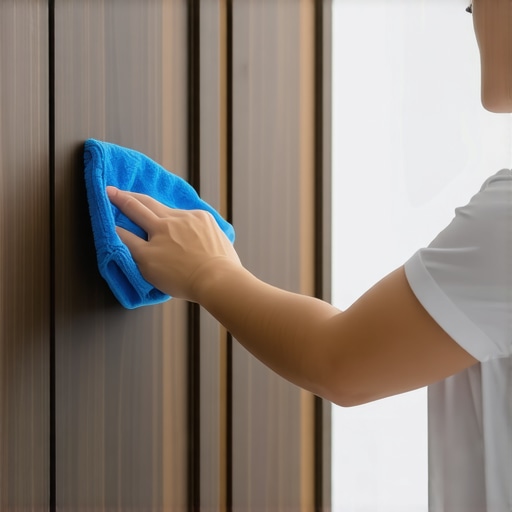
Keep the Moisture Away From the Seams
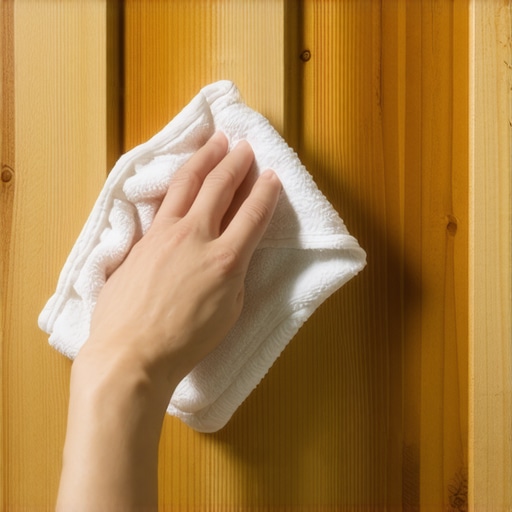
Wood is essentially a sponge with a memory. If you introduce too much liquid, especially around the edges of the door panels or the joints of your 36-inch base cabinets, you are inviting disaster. I once got over-zealous cleaning a set of intricate shaker doors and let the soapy water sit in the recessed grooves for too long. By the time I finished the last cabinet, the first one had already begun to swell at the seams. This is a primary reason why your cabinet doors are warping; once the wood fibers expand from moisture, they rarely return to their original, perfectly flat state. The trick is to dip your microfiber cloth, wring it out until it is barely damp, and work in small, focused sections.
The Power of the Two-Cloth System
The most common mistake people make is stopping once the grease is gone. If you leave a damp, soapy residue on the wood, you’ve essentially created a new, sticky primer for the next round of airborne cooking oils. You need to treat this with the same precision you would use if you were learning the best way to sand between coats of cabinet paint. Use one cloth for the soapy wipe and a second, bone-dry microfiber cloth to buff the surface immediately after. This removes the emulsified oil and the soap film simultaneously, leaving the wood glowing rather than sticky. To make this easier, I recommend you organize your cleaning supplies under the sink with a dedicated cabinet caddy. Having your soft cloths and mild soap ready to go prevents the temptation to grab a harsh, all-purpose cleaner that could ruin your investment in a single afternoon.
Stop Chasing Cabinet Volume and Focus on Flow
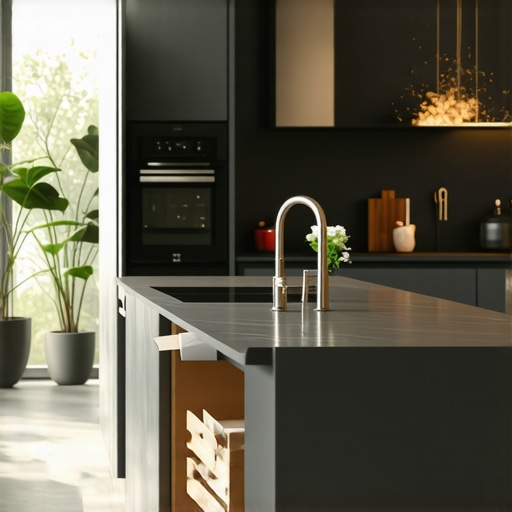
I’ve seen it a hundred times: a homeowner thinks a successful kitchen remodel means covering every square inch of wall with wood. They assume that more boxes equal more utility. But here is the contrarian truth—over-stuffing your walls often leads to a cramped, dark, and inefficient workspace. Expert designers know that the best custom cabinets are the ones that provide breathing room. If you don’t understand why your kitchen remodel should start with the floor plan, you’ll end up with ‘dead zones’ where you can’t even open the dishwasher while someone is at the sink. The National Kitchen & Bath Association (NKBA) emphasizes the ‘Work Triangle’ for a reason; if your storage disrupts the path between the stove, sink, and fridge, no amount of cabinet space will save your sanity. Ensuring why your kitchen layout should follow the work triangle rule is the secret to a high-functioning kitchen.
Why do high-end remodels often fail the ‘Blind Corner’ test?
Many people think a Lazy Susan is the peak of corner storage. In my experience, they are a ‘trap’ for lost lids and heavy appliances that inevitably fall off the back into a dark abyss. I always suggest you skip the lazy susan and install lemans pull outs instead. These systems bring the contents to you, rather than making you dive into a cavern. It’s the difference between having a stylish kitchen overhaul and a truly functional one. 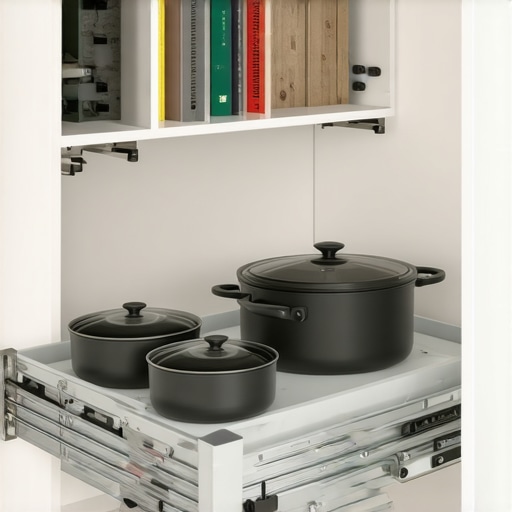
The Wire Shelving Trap You Need to Avoid
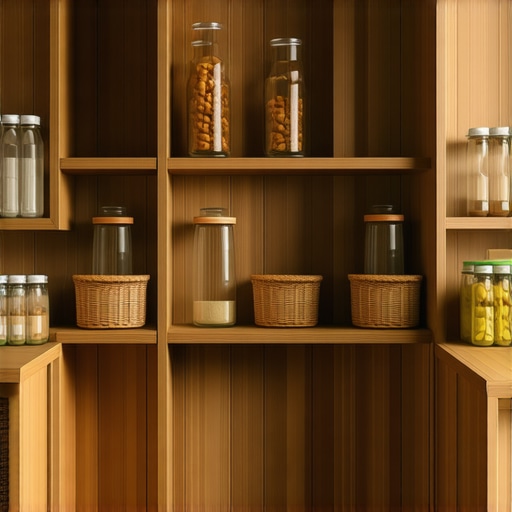
The ‘Oops’ factor in many builds often comes down to the small, overlooked specs like shelving materials. People choose wire because it’s standard or cost-effective, but the reality of why your pantry should have solid shelves not wire becomes clear the first time a bottle of balsamic tips over. It drips through three levels of snacks, ruining your inventory and creating a sticky mess that’s impossible to clean off wire. If you are investing in modern kitchen remodels featuring custom cabinets and built-ins, don’t undercut your success with flimsy interior specs. Instead, look into smart storage ideas to maximize your kitchen space this year that focus on durability and solid surfaces. Have you ever fallen into this trap of over-designing and under-planning? Let me know in the comments.
The One Tool You Are Likely Using Wrong on Your Hinges
Once you have mastered the art of de-greasing, the next hurdle is mechanical. I cannot tell you how many times I have walked into a home where the owner complained of sagging doors, only to find they had stripped the adjustment screws by using a standard Phillips-head screwdriver. If you have high-end European hardware, you likely need a Pozidriv #2. Using the wrong bit is why your drawer fronts are crooked and the adjuster screw fix becomes a necessity later. I personally keep a dedicated ‘Kitchen Kit’ in my organized supplies under the sink that includes this specific driver. It allows for micro-adjustments that keep everything perfectly square without damaging the metal. According to technical documentation from Blum’s Dynamic Space research, a single kitchen drawer is opened and closed roughly 80 times a day. Over a decade, that is nearly 300,000 cycles. If your alignment is off by even a fraction of an inch, you are putting uneven stress on the wood. This is a major reason why your custom cabinets should feature dovetail drawers; the interlocking joints can handle the vibration and weight shifts that flimsy stapled boxes simply cannot. 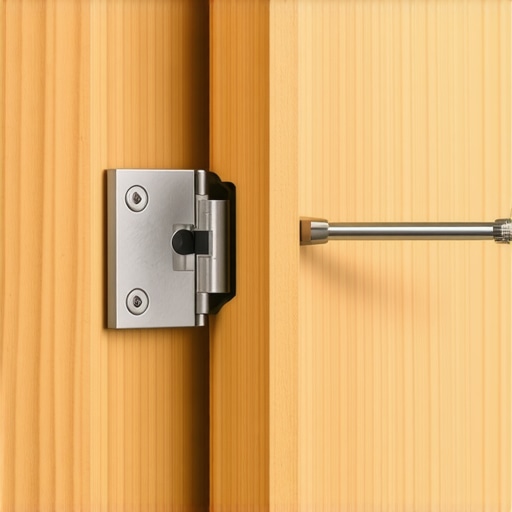
Keep the Motion Smooth Without Attracting More Dust
We often focus on the wood, but the moving parts are what make a modern kitchen remodel feel premium. If you notice the real reason your soft close drawers are sluggish in winter, don’t reach for WD-40. That is a solvent, not a long-term lubricant, and it will actually attract more kitchen grease and dust, gumming up the bearings. Instead, I use a dry PTFE (Teflon) spray. It goes on wet to penetrate the tracks but dries into a slick, non-sticky film. This keeps your built-ins and storage hacks operating silently. Speaking of silence, if your doors are still banging, you should look into the secret to a quiet kitchen dampening your cabinet doors. In the near future, I expect we will see ‘smart hinges’ with integrated sensors that alert your phone when a hinge is under too much tension or when the humidity inside the cabinet reaches levels that might cause warping.
How do I maintain my custom storage solutions over the long haul?
To keep your custom cabinets and innovative storage working like new, I recommend a ‘Quarterly Hinge Check.’ Every three months, grab your Pozidriv and ensure the mounting screws are snug. Wood naturally expands and contracts with the seasons, which can slowly back screws out of their holes. If your walls are shifting, you might need to learn how to align cabinet doors when your walls are out of plumb. It takes five minutes but prevents the doors from rubbing against the frames, which preserves the paint or stain finish for decades. Don’t wait for a door to fall off; take five minutes this weekend to tighten your hardware and apply a dry lubricant to your most-used drawers. Your kitchen’s longevity depends on these small, consistent actions.
Hard Lessons I Learned While Scrubbing My Way to Success
Over the years, I’ve realized that the real secret to maintaining custom cabinets isn’t found in a bottle of expensive, toxic polish. It’s in the habit. One of my biggest lightbulb moments was realizing that steam is actually grease’s best friend; every time you boil pasta without a vent fan, you are basically helping cooking oils bond to your wood. I also learned that the ‘smell of clean’ often hides the ‘smell of damage’—if your cleaner smells like a laboratory, it’s probably too harsh for your finish. Finally, I stopped viewing maintenance as a chore and started seeing it as an insurance policy for my custom cabinets as a game changer in your kitchen remodel journey. Small, frequent efforts prevent the need for a total refinishing job down the road.
#IMAGE_PLACEHOLDER_E#
The Gear That Keeps My Kitchen Looking Like a Showroom
If you want to treat your woodwork with the respect it deserves, you need the right tools in your arsenal. First, I never start a deep clean without a stack of high-gsm microfiber cloths. They lift particles rather than dragging them across the finish like old rags. Second, for those tricky alignment issues, I keep a dedicated Pozidriv #2 driver in my organized supplies under the sink. It’s the only way to ensure you don’t strip your hardware. Third, I highly recommend keeping a simple spray bottle of pH-neutral soap nearby; it’s the safest way to select storage solutions for a perfect kitchen upgrade that stay beautiful for decades. Lastly, a dry PTFE spray is essential for keeping those drawer glides moving silently without attracting dust.
Give Your Kitchen the Care It Deserves
Your kitchen isn’t just a place to prep meals; it’s a significant investment in your home’s value and your daily happiness. By taking these small, intentional steps to de-grease and maintain your custom cabinets, you are preserving a workspace that will serve your family for a generation. Don’t let the fear of a little grime stop you from enjoying your kitchen to the fullest. Whether you are mid-remodel or just trying to save your current doors, remember that patience and the right technique always win. What’s the one grease spot or sticky cabinet door that’s been driving you crazy lately? Let me know in the comments below!