Why Most People Install Their Cabinet Handles Too Low
It was a Tuesday evening, the paint on my brand-new shaker cabinets was finally dry, and I was holding a shiny brass pull in my hand. I wanted perfection. I measured from the bottom of the door, lined up my template, and drilled. But the second I stepped back, my stomach sank. The handle looked like it was sliding off the face of the earth. It was way too low, forcing me to slouch just to open a cup of coffee. That painful mistake taught me that standard installation guidelines often ignore how our bodies actually interact with our spaces. If you are planning a kitchen remodel, placing your hardware is not just a final detail—it is the ultimate touchpoint of your daily routine. Today, we are going to fix this silent design killer before you drill a single irreversible hole in your gorgeous doors.
The Ergonomic Traps of Standard Hardware Placement
Many homeowners rely blindly on standard builder templates that place hardware exactly in the corner of the door frame. While mathematically balanced on paper, this ignores human ergonomics and visual weight. When you install handles too low on your base cabinets, you force your body into a constant, subtle micro-bend every single time you reach for a spoon. Over years, those extra inches of reaching add up to real physical discomfort. According to ergonomic design standards published by the Ergonomics Center, repetitive bending at awkward angles is a leading cause of mild home-utility strain. Beyond the physical toll, low-slung hardware makes your entire ceiling height look shorter by dragging the eye downward. If you want a tall, elegant look, you need to think about how your hardware guides the eye upward, much like how we design custom cabinets to maximize vertical space.
Is standard placement actually ruining your kitchen design?
You might be wondering if a couple of inches really make that much of a difference. The truth is, misplaced hardware acts like a bad frame on a beautiful painting. It distracts from your investment. I made the mistake of rushing this process early in my DIY journey because I thought a template could do no wrong. It did. If you want your space to feel truly high-end, you have to break away from generic templates and learn the best way to drill holes for new cabinet hardware using real-world sightlines. Have you ever stood back from your completed project only to feel like something was subtly ‘off’ with your cabinet doors? Tell me about your hardware struggles in the comments below, and let us get ready to elevate your kitchen’s functionality.
The 2-Inch Golden Rule for Base and Upper Cabinet Knobs
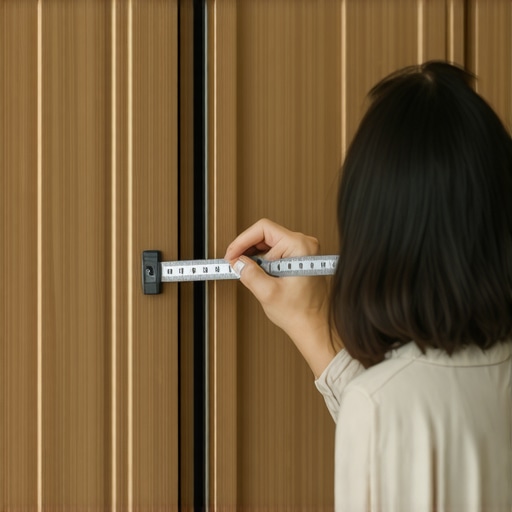
To save your back and keep your hands moving naturally, you have to throw away standard templates and focus on the two-inch golden rule. When installing knobs or small pulls on doors, the sweet spot for the screw hole is exactly two inches from the vertical edge of the door frame, and two inches from the horizontal frame line. On upper cabinets, this means shifting the hardware down toward the bottom corner so you do not have to stretch. On base cabinets, it means raising it two inches above the top corner so you can reach it without bending your knees. I remember a chaotic Friday night trying to finish a massive kitchen remodel in a tight timeline. I rushed through one row of uppers without measuring this offset, and every time the homeowner reached for a drinking glass, their knuckles clipped the wood frame. Moving that hardware up by just an inch resolved the clearance issue and felt vastly more natural. If you want a kitchen that functions seamlessly, aligning your touchpoints with your actual body movements is just as important as choosing storage solutions that reduce clutter.
How to Adjust Pulls for Tall Custom Doors
If your design features tall pantry doors or integrated built-ins, standard spacing will make the hardware look like a tiny speck on a massive wall of wood. For doors taller than 36 inches, standard knob placement looks completely disproportionate. Instead, you want to use longer pulls and align the bottom of the pull with the top of your base cabinet hardware line to maintain a cohesive horizontal sightline across the room. This approach is highly effective when designing modern kitchen remodels featuring custom cabinets and built-ins. It ties the disparate elements of your room together visually while ensuring you do not have to reach above your head to open a tall utility closet.
Getting the Perfect Centerline on Deep Drawers
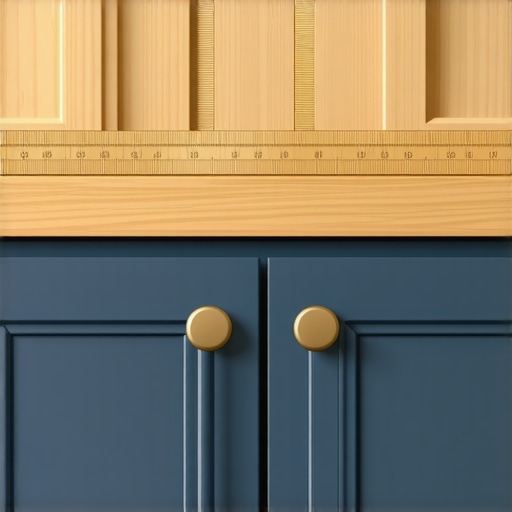
Drawer hardware placement is where most homeowners make critical alignment mistakes. While a single centering template works for standard five-inch shallow drawers, deep pots-and-pans drawers require a different physical approach. If you center a heavy pull exactly in the middle of a 15-inch deep drawer front, you will find yourself bending down much too far to pull it open. This is especially true for custom heavy-duty setups where you have optimized the best way to organize a deep drawer for pots and pans. To avoid unnecessary strain, place the hardware in the top third of the drawer face rather than the dead center. This keeps the handle within natural arm’s reach while still looking balanced to the eye.
The Case for Double Pulls on Wide Drawers
If your drawers are wider than 24 inches, you should consider using two pulls instead of one, or upgrading to a single, extra-long pull. If you use a single small handle on a wide drawer, you will naturally pull it from one side, which puts uneven pressure on your drawer glides. Over time, this twists the box out of alignment and ruins the soft-close mechanisms. When utilizing innovative storage solutions like wide pull-outs, division of physical force is key. To position double pulls perfectly, divide the drawer front into four equal vertical sections, and place your hardware on the first and third quarter lines. This ensures balanced weight distribution every single time you pull open a heavily loaded drawer.
Why Aesthetic-First Hardware Layouts Are a Trap
Many designers will tell you to select your cabinet hardware based purely on the style of your home, prioritizing visual symmetry over physical interaction. In my experience, this is a recipe for daily frustration. Everyone says to align everything perfectly with the center of the panel, but focusing solely on visual math ignores how we actually use a kitchen. When you prioritize a theoretical grid over natural hand placement, you end up with handles that feel awkward to grab and pull-outs that require extra physical effort to open. If you are planning a kitchen remodel, you must design for physical touch first. For example, placing a heavy pull too low on a deep pantry door forces an unnatural stoop every time you reach for ingredients. If you want to avoid these subtle design errors, you need to understand how human scale interacts with your joinery.
The biggest ‘oops’ factor I see with DIYers and even seasoned contractors is ignoring the physical torque exerted on wide drawers. Installing a single, standard-sized pull in the middle of a heavy, 30-inch drawer is a major trap. Over time, pulling that drawer from one side will twist the drawer box, stripping the soft-close glides and causing the face to hang crooked. A study by the Ergonomics Center highlights that repetitive, asymmetrical pulling forces can degrade mechanical components and cause physical strain over time. To solve this, you should instead opt for double pulls or a single, extra-long pull that distributes the weight evenly. Understanding these mechanical details is crucial when planning innovative storage solutions that need to stand up to decades of daily wear and tear. Have you ever fallen into this trap? Let me know in the comments below.
How do you handle hardware placement on asymmetric cabinet doors?
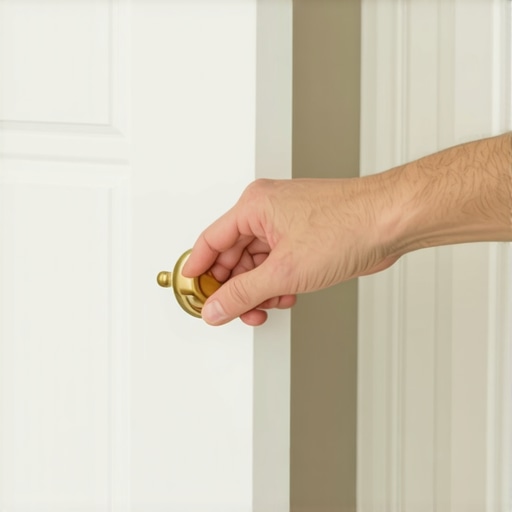
When dealing with complex layouts, such as corner cabinets or spice pull-outs, standard rules quickly fall apart. If you try to force a traditional horizontal or vertical alignment on an asymmetrical door, it will instantly look unbalanced to the eye. For these unique setups, I recommend holding the hardware in place with double-sided tape and stepping back to check the sightlines from different angles of the room. This hands-on approach is especially helpful when organizing complex systems like built-ins and storage hacks for a sleek, functional kitchen, where the physical scale of the doors can vary widely. Taking the extra time to mock up your hardware placement prevents permanent drilling mistakes and ensures your finished space looks incredibly cohesive.
My Essential Tool Kit for Zero-Mistake Installation
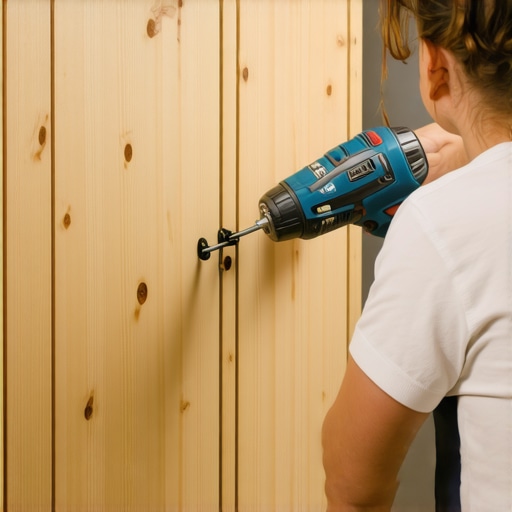
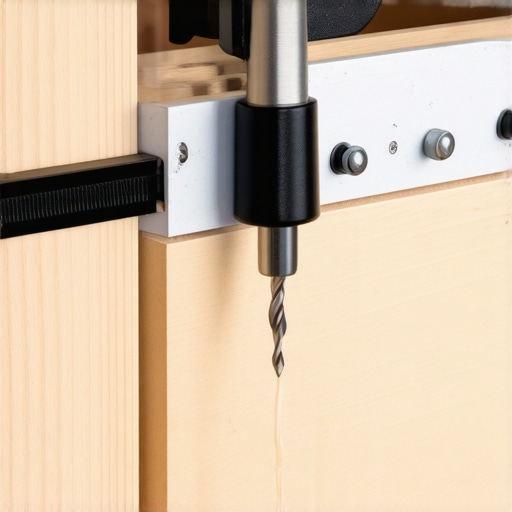
To get flawless results without losing your mind, you need to step away from the cheap plastic templates that come in big-box hardware kits. When I am working on a complex kitchen remodel, my absolute secret weapon is an all-metal, adjustable cabinet hardware jig. Specifically, I swear by the True Position Tools Cabinet Hardware Jig. It is machined aluminum, features case-hardened steel bushings, and allows you to lock in your vertical and horizontal dimensions so they cannot budge. I used this exact jig on a massive installation featuring high-end custom cabinets, drilling over eighty pulls in a single afternoon without a single misaligned hole. If you try to hand-measure each door with a tape measure, human error will eventually catch up to you. An all-metal jig ensures that the eighty-first drawer matches the very first. Additionally, I always keep a pair of quick-release face-frame clamps and a block of scrap wood handy. Clamping a scrap block tightly to the back of the door where the drill bit exits is the absolute best way to prevent blow-outs and splintering in expensive wood veneers.
How do I maintain my cabinet hardware over time?
Even the most expensive solid brass or matte black pulls will eventually start to wobble if they are not maintained. To prevent your investment from literally coming loose in your hands, you need to understand how to fix a loose cabinet knob that wont stay tight using a tiny drop of thread-locking compound. Standard cabinet screws can slowly back out due to the constant vibrations of doors slamming shut. I make it a habit to check my hardware screws every six months during deep cleaning. If you have matte black finishes, skip the harsh chemical sprays which can strip the protective finish, and learn how to clean matte black cabinet hardware without scratches using a simple damp microfiber cloth. For those high-traffic zones where kids slam heavy pot-and-pan drawers daily, consider retrofitting your setups with smart storage ideas to maximize your kitchen space this year, incorporating high-quality soft-close dampers that limit the physical shock transferred to your hardware fasteners.
Smart Hardware Tech Is Coming Faster Than You Think
Looking ahead, the next major shift in kitchen design is going to blend physical hardware with integrated home automation. We are already beginning to see mechanical touch-to-open latches integrated directly with high-end modern kitchen remodels featuring custom cabinets and built-ins, reducing the physical need for traditional pulls altogether. In the next few years, expect to see micro-sensored cabinet doors that open with simple hand gestures, especially useful when your hands are covered in raw cookie dough. However, until those smart systems become standard budget items, relying on precision mechanical installations remains your best bet. If you are ready to elevate your kitchen’s usability, I highly encourage you to try the top-third placement rule on your deepest drawers this weekend—it is a physical game-changer that your lower back will thank you for.
What Experts Won’t Tell You About Cabinet Hardware and Daily Stress Points
In my years of designing and installing custom joinery, I have discovered that the tiny, unwritten details are what truly separate a frustrating DIY job from a master-level finish. Many generic templates assume you will stand perfectly upright and always pull your drawers from the dead center with equal pressure. In reality, we are usually rushing, balancing a hot pan in one hand, and kicking a drawer shut with a foot. Here are the core insights I have gathered from fixing hundreds of misaligned doors:
- The pocket-snagging nightmare is real: Before you fall in love with those beautiful, open-ended T-bar pulls, think about your clothing. It is worth learning how to choose cabinet pulls that wont catch on your pockets. There is nothing more frustrating than having your favorite jeans snagged and ripped as you walk past a base cabinet.
- Do not trust the factory screws: Most premium hardware comes with cheap, breakable breakaway screws. Invest a few dollars in high-quality, solid-steel cabinet installation screws to ensure your heavy-duty handles stay anchored forever.
- Weight placement dictating your design: If you have built out deep storage solutions, heavy pots and pans will naturally drag the drawer boxes downward over time. Aligning your handles slightly higher on the face counteracts this physical sag visually and physically.
The Ultimate Tool Chest for Flawless Hardware Mounting
To pull off a professional-grade installation, you need a few specialized items in your toolbox that go far beyond a standard tape measure and hand drill. Over the years, these four items have saved me from ruined drawer fronts and crooked cabinet lines:
- True Position Cabinet Hardware Jig: This heavy-duty, all-aluminum tool is the gold standard for setting your margins. You lock in your dimensions once, and you can rapidly repeat the exact same drill placement across dozens of doors.
- Low-Tack Painters Tape: Always apply a layer of blue painters tape over your drill marks before boring into the wood. Not only does this let you draw clear pencil lines without marking up the wood veneer, but it also minimizes surface splintering as the drill bit enters.
- A Snappy self-centering hinge bit: For installing the tiny backplate screws, a spring-loaded self-centering drill bit guarantees your pilot holes are perfectly dead-center every single time.
- Thread-locking adhesive: A tiny drop of medium-strength thread locker on your mounting screws will permanently stop the cycle of wobbly knobs, especially on high-traffic trash pull-outs and heavy pantry doors.
Bring Your Perfect Kitchen Layout to Life
Now that you have the ergonomic formulas and the exact physical tools needed for success, it is time to take action. Do not let the fear of drilling into your beautiful new woodwork hold you back. By taking your time, creating physical mockups with double-sided tape, and utilizing the right guide tools, you can easily achieve the same flawless, high-end results as a master cabinetmaker. This meticulous attention to physical touchpoints is the final step in executing successful innovative storage solutions for modern kitchen remodels, creating a space that feels completely tailored to your lifestyle. Have you ever made an accidental drilling mistake on your cabinet doors, or are you currently planning your first hardware layout? Let me know in the comments below, and let’s troubleshoot your setup together!