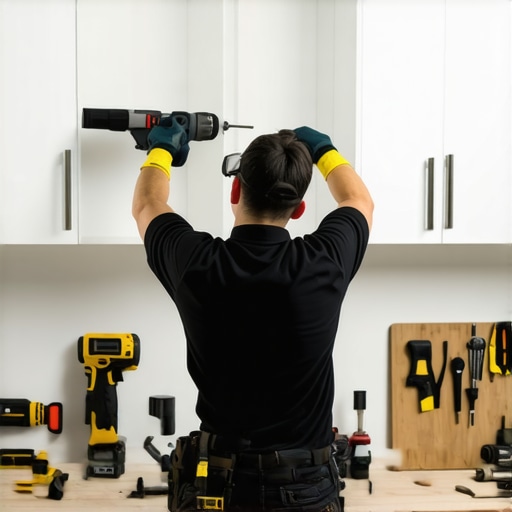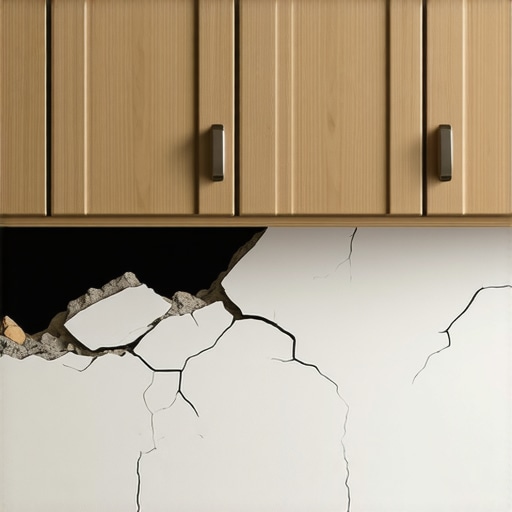
Why Your Wall Cabinets Are Pulling Away from the Drywall
I was standing in my kitchen, coffee in hand, when I heard that low, gut-wrenching groan from above the fridge. It wasn’t the house settling. It was my custom cabinets slowly surrendering to gravity. A tiny gap had appeared at the ceiling, and for a second, I felt like my whole kitchen remodel was about to come crashing down. If you’ve ever walked into your kitchen and felt like the storage units were literally leaning toward you, you aren’t alone. It’s a terrifying sight, especially when you realize how much weight is hanging over your expensive countertops. Today, I’m going to tell you exactly why those boxes are failing and how we can pin them back where they belong before a catastrophe happens. Have you noticed a hairline crack in your crown molding or a widening gap at the wall lately? [image_placeholder]
Gravity Always Wins When the Fasteners Fail
Most people think cabinets stay up because of some magic woodworking secret or super-strength adhesive. In reality, it’s all about the mechanical connection to the wall studs. Years ago, I made a massive blunder that still haunts me. I was installing some built-ins and used standard drywall screws because that is what I had left in the truck. I figured a screw is a screw, right? Wrong. Drywall screws are incredibly brittle; they are designed to hold paper and gypsum, not 80 pounds of porcelain plates. According to the Kitchen Cabinet Manufacturers Association (KCMA), a standard wall cabinet is expected to support 15 pounds per square foot, but that rating is only valid if the cabinet is properly anchored. If your installer missed the studs or used the wrong hardware, that weight becomes a ticking time bomb. This is exactly why your cabinet boxes should be stapled glued and screwed for maximum durability from the start.
Is this just a cosmetic crack or a total structural failure?
It is easy to tell yourself that the house is just settling or that the caulk is drying out. I tried to tell myself that too, until I could fit a nickel into the gap. You have to be realistic: if that gap is wider at the top than the bottom, your cabinets are pivoting away from the wall. We will eventually look at why your base cabinets should be secured with 3-inch rugged screws, but for uppers, the stakes are much higher because there is no floor to catch them. If you see the cabinet back staying flat against the wall while the box moves, or if the whole unit is moving as one, you need to act now.
Empty the Shelves Before Gravity Does It for You
The very first thing you must do is lighten the load. It sounds obvious, but I have seen homeowners try to drive new screws into a cabinet still packed with heavy stoneware. That is a recipe for a fractured cabinet back. I once spent three hours in a cramped kitchen in McCordsville trying to save a unit while the homeowner’s antique plate collection teetered on the edge. It was nerve-wracking. Clear everything out so you can see the structural back of the box. This is also the perfect time to evaluate your internal layout and consider how innovative storage solutions can help you redistribute weight more evenly once the repair is finished. If the cabinet is already pulling away, even the weight of the doors can be too much, so pop those hinges and set the doors aside.
Hunt Down the Wall Studs Like a Pro
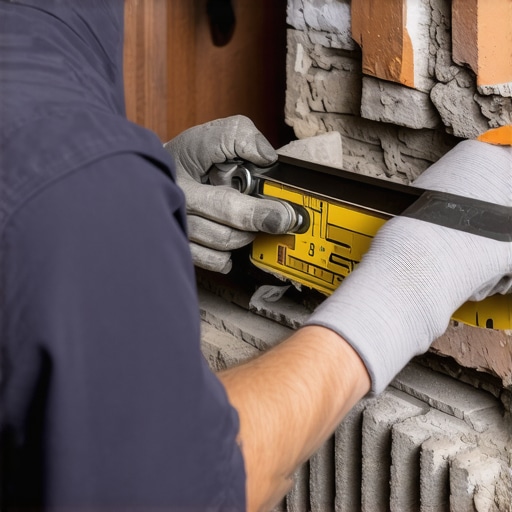
You cannot guess where the wood is. Use a high-quality stud finder or the old-school magnet trick to find the drywall screws in the studs. Mark these locations with painter’s tape on the wall above and below the cabinet. A common reason for failure is that the original installer only hit the edge of a stud, and over time, the wood stripped out. If you find that your cabinets were only held up by drywall anchors, you are lucky they stayed up this long. When you are planning a kitchen remodel, ensuring your contractor maps these studs before the first box goes up is critical for long-term safety.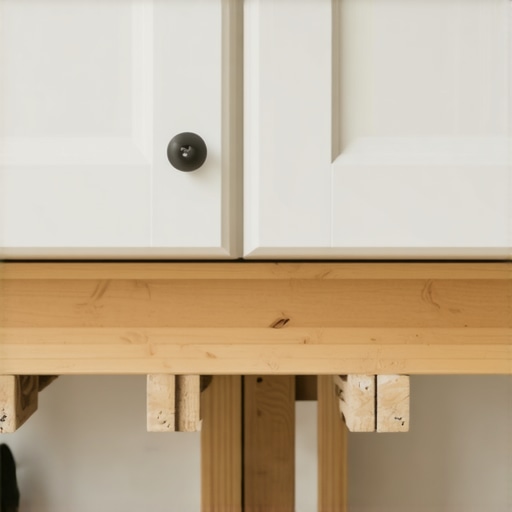
Build a T-Brace to Take the Pressure Off
You cannot hold a cabinet in place and screw it in at the same time. You need a mechanical helper. I usually build a simple T-brace out of scrap 2x4s. It looks like a giant wooden letter ‘T’ that sits on your countertop and wedges under the bottom rail of the cabinet. I remember one job where I forgot my brace and had to use a car jack and a stack of 2x2s just to keep a heavy pantry from sliding. It was messy, but it proved that you need upward pressure to close the gap at the ceiling before you start driving fasteners. Once that gap is closed, you can see exactly where the cabinet needs to be pinned.
Why 3-Inch Rugged Screws are Non-Negotiable
This is where the magic happens. Do not reach for those shiny gold wood screws. You need cabinet-specific screws with a built-in washer head, often called ‘rugged’ or ‘structural’ screws. These have massive shear strength. We have discussed why your base cabinets should be secured with 3-inch rugged screws, and the same logic applies to uppers, only with more urgency. Drive these through the thick hanging rail at the top and bottom of the cabinet back directly into the center of the studs. If you are worried about the box itself falling apart, remember why your cabinet boxes should be stapled glued and screwed during the manufacturing process; if the box is built poorly, even the best wall screws won’t save it. Avoid the cabinet screw mistake that causes heavy drawers to fail by ensuring your screws are long enough to penetrate at least 1.5 inches into the solid wall framing.Let’s dig deeper into a secret that most salespeople won’t tell you: price doesn’t equate to structural integrity. Most homeowners believe that the term ‘custom’ is a synonym for ‘indestructible,’ but in my two decades of tearing down old kitchens, I’ve found that isn’t always the case. The biggest myth in the industry is that the wood species on the front determines the lifespan of the unit. It doesn’t. You can have the most beautiful walnut faces, but if the box construction is subpar, you’re just putting a tuxedo on a fragile skeleton. I’ve seen high-end kitchens where the boxes were made of thin, stapled particle board that failed the moment a pipe leaked. This is why plywood box construction still beats particle board for kitchens every single time. It provides the mechanical grip that keeps those heavy-duty screws from stripping out over time.
Is your cabinet back actually designed for the weight you’re adding?
This is the advanced question you need to ask your cabinet maker before signing a contract. The ‘hanging rail’—that strip of wood at the top of the cabinet where the screws go—is the single most important part of the entire unit. A common ‘oops’ factor I see is installers over-tightening structural screws into a rail that is too thin, which actually fractures the wood fibers and weakens the connection before a single plate is put inside. According to the Architectural Woodwork Institute (AWI) standards, a premium-grade cabinet requires a minimum back thickness or a dedicated solid wood hanging rail to ensure structural integrity. If you’re planning a transformative kitchen with custom cabinets, verify that they aren’t just using a 1/4-inch back with no reinforcement.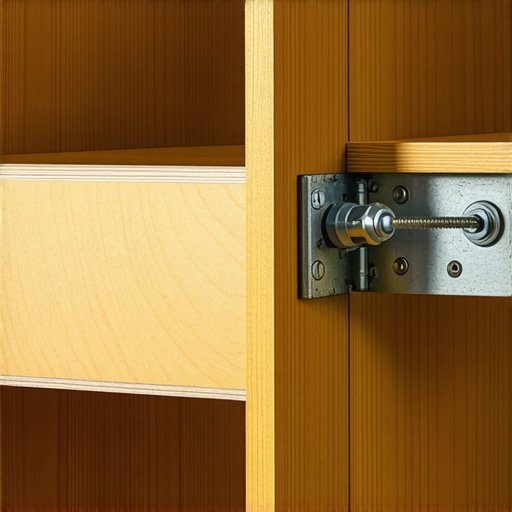
The Hidden Trap of Interior Finishes
Many people think that staining the inside of a cabinet to match the outside is the mark of high-end work. I’ll tell you right now: I disagree. In my experience, a pre-finished maple interior is better than melamine or site-finished stain. Why? Because it’s more durable, easier to clean, and it allows you to see the actual joinery. You want to see that the box is robust enough for innovative storage solutions like heavy pull-outs. Another nuance is the support for tall units. To avoid a structural bow, remember why every tall pantry needs a fixed middle support shelf to tie the gables together. If you skip this, the sides can splay over time, and the shelves will eventually collapse under the weight of heavy cans. Have you ever fallen into this trap? Let me know in the comments.
Get a Self-Leveling Laser if You Value Your Sanity
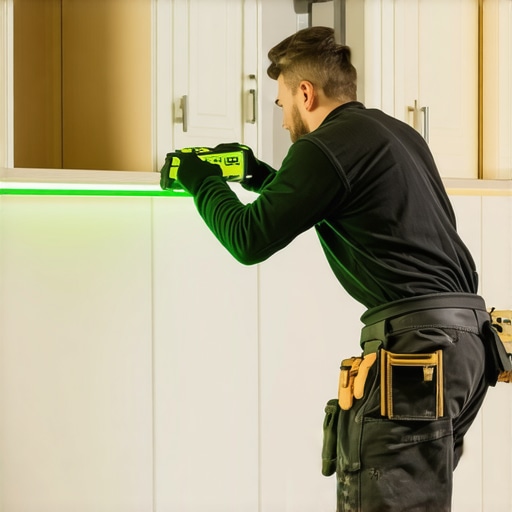
If you want your modern kitchen remodels featuring custom cabinets and built-ins to look like a million bucks, you have to move beyond the plastic bubble level. I personally use a self-leveling green beam laser level for every single installation and check-up. Why? Because floors and ceilings are never straight, especially in older homes. A laser provides a consistent benchmark across the entire room, allowing you to see exactly where a cabinet has shifted even a fraction of an inch. When you are performing a stylish kitchen overhaul, precision is the difference between a high-end finish and a DIY disaster. I have stood in kitchens where the homeowner insisted everything was level, only to turn on the laser and show them a half-inch slope that was causing their doors to bind. If you are serious about DIY maintenance, this is the one investment that pays for itself in avoided frustration.
How do I keep my doors from rubbing and sagging over time?
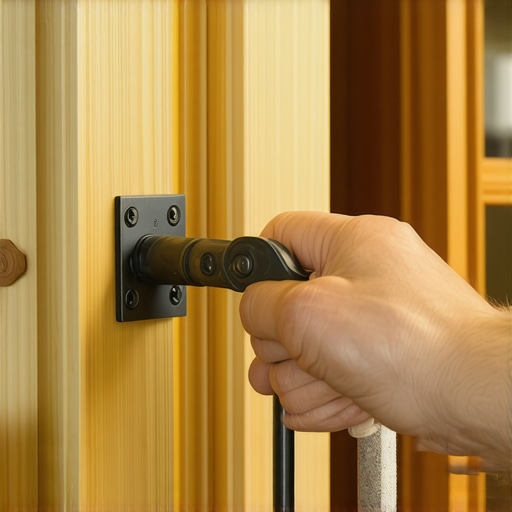
The reality of wood is that it moves, and houses settle. You might notice that after a few seasons, your perfectly aligned doors now have a wonky reveal. This is where you need to master how to adjust european hinges for a perfectly level door reveal. Most modern custom cabinets use a 3-way adjustable hinge. With just a Phillips head screwdriver, you can move the door up, down, left, right, in, or out. It’s a 5-minute hinge adjustment for fixing wonky cabinet reveals that saves you from the annoyance of a door that won’t stay closed. According to technical documentation from Blum, their premium soft-close hinges are tested for 200,000 cycles, but their performance depends entirely on the door being hung plumb. If the hinge is under lateral tension because the door is crooked, the internal dampening mechanism will wear out prematurely.
Don’t Let Gritty Slides Ruin Your Workflow
Drawer slides are the unsung heroes of any kitchen remodel journey, but they are also the first to fail if you ignore them. If you start hearing a crunching sound, you need to understand the real reason your cabinet drawer slides are grinding. Usually, it is a mix of sawdust from the installation and kitchen grease that has turned into a primitive abrasive paste. I recommend a dry PTFE lubricant—never use heavy oils or WD-40, which just attract more gunk. Knowing why your soft-close slides grind and the quick lubrication fix can extend the life of your hardware by a decade. Also, when you are adding hardware to your new boxes, use the one tool you need for perfectly aligned cabinet knobs—a dedicated aluminum jig—to ensure you aren’t drilling holes that are slightly off, which puts uneven weight on the drawer faces.
The Future of Smart Cabinetry and Load Management
Looking ahead to 2025 and beyond, we are seeing a massive shift toward integrated load sensors and motorized assists in innovative storage solutions. Imagine a cabinet that can alert your phone if the weight on a shelf exceeds its safety rating or if the internal humidity is high enough to warp the wood. We are already seeing touch-to-open technology becoming standard in high-end builds. My prediction? The next decade will move away from manual adjustments entirely, with hinges that auto-calibrate their tension based on the door’s weight. For now, your best bet is to stay proactive. I want you to go to your kitchen right now and check the three most-used cabinets. If the gap between the doors isn’t perfectly parallel, take five minutes to adjust those hinge screws. It’s a small win that keeps your kitchen feeling brand new.
Hard Truths from the Cabinet Trenches
After twenty years of fixing what gravity tried to reclaim, I’ve realized that structural integrity isn’t just a checklist; it’s a mindset. One of the biggest shifts in my career was understanding why plywood box construction still beats particle board for kitchens. Plywood doesn’t just look better; it holds a screw with a tenacity that saves your countertops from a sudden impact. I also learned that every tall pantry needs a fixed middle support shelf to prevent the gables from bowing, which is a structural detail many discount installers overlook. Finally, never underestimate the power of the right fastener. I’ve seen 80-pound units held up by hope and 1-inch nails; don’t be that person. Always verify why your base cabinets should be secured with 3-inch rugged screws before the heavy stone goes on top.
The Gear That Saved My Kitchen
If you are tackling a repair or starting a fresh custom cabinets project, there are three things I never leave the shop without. First, GRK Structural Screws: they have a built-in washer head that won’t pull through the back of your cabinet. Second, a Bosch GLL-30 Self-Leveling Laser. It’s affordable and ensures that your cabinets are level across the entire room, not just level to the floor. Third, the KCMA Quality Standards manual. It’s the “bible” of cabinet durability and tells you exactly what a well-built box should be able to handle before it fails.#IMAGE_PLACEHOLDER_E#
Build a Kitchen That Stands the Test of Time
Repairing or installing custom cabinets can feel like a daunting task, but remember that you are building the foundation of your home’s most important room. Don’t rush the anchoring process. Take the time to find the studs, use the right screws, and check your levels twice. If you’re ever unsure about the structural safety of your units, don’t hesitate to reach out for a professional opinion through our contact page. Your peace of mind—and your expensive dishes—are worth the extra effort.
Have you ever discovered a cabinet gap that made your heart skip a beat? Let me know in the comments below!