The Hidden Pet Bowl Drawer That Keeps Your Floor Clean
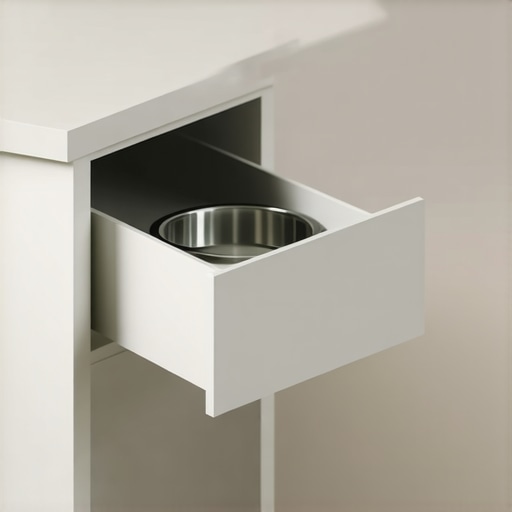
It hit me one chaotic morning as I scrambled to get breakfast on the table. There I was, dodging stray pet bowls and crumb-laden mats, feeling like I was in an obstacle course rather than my own kitchen. That frustrating moment sparked a lightbulb moment—what if there was a smarter, neater way to keep my floor spotless without constantly cleaning up after my pets? I dove into research, trial and error, and finally found a game-changer: a cleverly hidden pet bowl drawer.
The Answer to Pet Chaos and Floor Messes
Honestly, I used to dread mealtime chaos. The constant clang of bowls, the scattered food, and the pet footprints tracking crumbs everywhere—it was enough to make anyone lose their mind. I knew I wasn’t alone in this struggle, and I realized many pet owners face the same messy dilemma. That’s when I discovered the magic of built-in storage solutions that quietly hide pet bowls out of sight while keeping everything accessible. It’s like giving your kitchen a sleek makeover and saying goodbye to cluttered floors at the same time.
Is a Hidden Pet Bowl Drawer Really Worth the Hype?
If you’re skeptical, I get it. It sounds too good to be true, right? I also made the mistake early on of assuming that a special drawer couldn’t possibly hold enough bowls or that it would be complicated to install. Turns out, I was wrong. The secret lies in choosing the right design and placement—something I learned from modern storage ideas that maximize space without sacrificing style. The initial investment may seem like a splurge, but considering the time saved sweeping up pet food and crumbs, it’s well worth it.
So today, I want to share how you can transform your kitchen and regain that tidy, floor-free space. Trust me, your back and your home will thank you. Ready to get started? First, let’s look at some common mistakes that might be keeping your floors perpetually messy—and how to avoid them.
Design a Custom Built-In Solution
Start by measuring the size of your pet’s bowls and the available space in your kitchen or laundry area. For example, I measured my dog’s bowls—each was 6 inches in diameter—and identified an unused section under the countertop near the feeding area. To replicate this, sketch a plan for a shallow drawer-sized compartment that fits within the existing cabinetry or creates a seamless extension. I found that working with a skilled cabinet maker allowed me to customize the dimensions precisely, ensuring the bowls sit snugly without moving around.
Select High-Quality Materials and Hardware
Choose moisture-resistant plywood or hardwood for durability, especially if the space might get wet or messy. Opt for quiet soft-close slides to ensure smooth operation and reduce noise during use. When I installed my drawer, I selected full-extension soft-close slides, which allowed me to access everything easily and quietly. This minimizes disturbance, particularly if you have active pets or young children. For inspiration, check out modern storage ideas.
Prepare for a Smooth Installation Process
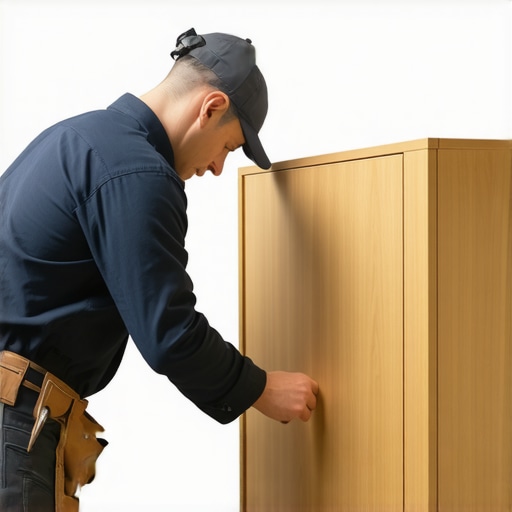
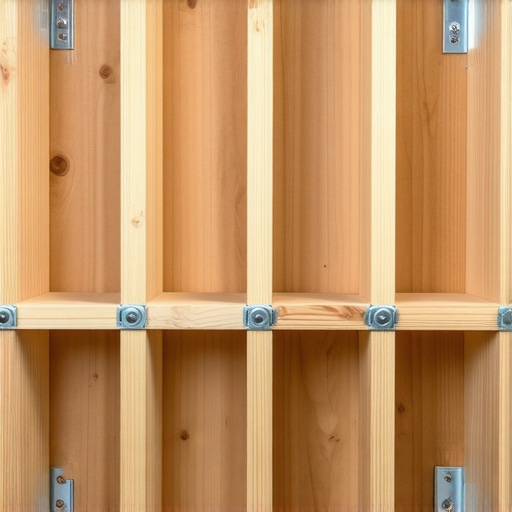
Before starting, turn off your power and double-check all measurements. Remove any existing cabinet shelves or dividers that might interfere with the new built-in. Use a level and a drill to create precise mounting points, ensuring the drawer will glide smoothly. I made a mistake initially by installing the slides slightly uneven, which caused the drawer to stick. I corrected this by re-aligning the slides and tightening all screws. Patience during this step guarantees a professional, sturdy result. For detailed guidance on precise cabinet work, visit cabinet reinforcement tips.
Seal and Finish for a Seamless Look
Once installed, sand any rough edges and apply a finish that matches your cabinetry—be it paint, stain, or clear coat. Proper sealing prevents moisture damage and keeps the compartment hygienic. I painted mine with a waterproof primer to ensure easy cleaning, which makes food and water spills easier to handle. Adding a small, removable tray inside the drawer can simplify cleaning further, especially if your pet tends to spill or drag food. This step can elevate the overall functionality and aesthetic of your built-in pet station. For more on finishing techniques, see storage hacks for kitchens.
Optimize Accessibility and Maintenance
Position the drawer at a comfortable height—ideally waist level—to make feeding and cleaning effortless. Regularly check that the slides and compartment remain clean and functioning smoothly, lubricating or tightening hardware as needed. When I noticed the drawer started sticking after a year, I cleaned the slides with a silicone spray and tightened the screws, restoring its quiet glide. This proactive maintenance keeps the solution long-lasting and functional. To explore more ideas about durable storage, visit space-maximizing storage tips.
While it’s tempting to see built-in storage solutions and custom cabinets as simple upgrades, many homeowners fall into common traps that can undermine their effectiveness. One widespread misconception is believing that all built-ins are one-size-fits-all; in reality, each space demands nuanced planning to avoid wasted effort and cost. For example, a popular approach is to simply add extra shelving without considering access ergonomics or future flexibility, which often leads to clutter and frustration over time. Advanced remodels require a deep understanding of spatial dynamics and user flow, something I delve into in my articles on modern kitchen remodels.
What Makes a Storage Solution Truly Smart?
Maintaining your custom-built storage solutions and cabinets is essential to ensure their longevity and continued functionality. Personally, I rely on a few key tools and practices that keep my kitchen organized and my investments protected over time. One of my go-to tools is a high-quality electric multi-tool, which I use not only for gentle adjustments but also for precise, subtle repairs in tight spots. Its versatility allows me to sand, carve, and cut small parts without needing multiple devices, saving both time and space in my toolkit.
For cleaning, I swear by microfiber cloths combined with a gentle, pH-neutral cleaner—this combination effectively maintains the finish of my built-in cabinets and prevents the buildup of dirt and grime. Regular maintenance with these tools prevents scratches and preserves the aesthetic appeal of high-end materials like natural walnut or matte black hardware.
Another essential aspect of upkeep involves software or digital tools that help plan and track maintenance schedules. I use a simple project management app set to remind me every three months to inspect hardware, lubricate slides, and reseal surfaces. This proactive approach minimizes the risk of long-term damage and keeps my storage solutions performing flawlessly. As innovations in home technology grow, integrating smart sensors that monitor humidity and detect moisture can further enhance maintenance, especially in kitchens where steam and spills are common.
Looking ahead, I predict a rise in AI-powered maintenance systems that automatically alert homeowners about potential issues before they become costly repairs. Embracing these advancements now can save you time and money down the road, ensuring your custom cabinets and storage solutions continually add value to your home.
So, how do I maintain built-ins and storage solutions over time?
The key is regular, targeted inspections and using the right tools for each part of your system. Lubricate slides once a year with a silicone-based spray to keep drawers gliding smoothly. Check hinges and handle screws periodically—loose hardware can cause misalignments or damage. For example, I learned that avoiding over-tightening hinges prevents warping, especially in humid areas, which you can read about in expert hardware advice.
Don’t forget to clean and reseal wooden surfaces every couple of years with a high-quality, low-VOC finish. This maintains the surface integrity against moisture and temperature fluctuations, particularly crucial for projects like kitchen cabinets and built-ins.
Try implementing one advanced tip today—adjust your drawer slides using a professional-grade laser level. Accurate alignment ensures smooth operation and prevents uneven wear. A simple investment in this precise calibration tool can keep your storage solutions functioning perfectly for years to come. Remember, investing a little extra time in maintenance now pays off with better performance and longer-lasting beauty in your custom kitchen setup.
The Hardest Lesson I Learned About Built-Ins and Kitchen Remodels
One of the most eye-opening moments was realizing that well-planned custom storage isn’t just about aesthetics; it can transform your entire kitchen workflow and ease daily frustrations. I mistakenly thought that installing standard shelves would suffice, but I soon learned that tailored solutions, like that hidden pet bowl drawer, make a tangible difference in maintaining a clean, clutter-free space.
Small Changes, Big Impact: My Unexpected Breakthroughs
Choosing the right hardware and materials might seem minor, but these decisions dramatically influence durability and ease of use. For me, upgrading to soft-close slides and moisture-resistant finishes extended the lifespan of my built-ins and kept maintenance minimal. These details, though subtle, preserve the beauty and functionality over time.
What I Wish I Knew Before Starting My Kitchen Remodel
Patience and precise measurement are your best friends. Early on, rushing installation led to uneven slides and misaligned drawers. Taking the time to plan and double-check each step, like using a laser level for alignment, saved me hassle later. Trusting the process and embracing expert advice from resources such as seamless remaster techniques proved invaluable.
My Favorite Tools for Maintaining and Upgrading Built-Ins
Investing in quality tools like a versatile electric multi-tool and microfiber cloths transformed my maintenance routine. Regular inspections, lubricating slides annually, and resealing wooden surfaces with low-VOC finishes kept my kitchen looking new and functioning flawlessly. I also rely on digital reminders to stay proactive—embracing these habits ensures longevity and continued satisfaction with my remodels.
The Essence of Perfect Custom Storage
Ultimately, understanding that each space demands nuance was a game-changer. It’s tempting to adopt cookie-cutter solutions, but tailoring your built-ins—whether for pet bowls, spice racks, or corner cabinets—maximizes efficiency and beauty. Remember, great design considers both form and function, elevating your entire home. Want to explore more expert tips? Check out modern kitchen remodel ideas for inspiration.
Creating a Storage Solution That Lasts and Works for You
By investing in thoughtful planning, quality materials, and proper maintenance, your built-ins can serve your home beautifully for decades. Don’t be discouraged by initial challenges—every tweak and adjustment brings your vision closer to reality. Dive into this process with confidence, knowing that tailored, high-quality storage is a wise, long-term investment. What’s one custom storage idea you’re excited to implement in your home? Share your thoughts below!