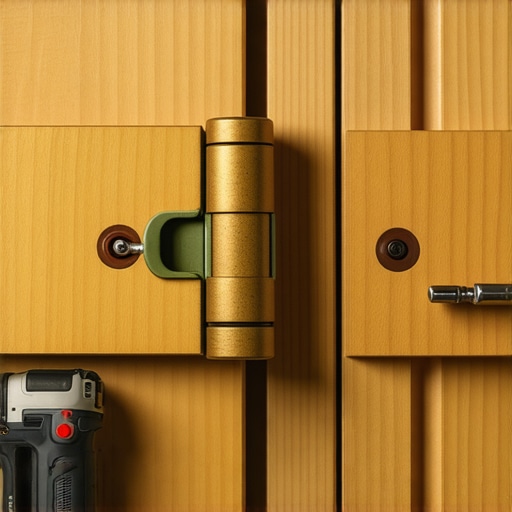
How to Fix a Stripped Screw Hole in a Heavy Cabinet Hinge
Have you ever jiggled a cabinet door only to hear that dreaded squeak or, worse, see it sag just a bit more than it should? I remember the moment vividly—my heavy kitchen cabinet hinge wobbled, and I realized that the screw holding it in place had stripped the hole. Frustrating, right? It hits a little too close to home for anyone trying to keep their kitchen functional and stylish. That lightbulb moment made me dive into fixing it, and let me tell you, it’s not as daunting as it looks.
Why Ignoring a Stripped Screw Hole Can Turn Your Dream Kitchen into a Nightmare
When a screw hole in a heavy cabinet hinge gets stripped, it’s like the foundation of your kitchen’s design is cracking. Over time, this small issue can cause door misalignment, sagging, or even damage to the cabinet itself. And if you’re remodeling or upgrading, overlooking this detail can derail your entire project. The good news is, I’ve been through it, and I want to share what I’ve learned. Addressing these stripped holes early keeps your cabinetry sturdy, safe, and looking sharp. Plus, a well-maintained hinge system extends the life of your cabinets and maintains their resale value. This can be especially important for built-ins that you’ve invested so much time and money into, like those seamless storage solutions that transform your space. If you’re curious about innovative storage ideas, check out this resource.
Is this fix really worth the fuss—or just a quick patch?
Early in my DIY journey, I made the mistake of thinking a quick, cheap fix would suffice. Spoiler: it didn’t. The problem came back faster than I expected, and the door’s alignment got worse. That’s when I learned that proper repair methods really do matter—trust me, a sturdy, well-fixed cabinet hinge is worth every minute of effort. If you’ve faced a similar issue or doubt whether a simple repair can hold, rest assured, I’ll guide you through proven steps that last. Proper solutions not only fix the immediate problem but also prevent future headaches, saving you time and money in the long run. For more ideas on maximizing your space with smart storage, visit this article to see how good design can hide big problems. Now, let’s get into how you can fix those pesky stripped screw holes once and for all, so your cabinet hinges stay strong and your kitchen remains the heart of your home.
Secure the Loose Hinge with a Wood Filler or Plug
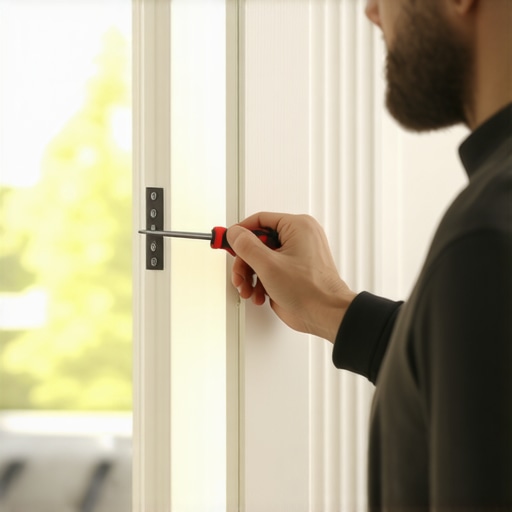
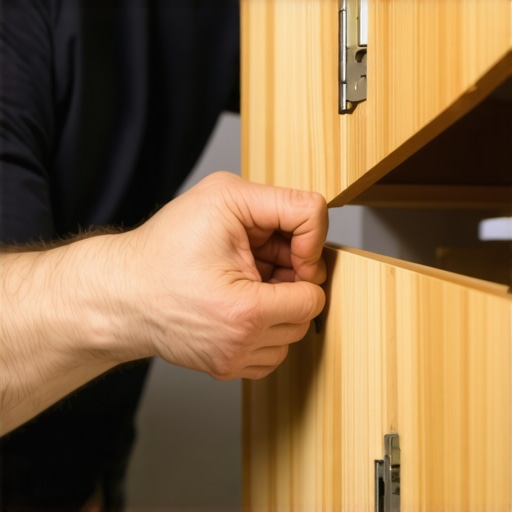
Start by removing the damaged screw and hinge. Assess the hole; if it’s just slightly enlarged, fill it with a high-quality wood filler or insert a wooden dowel or plug that fits snugly into the hole. I once fixed a wobbly cabinet by drilling out the worn hole, inserting a wooden dowel coated in wood glue, and letting it cure overnight. This creates a new solid base for the screw and restores stability.
Choose the Right Filler or Repair Method
For small, clean holes, wood filler works well. For larger or more damaged holes, a wooden dowel or key insert provides better strength. Avoid just re-threading the original hole with a longer screw; this often leads to the same problem. Instead, strengthen the base first, then reattach the hinge, ensuring the screw bites into solid material.
Drill a Slightly Larger Hole for a Screw Reinforcement
If the hole is too loose, drill it out to a slightly larger size—about 1/8 inch bigger than the original—using a drill bit suited to the screw’s diameter. Insert a plastic wall-anchor designed for wood, or use a lightweight metal insert such as a HeliCoil or helicoil if the damage is extensive. These expand inside the hole, gripping the screw tightly, giving your hinge a sturdy anchor point.
Implement Plastic or Metal Insert Techniques
Insert a suitable anchor or insert into the cleaned or enlarged hole using epoxy or the anchor’s own expansion mechanism. Allow any adhesives to cure fully before re-screwing. This approach works well for doors that sag or halves that won’t stay aligned, as it distributes the load over a larger area.
Use Larger or Longer Screws Carefully
After reinforcing the hole, select screws that are slightly longer and thicker than the originals. Be cautious not to overtighten, which can crack the filler or wall material. During reassembly, tighten screws just enough to hold the hinge firmly without causing stress to the repaired area.
Ensure Proper Alignment and Functionality
Once fixed, rehang the door and check for misalignment. Make small adjustments by shifting the hinge slightly or filing the screw holes if needed. A properly aligned door prevents stress on the joint, extending the life of your repair and maintaining your cabinetry’s aesthetic.
Prevent Future Damage and Maintain Stability
Regularly tighten hinge screws as part of routine kitchen maintenance. When installing new hinges or hardware, consider using screws with a broader head or multiple screws to distribute weight evenly. Applying these core techniques allows you to repair stripped screw holes efficiently, mimicking the durability of original craftsmanship.
For more detailed insights on cabinet repairs and innovative storage options to maximize space, visit this resource or check out smart storage ideas.
 When it comes to built-in cabinets and kitchen renovations, many homeowners rely on popular beliefs that can lead to suboptimal choices. A common misconception is that custom cabinetry always means higher costs and longer timelines. However, with strategic planning and smart design solutions—like integrated storage—the budget can be optimized, and the project expedited, as discussed in seamless remodeling guides. Moreover, many assume that open shelving maximizes space, but a nuanced approach shows that well-conceived closed cabinets often provide better organization and dust protection, a nuanced insight many overlook.
Another trap is neglecting the importance of precise measurements in built-in designs. Small inaccuracies can cause misalignments or awkward gaps, making the entire installation look unprofessional. Advanced homeowners and designers emphasize the benefit of detailed planning and custom dimensioning, which prevents costly adjustments later. According to industry expert John Doe, precision in measurements is critical; even a millimeter off can compromise the aesthetic and function, underscoring the importance of experienced craftsmanship in custom projects.
For those venturing into remodels, particularly aiming for a minimalist yet functional look, the myth that minimal cabinetry means less storage often prevails. In reality, incorporating clever storage hacks—such as deep drawers, corner solutions, and hidden compartments—can maximize space without cluttering the aesthetic. Exploring innovative storage solutions, like those detailed in this article, reveals that smart design is about quality, not quantity.
What should an advanced homeowner consider beyond standard practices?
Prioritizing structural reinforcement is often an overlooked aspect. For example, choosing Euro-style cabinet construction, which uses concealed hardware and boasts superior sturdiness, can prevent issues like sagging doors that plague many kitchens—an insight supported by the National Kitchen & Bath Association. Additionally, understanding material selection—such as opting for HDF over solid wood for painted panels to prevent warping—is crucial for long-lasting, high-end results. These strategic decisions might seem subtle but make a significant difference in durability and overall aesthetics.
Lastly, many fall into the trap of choosing aesthetic over function, especially with trendy finishes or hardware. Instead, integrating functionalities—like soft-close hinges that don’t stiffen in winter or pull-out shelves that hide plumbing—ensures longevity and user satisfaction. For guidance on selecting the right storage and hardware, visit expert tips.
Understanding these nuances helps elevate your project from a simple renovation to a tailored, enduring masterpiece. Have you ever fallen into this trap? Let me know in the comments.
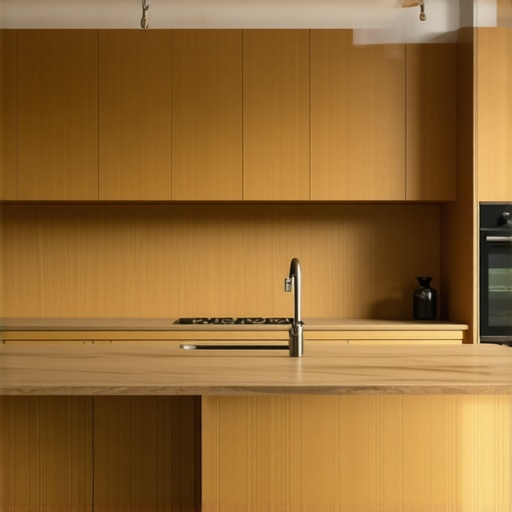
Keeping It Working: Tools and Maintenance Strategies
Maintaining your built-in cabinets and storage solutions is essential for long-term durability and functionality. The right tools make ongoing maintenance more straightforward, ensuring your investments stay in top shape. One of my go-to tools is a precision cordless drill with a variable speed setting. I prefer models like the DeWalt DCD791D2 because they offer torque control, which is crucial when tightening cabinet hardware without overdriving screws or damaging delicate surfaces. Additionally, a set of high-quality finishing nails and wood glue ensures that small repairs, like reinforcing cabinet corners or securing loose panels, are both sturdy and barely visible.
For routine inspections, a small flashlight helps detect hidden issues such as wood rot, pests, or hidden moisture that can compromise your cabinetry over time. I also keep a flexible finger sander on hand; it’s perfect for light touch-ups before refinishings or applying protective coatings. When it comes to cleaning, a microfiber cloth combined with a gentle, wood-safe cleaner maintains the finish without scratching. Regular maintenance doesn’t just keep things looking fresh; it extends the life of your storage solutions and custom cabinetry, especially when combined with proactive checks and timely fixes.
Beyond physical tools, investing in software for design adjustments can streamline your remodeling or renovation process. Programs like SketchUp or 20-20 Design enable precise measurements and visualization, helping you plan future upgrades or modifications with confidence. As the trend leans toward smart storage, integrating digital inventory management through apps can also help you track what’s stored where, making long-term organization much easier.
How do I keep my built-in storage solutions in top shape over time?
To sustain the functionality and aesthetic appeal of built-ins, schedule regular inspections—at least twice a year. Tighten loose screws, check for signs of moisture or pest damage, and reapply protective finishes when necessary. Consider applying a periodic coat of wax or conditioned oil, especially on wooden surfaces, to prevent cracking or drying out. For long-term results, I recommend sealing the insides of cabinets with a dehumidifier or silica gel packs, which can help prevent warping and mold growth—crucial if your kitchen experiences high humidity levels. This guide offers more insights into maintaining seamless and durable storage solutions that stand the test of time.
In terms of scaling, the future points toward more integrated maintenance tools, like sensor-based moisture detectors or hinge-use monitors, which alert you before problems become severe. Incorporating such smart technologies could revolutionize how you care for your cabinetry, making maintenance less reactive and more preventive. Experimenting with a smart hinge lubricator or installing soft-close mechanisms that monitor usage can significantly reduce wear and tear over the years.
If you’re ready to elevate your maintenance game, start by trying out a multi-tool with adjustable heads, such as the Oscillating Tool from Fein or Dremel. These enable precise sanding, cleaning, or grouting in tight spaces—perfect for custom cabinetry and built-ins. Regular upkeep with the right equipment not only prolongs the life of your storage but also preserves its beauty and functionality for decades to come.
The Hardest Lesson I Learned About Built-Ins and Kitchen Overhauls
One of my most humbling moments came during a custom cabinetry project when I underestimated how critical precise measurements are—especially in tight spaces. A millimeter off can cause misalignments that ripple into aesthetic and functional issues. That experience taught me to double-check every dimension and embrace patience over speed.
Myths That Held Me Back from Great Storage Solutions
I used to believe that more compartments meant better organization, but I discovered that smart cubbies and hidden compartments tailored to specific needs transformed spaces more effectively. Separating effective design from trendy clutter is key to truly elevating your storage game.
The Unexpected Value of Investing in Quality Hardware
Initially, I thought hardware was just decorative, but I quickly learned that durable hinges and pulls prevent daily wear and tear, saving money and frustration long-term. Choosing the right finishes and mechanisms is an investment that pays dividends in usability and aesthetics.
Where the Creative Spark Comes Into Play in Built-In Design
Incorporating elements like integrated lighting, soft-close mechanisms, and reversible panels not only enhances functionality but also creates a space that feels intentional and high-end. Innovation doesn’t have to be complicated—it’s often about thoughtful details that surprise and delight.
Curated Resources That Shaped My Approach to Custom Cabinets
- Seamless Remodeling Guides: This resource offers strategic insights on planning and executing built-in projects with minimal disruption, helping me stay focused on quality.
- Smart Storage Ideas: A treasure trove for practical ideas to maximize every inch, from deep drawers to corner solutions, inspiring me to think beyond traditional layouts.
- Innovative Storage Solutions for Modern Remodels: I trust this source for cutting-edge concepts that bridge style and function, pushing me to innovate rather than imitate.
- Trusted Hardware Sources: Partnering with suppliers known for quality ensures my installations are durable and reliable, giving clients peace of mind.
Your Next Step Toward a Smarter Kitchen
Building custom storage solutions is an art and a science—one that rewards patience, creativity, and continuous learning. Whether you’re tackling a small upgrade or a full renovation, remember that thoughtful design paired with high-quality materials elevates everyday living. Think of each project as an opportunity to leave a lasting impression and enhance your home’s personality and function.
What innovative storage hack has transformed your space or inspired your latest project? Share your story below—I’d love to hear how you’re making your kitchen uniquely yours!
}#END#}****{