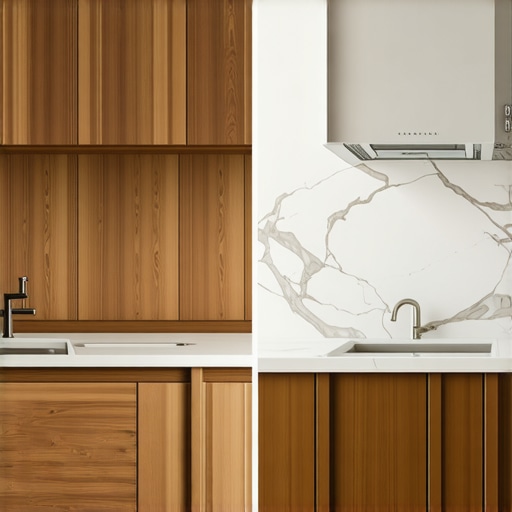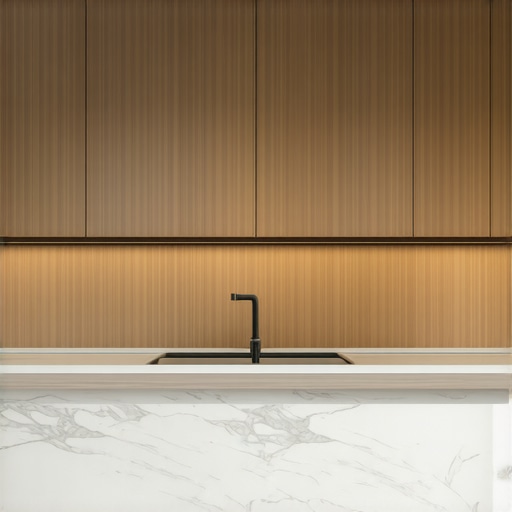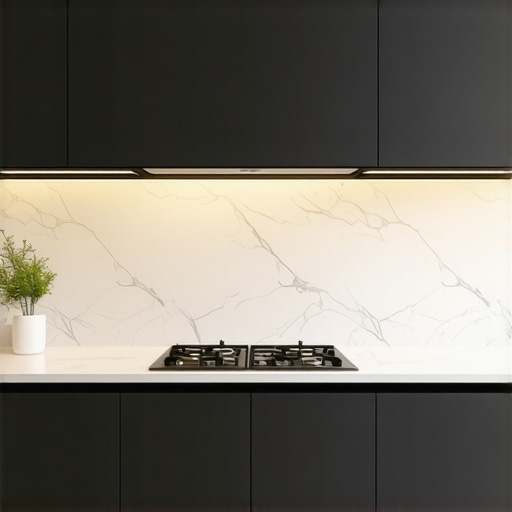
The Integrated Fridge Panel Trick for a Seamless Kitchen Look
Picture this: after months of planning, shopping, and the inevitable debates over style—your kitchen finally begins to take shape. You’re excited until you step back and realize something’s missing. The big, ugly fridge sticking out like a sore thumb. I’ve been there. That moment of frustration, when your sleek design feels compromised by a bulky appliance, is all too familiar. But then I had my lightbulb moment: adding a custom panel to create a seamless look. Suddenly, the fridge became part of the cabinetry, not an eyesore. It’s like magic.
Why the Seamless Kitchen Look Is More Than Just Aesthetics
Altering a kitchen to look cohesive isn’t just about style—it’s about creating a space that feels harmonious, polished, and designed with intention. When appliances stand out, they disrupt the visual flow, making the area seem cluttered, even if it’s not. This is especially true with built-in appliances, like refrigerators, where positioning and paneling can make or break the overall aesthetic. Plus, a seamless look boosts your home’s value and gives your space a more modern, high-end feel.
In my experience, one mistake many homeowners make early on is overlooking the importance of the fridge panel integration. They think, “Is it really worth the effort?” Well, according to experts at Artisan Cabinetry, these custom panels can transform the entire look of your kitchen without a full remodel. It’s a classic case of small details making a big impact.
Are you tired of looking at that bulky fridge and feeling like your kitchen’s design is ruined? I get it. That feeling of wanting a uniform, cohesive space is common—and entirely achievable with a bit of know-how. Over the course of this post, I’ll guide you step-by-step through the process, sharing tips from my personal journey and insights from seasoned professionals. Ready to turn your kitchen into a sleek, integrated masterpiece? Let’s dive into the art of the built-in fridge panel trick.
Will This Trick Actually Work for My Space?
Like many things in home renovation, execution is key. A mistake I made early on was assuming that a standard panel would suffice. Trust me, it doesn’t. Precision, measurements, and choosing the right materials matter more than you think. But don’t worry—I’ll show you how to avoid common pitfalls and get that seamless look you’re craving.
Measure and Plan with Precision
Start by measuring your fridge’s dimensions meticulously—height, width, and depth—including any handles or protrusions. Use a tape measure and record these measurements on a detailed sketch. Remember, accuracy here is crucial; a misstep can cause panels to fit poorly or look uneven. I once took quick estimates and ended up redoing the entire panel, which was frustrating but a valuable lesson in precision.
Choose the Right Material for the Panel
Select a wood veneer or laminate that matches your cabinetry finish—this ensures visual consistency. For a high-end look, select hardwood veneer similar to your cabinet doors. When I remade my panel, I opted for a walnut veneer, which matched my cabinets perfectly, avoiding the mismatch that can occur with painted or laminate surfaces. For detailed material options, check out this guide.
Fabricate the Panel with Care
Use a CNC machine or manual router to cut the panel to exact dimensions, allowing for slight clearance around the fridge frame—about 1/8 inch on each side—to accommodate expansion and contraction. When I built mine, I used a router with a straight bit, taking multiple shallow passes instead of one deep cut—to prevent splintering and ensure a smooth edge. Clamping the veneer securely prevented shifts that would ruin the cut.
Prepare and Attach the Hardware
If your design includes a handle, drill holes precisely where needed, maintaining symmetry. For seamless look, opt for hidden hinges or push-to-open mechanisms, eliminating visible hardware. I installed a push-to-open latch, which made the panel look sleek and maintained accessibility. Use spacers or shims during installation to ensure flush alignment with surrounding cabinetry. Details on hardware choices can be found in this article.
Seal and Finish for Durability
Apply a clear finish compatible with the veneer—like a polyurethane or lacquer—to protect the surface from moisture and wear. This step is vital for longevity, especially around kitchen environments. When I finished my panel, I brushed on a thin layer of satin polyurethane, which enhanced the wood grain and ensured durability. Always sand lightly between coats for a smooth finish. Proper sealing also helps in matching the sheen with existing cabinetry, creating a truly seamless appearance.
Install and Fine-Tune the Panel
Position the panel snugly against the fridge frame, ensuring it aligns flush with adjacent cabinets. Attach it using screws or clips designed for panel mounting, avoiding overtightening that could bow the veneer. After installation, check for gaps or misalignments and make small adjustments as needed. I recommend using a level and a rubber mallet for gentle nudges to perfect the fit. This attention to detail results in a polished, integrated look that elevates your entire kitchen design.
Many homeowners assume that installing built-in storage solutions and custom cabinets is a straightforward upgrade, but in reality, there are nuanced pitfalls that can undermine your entire renovation. For example, a frequent mistake is believing that all custom cabinets are value-engineered equally—without considering the quality of joinery and materials, which directly affects durability and appearance. According to cabinetmaking expert John Carroll, choosing inferior materials or rushed fabrication leads to issues like warping or misaligned doors within a year. Another misconception is that built-ins automatically maximize space; in truth, poor planning around appliance dimensions or door swings can cause clutter and accessibility problems, defeating their intended purpose. For advanced remodels, understanding the importance of precise measurements and custom fit is crucial; even a 1/16-inch error can disrupt the seamless appearance of your cabinetry, or worse, cause functional conflicts. This is why detailed planning and consultation with experienced craftsmen are essential—don’t just rely on off-the-shelf solutions or DIY estimates. Moreover, many homeowners overlook the impact of door hardware finish and hinge quality on long-term performance, risking squeaks or loose doors that diminish the luxurious feel you’re aiming for. When it comes to hidden nuances, the orientation of wood grain in custom panels can dramatically influence visual harmony, especially in high-end designs where mismatched grain directions are glaring. This attention to detail is best left to seasoned professionals, who can advise on the subtleties of material selection and craftsmanship for cohesive aesthetics. Remember, the goal isn’t just a beautiful kitchen but one that endures over time. To avoid falling into these common traps, I recommend reviewing case studies on modern kitchen remodels with expert cabinetry and consulting trusted suppliers about material and hardware durability. Have you ever fallen into this trap? Let me know in the comments!When investing in custom cabinets and seamless storage solutions, ensuring their longevity and performance requires deliberate maintenance and the right tools. One of my go-to techniques is using a high-quality microfiber cloth and a gentle cleaner like Mineral Oil or a wood-specific polish for wooden surfaces. These tools help keep finishes looking fresh without stripping the veneer or paint. For metal components, a soft brush and a light application of silicone lubricant can prevent squeaks and ensure smooth operation of hinges and slides. Regular inspections, at least quarterly, can catch early signs of wear—like loose hinges or swollen wood—allowing you to address issues before they escalate.
Investing in tools like a digital caliper for precise measurements and a multimeter for appliance troubleshooting can save you time and money down the line. For example, checking the electrical continuity of integrated lighting or switches ensures that your smart storage solutions and under-cabinet lights perform reliably over time. Moreover, keeping a set of replacement hardware—such as hinges, knobs, and drawer slides—on hand simplifies repairs and minimizes downtime.
Looking ahead, technological advancements suggest a trend towards smarter storage systems. Incorporating apps that monitor and suggest maintenance routines for your appliances and cabinetry could become standard by 2030. As this trend develops, staying equipped with versatile tools and regular maintenance routines will become even more essential.
How do I maintain my custom cabinets and built-in storage to ensure they last years?
Regular cleaning with gentle, specific products combined with periodic inspections and updates to hardware will keep your cabinetry functioning beautifully. For more detailed guidance on selecting the right maintenance routines, check out this resource. Try implementing a quarterly review, including tightening fasteners and cleaning surfaces, and you’ll enjoy your investment for years to come.
Embarking on my kitchen remodel taught me that perfection lies in the details. One of the most valuable lessons was understanding that a seamless, integrated look with built-in storage and custom cabinets isn’t just about aesthetics—it’s about creating a functional sanctuary that lasts. My journey illuminated the importance of precision, patience, and expert advice, which transformed a simple renovation into a true craftsmanship adventure.
The Hidden Truths That Top Remodelers Keep to Themselves
- Measure Twice, Cut Once: I learned that even minor measurement errors can lead to misaligned panels or gaps. Investing in a digital caliper and taking meticulous notes saved me from costly rework and frustration.
- Grain Matching Matters: Aligning wood grain in panels and doors isn’t just visually appealing—it’s the secret to high-end finishes that age gracefully. I wish I had fully appreciated this when selecting veneer materials.
- Patience During Finishing: Multiple thin coats of finish with light sanding in between create a smooth, durable surface. Rushing this step can ruin the seamless effect I aimed for in my cabinets.
- Hardware Selection Makes or Breaks the Look: Hidden hinges and push-to-open mechanisms maintain sleek lines, but choosing quality hardware ensures longevity and ease of use, turning my cabinets into practical works of art.
- Consult the Experts: Sometimes, DIY isn’t enough. Collaborating with skilled craftsmen taught me that their insights on material compatibility and installation nuances prevent future headaches and elevate the final result.
Tools and Resources That Changed My Approach to Built-Ins
- Expert guides: Essential for understanding current trends and advanced techniques in cabinet design.
- Built-in storage ideas: Inspiration for maximizing space without sacrificing style.
- Smart organizing tools: Keeping systems functional and adaptable to changing needs.
- Innovative hardware and accessories: Key to achieving that premium, seamless look.
Step Into the Future of Your Custom Kitchen
Now that I’ve experienced firsthand how thoughtful planning and expert nuances transform a kitchen, I encourage you to begin your own upgrade journey. Whether it’s installing a hidden pantry or creating a continuous cabinet run, remember that every detail counts. Embrace the process, arm yourself with reliable resources, and don’t shy away from seeking professional advice when needed. Your dream kitchen isn’t just a possibility—it’s within your reach with a bit of dedication and the right knowledge.
What’s the one custom cabinet or built-in feature you’re excited to add to your kitchen? Share your plans below—I love hearing about creative ideas!