How to Install a Secret Toe-Kick Drawer for Spare Keys and Flat Items
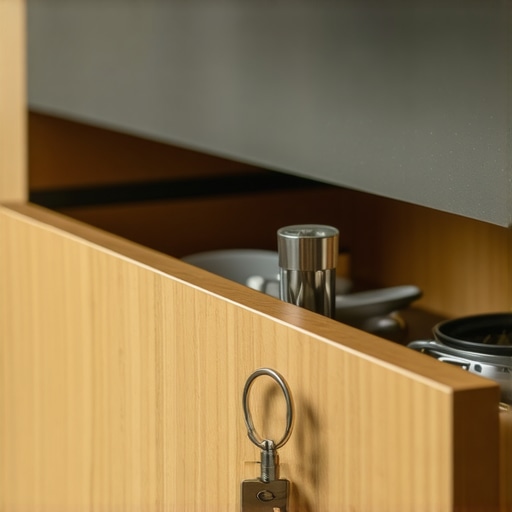
I stood there in the pouring rain, staring at a fake plastic rock that was supposed to hold my spare house key. It was empty. Turns out, squirrels are surprisingly good at home invasions—or at least at moving my hiding spots. That was the moment I realized my kitchen remodel needed more than just pretty faces; it needed some tactical intelligence. I had spent thousands on custom cabinets as a game changer for my home, yet I was still fumbling in the mud for a key. That is when I looked down at those four inches of recessed space at the bottom of my base cabinets. It was four inches of pure, unadulterated wasted potential. Today, I am going to show you how to reclaim that dead space by installing a secret toe-kick drawer that is perfect for spare keys, passports, or those emergency flat items you never want to lose again.
Stop Wasting the Bottom Four Inches of Your Kitchen
We often focus on the countertops and the upper shelves, but the toe-kick area is the unsung hero of smart storage solutions for small kitchens in 2025. Most people think of toe-kicks as a place for dust bunnies to congregate, but in reality, it is a prime real estate for the hidden drawer hack. According to the National Association of Home Builders (NAHB), the average kitchen contains nearly 10 to 15 percent wasted volume in the form of these recessed base areas. That is a lot of room for things that usually clutter up your junk drawer. When I first started experimenting with this, I made a classic rookie move: I didn’t account for the floor’s unevenness. I built a beautiful drawer, installed it, and then watched in horror as it gouged a deep line into my new flooring because the house had settled. I learned the hard way that the cabinet screw mistake isn’t the only thing that can ruin your day; poor clearance is just as deadly. Have you ever looked at your cabinets and felt like you were missing out on valuable square footage?
Is a drawer on the floor actually practical for daily use?
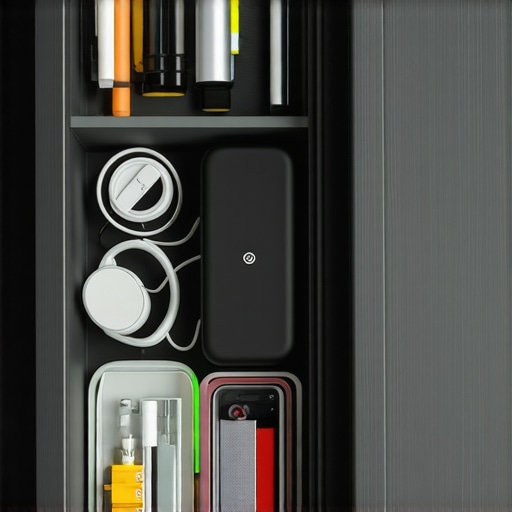
I get it—nobody wants to be doing lunges just to find their car keys. If we were talking about heavy pots and pans, I would agree that this is a bad idea. But for “flat items”—the stuff we rarely need but can’t afford to lose—it is brilliant. We are talking about the spare car fob, your backup credit card, or even that oversized pizza stone that never fits anywhere else. By integrating these into your innovative storage solutions for modern kitchen remodels, you are not just adding space; you are adding security. Most burglars check the obvious spots, but almost nobody thinks to kick the bottom of a cabinet to see if a drawer pops out. It is the ultimate ‘hidden in plain sight’ strategy. Before we dive into the saw blades and measurements, let’s talk about why this project is the perfect weekend win for anyone who values a sleek, functional home.
Measure Twice or Your Floor Will Pay the Price
Before you even touch a saw, you have to understand that your kitchen floor is probably not as flat as it looks. Most houses settle, and a floor that looks level can actually have a half-inch wave that will trap your new drawer mid-swing. I learned this the hard way when my first prototype got stuck on a slightly raised tile, forcing me to crowbar the whole thing out. To avoid this, take a long level and slide it across the floor area where the drawer will travel. If you find a high spot, that is your baseline. You need at least a half-inch of clearance above that point. This is one of those smart storage ideas to maximize your kitchen space this year that depends entirely on the precision of your initial scan.
Finding the Sweet Spot for Clearance
Most standard toe-kicks are four inches high. Subtracting the thickness of your bottom and top supports, you are left with a drawer that is roughly three inches deep. That is plenty of room for a hidden stash, but you must account for the thickness of your flooring. If you are working in a space with modern kitchen remodels featuring custom cabinets and built-ins, you might have more wiggle room, but always prioritize a ‘floating’ clearance. If the drawer drags, it will ruin your finish and eventually fail.
Build a Box That Won’t Sag
I started my first build with a scrap piece of particle board I had lying around. Three months later, a small ice cube fell, melted, and my drawer turned into a giant sponge that refused to open. That is exactly why plywood box construction still beats particle board for kitchens, especially when you are inches away from the floor where spills and mopping are inevitable. Use half-inch Baltic birch plywood; it is stable, holds screws like a champ, and won’t warp when the humidity spikes in the summer.
Install the Hardware That Makes It Stealthy
For a secret drawer, you have two main options: side-mount slides or bottom-mount slides. I prefer side-mounts for toe-kicks because they offer more vertical stability, which is vital when you are ‘kicking’ the drawer shut. To make it truly hidden, avoid handles. Instead, use ‘touch-to-release’ or ‘tip-on’ slides. A simple tap with your toe and the drawer glides out. If you are on a budget, you can use standard slides and the hidden magnetic catch to keep it flush when closed. This ensures the faceplate stays perfectly aligned with the rest of your cabinetry.
The Faceplate and the Final Disguise
The secret to a successful ‘stealth’ install is using a single, continuous piece of toe-kick material across the entire cabinet run. Don’t use a separate piece for the drawer face if you can avoid it. Instead, cut the drawer face out of the long trim piece using a fine-tooth table saw blade. This keeps the wood grain or paint texture perfectly matched. When the drawer is closed, the seams should be almost invisible. If you find your doors aren’t sitting right after the install, you might need to adjust European hinges on the cabinets above to ensure everything looks square and intentional. When I finished my latest install, I actually had to point the drawer out to my wife—she had been standing right in front of it for three days and never noticed the seam.
I have seen homeowners drop fifty thousand dollars on a remodel, only to realize six months later that they hate using their kitchen. The biggest misconception in the industry is that ‘more cabinets’ equals ‘better storage.’ This is a complete myth. In my experience, if you simply add more standard boxes without a plan, you are just building deeper caves for your clutter to hide in. This is where expert tips on selecting storage solutions for a perfect kitchen upgrade become the difference between a magazine-ready room and a truly functional workspace. We focus so much on the vertical height that we forget about the mechanics of the ground level.
Stop Thinking Volume and Start Thinking Accessibility
Everyone will tell you that deep base cabinets are the gold standard for storage, but I will tell you they are the silent killers of kitchen efficiency. If you have to get on your hands and knees to find a lid at the back of a 24-inch cabinet, that space is effectively dead. This is why I always argue that why a pull-out pantry beats deep walk-in shelves for visibility also applies to your base cabinets. If it doesn’t slide out to meet you, it doesn’t belong in a modern kitchen. The National Kitchen & Bath Association (NKBA) notes that accessibility is the primary driver of long-term kitchen satisfaction, yet many ‘custom’ builds still rely on static shelving. This is a massive ‘oops’ factor that most people don’t catch until the contractor has already been paid and the paint is dry.
How do you stop seasonal humidity from ruining your tight-clearance drawers?
This is the advanced question most DIYers—and even some pros—ignore. Wood is a living material; it breathes. If you build a secret toe-kick drawer with only an eighth of an inch of clearance in the dry winter, it will likely seize up and scrape your floor come the humid summer. You have to account for the inset cabinet gap re-aligning doors after seasonal humidity changes even at the floor level. I’ve seen beautiful walnut drawers literally swell into their frames, becoming permanent fixtures until the AC was turned on for a week.
Beyond movement, there is the material trap. If you are building storage near the floor, you are in the splash zone. This is exactly why plywood box construction still wins over furniture board in wet areas like the kitchen floor. A single spill that goes unnoticed under the cabinet will cause particle board to bloom like a mushroom, ruining your hidden drawer and potentially your entire cabinet base. Always choose moisture-stable materials for anything that sits within six inches of the ground. Have you ever fallen into this trap? Let me know in the comments.
Building the drawer is only half the battle; the real test is how it performs three years from now after the kids have accidentally kicked it a few hundred times. I’ve found that even the best custom cabinets as a game changer can feel like a failure if the hardware starts to grind. Maintenance isn’t just about wiping down the faceplate; it’s about the tracks. When you are that close to the floor, dust and pet hair are your biggest enemies. If you notice things getting sticky, don’t just pull harder. I always suggest a quick blast of compressed air followed by a dry PTFE lubricant. This is a common why your soft close slides are failing and the quick cleaning fix that most people ignore until the hardware is permanently damaged.
How do I maintain these hidden systems over time?
Consistency is key to a smooth kitchen. Every six months, I do a ‘slide audit.’ I empty the drawer, check for any grit in the rails, and ensure the mounting screws haven’t vibrated loose from repeated use. If you find a loose screw, don’t just tighten it into the same worn wood—you’ll likely strip the hole. Learn how to repair a stripped screw hole in a cabinet door or drawer box using a simple toothpick and wood glue trick to get a fresh bite for the screw. It’s these small mechanical details that separate a simple DIY project from expert tips on selecting storage solutions for a perfect kitchen upgrade. According to Blum’s technical specifications for their runner systems, keeping the tracks free of abrasive debris is the single most important factor in reaching their 100,000-cycle lifespan, which is the industry standard for high-end cabinetry.
The One Tool That Saves My Sanity During Install
If you’re serious about built-ins and storage hacks for a sleek functional kitchen, you need a high-quality scribe tool. I don’t mean a cheap plastic compass; I mean a dedicated brass scribe that allows you to mimic the wonky curves of your floor onto your drawer face with surgical precision. This is the same technique I use when I have to how to scribe a built-in bookshelf to a crooked stone wall. Without a perfect scribe, your toe-kick drawer will have uneven gaps that scream ‘afterthought’ rather than ‘high-end custom.’ I predict that in the next few years, we will see a massive shift toward motorized ‘push-to-open’ sensors as standard features in these low-profile areas, effectively removing the need for physical contact and further protecting the finish. For now, precision and cleanliness are your best friends. My challenge to you is simple: go grab a level right now and check the clearance under your main sink cabinet. You might just find the perfect spot for your first secret drawer.
Hard Lessons from My Own Kitchen Floor
After installing dozens of these hidden units, the biggest takeaway is that perfection is an illusion—until you scribe it. Many homeowners skip the prep and end up with drawers that stick as soon as the weather shifts. Remember, custom cabinets as a game changer in your kitchen only work if they function smoothly every single day. One lightbulb moment for me was realizing that why every base cabinet needs adjustable feet on uneven concrete isn’t just about the stability of the main box; it is about creating a level foundation for the hidden mechanics below. If the base isn’t right, the drawer will never be truly secret because the uneven gaps will give it away to anyone with a keen eye.
Gear That Makes These Stealthy Drawers Actually Work
You don’t need a massive industrial workshop to pull this off, but you do need the right mechanical allies. I swear by high-quality brass scribe tools to match the floor’s profile and ‘touch-to-release’ slides that eliminate the need for tell-tale handles. These are the kinds of expert tips on selecting storage solutions for a perfect kitchen upgrade that turn a standard DIY project into something that looks professionally integrated. I also keep a can of dry PTFE lubricant handy; it keeps the tracks gliding without attracting the pet hair and kitchen grit that usually kills standard hardware. If your drawer face starts to sag or rub over time, don’t panic—sometimes you just need to know how to fix a cabinet door that wont stay closed without replacing hinges to apply those same alignment principles to your kick-plate hardware.
Go Find Your Four Inches of Freedom
Your kitchen should work for you, not the other way around. Every recessed area and every ‘dead’ corner is an opportunity to reclaim space and add a layer of security or organization you didn’t have before. When you treat your custom cabinets as a game changer, you are not just remodeling; you are engineering a better, more intentional lifestyle. Don’t be afraid to cut into that toe-kick and try something bold. Have you ever discovered a hidden pocket of space in your home that you finally put to use? Let me know in the comments below!