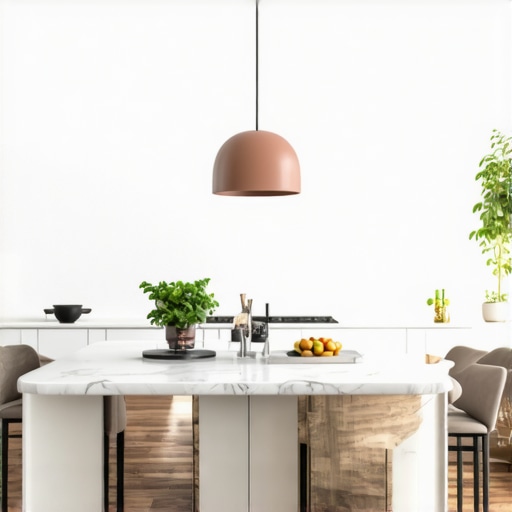
The Secret to Hiding Outlets in a Kitchen Island with Waterfall Edges
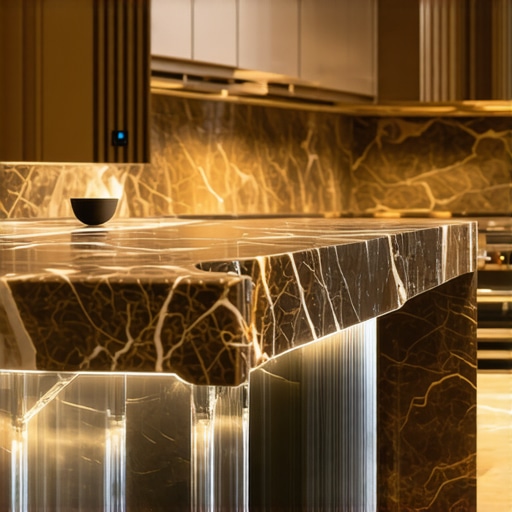
There I was, standing in my neighbor’s kitchen, staring at this gorgeous, sprawling slab of quartzite. The waterfall edge flowed down to the floor like a frozen mountain stream. It was breathtaking—until I saw it. Right in the center of that pristine stone was a cheap, beige plastic outlet cover. It looked like a pimple on a supermodel. I remember thinking, ‘There has to be a better way.’ When I started my first major custom cabinets as a game-changer in your kitchen remodel journey, I made the painful mistake of not coordinating the stone fabricator and the electrician early enough. I ended up with a crooked cutout that ruined the symmetry of the grain. Today, I’m going to share exactly how to avoid that heartache and keep your surfaces clean. Have you ever spent a fortune on a renovation only to have a tiny detail drive you crazy? Let me know if I’m not the only one obsessed with these ‘small’ things.
How to Keep Your Stone Looking Flawless Without Violating Code
The waterfall edge is the crown jewel of modern design, but it presents a unique challenge: you can’t easily run wires through a solid mitered stone corner without surgical planning. You’ve likely seen innovative storage solutions for modern kitchen remodels that hide mixers and toasters, but outlets are permanent fixtures. The secret lies in the ‘shadow line’ or utilizing a built-in charging station approach within the cabinetry itself rather than the stone face. Many people think they can just tuck an outlet under the overhang, but you have to be careful with the 12-inch island overhang rule. If the overhang is too deep, the outlet might not meet accessibility requirements. According to the National Electrical Code (NEC) 210.52, while the 2023 update changed how we think about island power, it still mandates that any installed receptacles must follow strict placement rules to prevent cord-snagging hazards.
Is hiding them actually worth the extra planning?
Absolutely. If you are going to invest in high-end materials, don’t let the hardware mistake that makes expensive cabinets look cheap extend to your electrical plates. It’s about the ‘visual silence’ of a room. I used to think people were being fussy when they complained about outlet placement, but after seeing a waterfall edge ruined by a poorly placed box, I’m a total convert. We’re going to look at three specific methods: pop-up columns, recessed apron outlets, and the magic of color-matched flush mounts.
Let the Pop-Up Column Do the Heavy Lifting
The first and most popular method for preserving that mountain-stream aesthetic is the pop-up column. Think of this like a submarine periscope for your electricity; it stays submerged and invisible until you need to power up the stand mixer. For this to work effectively, your custom cabinetry must be designed with a dedicated internal void. I once worked on a project where we forgot to account for the depth of the pop-up unit, and it slammed right into the top of a custom spice drawer. We had to rebuild the entire drawer box on-site. To avoid this, ensure your built-ins and storage hacks for a sleek functional kitchen include a 4-inch ‘dead zone’ behind the drawer bank. This allows the electrical housing to live comfortably without interfering with your storage.
Why the Cabinet Apron is Your Best Friend
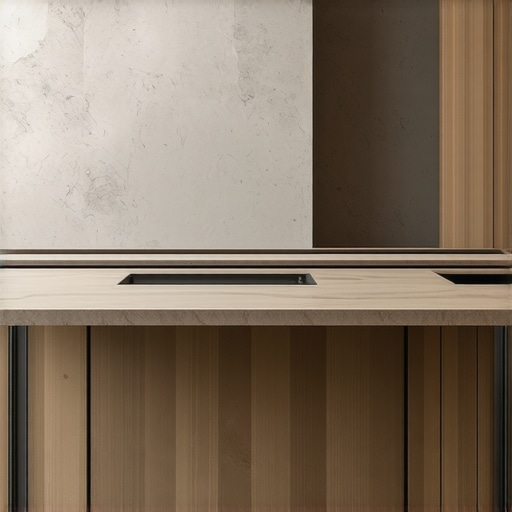
If you want to keep the stone entirely untouched, the cabinet apron—the wooden trim just below the countertop—is the prime real estate for power. By installing a shallow, horizontal electrical box into the wood, you keep the outlets within reach but out of the direct line of sight. This technique is a staple in custom cabinets ideas that transform your homes style because it shifts the focus back to the stone’s grain. When I used this method on a white oak island last year, the homeowner actually called me a week later asking where the outlets were—that is the level of ‘visual silence’ you are aiming for. You’ll want to use a low-profile plate that matches the wood stain exactly to make the hardware virtually disappear.
Make Your Outlets Vanish with Color Matching
Sometimes, the layout demands that an outlet sits directly on the stone surface. When this happens, stop using those $2 plastic beige covers immediately. High-end modern kitchen remodels featuring custom cabinets and built-ins now utilize flush-mount systems that sit perfectly level with the stone. These systems, like Sillites or Trufig, allow you to paint or even laminate the outlet cover with a piece of the actual stone or a matching resin. During a particularly tricky ultimate guide to custom cabinets for a stylish kitchen overhaul project, we used a dark bronze finish on a charcoal soapstone island. The result was so seamless that from three feet away, the outlet looked like a natural vein in the rock.
The Crucial Handshake Between Fabricator and Electrician
The biggest mistake you can make is assuming these two pros will talk to each other without you. The stone fabricator needs to know the exact dimensions of the outlet box *before* they cut the slab at the shop. I’ve seen beautiful waterfall edges arrive on-site with a standard rectangular hole that was too large for a specialized flush-mount system. In your expert-tips on selecting storage solutions for a perfect kitchen upgrade, always include a ‘template day’ where the electrician hands the physical outlet box to the stone guy. If the stone is already cut, you’re stuck with whatever fits, which usually means retreating to that ‘pimple’ look we’re trying to avoid. Always opt for the built-in charging station approach inside the cabinets for your phones and tablets, leaving the island surface dedicated strictly to prep work and beauty.
Why Your Obsession with All-Wood Might Backfire
Most homeowners walk into a showroom and demand ‘solid wood everything,’ believing it is the ultimate mark of quality. However, as someone who has seen hundreds of custom cabinets age over a decade, I’m here to tell you that this is often a recipe for disaster. In high-humidity areas or for long spans, solid wood is prone to significant warping and movement. This is why plywood shelves over solid wood for long spans are actually the superior choice. The cross-laminated layers of high-quality plywood provide a dimensional stability that raw timber simply cannot match. According to the North American Architectural Woodwork Standards (NAAWS), plywood or MDF cores are often preferred in specific applications to ensure the longevity of the finish and the structural alignment of the doors. If you insist on solid wood for every component, you might find yourself struggling with inset cabinet doors that wont close flush after the first change in seasons.
Can your cabinets actually handle the weight of your lifestyle?
Another nuance people overlook is the ‘load-bearing reality’ of modern storage. We are designing deeper drawers to accommodate heavy cast-iron Dutch ovens and professional-grade stand mixers, yet many designers fail to upgrade the hardware or the base construction. It is a heartbreak to see a $50,000 kitchen suffer from a cabinet screw mistake that causes heavy drawers to fail. For those massive pot-and-pan drawers, you absolutely must look into fixing a sagging pot and pan drawer with a center support before the installation is finalized. Relying on standard side-mount slides for a drawer carrying 75 pounds of Le Creuset is a trap that leads to grinding metal and eventually, a total drawer-front failure. Have you ever fallen into this trap where beauty outpaced the actual structural capacity? Let me know in the comments.
The Heat and Steam Trap Near Your Cooking Zone
Let’s talk about the silent killer of innovative storage solutions: heat. When we plan modern kitchen remodels featuring custom cabinets and built-ins, we often focus on the aesthetics of the range hood and the proximity of spices or oils. But if you are using specialized finishes or certain laminates, the heat from a self-cleaning oven cycle or the steam from a poorly placed dishwasher can delaminate your cabinet edges in months. This is exactly why your canton kitchen remodeling project should skip cheap thermofoil near the oven. Always ensure your fabricator includes heat shields—those thin metal strips that go between the oven and the cabinet carcass. It’s a $20 part that saves a $2,000 cabinet door. If you’re at the stage of selecting storage solutions for a perfect kitchen upgrade, ask your pro about their moisture-mitigation strategy for sink bases too. I always recommend a waterproof liner in your sink base cabinet to protect your investment from the inevitable slow leak. These are the details that separate a ‘pretty’ kitchen from a kitchen that actually works for twenty years.
Maintaining the magic of a fresh remodel requires more than just a microfiber cloth and a prayer. If you want your investment to last, you need to transition from the ‘build’ phase to the ‘stewardship’ phase. I always tell my clients that a high-end kitchen is like a performance car; it needs a tune-up every few years to keep the lines crisp. The most common call I get isn’t about broken wood, it’s about the inset cabinet gap and re-aligning doors after seasonal humidity changes. Wood is a living material, and it will breathe. To manage this, you need to stop reaching for your standard junk-drawer Phillips head screwdriver. If you have high-end European hardware, you are likely stripping your screws. I personally recommend the PoziDriv #2 screwdriver. Unlike a Phillips, which is designed to cam out (slip) to prevent over-tightening, the PoziDriv has a specific cross-shape that locks into the screw head, allowing for precision without damage. It is the only way to effectively adjust European hinges when your doors are crooked without leaving jagged metal burrs behind.
How do I maintain my custom cabinetry over the long haul?
Maintenance is 90% environment and 10% mechanics. First, you must address the ‘sluggish’ factor. If you notice your drawers aren’t snapping shut like they used to, check for dust buildup in the tracks. I’ve found that cleaning your slow-close hinges with a simple blast of compressed air followed by a dry PTFE lubricant (never WD-40, which attracts grime) can restore that factory feel instantly. Second, keep an eye on your finishes. If you start to see cabinet paint bubbles near the stove, it means your heat shields are failing or your humidity is spiking. According to the Architectural Woodwork Institute (AWI) Quality Standards, maintaining a consistent relative humidity between 25% and 55% is the absolute baseline for preventing structural failure in custom wood products. I keep a $10 digital hygrometer inside my pantry—it’s the cheapest insurance policy you can buy for a $60,000 kitchen. Looking ahead, I predict we are moving toward ‘sensor-integrated’ cabinetry. Within the next decade, high-end custom cabinets will likely come with built-in moisture sensors that alert your smartphone before a slow leak under the sink causes wood rot. Until then, you have to be the sensor. I highly suggest you try the ‘annual hinge check’ this weekend: grab a PoziDriv, check your alignments, and ensure your built-in charging station wires aren’t being pinched by a drawer box. These tiny habits are what keep a custom cabinets as a game-changer in your kitchen remodel journey from becoming a source of frustration five years down the road.
Lessons from the Dust and Sawdust
After years of overseeing installations, I’ve realized the biggest myth is that a kitchen is ‘done’ once the check clears. In reality, the first full year is a transition period. You will likely see the inset cabinet gap change as winter air dries out the frames. Don’t panic; it’s just the wood acclimating. My biggest ‘lightbulb moment’ was learning that the most expensive stone is useless if the hardware mistake of using cheap screws ruins the functionality. I also learned that plywood box construction beats particle board every single time a rogue pipe decides to drip. Experience has taught me that the 30-inch clearance rule is there for your safety, not just for the inspector’s clipboard.
The Tool Kit I Swear By
If you want to keep your custom cabinets looking like a showroom, you need three things in your utility drawer. First, a PoziDriv #2; it is the only tool that should touch your European hinges to avoid stripping when you need to adjust European hinges. Second, a simple digital hygrometer to monitor the 25%-55% humidity sweet spot. Finally, I always install waterproof liners in my sink base cabinets to catch the leaks you won’t see until it’s too late. For organizing, skip the plastic inserts and invest in drawer organizers over standard trays to truly maximize every square inch of your innovative storage solutions.
Creating Your Forever Space
A kitchen is more than a collection of appliances and stone; it is the stage for your family’s life. By focusing on these granular details—from the built-in charging station that keeps your counters clear to the structural integrity of your drawers—you ensure that your custom cabinets remain a source of joy rather than a maintenance nightmare. Take the leap, plan for the long haul, and watch how custom cabinets as a game-changer in your kitchen remodel journey truly transforms your home. Have you ever noticed your cabinet doors shifting when the seasons change? Tell me how you handled it in the comments!