How to Match New Cabinet Doors to 20-Year-Old Wood Frames
I’ll never forget the afternoon I stood in my kitchen, holding a brand-new, beautifully sanded maple door against my original cabinets from the early 2000s. In my head, I’d already finished the project. It was going to be seamless. But the reality? The old frames had deepened into a rich, honeyed amber, while the new door looked like a pale, ghostly intruder. It was a total mismatch. I had spent weeks mapping out my kitchen remodel journey, yet I completely ignored the way time and light treat wood. If you have ever felt that sinking feeling when a ‘perfect match’ turns out to be anything but, I am here to tell you that you are not alone. We are going to bridge that twenty-year gap together.
The Aging Secret Your Cabinet Salesman Won’t Tell You
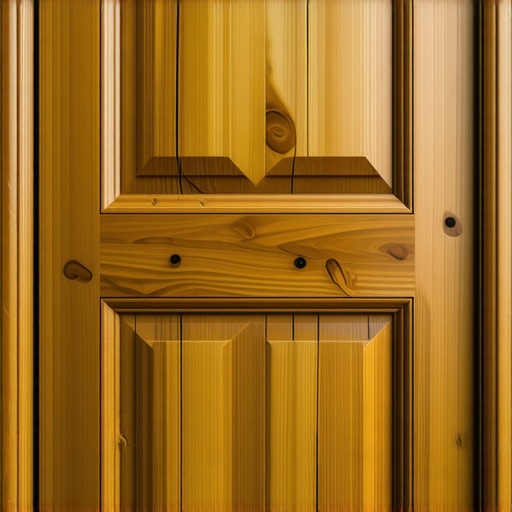
Wood isn’t just a building material; it is a living, breathing history of your home. Over two decades, those frames have been ‘baking’ in UV rays and absorbing the atmosphere of your kitchen. According to the USDA Forest Products Laboratory, wood surfaces undergo significant photochemical changes when exposed to light, specifically the degradation of lignin which causes that tell-tale ‘ambering’ or darkening. This is why you can’t just walk into a big-box store and grab the same stain name you used in 2005. The chemistry of modern finishes has changed, and your wood has matured. To get this right, you have to learn how to match new cabinet doors to an existing stain without the guesswork. I once tried to shortcut this by applying three coats of poly over a ‘close enough’ stain, only to realize the grain didn’t pop the same way. It looked like plastic. [image placeholder]
Is It Realistic to Expect a 100% Perfect Match?
I get the skepticism. You’re worried your kitchen will end up looking like a patchwork quilt of different wood tones. You might be thinking it’s better to just paint everything and hide the history. But there is a certain soul in aged wood that paint just can’t replicate. When you understand that solid wood door panels still need room to breathe and react to your home’s humidity, you start to respect the process. We aren’t just slapping on new fronts; we are performing a surgical restoration. Have you ever tried to match a wood finish only to have it look completely ‘off’ the second the sun went down? Tell me about your biggest color matching nightmare—I’ve likely lived through it too.
Stop guessing and start testing
Don’t touch those cabinets with a brush until you have a stack of scrap wood from the same species. I learned this the hard way on a job in Carmel where I assumed the original wood was cherry because of its deep, regal red hue. It was actually maple that had been stained and heavily aged over fifteen years. When I applied a ‘Cherry’ stain to new cherry doors, they came out nearly purple. If you want to transform your kitchen with custom cabinets expert guide for 2025, you have to accept that your new wood is a blank canvas, while your old frames already have a ‘base coat’ of time. Always sand your test scraps to the exact same grit as your new doors, or the stain will absorb differently, creating a mismatch before you even begin.
Control the blotch with wood conditioner
Maple and cherry are notorious for soaking up stain unevenly. Think of wood conditioner like a primer for a wall; it levels the playing field so the pigment sits on the surface rather than diving into the porous grain. I once skipped this step on a set of built-ins and storage hacks for a sleek functional kitchen project, and the doors ended up looking like they had a mottled skin condition. A simple pre-stain treatment prevents that ‘cloudy’ look and ensures your color match stays consistent across every square inch.
Layer your colors like a professional finisher
You are rarely going to find a ‘one-and-done’ stain that bridges a twenty-year gap. You’ll likely need a light base stain, followed by a toner—which is essentially a tinted topcoat. This layering technique mimics the way light passes through old finish. This is where the difference between pre-catalyzed and post-catalyzed cabinet lacquer becomes vital for durability. If you’re matching a 20-year-old finish, you’re likely fighting natural ambering. Understanding the real reason your white painted cabinets are turning yellow helps you realize that even clear coats shift toward the yellow-orange spectrum over time. 
Get the grain to flow naturally
Even if the color is a 99% match, the visual rhythm of your kitchen will feel ‘off’ if the grain direction is wrong. I once saw a DIYer install a pantry door where the grain ran horizontally because of a measurement error—it screamed for attention for all the wrong reasons against the vertical grain of the surrounding frames. Learning how to pick the right wood grain direction for tall pantry doors is just as important as the stain itself. It’s the difference between a seamless custom piece and something that looks like a cheap patch job.
Seal the deal with the right sheen
The final hurdle is matching the ‘glow’ or sheen of the existing cabinets. Most older cabinets have lost their original high-gloss shine and moved into a soft satin or matte territory. If you put a high-gloss door on a satin frame, the light will hit them differently, making the colors look mismatched even if the stain is identical. Always test your topcoat on your sample board alongside the original cabinet under the actual kitchen lighting—not the fluorescent lights of your garage. This ensures your creating seamless kitchen remasters with built-in storage solutions remains visually cohesive from every angle.
The structural lie about custom dimensions
Most people think the word ‘custom’ is a hall pass to ignore the laws of physics. In my twenty years of sawdust and shims, I have seen too many homeowners try to cram a three-inch spice pull-out into a gap just because they ‘hate wasted space.’ Here is the contrarian truth: over-optimizing your layout often makes it less functional. I have found that why narrow spice pull-outs are often harder to use than you think boils down to the fact that you spend more time hunting for the cumin than you would if it were in a standard drawer. When you are planning the ultimate guide to custom cabinets for a stylish kitchen overhaul, remember that every ‘storage hack’ consumes a few inches of mechanical clearance. Sometimes, a wider, simple drawer is vastly superior to three complex, narrow ones. Have you ever fallen into this trap? Let me know in the comments if you’ve ever designed a cabinet so ‘clever’ it actually annoyed you.
Don’t cook your trash by mistake
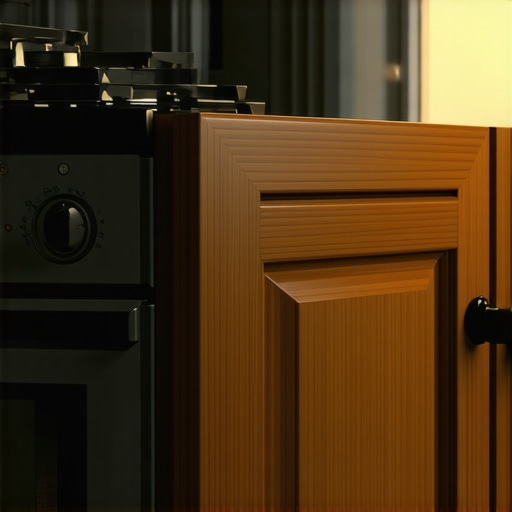
This is the ‘oops’ factor that almost every DIY-er (and quite a few pros) misses. If you are adding a modern pull-out bin to your old island, whatever you do, don’t put it right next to the range. Heat transfer is real. I’ve seen beautiful remodels where the homeowner wonders why their kitchen smells like a landfill every time they bake a chicken. Knowing why your garbage pull-out should never be next to the oven is essential for hygiene. The warmth from the oven wall accelerates the decomposition of organic waste. It’s a nuance that doesn’t show up on a floor plan but hits you in the face the first time you host a dinner party. 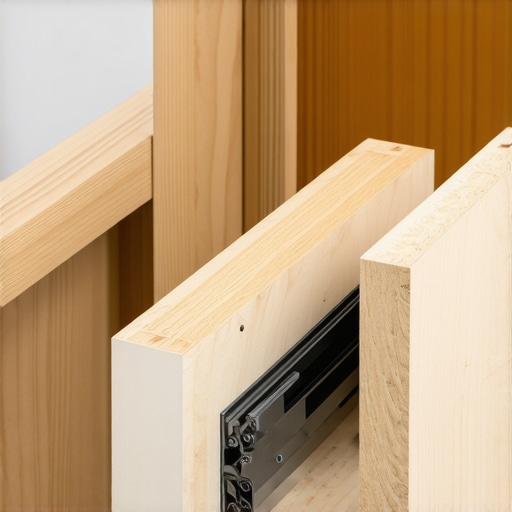
Will your 20-year-old frames actually hold a modern heavy drawer?
This is the advanced question you need to ask before buying those heavy-duty soft-close slides. Modern drawers, especially the ones we build for why plywood box construction still wins over furniture board in wet areas, are much heavier than the stapled-together boxes of the early 2000s. A study by the Research Institute for Cooking & Kitchen Intelligence (RICKI) noted that homeowner demand for ‘deep storage’ has increased average drawer loads by nearly 40% compared to two decades ago. If your original frames are made of thin particle board, the torque from a fully-loaded 30-inch pot-and-pan drawer can literally pull the screws out of the side walls. This is the hardware mistake that makes expensive cabinets look cheap—or worse, makes them dangerous. You have to reinforce the attachment points of those old frames before you expect them to behave like a 2025 custom build. Let’s make sure your ‘seamless remaster’ doesn’t end with a drawer on your toes.Even the most expensive boxes will eventually rebel if you do not treat them right. I have seen fifty-thousand-dollar kitchens look weathered within three years because the homeowner used a harsh citrus-based cleaner that literally ate through the topcoat. If you want your custom cabinets ideas that transform your homes style to actually survive the daily grind of a busy family, you need to transition from the ‘build’ phase into the ‘preservation’ phase. I personally swear by microfiber cloths and nothing more than a drop of mild dish soap; anything else is just asking for a chemical reaction you will regret.
How do I keep my custom cabinets working like new for years?
The secret is not in the wood, but in the moving parts. According to the Kitchen Cabinet Manufacturers Association (KCMA) A161.1 performance standards, finishes are tested for resistance to vinegar, lemon, and even beet juice, but they are not invincible against mechanical neglect. If you notice a door hanging slightly lower than its neighbor, do not wait for it to scrape the frame. Learning how to adjust european hinges for a perfectly level door reveal is a five-minute fix that prevents permanent structural damage. I also keep a small bottle of dry PTFE lubricant in my junk drawer. When you hear a squeak, why your soft close slides grind and the quick lubrication fix becomes the most valuable bit of knowledge in your arsenal. Avoid WD-40 at all costs; it attracts dust like a magnet, eventually turning your high-end slides into a gritty mess. 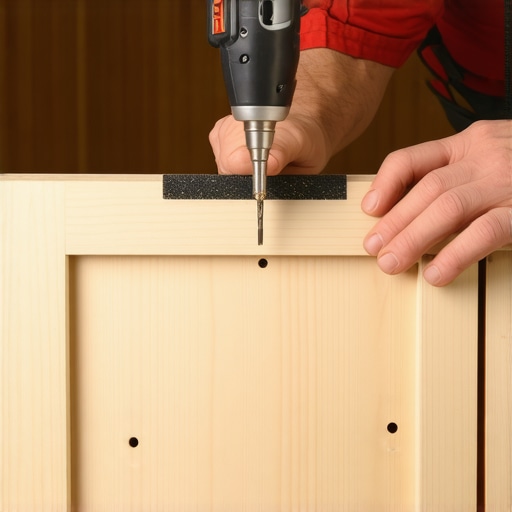
Forget the tape measure for your hardware
If you are installing your own pulls or knobs as part of modern kitchen remodels featuring custom cabinets and built-ins, put the tape measure down. I have been doing this for decades, and I still use a dedicated drilling jig. Specifically, I use the True Position Drill Guide because it eliminates the ‘human error’ of a pencil mark shifting a sixteenth of an inch. When you have twenty drawers in a row, even a tiny misalignment will make the whole kitchen look like a DIY disaster. It is the one tool you need for perfectly aligned cabinet knobs every time, and it is the difference between a project that looks professional and one that looks ‘close enough.’
The future of the smart kitchen is invisible
Looking ahead, I suspect we are moving away from the ‘gadget-heavy’ kitchens of the last decade and toward ‘invisible’ tech. We are already seeing a massive shift where why finger pull channels are replacing traditional handles in modern kitchens is becoming the standard for high-end builds. In the next few years, expect to see more motion-activated lighting integrated directly into the cabinet joinery and climate-controlled pantries that notify your phone if humidity levels threaten your dry goods. For now, I want you to try one thing this weekend: grab a screwdriver and check the tightness of your hinge plates. Most people ignore them until a door falls off, but a quick quarter-turn today can save your wood frames from stripped screw holes tomorrow. It is the easiest way to ensure your creating seamless kitchen remasters with built-in storage solutions actually stands the test of time.
The Hardest Lessons Learned in the Woodshop
Over the years, I’ve realized that the most common mistake isn’t using the wrong stain—it’s ignoring the way light dances off the wood at 6:00 PM. I once spent twelve hours color-matching a maple door in a sunny driveway, only to have the homeowner call me the next morning because the cabinets looked green under their LED kitchen lights. This phenomenon, called metamerism, is the reason why you must always test your samples in the actual room where they’ll live. I also learned that selecting storage solutions for a perfect kitchen upgrade requires thinking about how you move, not just how much stuff you have. If you find yourself frustrated, remember that even the pros have to sand a door back to bare wood sometimes. It’s not a failure; it’s a refinement.
[image placeholder]
The Shortlist of Tools That Never Leave My Bag
If you are serious about this project, there are three things I recommend without hesitation. First, grab a set of Mohawk Ultra Mark wood touch-up markers for those tiny nicks that happen during installation—they are lifesavers for blending edges. Second, I cannot stress enough how much a dedicated drilling jig will save your sanity; it is truly the one tool you need for perfectly aligned cabinet knobs every time. Lastly, bookmark the Kitchen Cabinet Manufacturers Association (KCMA) standards page. It’s the gold standard I use to ensure that every custom cabinets ideas that transform your homes style actually meets the durability requirements of a real, messy, lived-in home.
Take the First Step Toward Your Dream Kitchen
Remodeling a kitchen is a marathon, not a sprint, especially when you are bridging the gap between the old and the new. But don’t let the technical details paralyze you. Whether you are swapping out a single door or planning an entire suite of custom cabinets, the beauty of wood is that it is forgiving. You have the power to restore the heart of your home into something that feels intentional and timeless. It’s time to stop looking at those mismatched frames and start creating the kitchen you deserve. What’s the one part of your kitchen that feels the most ‘dated’ right now? Let me know in the comments below!