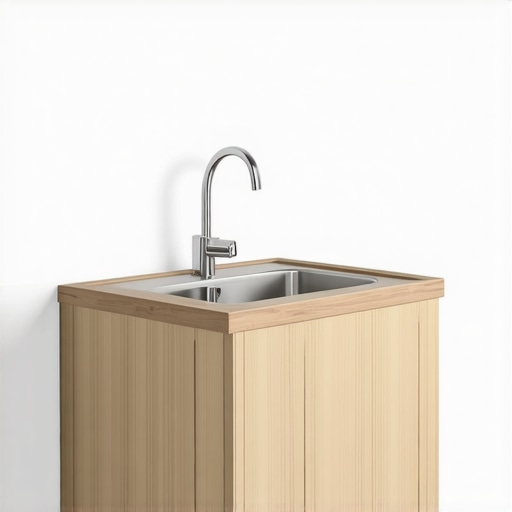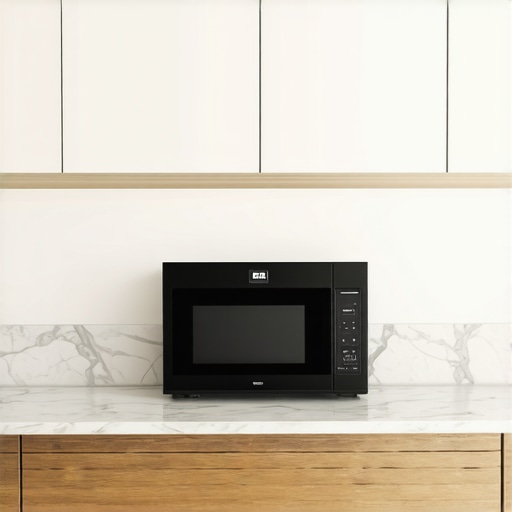
The Best Way to Hide a Microwave Under the Counter
I remember standing in my kitchen after a three-month remodel, staring at a gorgeous slab of Carrara marble that was completely obscured by a bulky, beige, 1200-watt eyesore. It felt like wearing a tuxedo with mud-caked hiking boots. I had spent thousands on custom cabinets as a game-changer for my layout, yet there it was—the microwave—taking up the exact spot where I wanted to prep my morning espresso. It was the ultimate lightbulb moment. If I wanted a truly modern kitchen remodel, that box had to go. But where? The answer wasn’t just to hide it; it was to integrate it. Today, I am going to show you how to reclaim your space without sacrificing convenience.
Get That Clunky Plastic Box Off Your Beautiful Counters
We obsess over backsplash tiles and cabinet hardware, but we often forget that small appliances are the biggest visual clutter culprits. When you tuck a microwave under the counter, you are not just hiding a tool; you are reclaiming your workspace. It is about creating a flow that feels intentional rather than accidental. I have learned the hard way that a successful kitchen revolution using built-ins starts with identifying these space-hogs before the first piece of crown molding is ever nailed in.
Early in my DIY days, I made a classic blunder: I bought a standard countertop model and shoved it into a tight, enclosed lower shelf without a proper trim kit. Within three weeks, the steam from a bag of popcorn had nowhere to go, and I started seeing the finish on my expensive custom cabinets begin to peel and cloud. It was a costly lesson in airflow. According to the National Kitchen & Bath Association (NKBA), proper ventilation and dedicated circuits are the two most overlooked safety factors in under-counter appliance installations. I do not want you to repeat my mistakes. We are going to look at the right smart storage solutions that keep your microwave functional but invisible.
Is Bending Down Every Single Time Really Worth It?
This is the first thing my neighbor asked when she saw my hidden microwave setup. She was worried about the ergonomics. She asked if she would hate life every time she wanted to heat up leftovers. The truth? Unless you are using your microwave fifty times a day, the trade-off for miles of clear counter space is almost always worth it. Plus, with the right drawer-style models, you are not even bending; you are just reaching down naturally to a soft-close drawer. Have you ever looked at your toaster or microwave and felt like it was just squatting on your prime real estate? Let me know if your counters feel as crowded as mine used to.
Don’t Skimp on the Electrical Foundation
Start by looking at your electrical panel. Think of your kitchen’s power grid like a highway; if you try to merge a semi-truck (the microwave) into a lane already filled with commuter cars (the toaster and coffee maker), you are going to have a multi-car pile-up. You absolutely need a dedicated 20-amp circuit for an under-counter unit. I remember a project in a tiny 1940s bungalow where we tried to ‘cheat’ by using an existing outlet behind the fridge. The first time the homeowner tried to defrost a chicken while the fridge compressor kicked on, the whole kitchen went dark. It was a humbling reminder that creating seamless kitchen remasters with built-in storage solutions requires doing the invisible work first.
Run Your Power Line Before the Cabinets Arrive
If you wait until the boxes are set to call the electrician, you will be cutting holes in your brand-new furniture. Have the outlet positioned in the upper rear corner of the cabinet opening. This keeps the plug from interfering with the depth of the unit, ensuring it sits flush with the face frame. When I am planning innovative storage solutions for modern kitchen remodels, I always mark the outlet location on the floor before the old cabinets are even ripped out. It saves hours of frustration later.
Choose the Right Housing Method for Your Workflow
You have two real choices: a microwave drawer or a standard unit on a built-in shelf. A drawer-style model is the Ferrari of this setup. It slides out with a button press, allowing you to drop food in from the top. It is similar to the deep drawer move for storing blenders and food processors—it prioritizes vertical access over awkward reaching. However, if you are on a budget, a standard microwave on a shelf works, provided you use a professional trim kit to bridge the gap between the box and the cabinet opening.
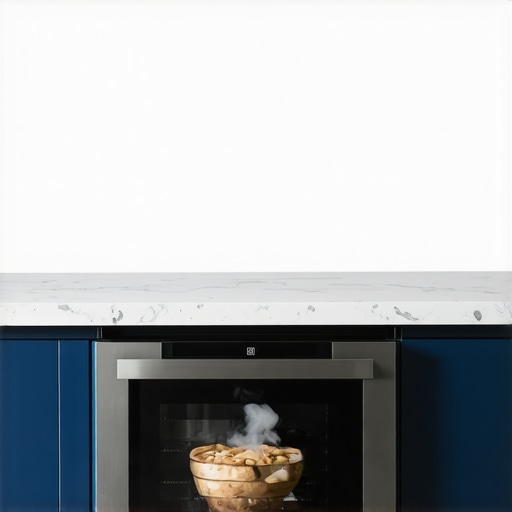
Why Your Cabinet Depth Matters More Than You Think
Most base cabinets are 24 inches deep, which sounds like plenty until you realize the microwave needs an inch of clearance behind it for the plug and another two inches for airflow. This is why we recommend 36-inch base cabinets for every modern remodel when possible, or at least being very surgical with your measurements. I once saw a DIYer install a unit so tight that the heat actually scorched the interior laminate of the cabinet. It looked like a small campfire had started in his kitchen.
Ventilation is the Secret to Cabinet Longevity
Microwaves vent steam and hot air. If that moisture is trapped inside a wooden box, your storage solutions will eventually warp, peel, or grow mold. You must ensure the trim kit you choose is functional, not just decorative. These kits have built-in louvers that direct air out the front and away from your woodwork. When securing these heavy units, why your base cabinets should be secured with 3-inch rugged screws becomes apparent; the combined weight of a 50-pound microwave and a full bowl of soup requires a rock-solid foundation that won’t sag over time. Using built-ins and storage hacks for a sleek functional kitchen only works if the structural integrity is there to back up the aesthetics.
Stop Chasing Cabinet Volume and Start Buying Better Accessibility
Everyone tells you to maximize your storage, but I am going to tell you the opposite: volume is a trap. I have seen countless homeowners insist on the deepest cabinets possible, only to realize six months later that they have created a dark abyss where Tupperware lids go to disappear forever. In my experience, a 24-inch deep cabinet without specialized internals is just a high-priced junk drawer waiting to happen. If you are going deep, you must commit to the hardware that makes it usable. This is why I advocate for the best way to organize heavy dutch ovens in a deep drawer—using full-extension slides that bring the back of the cabinet to your fingertips. Don’t build a cave; build a retrieval system.
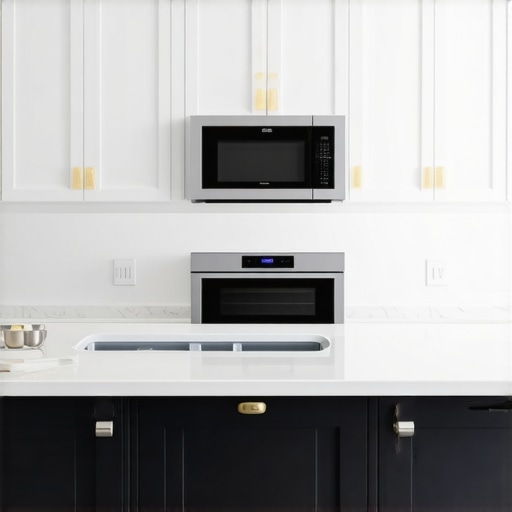
A specific nuance I often see ignored is the ‘finish friction’ in high-use areas. We often prioritize the look of the wood, but the Kitchen Cabinet Manufacturers Association (KCMA) emphasizes that the chemical resistance of the finish is actually the most critical factor for longevity. If you are installing an under-counter microwave or a steam oven, the finish on those storage solutions is going to face constant heat and moisture. Have you ever fallen into this trap of prioritizing aesthetics over technical specs? Let me know in the comments.
Is Your Cabinet Paint Actually a Five-Year Mistake?
This is a tough pill to swallow for many DIYers, but why using standard interior paint on your kitchen cabinets is a five-year mistake boils down to the molecular level. Kitchen cabinets need a catalyzed finish—a coating that hardens through a chemical reaction rather than just air-drying. Standard latex paint stays soft, which means your microwave handle or your cabinet doors will eventually stick to the frames, leading to peeling. When we talk about the truth about pre-finished plywood vs on-site staining, we are really talking about durability. Professional shops use conversion varnishes that can withstand the steam from a microwave without bubbling—something a brush and a can of hardware-store paint simply cannot do.
The Silicone Trap That Ruins High-End Joinery
Here is a professional ‘oops’ factor that almost every rookie makes: reaching for the silicone. You might think it is the perfect sealant for the gap between your microwave trim kit and the wood, but why you should never use silicone for cabinet joinery is simple—it is impossible to paint over and it attracts dust like a magnet. Once silicone touches your wood, no future finish will ever stick to that spot again. If you need to fill a gap during an under-counter install, use a color-matched acrylic caulk or, better yet, scribe your panels for a tight fit that requires no filler at all. Mastering innovative storage solutions for modern kitchen remodels is about the invisible details that keep the kitchen looking new ten years after the contractor leaves.
Stop the Grind Before It Starts
A kitchen is essentially a high-performance machine with hundreds of moving parts. You wouldn’t drive a car for five years without an oil change, yet we often expect our modern kitchen remodels featuring custom cabinets and built-ins to function flawlessly while we slam drawers and spill acidic liquids. If you notice your drawer slides are grinding and how to clear the ball bearings becomes your top priority, you have already waited too long. I keep a can of dry PTFE spray in my utility drawer—never use WD-40, as it attracts dust and creates a sticky sludge—to keep those tracks gliding silently. According to the Architectural Woodwork Institute (AWI), even “Premium Grade” cabinetry requires periodic hardware inspections to ensure that the load-bearing integrity of the hinges and slides remains within the 1/32-inch tolerance required for a high-end look.
My Favorite Hidden Tool for Cabinet Success
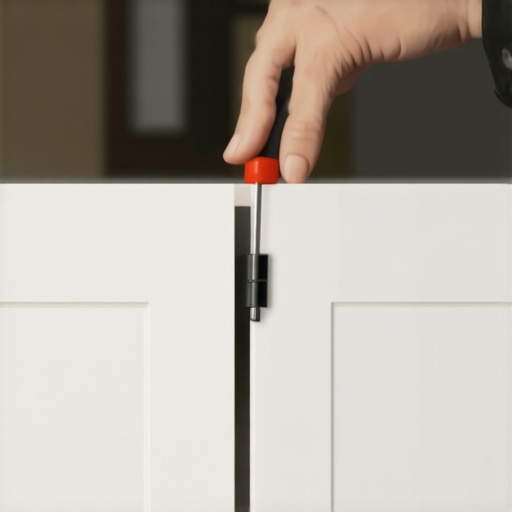
Most homeowners reach for a standard Phillips head screwdriver when a door looks crooked, but that is actually how you strip the screws on European hardware. You need a Pozidriv #2 driver. It looks like a Phillips but has small ribs that prevent the bit from slipping out. This one tool is the difference between a quick fix and a ruined cabinet door. When you are looking at innovative storage solutions for modern kitchen remodels, the ability to maintain the alignment of your doors is what keeps the kitchen looking expensive ten years later. I predict that within the next decade, we will see cabinets with built-in sensors that alert your phone when a hinge has shifted or when the humidity inside a revolutionized kitchen remodel using built-ins exceeds the safety threshold for the wood.
How do I maintain my high-end storage solutions over time?
The secret isn’t an expensive chemical cocktail; it is a simple microfiber cloth and a drop of pH-neutral soap. If you have gone for the trendy dark finishes, learning how to clean matte black cabinet hardware without scratches is vital because once you burnish that finish with an abrasive sponge, the damage is permanent. I also recommend a quarterly “reveal check.” Spend five minutes on the 5-minute hinge adjustment for fixing wonky cabinet reveals. This prevents doors from clipping each other and chipping the paint at the edges. Small, proactive steps like this ensure your custom cabinets ideas that transform your homes style remain a source of pride rather than a list of chores. If you are ready to take your project to the next level with professional engineering, contact us today to discuss your vision.
The Subtle Details That Make or Break Your Storage Flow
After years of tinkering with layouts, I have realized that the most expensive kitchen in the world can still feel ‘off’ if the user experience isn’t calibrated. One of my biggest lightbulb moments was discovering ‘cabinet creep’—the way heavy appliances can slightly shift the alignment of your doors over the first six months. It is why I now insist on a follow-up adjustment once the wood has acclimated to your home’s humidity. Here are a few other hard-won insights:
- Thermal Expansion is Real: If you are nesting a speed oven or microwave, leave a ‘breathing gap’ even if the manufacturer says it is optional. It prevents the wood from drying out and cracking.
- Workflow Zoning: Don’t just hide things where they fit; hide them where they are used. A microwave should be near the fridge for reheating, not across the room by the pantry.
- The 80/20 Rule of Accessibility: Keep 80% of your daily tools within arm’s reach and reserve those high-end built-ins and storage hacks for a sleek functional kitchen for the specialty items.
My Private Arsenal for Cabinet Perfection
I don’t rely on luck to keep my projects looking sharp; I rely on a few specific resources that I trust implicitly. First, I always check the KCMA (Kitchen Cabinet Manufacturers Association) certification to ensure the finish can handle the heat and steam of a busy kitchen. Second, for hardware, I stick to the Pozidriv #2 driver—if you use a standard Phillips, you are just asking for stripped screws and frustration. Finally, for anyone looking to truly maximize space with innovative storage solutions for every room, I highly recommend looking into ‘Active Storage’ principles which prioritize moving parts over static shelves. These expert tips on selecting storage solutions for a perfect kitchen upgrade are the foundation of any high-end result.
#IMAGE_PLACEHOLDER_E#
Stop Planning and Start Transforming
It is easy to get paralyzed by the sheer number of choices in a modern kitchen remodel. You might worry about the cost, the mess, or the possibility of making a mistake. But the truth is, the only mistake is living in a space that doesn’t serve you. Whether you are installing a single under-counter drawer or embarking on a full-scale overhaul, remember that every step toward organization is a step toward a calmer, more efficient life. If you want a deeper dive into the technical side, take a look at our transform your kitchen with custom cabinets expert guide for 2025. Your vision of a clean, clear countertop is closer than you think, and the results are worth every ounce of effort. What is the one appliance currently sitting on your counter that you would love to hide away for good? Let me know in the comments below!