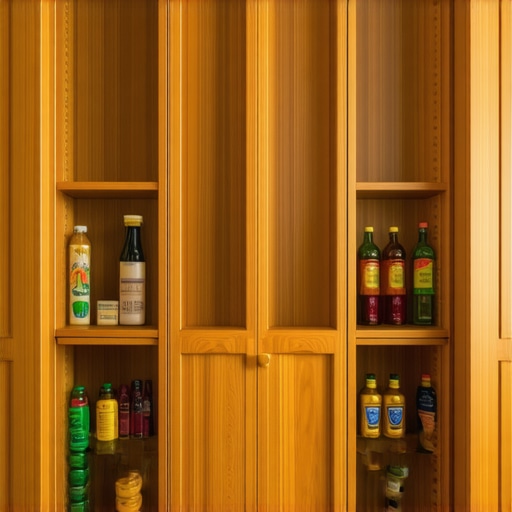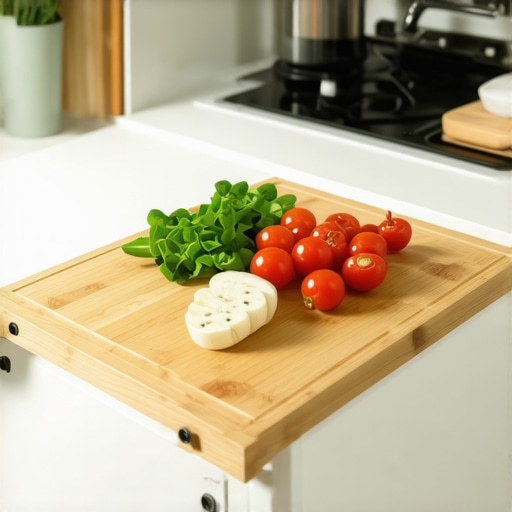
The Pull-Out Cutting Board: A Space-Saving Move for Tiny Kitchens
I still remember the night my Sunday dinner almost ended in the ER. I was trying to dice potatoes on a wobbly board perched precariously over my toaster because, frankly, there wasn’t an inch of counter space left. One slip, a shower of starch on the floor, and a very near miss with my thumb later, I knew something had to change. In a tiny kitchen, every square inch is a battlefield. You shouldn’t have to choose between a clean counter and a cooked meal. Today, I’m going to show you why the humble pull-out cutting board is the most underrated weapon in your arsenal when planning modern kitchen remodels featuring custom cabinets and built-ins. It’s the kind of small move that feels like you’ve suddenly gained a whole new room.
Give Your Counters a Break with This Simple Hideaway
When I first started looking into smart storage solutions for small kitchens in 2025, I made a classic amateur mistake: I bought more plastic bins and organizers that just took up more room on my already crowded shelves. It was a mess. It wasn’t until I looked at the actual structure of my cabinets that I saw the potential for a built-in feature. A pull-out cutting board doesn’t just give you a place to chop; it creates an entirely new work surface that disappears when you’re done. I once tried to DIY a board using a cheap piece of pine I found at a big-box store—huge mistake. It warped within a month because I didn’t account for the steam from the dishwasher right below it. Now, I always tell people that if you’re going to do this, you need to think about materials and placement within your innovative storage solutions for modern kitchen remodels.
Is a built-in board actually worth the cabinet space?
I get the skepticism. You’re probably worried about losing a precious drawer or ending up with a ‘crumb-catcher’ that’s impossible to clean. But let’s be real: how much space are you currently losing to that stack of heavy boards leaning against the backsplash? [image_placeholder] According to the National Kitchen & Bath Association, optimizing vertical and hidden storage can actually increase the perceived size of a small kitchen by up to 20% without adding a single square foot to the floor plan. That’s a massive win for those of us living in older homes or tight apartments. Have you ever found yourself prepping a meal on top of your stove or a closed dishwasher because your counters were just too crowded? If so, you’re exactly where I was before I discovered how custom cabinets act as a game-changer in your kitchen remodel journey. We’re going to walk through how to pick the right spot for your board so it actually helps rather than getting in the way. It’s all about working smarter, not harder, in the space you already have.
Put Your Prep Station Where You Actually Need It
In the world of kitchen design, the ‘work triangle’ isn’t just a suggestion; it’s the law of gravity for home cooks. When I was first mapping out my space, I put my pull-out board on the far end of the island, away from the sink. I spent the next six months dripping tomato juice across the floor every time I moved from the wash-bin to the board. Don’t do that. You want your integrated board situated exactly where you do 90% of your work—typically between the sink and the stove. This is where why we recommend 36-inch base cabinets for every modern remodel because they provide the ideal height and structural depth to house a heavy-duty board without sacrificing the drawer space below. Think of it like a secondary staging area that expands your footprint only when you’re in the heat of meal prep.
Why Hardwood is the Only Option for Built-in Boards
Choosing the material for a built-in board is like choosing the tires for a car; if you go cheap, the whole ride suffers. I learned this the hard way when I tried to save fifty bucks by using a thin plywood scrap. It absorbed moisture faster than a sponge and swelled so much I had to use a crowbar to get it out of the cabinet. For a permanent fixture, you need dense hardwoods like maple, walnut, or beech. These woods are naturally antimicrobial and, when treated correctly, won’t warp from the humidity of a nearby dishwasher. If you’re already investing in high-end features like why your custom cabinets should feature dovetail drawers, you should treat the cutting board with the same respect. It should be at least 1.5 inches thick to prevent cracking under the pressure of heavy chopping. 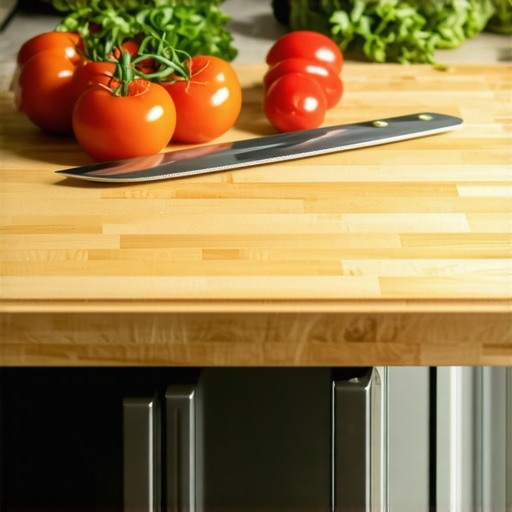
Make Sure Your Base Cabinets Can Handle the Pressure
A pull-out board is essentially a cantilevered shelf, which means it puts a lot of stress on the cabinet face. I once saw a DIY installation where the board actually started to pull the entire cabinet frame away from the wall because the installer didn’t know the proper way to shim cabinets on a high spot in the floor. To avoid this, your cabinet needs to be perfectly level and secured with heavy-duty glides. If your walls are uneven, you’ll need to learn how to align cabinet doors when your walls are out of plumb to ensure the board slides in and out without rubbing the finish. It’s all about the foundation.
The Secret to Stopping Crumbs Before They Hit the Floor
The biggest complaint people have about built-in boards is the ‘crumb-catcher’ effect—bits of onion and carrot falling into the drawer below. The fix is actually mechanical: ensure your board has a slightly wider ‘lip’ or faceplate than the slot it slides into. This creates a seal that keeps debris on the board. When I’m consulting on expert tips on selecting storage solutions for a perfect kitchen upgrade, I always suggest a removable board design. You want to be able to lift the board entirely out of the glides so you can wash it in the sink and wipe out the cabinet track. It’s the difference between a kitchen that looks clean and a kitchen that actually is clean. When you’re figuring out the best way to organize your kitchen tools for efficiency, having that board right above your knife drawer creates a seamless workflow that makes cooking feel less like a chore and more like a professional experience.The common wisdom in the ultimate guide to custom cabinets for a stylish kitchen overhaul is that more integrated features always equal more value. I am going to go against the grain here: sometimes, the most ‘built-in’ features are the ones that should stay the most mobile. I have seen homeowners insist on permanent, non-removable chopping blocks because they want the ultra-sleek look of creating seamless kitchen remasters with built-in storage solutions. That is a recipe for a sanitation disaster. If you cannot pull the board out to scrub it properly, you are essentially building a petri dish into your cabinetry.
Don’t Let Your New Cabinets Suffocate
The ‘oops’ factor usually comes from ignoring the expansion gap. Wood is a living material. Even after it has been kiln-dried and crafted into a beautiful walnut board, it still reacts to the environment. I have seen dozens of smart storage ideas to maximize your kitchen space this year fail because the tolerances were too tight. If you do not leave at least a 1/16th-inch gap on the sides of your pull-out, the first humid summer day in the kitchen will turn that board into a permanent fixture that no amount of pulling will budge. This is a primary reason why your cabinet doors are warping in the summer heat—it is all about moisture management and airflow.
Will a heavy chopping block eventually ruin my cabinet frames?
It is a valid concern. If you are putting a 20-pound slab of maple into a standard cabinet, you aren’t just adding storage; you’re adding a lever that puts immense pressure on the face frame. This is where custom cabinets ideas that transform your homes style need to meet real-world physics. According to the Architectural Woodwork Institute (AWI), pull-out surfaces require specific load-bearing glides and internal structural blocking to prevent the frame from sagging or pulling away from the wall over time. If your installer isn’t talking about ‘blocking’ or ‘cleats,’ they might be setting you up for a cabinet failure three years down the line. 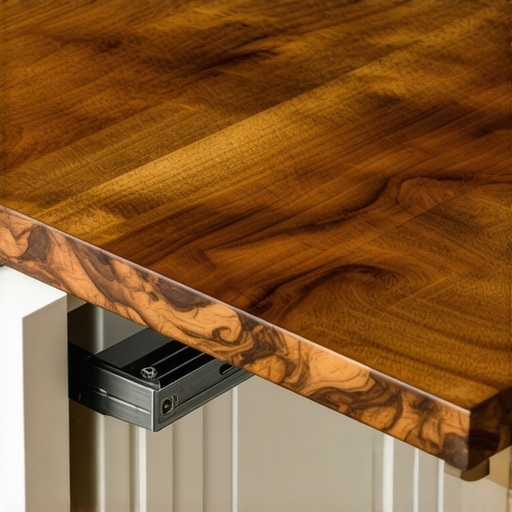
The Tiny Detail That Prevents a Messy Cabinet Floor
One last thing people miss is the ‘drainage’ aspect of prep work. If you are chopping juicy vegetables, that liquid has to go somewhere. If your board is perfectly flat, the juice runs off the back and directly into your drawer slides. I always suggest a slight ‘juice groove’ routed into the board that stops about an inch from the back edge. It is these tiny, technical details that separate built-ins and storage hacks for a sleek functional kitchen from a DIY project that you will regret in six months. Have you ever fallen into this ‘tight tolerance’ trap or dealt with wood swelling in your kitchen? Let me know in the comments.I’ve seen $500 walnut slabs turn into firewood because the owner thought a quick wipe with a damp rag was enough. If you are serious about a transform your kitchen with custom cabinets expert guide for 2025, you have to treat your built-in surfaces like the investment they are. I personally use a heavy application of food-grade mineral oil once a month, followed by a beeswax cream. The oil penetrates, but the wax creates a physical barrier against onion juice and moisture. According to the technical guidelines at John Boos & Co., a dry board can actually develop micro-fissures that harbor bacteria, which is the last thing you want in a permanent kitchen fixture. If you notice the real reason your soft close drawers are sluggish in winter, it is likely the same humidity changes affecting your cutting board’s fit.
How do I keep my integrated board from getting gross over time?
The secret isn’t more soap; it’s less water. I personally swear by a 6-inch stainless steel bench scraper instead of a sponge for daily cleaning. Sponges just move bacteria and moisture around; a scraper physically removes the top layer of debris and moisture without soaking the wood. This is a critical habit to develop, especially when you are also learning how to remove grease from wood cabinets without ruining the finish. If you keep the board dry and scraped, you’ll rarely need a deep scrub. 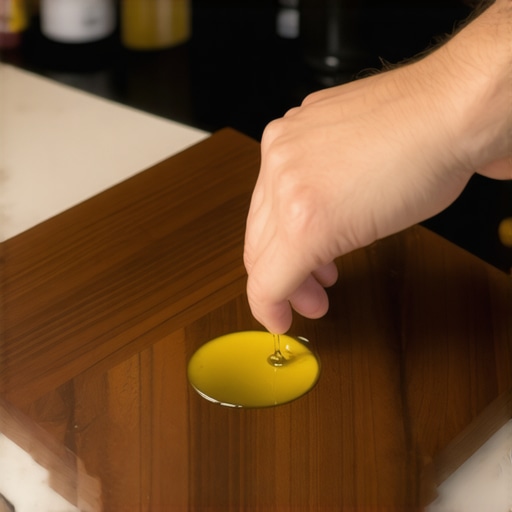
Stop Your Wood from Cracking Before it Starts
Moisture is the primary enemy of any built-in feature. Just as why your sink cabinet needs a drip tray right now to prevent structural rot, your pull-out board needs a dedicated ‘breathing’ period. I never slide my board back into the cabinet immediately after washing it. I leave it extended for at least two hours. This prevents the dark, damp environment inside the cabinet from becoming a breeding ground for mold. If you are worried about the aesthetics of an extended board, consider it part of the ‘chef at work’ look that defines high-end built-ins and storage hacks for a sleek functional kitchen.
Why I Throw Away My Sandpaper for a Cabinet Scraper
Every few years, your board will need a refresh. Most people reach for 80-grit sandpaper, but I recommend a card scraper. Sandpaper leaves dust in the pores of the wood, which can mix with your oil and create a gummy mess. A card scraper actually shears the wood fibers, leaving a glass-smooth surface that resists moisture much better than sanded wood ever could. It is this level of detail that makes custom cabinets ideas that transform your homes style truly last for decades rather than just a few seasons.
The Future of Integrated Prep Stations
I predict we will soon see the rise of ‘smart’ prep surfaces that include integrated digital scales and wireless charging pads built directly into the hardwood. As we move toward more creating seamless kitchen remasters with built-in storage solutions, the line between furniture and appliance will continue to blur. For now, focus on the fundamentals of wood care. If you’re ready to design a space that works as hard as you do, feel free to contact us to discuss your layout. Try this today: Heat your mineral oil slightly in a bowl of warm water before applying it to your board. The warmth lowers the viscosity, allowing the oil to penetrate much deeper into the hardwood fibers for a superior seal.
What I Learned After Three Broken Cutting Board Slots
Planning modern kitchen remodels featuring custom cabinets and built-ins is about more than just aesthetics; it is about anticipating the daily wear and tear of a busy household. One thing I never realized until I saw a board snap was the importance of grain orientation. If your board’s grain isn’t running parallel to the glides, the natural expansion of the wood will eventually split the board or jam the mechanism entirely during humid months. I also recommend adding a “stop” block—a tiny piece of wood at the back of the track that prevents the board from being pushed too far in and hitting the plumbing or the back of the cabinet.
Another lightbulb moment came when I realized that integrated boards shouldn’t be limited to just wood. Some of the most innovative storage solutions for modern kitchen remodels now incorporate interchangeable inserts, allowing you to swap a maple board for a stone pastry slab in seconds depending on what you are making for dinner.
The Only Gear You Need for a Lifetime of Chopping
If you are diving into expert tips on selecting storage solutions for a perfect kitchen upgrade, you need the right maintenance toolkit to protect your investment. I personally swear by three specific items: First, a high-quality food-grade mineral oil—avoid vegetable oils as they can go rancid over time. Second, a stainless steel bench scraper for clearing debris without dulling your knife or soaking the wood in the sink. Finally, ensure your installer uses 100lb-rated full-extension slides. Standard drawer hardware simply won’t hold up to the downward pressure of heavy chopping or dicing.
[image_placeholder]
Take Back Your Counter Space One Custom Detail at a Time
You deserve a kitchen that feels like a sanctuary, not a source of stress. By integrating these small but mighty features, you are doing more than just saving space; you are creating a home that adapts to your needs. Don’t be afraid to experiment with your layout to find what feels natural for your cooking style. Whether you are doing a full overhaul or just adding a few built-ins and storage hacks for a sleek functional kitchen, the goal is always the same: efficiency without sacrifice. If you’re ready to see how these details can fit into your floor plan, reach out to us and let’s start planning. Have you ever tried to DIY a built-in feature only to realize it needed a professional touch to really function? Let me know your stories in the comments below!