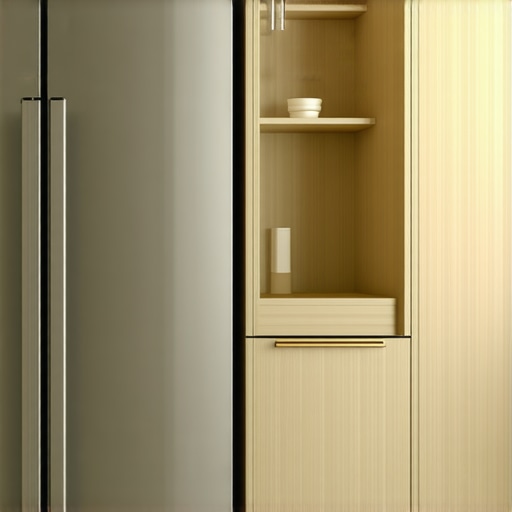
How to Fix the Gap Between Your Cabinet and the Refrigerator
I remember standing in my kitchen at 2 AM, flashlight in hand, staring at the three-inch “no-man’s land” between my brand-new fridge and the cabinetry. It wasn’t just an eyesore; it was a graveyard for stray Cheerios and dust bunnies that seemed to breed in the dark. I had spent weeks treating custom cabinets as a game-changer for my remodel, but that one sliver of empty space made the whole room look like an unfinished afterthought. It’s frustrating when you invest so much heart into a project only to have a small gap scream “amateur hour” every time you go for a snack. Today, I am going to show you how to close that gap for good. Whether you are dealing with a standard clearance or a weirdly angled leftover space, we are going to turn that gap into a design feature that actually adds value to your home.
Get the Built-In Look Without the Designer Price Tag
The truth is, most refrigerators need a little breathing room for ventilation—usually about an inch according to major manufacturers—but there is a massive difference between “functional clearance” and “this looks like I forgot to measure.” When I first started out, I made the classic rookie mistake of trying to bridge a two-inch gap with nothing but thick caulk. It was a sticky, sagging mess that I had to scrape off with a putty knife and a lot of colorful language. Since then, I’ve learned that the secret to a high-end feel isn’t just about the appliances; it’s about the ultimate guide to custom cabinets and how they integrate with your space. We are going to fix that gap using trim, fillers, or even clever storage hacks that make your fridge look like it was born in that spot. Have you ever lost your car keys or a spatula into that dark abyss behind your refrigerator? [image_placeholder]
Is a tiny gap really worth all this effort?
You might think I’m being a bit obsessive, but detail is what separates a “remodel” from a “transformation.” A seamless transition between your fridge and your expertly selected storage solutions creates a visual flow that makes even a small kitchen feel expansive. According to the National Kitchen and Bath Association, integrated looks are a top priority for homeowners because they reduce visual clutter and simplify cleaning. In this guide, I am breaking down the exact materials and methods I use to reclaim that lost space, ensuring your kitchen looks like it was designed by a pro, even if you are just a weekend warrior with a miter saw and a dream. Let’s get into the nitty-gritty of the shims and trim that will change your kitchen’s profile.
Stop the Rattle with Solid Cleats
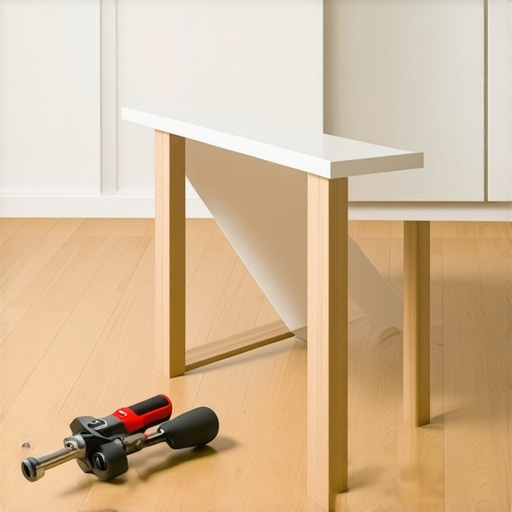
Before you even touch a piece of trim, you need something for that trim to bite into. I learned this the hard way during a frantic weekend remodel when I tried to pin-nail a filler strip directly into the side of a cabinet without a backer. Every time the heavy fridge door swung shut, the vibration sent a tiny tremor through the wood until, three weeks later, the whole strip clattered onto the floor. To do this right, you need to install “cleats”—think of these as the skeleton for your filler. Use scrap 1×2 or 2×2 lumber and screw them into the side of the cabinet carcass or the adjacent wall. Since these are the structural bones of your built-in, you should ensure your cabinet boxes are stapled, glued, and screwed properly so they do not shift under the added weight.
Scribe Your Way to a Zero-Gap Finish
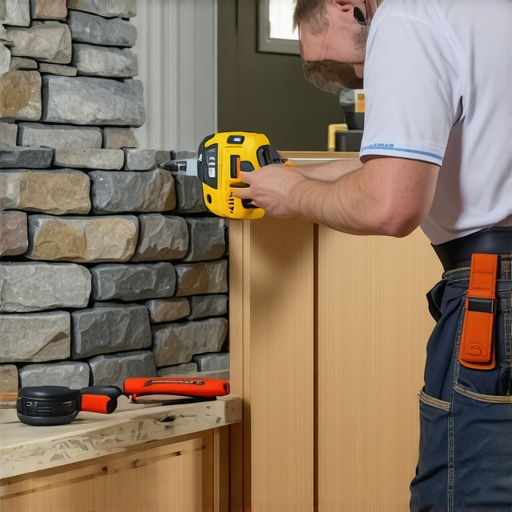
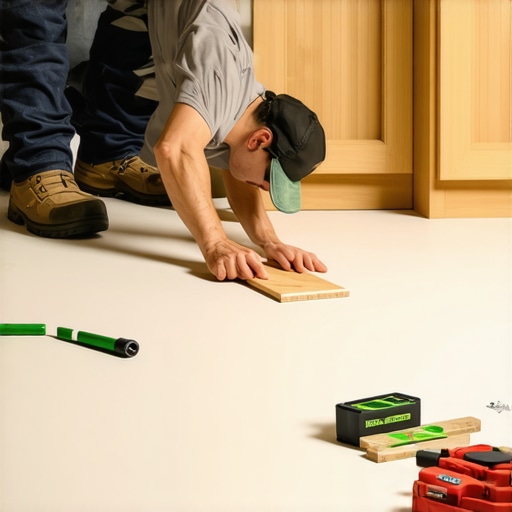
Walls are rarely straight. They bow, they lean, and they have “character” that makes straight pieces of wood look like a mistake. This is where scribing comes in. You take your filler piece, hold it perfectly plumb against the gap, and use a compass or a simple scribe tool to trace the contour of the wall onto the wood. It is like tracing a map of the wall’s imperfections. This technique is exactly how to scribe a bench to a stone wall or any other uneven surface for a tight, professional fit. Once you have traced the line, you use a jigsaw or a power plane to shave the wood down to that mark. The first time I tried this, I over-cut and had to buy a second forty-dollar piece of trim. Take it slow; you can always take more off, but you cannot put it back on.
Pick the Right Material for the Job
If you are planning to paint your kitchen, the type of wood you choose for your filler strips is the difference between a smooth finish and one that shows every grain line. I always suggest using a closed-grain wood like maple or poplar. Using the best wood species for painted cabinets ensures that your built-in looks like one continuous piece of furniture rather than a patched-together DIY project. If you use oak, those deep pores will telegraph through your paint and ruin the illusion of a seamless transition.
The Secret to Joining Without Cracking
Once your pieces are cut and dry-fitted, it is time for the permanent marriage. Whatever you do, keep the silicone away from your cabinetry joints. It is great for bathtubs, but it is the enemy of paint. Most people do not realize why you should never use silicone for cabinet joinery—it creates a slick surface that paint will fish-eye and peel off of within weeks. Instead, use a high-quality wood glue and 23-gauge pin nails for the finest finish possible.
Turn That Void into an Asset
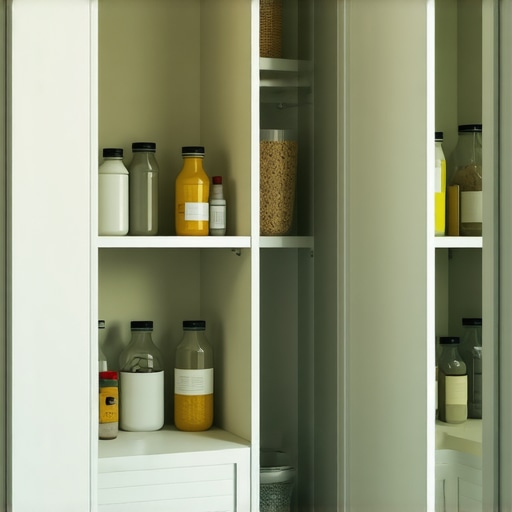
If your gap is wider than three inches, do not just fill it with a flat board. That is wasted real estate. In many built-ins and storage hacks for a functional kitchen, that three-inch gap is the perfect spot for a pull-out spice rack or a slim cabinet for baking sheets. I once installed a hidden “broom closet” in a four-inch gap next to a fridge that held a Swiffer and a handheld vacuum. It turned an architectural flaw into the most talked-about feature of the remodel. It is about being smart with creative storage and built-ins to ensure no square inch goes to waste.Everyone tells you that more cabinets equal a better kitchen, but in my experience, a poorly planned wall of boxes is just a larger junk drawer. The real magic happens when you focus on innovative storage solutions for modern kitchen remodels rather than just volume. Most homeowners obsess over the door style but ignore the carcass—the box itself. If you are not careful, you will end up with a beautiful exterior that sags because the structural integrity was not prioritized. This is why your base cabinets should be secured with 3-inch rugged screws and not just simple finish nails. I have seen entire islands shift an inch because the installer thought gravity would do the work. Spoiler: it will not. The ‘Oops’ factor often comes down to chemistry, not just carpentry. People spend a fortune on a specific shade of white, only to realize six months later that the finish is failing. You need to understand the difference between pre-catalyzed and post-catalyzed cabinet lacquer before you sign that contract. Standard house paint is a five-year mistake on cabinetry because it lacks the chemical resistance to withstand kitchen oils and steam. Have you ever fallen into this trap? Let me know in the comments. 
Why does my expensive paint job look yellow after only two years?
According to the National Kitchen and Bath Association (NKBA), the most common complaint after a remodel is not the color, but the lack of functional accessibility. However, a close second is finish degradation. This is a hidden nuance most contractors will not mention: if you use a solvent-based finish in a kitchen with limited UV exposure, or if the finish reacts with certain cleaning chemicals, it will amber over time. This is especially true with the hidden costs of choosing custom colors for your cabinetry where the pigment is not properly stabilized. When you are planning modern kitchen remodels featuring custom cabinets and built-ins, always ask for a non-yellowing acrylic or a high-solids conversion varnish. It is the difference between a kitchen that ages gracefully and one that looks like a 1970s smoking lounge within a few years. Professional cabinetry is an investment in both engineering and aesthetics, and cutting corners on the ‘unseen’ specs is the fastest way to ruin a high-end look.Even if you nail the paint finish, a single saggy drawer or a crooked handle can make a high-end kitchen feel like a bargain-bin special. I have learned that the mechanical integrity of your modern kitchen remodels featuring custom cabinets and built-ins is just as vital as the aesthetic. To keep everything functioning at a peak level, you need to move beyond the basic screwdriver. I swear by using a dedicated hardware jig; specifically, I use the True Position Drill Guide. It is the one tool you need for perfectly aligned cabinet knobs every time because it eliminates the ‘human error’ of a tape measure. When you are drilling into a door that cost three hundred dollars to manufacture, you don’t want to rely on a pencil mark that might be an eighth of an inch off. Investing in pro-grade alignment tools ensures that your transformative kitchen with custom cabinets maintains that sharp, linear look that defines luxury.
How do I keep my custom cabinets working like new?
Maintenance is not just about wiping down the counters; it is about the hardware under the hood. According to the technical specifications from Blum, a leader in functional hardware, their hinges are tested for 200,000 opening and closing cycles. However, even the best hardware can fall victim to household dust and kitchen grease. If you notice a change in how your drawers move, it is often why your drawer slides are grinding and how to clear the ball bearings before the mechanism fails entirely. I make it a habit to do a ‘hinge audit’ every six months. A quick five-minute adjustment for a perfectly level door reveal can prevent doors from rubbing against each other, which is the leading cause of chipped paint on the edges of inset cabinetry. 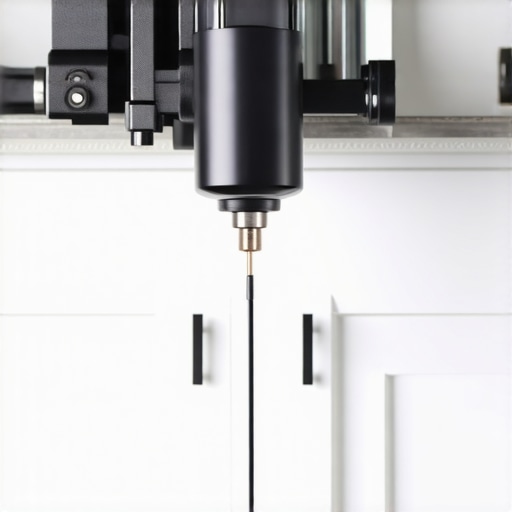
Smart Scaling and the Digital Future of Cabinetry
As we look toward the future of home renovation, the ‘measure twice, cut once’ mantra is being augmented by digital precision. I am already seeing a massive shift toward LIDAR scanning for site measurements. Instead of a tape measure, pros are using handheld scanners to create 3D maps of a room, ensuring that innovative storage solutions for modern kitchen remodels fit with sub-millimeter accuracy. This technology allows us to design creative storage and built-ins that account for every hump in your floor and every bow in your wall before the wood even reaches the shop. If you want to scale your project from a simple kitchen refresh to a full-home integration, start thinking about your cabinetry as an engineered system rather than just boxes on a wall. I encourage you to grab a Pozi-drive screwdriver this weekend—not a standard Phillips—and check the tension on your hinge plates. It is the smallest adjustment that often yields the most satisfying, professional results.
Why a Fractional Error Can Ruin Your Kitchen’s Symmetry
One of the biggest mistakes I see isn’t the woodwork—it’s the timing. Many DIYers rush the final assembly and end up with gaps that shift by the next season. I have learned that choosing wood species that won’t crack at the joints is only half the battle; you have to let the wood acclimate to your kitchen’s humidity for at least 48 hours before you scribe your filler pieces. Also, do not be afraid of the ‘false front.’ If a gap is too narrow for a drawer but too wide for a simple filler, a magnetic false panel can hide extra plumbing or electrical without being a permanent wall. Finally, always remember that ‘level’ is a suggestion, but ‘flush’ is the law. If your filler strip isn’t perfectly flush with the cabinet door plane, the shadow line will scream that it’s an add-on rather than a built-in feature.
The Gear That Makes My Cabinet Work Look Professional
If you are looking to take your space further, I always point people toward smart storage ideas to maximize kitchen space because they solve problems you didn’t know you had before you started the remodel. For specific tools, I recommend a high-quality digital caliper for checking material thickness and a dedicated scribe compass with a locking nut—the cheap plastic ones will slip and ruin your forty-dollar piece of trim. These aren’t just gadgets; they are the tools that ensure your seamless kitchen remaster with built-in storage solutions looks like it was installed by a master craftsman. I also suggest keeping a bottle of fast-acting CA glue with an activator spray on hand; it’s perfect for holding small returns and delicate trim pieces in place while the wood glue sets up.
Finish the Job and Enjoy Your Dream Kitchen
Your kitchen is the heart of your home, and finishing these small details is how you show it a little love. By focusing on the transitions and closing those unsightly gaps, you aren’t just fixing a mistake—you’re finishing a legacy for your family to enjoy for years to come. Go grab your tools, take a deep breath, and make those custom cabinets ideas a reality. Have you ever discovered a mysterious ‘no-man’s land’ gap in your kitchen that seemed impossible to fix? Tell me how you tackled it in the comments below!