How to Stop Your Pantry Shelves from Bowing Under Heavy Cans
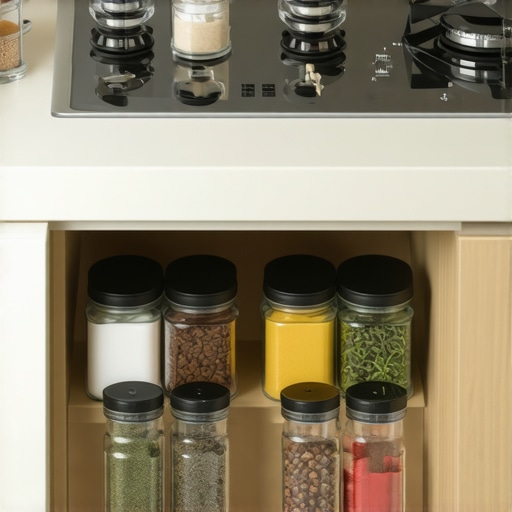
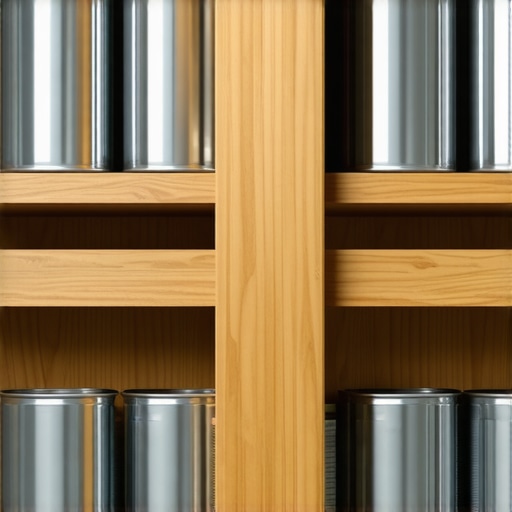
I still remember the sound—a slow, agonizing ‘crrrrack’ that echoed through my kitchen at 2 AM. I honestly thought a burglar was trying to saw through my back door. But when I flicked on the pantry light, I didn’t find a thief. I found a battlefield. A shelf full of bulk-sized tomato sauce cans and 10-pound bags of flour had finally surrendered to gravity, snapping right in the middle. The ‘smiley face’ sag I’d been ignoring for months had turned into a full-blown disaster. It was a messy, sticky wake-up call that my ‘standard’ storage wasn’t up to the task of a real, working kitchen. In those early days, I made the amateur mistake of thinking a shelf is just a piece of wood. I didn’t account for the physics of heavy-duty storage. If you’ve noticed your own shelves starting to dip under the weight of your grocery haul, don’t wait for the midnight crash like I did. Today, we’re going to walk through exactly how to beef up those spans so they stay as flat as a pancake, no matter how many cans of beans you stack on them. Whether you are right in the middle of a custom cabinet journey or just looking for smart storage ideas to maximize your kitchen space, getting your shelving right is the foundation of a functional home.
The Night My Pantry Finally Gave Up on Me
I’ll be the first to admit it: I used to be lazy about my pantry. I figured if the builder put the shelves there, they must be strong enough for whatever I bought at the warehouse club. Wrong. Most standard pantry builds use thin particle board or poorly supported pine that just isn’t designed for the density of canned goods. When you are looking for built-ins and storage hacks, you have to prioritize structural integrity over just aesthetics. According to the American Wood Council, wood under constant load can experience something called ‘creep,’ where it permanently deforms over time even if it doesn’t break immediately. That’s why that slight bow you see today will only get worse. One of the biggest mistakes I made early on was using 1×12 solid pine for a four-foot span without any center support. It looked great for a week, then it looked like a hammock. Now, I always tell people why we recommend plywood shelves for those longer reaches. Plywood’s cross-grain layers resist that sagging far better than solid lumber or MDF ever could. Have you ever noticed your shelves looking a little too ‘curvy’ for comfort? Tell me about your worst pantry fail in the comments!
Is it actually worth the hassle to reinforce them?
You might be thinking, ‘It’s just a pantry, can’t I just flip the board over every few months?’ Trust me, I tried that. It doesn’t work; you just end up with a board that’s wavy in both directions. Reinforcing your shelves is about more than just avoiding a mess; it’s about protecting your investment in your home. If you’re going through the trouble of modern kitchen remodels, you don’t want the heart of your storage to fail. Plus, a fixed middle support shelf can be a total game-changer for the overall stability of your cabinet carcass. We’re going to look at the practical ways to add stiffness without making your pantry look like a construction site.The first thing I do when I see a ‘hammocking’ shelf is look at how it’s actually connected to the walls. Most of the time, it’s just sitting on four little plastic pins. That’s like trying to hold up a bowling ball with four toothpicks. Instead, you need to install perimeter ‘cleats’—thin strips of wood that run along the back and sides of the shelf. I learned this the hard way during a job where the client’s entire spice collection ended up on the floor because the pins sheared off. Now, I screw 1×2 cleats directly into the studs. That is why your base cabinets should be secured with 3-inch rugged screws; those cleats aren’t going anywhere once they’re biting into the framing. This creates a solid ledge that supports the shelf around three-quarters of its perimeter, drastically reducing the pressure on the center.
Ditch the Nails and Use Perimeter Cleats
When you are designing innovative storage solutions for modern kitchen remodels, you cannot rely on gravity and friction to hold up your canned goods. Adding a cleat effectively shortens the unsupported span of the wood. If you have a 12-inch deep shelf, and you add a cleat on the two sides and the back, the wood only has to ‘fight’ gravity from the front edge. It’s a simple mechanical advantage that costs about five dollars in scrap wood but saves you hundreds in replacement costs when a shelf eventually snaps. I always pre-drill the cleats to avoid splitting the wood, especially if I’m working with a hardwood like maple.
Turning Thin Boards Into Structural I-Beams
Next, you need to think about ‘nosing.’ Imagine a piece of paper. If you hold it flat, it flops. If you fold a half-inch edge down at a 90-degree angle, it suddenly becomes rigid. That’s the magic of vertical orientation. I once had a client who insisted on storing 50-pound bags of bulk flour on her upper shelves. To make it work without the shelves snapping, I glued and screwed a 1.5-inch strip of solid hardwood to the front edge of her plywood shelves. We then used the secret to making plywood edges look like solid wood to give it a high-end, seamless finish. That vertical strip acts like an I-beam. It forces the wood to resist gravity using its entire width rather than just its thickness. It’s the difference between a shelf that bows under a bag of flour and one you could practically stand on. 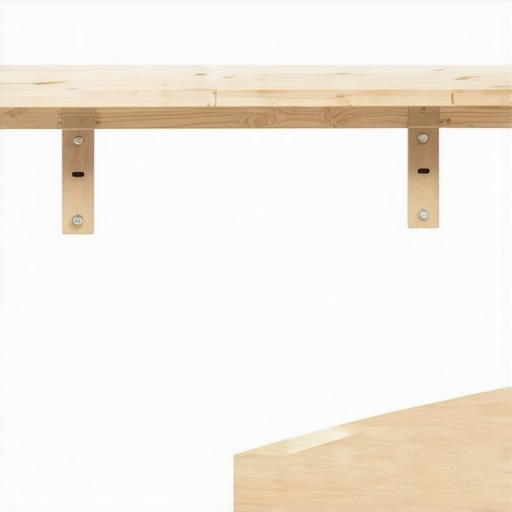
Brace the Center for the Heavy Weight Reality
If your pantry spans are particularly long—say, over 36 inches—you might need to go beyond just the edges. This is where why plywood box construction still beats particle board for kitchens becomes so obvious. Particle board will eventually crumble under sustained stress, but plywood has the tensile strength to handle a center support. Adding a vertical divider or a ‘stiffener’ block in the middle of the span can cut the load in half instantly. It’s very similar to the logic behind how to fix a sagging pot and pan drawer with a center support. For those who want the ability to reorganize their height later, understanding why you should design your pantry with adjustable shelf tracks is the way to go, provided you use heavy-duty steel standards. Finally, always remember that why every tall pantry needs a fixed middle support shelf isn’t just about the shelf itself; it’s what keeps the entire cabinet carcass from bowing outward and losing its structural integrity over time.
I’ve seen it a hundred times: a homeowner thinks ‘custom’ means packing every square inch with pull-outs and gizmos. But here’s the contrarian truth: over-engineering your kitchen can actually make it harder to use. While expert tips on selecting storage solutions for a perfect kitchen upgrade usually focus on adding more, the real pros know when to subtract. The National Kitchen & Bath Association (NKBA) notes that overcrowding a floor plan with too many specialized inserts can lead to ‘storage fatigue’ where you spend more time moving things out of the way than actually cooking. True expertise isn’t just about fitting more cans on a shelf; it’s about the physics and ergonomics of the space.
Is there a limit to how wide your drawers should actually be?
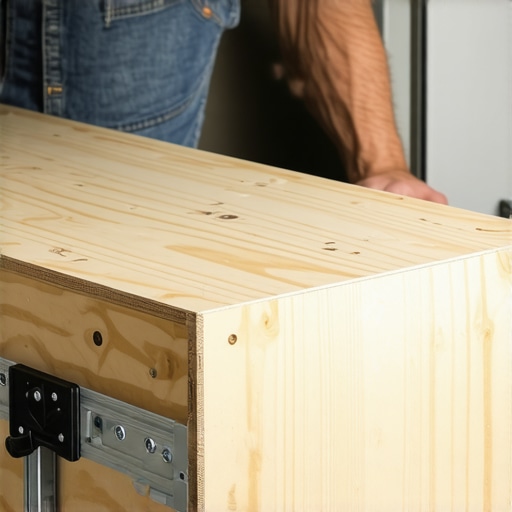
Many clients request massive, 48-inch wide drawers because they look sleek in modern kitchen remodels featuring custom cabinets and built-ins. However, the hidden nuance here is the ‘leverage tax.’ A drawer that wide, even when built with high-quality materials, puts immense strain on the drawer slides and the pull itself. This is where the 5-inch rule for choosing the right size cabinet pulls for large drawers becomes critical. If you use a tiny handle on a massive drawer, you’re creating a localized stress point that will eventually cause the wood to warp or the hardware to fail. Furthermore, why your trash pull-out needs a bottom-mount slide for better weight handling is a lesson usually learned after a side-mount slide bends under the weight of a week’s worth of heavy recycling.
One of the most frequent ‘oops’ factors I encounter is the poor placement of heavy-duty storage. For example, why your garbage pull-out should never be next to the oven isn’t just about hygiene; it’s about heat and expansion. The warmth from a high-heat oven can cause the wood in adjacent cabinets to expand and contract more rapidly than the rest of the run, leading to misaligned doors and sticky slides. Similarly, a common aesthetic choice like T-bar handles can become a daily annoyance. I always show clients how to use t-bar pulls without them catching your pockets by selecting specific lengths or end-cap styles that prevent that dreaded ‘snag’ while you’re moving quickly through the kitchen. When you are looking at the ultimate guide to custom cabinets for a stylish kitchen overhaul, remember that the best storage is the kind you don’t have to think about because it just works. Have you ever fallen into the trap of choosing a ‘cool’ feature that ended up being a headache? Let me know in the comments!
If you want your kitchen to survive the daily grind of a busy family, you need more than just good wood—you need the right maintenance habits. I’ve found that most ‘failures’ aren’t actually breaks; they’re just parts that drifted out of alignment. For me, the secret weapon is a dedicated hardware jig. I tell every DIYer that the one tool you need for perfectly aligned cabinet knobs every time isn’t a tape measure; it’s a fixed template. When your handles are even a sixteenth of an inch off, you’re pulling the drawer at an angle. Over time, that slight sideways force is the real reason your cabinet drawer slides are grinding. It’s a cascading failure that starts with a tiny measurement error and ends with a broken slide.
How do I maintain my custom storage over time?
The biggest killer of high-end cabinetry isn’t use; it’s neglected physics. Every six months, I do a ‘hinge hike.’ I walk through the kitchen and check for doors that aren’t sitting flush. Learning how to adjust European hinges for a perfectly level door reveal takes five minutes but prevents the door from rubbing against the frame and chipping the finish. According to the Architectural Woodwork Institute (AWI) Standards, high-quality shelving should have a deflection limit of 1/16th of an inch per foot of span under a full load. If you see more than that, it’s time to add a center support or beef up the nosing. Also, keep an eye on your hardware. If you notice things getting sticky, it’s usually just dust mixed with kitchen grease. I’ve written specifically about why your soft-close slides are failing and the quick cleaning fix because a simple wipe-down and a drop of dry lubricant can save you from buying expensive replacements. Looking ahead, I see the industry moving toward ‘active’ storage. We’re already seeing more integrated tech, but the real shift is in materials that handle humidity and UV exposure better. While custom cabinets ideas that transform your homes style often focus on the aesthetic, the future is in ‘smart’ finishes that resist the chemical reactions I see so often in older homes. If you’re worried about discoloration now, you should check out the real reason your white painted cabinets are turning yellow. For those ready to scale up their project, don’t just think about the kitchen. The same logic of structural integrity applies to built-ins that elevate your living rooms functionality. My advanced tip for today: go into your kitchen right now and check the vertical gap between your doors. If it’s uneven, grab a screwdriver and fix it before the wood starts to wear. If you’re feeling stuck on the technical side, you can always contact us to get a professional set of eyes on your layout.
The Brutal Truth About Shelf Failure I Learned the Hard Way
Over the years, I’ve realized that most homeowners underestimate the sheer weight of a fully stocked pantry. A single shelf of canned goods can easily weigh 60 to 80 pounds, which is why expert tips on selecting storage solutions for a perfect kitchen upgrade always emphasize structural support over pure aesthetics. I used to think the wood species was the only factor, but it is actually the connection points that usually fail first. If you are building out built-ins and storage hacks for a sleek functional kitchen, remember that a sag is a warning sign, not a permanent state. Fixing it early prevents the entire cabinet box from pulling away from the wall and compromising your entire kitchen remodel. I have also learned that why pre-finished maple interior is better than melamine comes down to how well the material grips those shelf pins under heavy loads without crumbling.
My Go-To Toolkit for Rock-Solid Cabinetry
If you are ready to stop the sag, there are a few items I never start a project without. First, the one tool you need for perfectly aligned cabinet knobs every time is a dedicated hardware jig; it ensures that your pull forces are centered and do not torque the door or drawer. I also recommend keeping a box of 3-inch rugged screws on hand for any cleat installation to ensure you hit the studs. For drawer issues, knowing how to fix a sagging pot and pan drawer with a center support is a skill that translates perfectly to reinforcing wide pantry spans. Finally, always consult a structural guide for weight limits—knowledge is just as important as the drill in your hand when managing a high-end storage project.
Build a Kitchen That Stands the Test of Time
At the end of the day, your home should be a place of peace, not a place where you are worried about things crashing down in the middle of the night. Implementing these smart storage ideas to maximize your kitchen space is about creating a foundation of quality that lasts for decades. Whether you are embarking on a full custom cabinet journey or just tweaking what you have, focus on the physics first and the finish second. Your future self and your pantry organization will thank you. Have you ever walked into your kitchen to find a ‘smiley face’ shelf staring back at you? Let me know your storage disaster stories below!