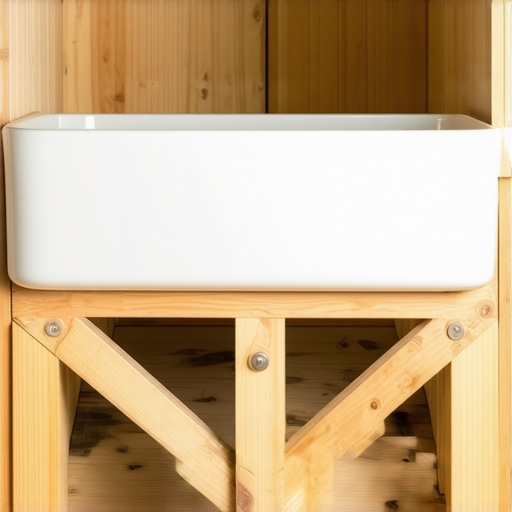
The Best Way to Reinforce a Sink Base for Heavy Farmhouse Sinks
I remember standing in my kitchen at 2 AM with a flashlight, staring at a tiny, silver-sliver of a gap between my brand-new fireclay sink and the granite countertop. I’d spent months planning the perfect kitchen, yet there I was, listening to a faint, rhythmic creak every time the dishwasher ran. I thought I’d done everything right by just sliding that beautiful, 150-pound beast into a standard cabinet. I was wrong. I had ignored the sheer physics of a heavy basin. Within three weeks, the weight had started to pull the front rail down, and I realized I was one heavy pot of pasta water away from a catastrophic failure. It was a stressful, expensive wake-up call that taught me one thing: if you don’t build a literal throne for your farmhouse sink, the cabinet will eventually bow to its master.
Why Your Standard Cabinet is Secretly Terrified of That Sink
Most off-the-shelf base cabinets are designed to hold a lightweight stainless steel drop-in, not a massive block of fired clay or cast iron. When you are figuring out how to choose the right sink for your kitchen remodel, you have to look beyond the aesthetic and consider the literal tons of pressure involved. A farmhouse sink isn’t just heavy on its own; once you fill it with water and a stack of Dutch ovens, you are looking at over 200 pounds of dead weight. According to technical specifications from leading manufacturers like Kohler, a full large-capacity sink can easily exceed the structural load limits of standard 1/2-inch particle board cabinet sides. I made the rookie mistake of using thin pine furring strips as supports during my first DIY attempt, and they warped faster than a cheap bookshelf. Today, I’m going to show you the ‘overkill’ method—the only method I trust—to ensure your sink stays perfectly level for decades. We aren’t just slapping some wood in there; we are building a structural cradle. Have you ever noticed your current sink starting to pull away from the backsplash, or is that just my past trauma talking?
Is all this extra lumber actually worth the effort?
I get this question all the time from neighbors who think a few extra screws will do the trick. The short answer is a resounding yes. You have to realize that why most undermount sink clips fail is because they rely on the strength of the countertop or a tiny flange. For a farmhouse sink, the cabinet itself must become the support. I always start the process by securing your base cabinets with 3-inch rugged screws into the studs before even thinking about the sink. If the box isn’t anchored, the reinforcement is useless. We’re going to talk about using 2×4 bracing and 3/4-inch plywood cradles to distribute that weight directly to the floor. It might seem like a lot of work now, but it’s a lot cheaper than replacing a cracked countertop and a shattered sink six months down the road. Let’s get into the nitty-gritty of the build.
The Anatomy of a Bulletproof Sink Cradle
Building a support system for a farmhouse sink is less about delicate carpentry and more about bridge engineering. You are creating a structural path that transfers the weight from the sink, through the cradle, and down into the cabinet floor and the house’s subfloor. Think of the internal supports as the legs of a weightlifter; if they aren’t perfectly vertical and braced against the ‘torso’ of the cabinet, the whole thing folds. I’ve learned the hard way that skipping a single screw here means you’ll be looking at a hairline crack in your grout within six months. When you are gathering expert tips on selecting storage solutions for a perfect kitchen upgrade, always prioritize the structural integrity of the sink base first.
Ditch the Flimsy Brackets for 2×4 Support
Forget the metal L-brackets that come in the box. To do this right, you need 2×4 lumber. Measure the interior depth of your cabinet and cut two 2×4 rails to run front-to-back along the side panels. These act as the primary joists. I remember a project last summer where the homeowner insisted on using 1×2 pine strips to save space. We got the sink in, filled it with water for a leak test, and literally heard the wood splinter. We had to tear the whole thing out and start over. Now, I always insist that why your cabinet boxes should be stapled, glued, and screwed is the absolute minimum standard for modification. Bolt these 2×4 rails into the side panels and, more importantly, into the wall studs behind the cabinet for maximum sheer strength.
Why a Plywood Deck Wins Over Furring Strips
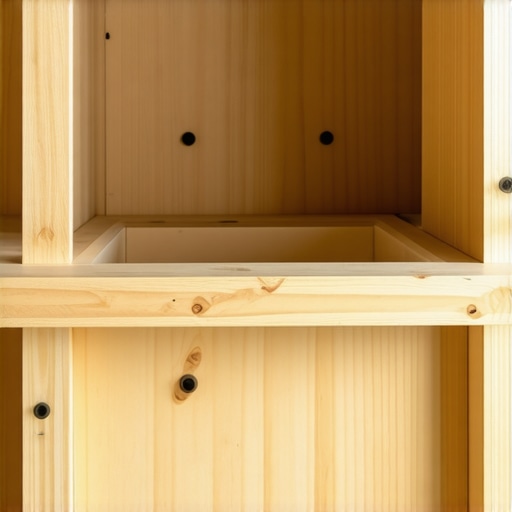
Once your side rails are in, you need a ‘deck.’ Instead of just letting the sink sit on the two rails, cut a piece of 3/4-inch ACX plywood to span the entire width. This creates a solid platform that prevents the sink from shifting or vibrating when the garbage disposal kicks in. It also gives you a flat surface to work with when you realize the proper way to shim cabinets on a high spot in the floor often requires micro-adjustments at the sink level too. I once spent three hours shimming a fireclay sink on a sloped floor in an old farmhouse—if I hadn’t had that solid plywood deck, I would have been shimming thin air.
Nail the Perfect Height Without Guesswork
The trickiest part is the ‘reveal.’ You want the top of the sink to sit exactly 1/8-inch below the top edge of the cabinet frames so the countertop can glide right over it with a thick bead of silicone in between. To get this right, I use a hydraulic floor jack—the kind you use for a car—and a scrap 4×4 post to slowly lift the sink into place while I secure the final supports. It’s a bit of a workout, but it beats trying to muscle a 150-pound basin into place by hand. While you’re under there, keep an eye on your pipe layout; the simple pivot that reclaims your under-sink plumbing space usually involves moving the P-trap further back to clear the massive footprint of these sinks. If you don’t plan the drain height now, you’ll be cutting into your beautiful new cradle later.
I see people obsess over ‘linear feet’ of cabinetry all the time, but volume is a liar. You can have forty feet of cabinets and still have a cluttered countertop if the interior engineering is flawed. The hidden nuance that separates a DIY-feeling remodel from a professional masterpiece is volumetric efficiency. Most homeowners assume that standard 24-inch deep base cabinets are the gold standard, but in my experience, modern kitchen remodels featuring custom cabinets and built-ins often suffer from ‘deep shelf syndrome,’ where anything in the back is essentially lost to time. We need to stop thinking about cabinets as boxes and start thinking about them as retrieval systems.
Here is the contrarian truth: you should stop trying to ‘fill’ every corner with storage. Everyone says you need a Lazy Susan to maximize space, but I tell my clients to skip the lazy susan and install LeMans pull-outs instead. Why? Because the geometry of a circle inside a square cabinet naturally wastes nearly 25% of the usable footprint in the corners. According to the National Kitchen & Bath Association (NKBA) planning standards, the functional ‘reach range’ is the primary driver of kitchen efficiency, yet most stock cabinets prioritize cheap manufacturing over ergonomic access. If you have to get on your hands and knees to find a pot, the storage has failed you.
Can your drawer slides actually handle that cast iron collection?
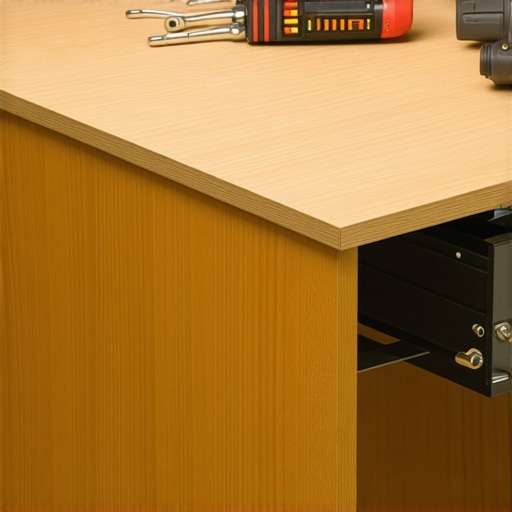
This is the ‘Oops’ factor that ruins even the most expensive kitchens. I’ve walked into high-end homes where the homeowner is frustrated because their heavy Dutch ovens in a deep drawer are causing the drawer front to sag and rub against the frame. The mistake? They used standard 75-lb rated slides for a drawer meant to hold 100 lbs of cast iron. I always insist on 150-lb heavy-duty undermount slides for any drawer wider than 30 inches. If you don’t spec the hardware for the load, the ball bearings will eventually flatten, leading to a permanent metallic grinding sound. It is the same reason your trash pull-out needs a bottom-mount slide; top-heavy loads apply torque to side-mounted hardware until the screws eventually strip out of the gable.
Another advanced mistake I see in innovative storage solutions for modern kitchen remodels is ignoring ‘vertical air.’ We spend thousands on cabinetry but leave 10 inches of dead space above the stacks of plates. I recommend using the drawer-within-a-drawer move to capture that lost height for lids and small utensils. It’s about creating layers of utility, not just bigger voids. Have you ever fallen into this trap of building more cabinets only to find you still have no place for your stand mixer? Let me know in the comments.
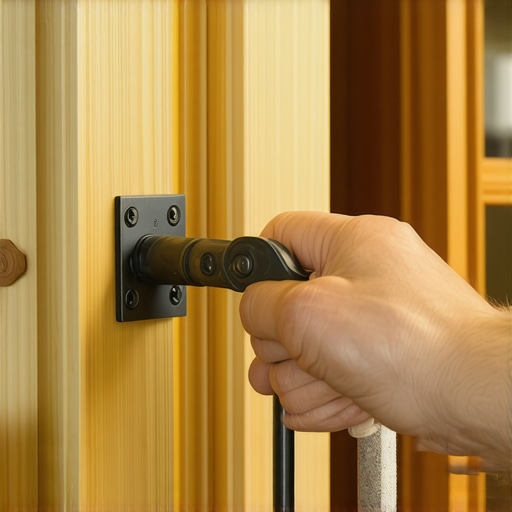
Once you’ve conquered the structural battle of the sink and the layout of your drawers, you enter the ‘ownership’ phase. People assume custom cabinets are set and forget, but wood is a living material and hardware is mechanical. If you do not treat your kitchen like a high-performance vehicle, it will eventually start to rattle. I personally carry a small service kit in my junk drawer that includes a PoziDriv screwdriver—not a Phillips, please—and a can of high-grade dry silicone spray. Using a standard Phillips on a European hinge is a recipe for stripped heads and frustration. When you realize that the 5-minute hinge adjustment for fixing wonky cabinet reveals is mostly about understanding the depth and side-to-side screws, you stop fearing the sag. Most of us just live with a crooked door for five years when the fix takes less time than brewing a cup of coffee.
Stop the grinding before it starts
Maintenance is the part of the remodel journey that nobody puts on Pinterest, but it is what keeps your investment from feeling cheap three years in. I recommend a seasonal hardware check. If you hear a metallic scratch when you open your cutlery drawer, do not ignore it. I’ve seen homeowners force a jammed drawer until the ball bearings literally rain out like tiny metal hail. Knowing why your soft close slides grind and the quick lubrication fix can save you from a $150 replacement part. I always use a food-safe dry lubricant; never use WD-40, as it attracts dust and turns into a sticky sludge that destroys the glide. According to technical documentation from Blum, their TANDEM slides are rated for 100,000 opening and closing cycles, but that durability relies on the slide remaining free of debris and the cabinet box staying square. If your house settles, your hardware will feel it first.
How can I keep my drawers sliding like butter for the next ten years?
The secret is in the load distribution. Even with innovative storage solutions for modern kitchen remodels, you have to be mindful of where you place the weight. I tell my clients to place the heaviest items—like cast iron pans—at the back of the drawer closer to the slides’ mounting points to reduce torque. Also, check your mounting screws. Over time, the vibrations from your dishwasher or garbage disposal can loosen the screws holding your tracks. A quick turn with a screwdriver once a year is all it takes. As we look toward 2025 and beyond, I predict we will see more active cabinetry equipped with weight sensors that notify your phone if a drawer is overloaded or if a hinge is out of alignment, but until then, we have to use our ears. If you are still in the planning phase, make sure you are getting expert tips on selecting storage solutions for a perfect kitchen upgrade that prioritize hardware quality over flashy finishes.

My challenge to you: Go to that one cabinet door that has been slightly crooked for months and use my guide on how to adjust European hinges for a perfectly level door reveal to fix it right now. It is a small win that makes your entire kitchen feel more professional instantly. If you find that the screws are just spinning and won’t tighten, that is a sign the wood has stripped—a simple tooth-pick and wood glue trick can save the day, but you have to catch it before the door falls off.
What My First Three Remodels Taught Me the Hard Way
Looking back at my earliest projects, the biggest takeaway wasn’t about the wood species or the paint color—it was about respect for the physics of the space. First, gravity never sleeps. If you think your sink support is ‘good enough,’ it probably isn’t. Second, I realized that custom cabinets as a game-changer in your kitchen remodel journey are only as good as the internal bracing you can’t see. Third, never settle for stock depths if you have the chance to go custom; those extra two inches of reach make a world of difference. Finally, I’ve learned that a kitchen is a living organism—it settles, it breathes, and it needs a tune-up just like a car.
My Go-To Toolkit for Cabinet Maintenance
To keep your investment in top shape, I recommend a few specific tools that most homeowners overlook. I never go into a job without a set of PoziDriv screwdrivers, which are essential for properly adjusting European hinges without stripping them. For smooth motion, I swear by food-safe dry silicone spray rather than grease, which just collects pet hair and flour. I also suggest bookmarking the technical installation guides from hardware giants like Blum or Grass—they provide the exact load ratings you need to know when planning built-ins and storage hacks for a sleek, functional kitchen. Finally, a simple magnetic catch can solve many alignment headaches; check out my tips on how to install a hidden magnetic catch for touch-to-open doors to add that high-end feel to your existing setup.
#IMAGE_PLACEHOLDER_E#
Your Future Self Will Thank You for This Effort
Starting a kitchen remodel is a massive undertaking, but the peace of mind that comes from a structurally sound, intelligently organized space is priceless. When you invest time into innovative storage solutions for modern kitchen remodels, you aren’t just buying cabinets; you’re buying a better daily routine. Don’t be afraid to over-build that sink cradle or spend an extra afternoon perfecting those drawer reveals. The quality is in the details you’ll appreciate every single morning for the next twenty years. Have you ever discovered a ‘hidden’ structural issue during a renovation that completely changed your plan? Let me know below!