Why Your Kitchen Backsplash Should Be Installed After the Cabinets
I’ll never forget the sound of my contractor’s heavy sigh when he walked into my half-finished kitchen five years ago. I had spent the weekend ‘getting ahead’ by tiling the entire wall where the range was supposed to go. I thought I was being a productivity genius. Instead, I was just a guy who had created a $1,200 problem. When my custom cabinets finally arrived, they didn’t sit flush against the wall. The tile thickness pushed the boxes out just enough that the crown molding wouldn’t hit the ceiling correctly. It was a mess. Today, I want to save you from that same headache and explain exactly why the backsplash is the finishing touch, not the foundation.
Stop Dreaming of Tile Until Your Boxes are Set
In the excitement of a modern kitchen remodel, it is tempting to tackle projects as soon as materials arrive. But here is the reality: your walls are almost certainly not straight. When you install cabinets first, you are essentially creating a level and plumb ‘frame’ for your room. If you tile first, you are blindly following the curves of a crooked wall, which makes hanging your upper units a nightmare. I learned the hard way that wall cabinets pulling away from the drywall is a much bigger issue when there is a layer of glass or ceramic tile in the way. You want those cabinets secured directly to the studs for maximum strength. Trust me, shimming a cabinet over a bumpy tile job is a recipe for crooked doors and a lot of swearing.
Is the ‘Wait and See’ Strategy Actually Worth the Hype?
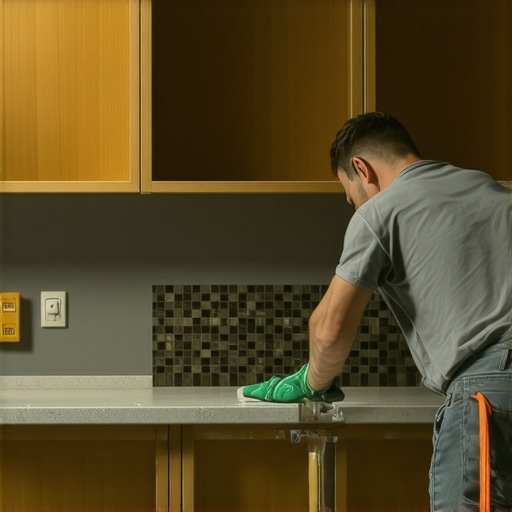
I get the skepticism. You want the kitchen done. You want to see those beautiful patterns. But waiting ensures that the transition between your countertop and the wall is seamless. According to the National Kitchen & Bath Association (NKBA), the ‘order of operations’ in a kitchen remodel is critical because the countertop serves as the literal base for the backsplash. If you tile first, you risk a massive gap or an uneven line where the tile meets the stone. Have you ever tried to fix the gap between your cabinet and the refrigerator or a countertop after the fact? It is nearly impossible to make it look professional. By waiting, you allow the built-in storage solutions to dictate the flow of the tile, ensuring every cut is precise. Have you ever felt the urge to rush a project only to have it backfire? I’d love to hear your ‘lesson learned’ moments in the comments. We are going to dive into the technical reasons why this sequence protects your investment next.To get this right, you have to treat your custom cabinets as the primary anchor for the entire room. Think of your kitchen like a high-performance engine; you don’t bolt on the chrome trim before the block is seated. The first step is mapping out your floor’s high spots. I once worked on a 1920s bungalow where the kitchen floor dropped three inches from one corner to the other. If we had tiled first, the backsplash would have looked like a staircase. Instead, we focused on the proper way to shim cabinets on a high spot in the floor, creating a perfectly level line that the tile could eventually follow.
Lock Your Boxes into the Studs First
When you install the cabinets after the tile, you are essentially trying to screw through a brittle sandwich of ceramic and mortar. It’s a mess. Instead, clear the decks. You need to ensure why your base cabinets should be secured with 3-inch rugged screws directly into the wall studs. This creates a rock-solid foundation that won’t shift as the house settles. I remember a project in Indianapolis where the homeowner insisted on tiling first to ‘save time.’ Two weeks later, we heard a terrifying crack while mounting the uppers. The pressure of the cabinet against an uneven tile caused a spiderweb fracture that ruined four square feet of custom marble. It was a $500 mistake that took ten seconds to happen.
Let Your Countertop Act as the Leveling Ledger
Your countertop is more than a prep surface; it is the starting line for your tile. By waiting until the stone is in place, you eliminate the need for a ‘ledger board’—that temporary piece of wood contractors screw into the wall to hold the first row of tile. The stone is perfectly flat and level because you spent the time on your innovative storage solutions and base units. This transition is where the magic happens. If there is a slight gap, you can use the best way to seal the gap techniques, but usually, a bead of silicone between the stone and the first tile row is all you need for a waterproof, professional finish. 
Why the Scribe is Your Only Tool for Perfection
If you are installing built-in storage hacks or tall pantry units, you will likely encounter walls that bow out in the middle. This is where ‘scribing’ comes in. I once spent four hours with a compass and a belt sander to make a cabinet side-panel match a wavy plaster wall. If that wall had been tiled first, my scribe line would have been impossible to hit. By installing the cabinet first, you can fit the wood to the wall perfectly, then run your tile right up to that finished edge. This creates the illusion that the cabinet is growing out of the wall, rather than just sitting on top of it. This is the hallmark of creating seamless kitchen remasters that actually last.Beyond the sequence of installation, the biggest ‘pro-level’ nuance I can share involves the ‘density trap.’ Most people think that adding as many cabinets as possible is the key to a successful project. I’m here to tell you that density kills usability. When you are planning a revolutionized kitchen remodel, it is tempting to fill every corner with wood, but those deep, dark corners often become the ‘black hole’ of your home. If you can’t see it or reach it easily, it doesn’t count as storage. In my experience, a wall of cabinets looks great in a rendering, but it’s a nightmare when you’re hunting for a pot lid. This is why I always suggest that you skip the lazy susan and install LeMans pull-outs instead. It’s a contrarian view because Lazy Susans are the industry standard, but they are prone to jamming and waste the rear 20% of your cabinet space.
Ditch the Deep Cabinet Black Hole
To truly maximize space with innovative storage solutions, you have to prioritize access over volume. A major ‘oops’ factor I see with DIY-ers and even some contractors is forgetting about clearance for full-overlay doors. If you place a cabinet right against a side wall without a ‘filler’ strip, that door will never open past 90 degrees, and your drawers will scrape the wall every single time you pull them out. I once saw a $40,000 kitchen where the owner couldn’t open his refrigerator all the way because they didn’t account for the handle depth against a pantry wall. It was a heartbreaking mistake that could have been fixed with a simple two-inch spacer. 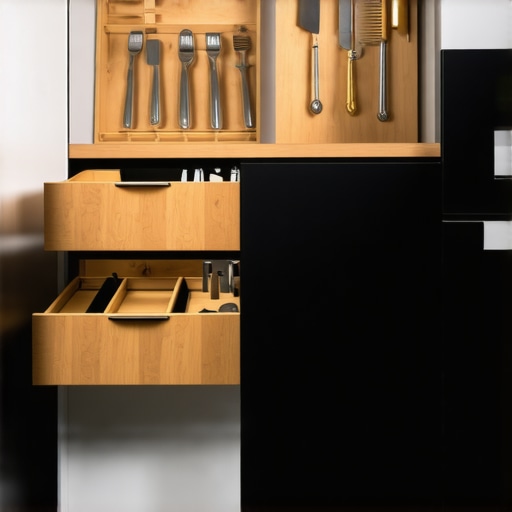
Why does your high-end hardware still feel clunky?
Even the most expensive custom cabinets can feel cheap if the mechanics aren’t calibrated for weight. According to a study by the Blum Research Institute, the average kitchen drawer is opened over 80 times per day. If you have heavy cast-iron pans or stacks of plates, standard slides will eventually bow. This is why you must ensure your trash pull-out needs a bottom-mount slide and your heavy drawers use under-mount slides rated for at least 100 pounds. When these items aren’t aligned, you’ll notice your drawer fronts are crooked, which is usually a sign of structural strain rather than just a loose screw.
The Secret of the Drawer Within a Drawer
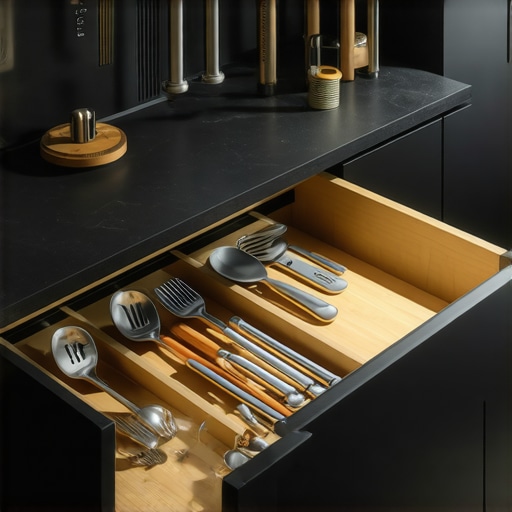
If you really want to show off your expertise, look into the ‘stealth’ storage movement. One of my favorite expert tips on selecting storage solutions is the drawer-within-a-drawer move. This allows you to maintain a clean, minimalist exterior with large, uniform drawer fronts while having a hidden, shallow tray for small items like cutlery or charging cables inside. It’s the ultimate way to maintain the aesthetic of creating seamless kitchen remasters without sacrificing organization. Have you ever fallen into the trap of choosing looks over actual mechanics? Let me know in the comments.Once the dust settles and the installers head home, the real life of your kitchen begins. I’ve seen homeowners invest $100k into a project only to watch it degrade in three years because they didn’t understand the ‘break-in’ period. Your house is a living thing; it breathes, shifts, and expands with the seasons. If you want your custom cabinets to stay as crisp as the day they were hung, you need to stop thinking like a decorator and start thinking like a mechanic.
Stop the Grind Before It Ruins Your Hardware
The most common heartbreak I encounter is the sound of expensive machinery failing. If you notice why your soft-close slides grind, don’t just ignore it. That sound is metal-on-metal friction that eventually shears off the plastic dampeners. I personally keep a can of food-grade silicone spray in my utility drawer. A tiny drop on the runner tracks every six months prevents the ‘sticky drawer’ syndrome that plagues older remodels. This is especially vital for your heavy-hitters, like the trash pull-out that needs a bottom-mount slide to survive the daily abuse of a four-person household.
How do I maintain my custom kitchen over the long haul?
Maintenance isn’t about deep scrubbing; it’s about micro-adjustments. According to the Architectural Woodwork Institute (AWI) Standard 400, high-end wood finishes are designed to withstand specific chemical resistance, but they aren’t invincible. I tell my clients to avoid the ‘lemon-scented’ grocery store cleaners. Instead, learn how to clean matte black cabinet hardware without scratches by using simple microfiber and distilled water. Furthermore, you should perform a 5-minute hinge adjustment once a year. When the humidity drops in the winter, your doors might sag a fraction of an inch; a simple turn of the adjustment screw keeps your reveals perfectly parallel. 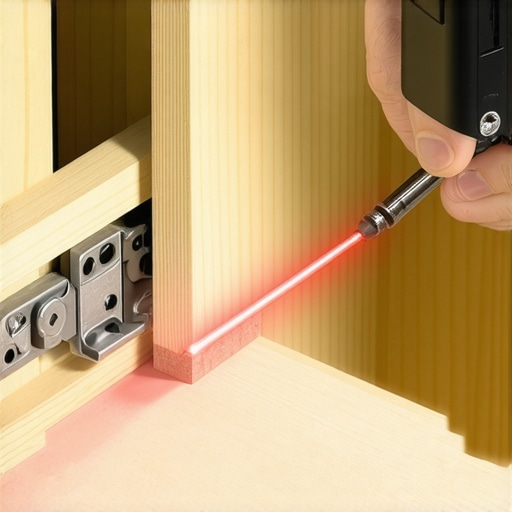
Trust the Laser Not Your Eyes
If you are the type to handle your own tweaks, throw away your bubble level. When I’m setting up built-ins and storage hacks, I rely exclusively on a self-leveling cross-line laser. It’s the only way to ensure that the one tool you need for perfectly aligned cabinet knobs actually works. If your base cabinets are even 1/16th of an inch off, your tall pantry doors will show a massive gap at the top. I predict that in the next five years, we’ll see ‘smart hinges’ with built-in tension sensors that alert your phone when a door is out of alignment. Until then, we rely on the laser. For the ultimate ‘future-proof’ move, I highly recommend the removable cabinet back move. It sounds minor, but the first time you have a slow leak behind your sink, you’ll thank me for not having to saw through your beautiful walnut ply. Give that specific modification a shot on your next sink-base install; it’s a total game-changer for long-term peace of mind.
The Hardest Lessons My First Kitchen Remodel Taught Me
Looking back at my first few projects, I realized that the biggest mistakes didn’t come from a lack of skill, but from a lack of patience. Here is what I wish someone had told me before I started tearing out drywall. First, the ’empty room’ illusion is real. You think you have plenty of space until the custom cabinets arrive and suddenly your kitchen feels like a Tetris game. Second, never trust a ‘pre-finished’ label without checking the core; I’ve learned that the truth about pre-finished plywood vs on-site staining is that durability lives in the factory finish, not the touch-up kit. Finally, remember that your kitchen is a high-moisture zone. If you don’t account for wood expansion, those tight joints will scream at you by next July.
My Secret Arsenal for a Forever-Level Kitchen
I don’t go into a modern kitchen remodel without three specific things. First is a self-leveling cross-line laser. It’s the only way to avoid the ‘leaning cabinet’ look that ruins an otherwise perfect wall. For my hardware, I always keep a template jig handy—it is the one tool you need for perfectly aligned cabinet knobs that prevents you from drilling a hole in the wrong place on a $200 door. I also swear by food-grade silicone for tracks; it keeps things smooth without attracting the gunk that standard grease does. Lastly, I always look for expert tips on selecting storage solutions from industry journals to stay ahead of hardware trends.
Build a Space That Actually Works for Your Life
At the end of the day, your kitchen isn’t just a showroom; it’s the heart of your daily routine. Don’t be afraid to break ‘standard’ rules to fit how you actually cook. Whether you’re installing floor-to-ceiling pantry units or experimenting with built-ins and storage hacks, the goal is a seamless blend of form and function. This journey can be stressful, but the moment you pull out a perfectly smooth drawer to find exactly what you need, it all becomes worth it. Your custom cabinets as a game-changer will serve you for decades if you just give them the foundation they deserve. Which of these storage hacks are you most excited to try in your own home? Let me know in the comments below!