Why Your Garbage Pull-Out Should Never Be Next to the Oven
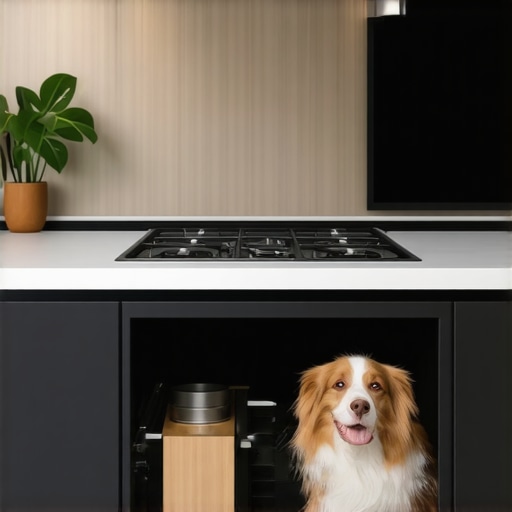
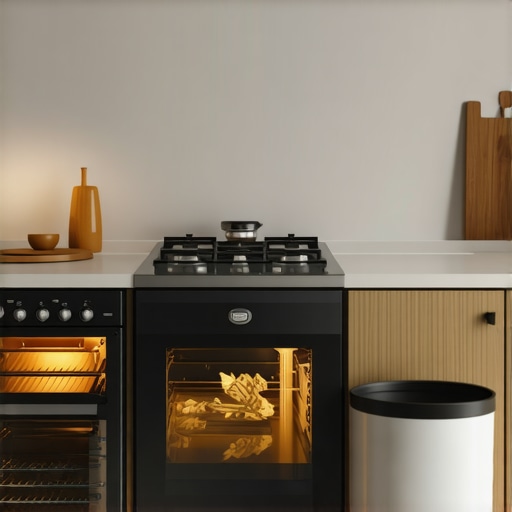
I’ll never forget the evening I realized my “efficient” kitchen layout was actually a disaster. I was hosting a dinner party, the oven was humming at 425 degrees, and the scent of roasting garlic was slowly being overtaken by the unmistakable, pungent aroma of warm leftovers from two days ago. It was visceral. I had spent thousands on custom cabinets, yet I’d made the rookie mistake of nesting my trash pull-out directly beside the range. The heat from the oven was essentially slow-cooking my kitchen waste, and let me tell you, that’s not a recipe anyone wants to follow. If you are in the middle of a modern kitchen remodel, please learn from my smelly mistake before you finalize your floor plan. Today, I am going to explain exactly why this proximity is a recipe for disaster and how you can position your waste bins for a fresher, cleaner home.
The Heat-Trash Collision You Didn’t See Coming
We often think about “the work triangle” when planning cabinetry, but we rarely talk about the thermal consequences of our appliance placement. When you tuck your waste bin next to a heat source, you aren’t just dealing with a bad smell; you’re creating a literal incubator. According to food safety experts at the USDA, bacteria can double in number in as little as 20 minutes when temperatures rise into the “danger zone” between 40°F and 140°F. Your oven’s exterior might feel “just warm” to you, but inside that adjacent cabinet, it’s a tropical paradise for microbes. I made this exact mistake because I wanted to sweep prep scraps straight from the counter into the bin. It seemed so logical. However, I soon noticed that my cabinet paint was bubbling and the organic waste was decomposing at warp speed. Shifting that bin just a few feet away will save your nose and your sanity.
Does placement really matter if the cabinet is insulated?
You might be thinking that your oven is high-end and doesn’t leak heat, or perhaps you plan on using heavy-duty liners. I thought the same thing. But the reality is that even the best-insulated ovens transfer ambient heat through the cabinet walls. Over time, this constant fluctuation in temperature can warp your wood box construction and degrade the glues in your hardware. I’ve seen beautifully installed smart storage ideas fail prematurely because they were essentially being baked from the side. Have you ever opened your trash drawer only to be hit by a “warm” cloud of air? If so, you’re already living through the mistake I’m trying to help you fix. It’s one of those storage solutions that seems perfect on paper but fails in the heated environment of a busy kitchen. For a truly functional space, your trash pull-out needs a better home away from the range. Let’s look at how to rearrange your workflow so you keep your prep speed without the stinky side effects.
Find a Cool Corner for Your Waste
To fix a layout that is literally cooking your garbage, you need to map out the thermal zones of your kitchen. Think of your kitchen as a battleground between the ‘Hot Zone’ (the range and oven) and the ‘Wet Zone’ (the sink and dishwasher). Your goal is to move your waste management into the Wet Zone or a neutral territory. When planning a custom cabinets as a game changer in your kitchen remodel journey, look for a spot at least four feet away from any high-heat appliance. This distance prevents the ambient heat from the oven’s cleaning cycle or long roasting sessions from penetrating the cabinet walls. 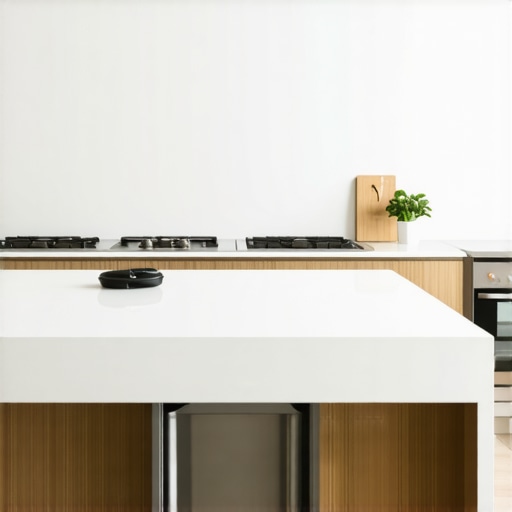
Keep Trash Under the Water Not Next to the Fire
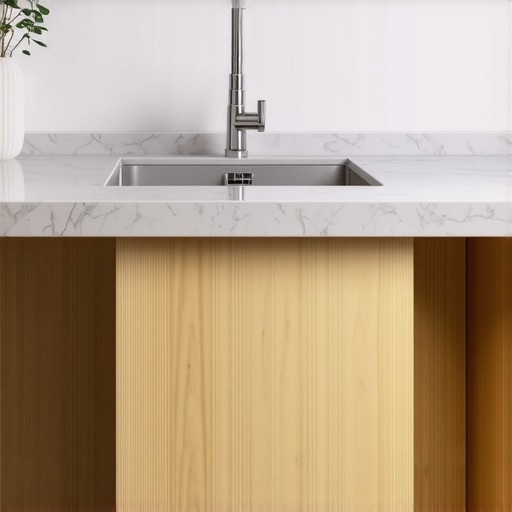
The most logical alternative is the sink base. While many fear the plumbing will get in the way, we design sink cabinets with a removable center post specifically to allow for easy access and potential waste storage. If you choose this route, you must be proactive about moisture. It’s vital to learn how to stop your sink cabinet from smelling like mildew, because the last thing you want is to swap a heat-smell for a moldy one. By keeping your trash near the sink, you are placing it in a naturally cooler environment where you are already doing the majority of your scraping and rinsing, keeping the workflow tight and the odors low.
Distance is Your Best Deodorant
In one particularly challenging modern kitchen remodel I handled, the homeowner insisted on a trash pull-out directly beneath their main prep area, which happened to be right against the stove. Within three months, the heat had caused the cabinet door to warp slightly, creating a gap that let smells escape. We ended up retrofitting a new pull-out into the kitchen island. The result? The ‘mystery funk’ disappeared instantly because the island provided 360-degree airflow and zero heat transfer. Sometimes, the best smart storage ideas involve simply giving your appliances some breathing room.
Use Heavy-Duty Slides to Counteract Heat Warp
If you absolutely cannot move the bin more than a few feet from the heat, you must upgrade the hardware. Standard side-mount slides are prone to binding when the wood expands from heat. This is why your trash pull-out needs a bottom-mount slide for better weight handling and stability. These slides are tucked away from the direct line of heat rising through the cabinet sides. Think of it as the suspension on a truck; you need something that can handle the ‘terrain’ of a fluctuating kitchen climate. Even when following the 30-inch clearance rule for ovens and your upper cabinets, the base cabinets often take the brunt of the thermal load. High-quality bottom-mount hardware ensures that even if there is slight thermal expansion, the drawer will still glide smoothly rather than grinding against the frame.
The Counter-Intuitive Truth About Filling Every Inch
I’ve noticed a recurring trend in modern design: the obsession with wall-to-wall cabinetry. Most homeowners believe that maximizing vertical and horizontal space with storage is the ultimate goal. However, in my experience, over-cabinetry is a silent killer of kitchen flow. When you pack every available square inch with boxes, you lose ‘landing zones’—those vital stretches of countertop where you actually do the work. According to the National Kitchen & Bath Association (NKBA) Planning Guidelines, a failure to provide adequate landing areas next to appliances is one of the most common reasons a high-end remodel feels ‘clunky’ after six months. I always tell my clients that expert tips on selecting storage solutions for a perfect kitchen upgrade should focus on the negative space just as much as the storage itself. If you don’t leave room to breathe, your expensive kitchen will feel like a storage unit rather than a culinary workshop.
Why 29 Inches Is the Only Height That Matters for Your Built-in Desk
If your remodel includes a workspace, here is the ‘oops’ factor that ruins more home offices than anything else: the height. Most people assume the kitchen counter height (36 inches) or a bar height (42 inches) works for everything. It doesn’t. If you are integrating a workstation into your cabinetry, the built-in desk error why 29 inches is the only correct height is a lesson you don’t want to learn the hard way. Anything higher leads to shoulder strain and poor ergonomics, yet I see designers try to force a desk into a 36-inch run just to keep the lines straight. True built-ins and storage hacks for a sleek functional kitchen prioritize the human body over visual symmetry. 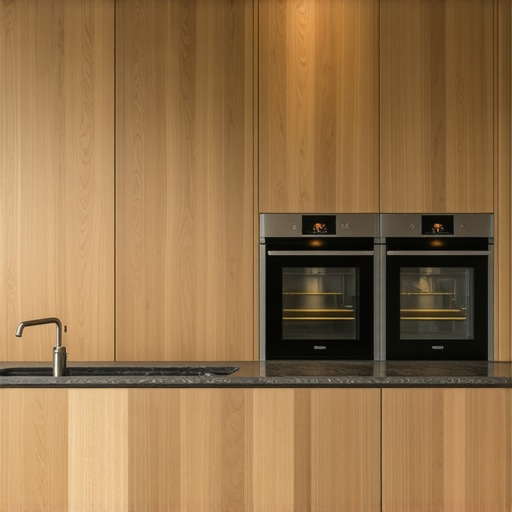
How Does Seasonal Humidity Change Your Cabinet Reveal?
For the sophisticated homeowner choosing inset cabinets—where the door sits flush inside the frame—there is a technical nuance often omitted during the sales pitch. Wood is a living material. In the summer, it expands; in the winter, it shrinks. I’ve seen homeowners panic when their perfectly aligned doors start to stick or show uneven gaps. Understanding the inset cabinet gap re-aligning doors after seasonal humidity changes is vital for long-term satisfaction. It’s not a defect in craftsmanship; it’s wood science. If your installer doesn’t explain this, or if you aren’t prepared to make minor hinge adjustments, you might be happier with an overlay style. While we are on the topic of maintenance, don’t ignore your hardware. If your drawers start to feel ‘gritty,’ it’s usually not a broken slide but a debris issue. Learning why your soft-close slides grind and the quick lubrication fix can save you a service call and prevent permanent damage to the tracks. We want to be creating seamless kitchen remasters with built-in storage solutions that stand the test of time, and that requires moving beyond basic aesthetics into the realm of mechanical reality. Have you ever fallen into the trap of over-designing your storage or choosing style over ergonomics? Let me know in the comments below.
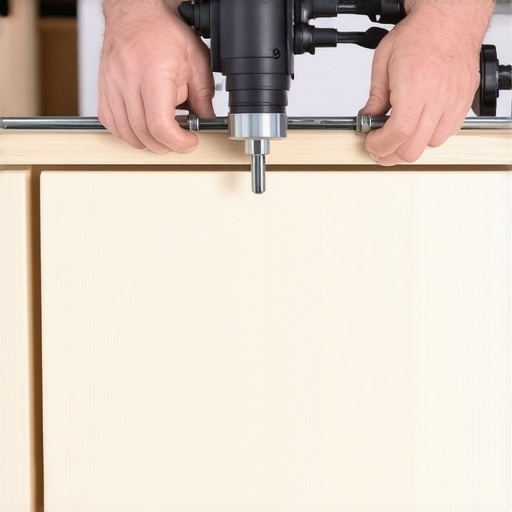
After the dust settles on a remodel, most homeowners think the hard work is over. However, the difference between a kitchen that looks great for six months and one that looks pristine for a decade lies in the tools you keep in your utility drawer. I’ve learned that the secret to a professional finish isn’t just in the installation; it’s in the precision of the hardware. For instance, I never start a project without my True Position Drill Guide. It is the one tool you need for perfectly aligned cabinet knobs every time. When you are dealing with expensive custom cabinets, a single 1/16th-of-an-inch error can make the whole run look crooked. I use this specific jig because it locks in place, preventing the drill bit from ‘walking’ on the finished surface. This level of precision is what separates a DIY attempt from creating seamless kitchen remasters with built-in storage solutions.
How do I keep my custom storage running like day one?
Maintenance is less about deep cleaning and more about mechanical awareness. Wood is incredibly sensitive to the environment. According to technical documentation from the Wood Components Manufacturers Association (WCMA), wood cabinetry performs best when the home’s relative humidity is kept strictly between 35% and 50%. If you fluctuate outside this range, you’ll start to see the inset cabinet gap re-aligning doors after seasonal humidity changes. To stay ahead of this, I recommend keeping a small hygrometer inside one of your pantries. It’s a $15 investment that protects a $50,000 investment. Additionally, you need to check your hardware tracks. If things feel sluggish, don’t just pull harder; check for debris. Often, why your soft-close slides are failing and the quick cleaning fix comes down to a stray crumb or a bit of dust caught in the piston. A quick wipe with a microfiber cloth and a tiny dab of dry silicone lubricant will keep them gliding like silk for years.
As we look toward the future of modern kitchen remodels, I predict a massive shift toward ‘active’ storage. We are already seeing smart storage ideas that include integrated sensors to monitor for under-sink leaks before they rot your wood. In 2025 and beyond, expect to see built-ins and storage hacks for a sleek functional kitchen that utilize AI-driven inventory systems built directly into the drawer slides. For now, the best way to scale your storage is to ensure you aren’t over-filling. Even the best innovative storage solutions will fail if they are constantly overloaded. I always tell my clients to leave 10% of their cabinet space empty. It provides the visual and physical ‘breathing room’ that makes a luxury kitchen feel effortless rather than cramped. Before you finish your layout, I challenge you to try this: take your most-used drawer and install a high-quality divider today. See how much it changes your morning routine. You’ll quickly realize that custom cabinets as a game changer in your kitchen remodel journey are only as good as the organization you maintain inside them.
The Expensive Realities I Learned by Making Mistakes First
Building a dream kitchen isn’t just about picking a paint color; it’s about understanding the thermal and physical mechanics of your home. One of my biggest lightbulb moments was realizing that “filling every gap” with a cabinet actually makes a room feel smaller and less functional. I now advocate for “landing zones” near every major appliance to prevent that cramped, cluttered feeling. Another hard-earned lesson is the seasonal shift—your custom cabinets for a stylish kitchen overhaul are going to breathe, and you need to be ready to adjust them as the humidity changes. Finally, don’t overlook specialized dimensions; knowing the cabinet depth secret for storing large pizza stones and trays can save you from having to store your favorite cookware in the garage or a precarious stack.
#IMAGE_PLACEHOLDER_E#
My Go-To Toolkit for a Flawless Finish
I don’t believe in guesswork when it comes to high-end cabinetry. To keep everything perfectly aligned, I always keep a few specific items on hand. First, the True Position Drill Guide is non-negotiable for anyone who wants creating seamless kitchen remasters with built-in storage solutions without drilling a hole in the wrong place. Second, I rely heavily on the NKBA Planning Guidelines; they provide the mathematical foundation for safety and ergonomics that prevents common layout disasters. For small spaces, I always look for ways to declutter, such as finding the 3 best ways to hide a toaster on a small countertop, which keeps the visual lines clean. Lastly, a simple digital hygrometer is my best friend for monitoring wood health throughout the year.
Your Kitchen Is a Living Organism
A successful modern kitchen remodel is never truly “finished”—it evolves with you. By focusing on smart ergonomics, airflow, and high-quality hardware from the start, you aren’t just buying furniture; you’re investing in your daily peace of mind. While we’ve focused on the culinary space today, remember that the same principles apply elsewhere, like built-ins that elevate your living rooms functionality. Don’t be afraid to break the mold and move that trash bin or lower that desk height to 29 inches. Your future self will thank you for prioritizing function over tradition. Have you ever dealt with a layout choice that looked great on a screen but functioned poorly in real life? Let me know your biggest kitchen layout regret in the comments below!