Why Most Undermount Sink Clips Fail and the Plywood Cradle Fix
I was standing in my kitchen at 2:00 AM, staring at a half-inch gap between my granite and my sink. Water was seeping into my brand-new custom cabinets, and I felt like a total failure. I had spent months planning every detail of that kitchen remodel, but I’d ignored the one thing holding it all together. Or rather, the thing not holding it together.
Why Most Sink Clips Are Destined to Fail You
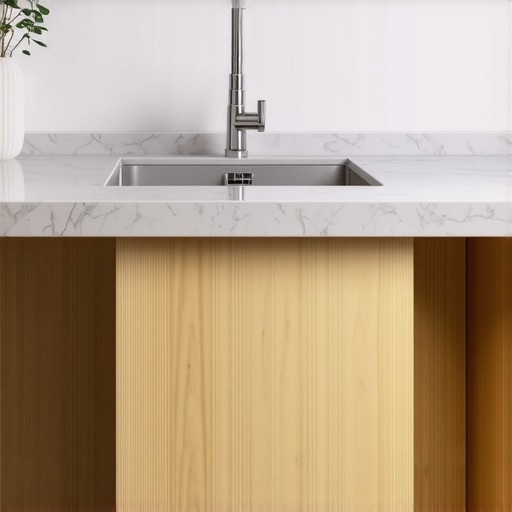
The truth is, most undermount sink clips are a joke. They rely on a tiny bit of epoxy and a wingnut. If you’ve ever looked at them, they’re flimsy. They’re awkward. And frankly, they’re just not designed for the real-world weight of a sink full of water and a heavy cast iron pot. Early in my career, I made the mistake of trusting those little metal tabs. I figured if the manufacturer included them, they must work, right? Wrong. I’ve seen too many high-end modern kitchen remodels ruined by a sagging sink that eventually pulls the stone away or causes a leak that rots the cabinet base. It isn’t just about the glue failing; it’s about physics. When you add a garbage disposal into the mix, you’re introducing constant vibration. Over time, that vibration jiggles those clips loose. In fact, the Natural Stone Institute emphasizes that mechanical fasteners are a non-negotiable requirement because adhesive bonds aren’t permanent under the stress of moisture and weight. If you’re planning on reinforcing a sink base cabinet for a 100-pound cast iron sink, relying on clips is basically asking for a flood.
Is building a custom cradle overkill for a simple sink?
I get it. You’re probably thinking, “I just want to wash my dishes, not build a bridge.” It sounds like extra work when you could just tighten a screw. But think about it this way: would you rather spend an hour now with some scrap plywood or three days later replacing a water-damaged kitchen remodel journey? A plywood cradle takes the weight off the countertop and puts it directly onto the cabinet walls. It’s a “set it and forget it” solution that survived even my most aggressive dish-washing sessions. Have you ever looked under your sink and noticed those clips starting to rust or pull away? It’s a terrifying sight, isn’t it? Today, I’m going to show you why the plywood cradle is the only way I install sinks now, and how you can do it without being a master carpenter. We’re moving past the “quick fix” and into the realm of things that actually last.
Build a Structural Frame Instead of Relying on Glue
The first step is to stop thinking about the sink as a separate piece and start seeing it as part of the cabinet’s architecture. A plywood cradle is essentially a custom-built internal shelf that mimics the lip of your sink. I remember a specific kitchen in Carmel where the homeowner wanted a massive farmhouse sink but didn’t want to lose drawer space. We had to be surgical. If I had used the manufacturer’s clips, the weight of the water and the vibration from a high-torque garbage disposal would have eventually pulled the granite down. By building a custom cradle, we kept the sink rock-solid while still leaving enough room for the simple pivot that reclaims your under-sink plumbing space. For any modern kitchen remodels featuring custom cabinets and built-ins, this is the only way to guarantee a leak-free future.
Find the Magic Height for Your Cleats
You need to measure from the top of the cabinet rail down to exactly where the sink’s mounting flange will sit. This isn’t just about guessing; you want the sink to sit about 1/16th of an inch higher than the cabinet so the stone installer can pull it tight with silicone for a waterproof seal. Measure the thickness of the sink rim carefully; if the rim is 1/2 inch thick, your cleat top should be positioned with extreme precision below the cabinet top. If the cradle is too low, the sink will eventually sag; if it is too high, your custom cabinets won’t sit flush with the countertop. This level of detail is what separates a DIY hack from expert tips on selecting storage solutions for a perfect kitchen upgrade. Take your 3/4-inch plywood scraps and cut two cleats—one for each side of the cabinet interior—to act as the permanent shelf supports.
Secure the Cleats into the Cabinet Carcass
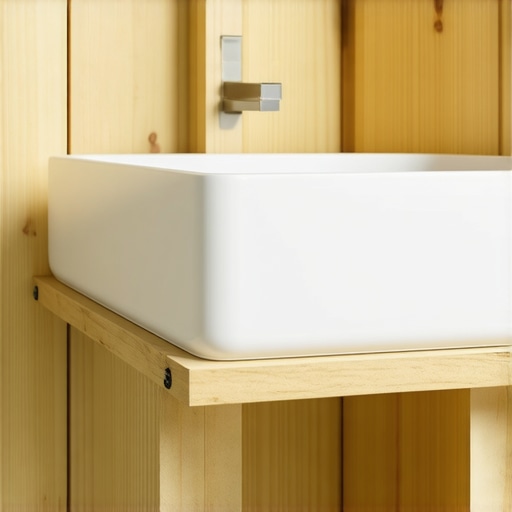 Once you have your height marked, you need to anchor those cleats. This is where most people get nervous about drilling into their cabinetry, but it’s the only way to ensure stability. You must recognize that why your cabinet boxes should be stapled glued and screwed is a vital philosophy for high-stress areas like the sink base. Apply a bead of wood glue to the back of the cleat, then drive 3-inch rugged screws through the cleat and into the cabinet stiles or the 3/4-inch side walls. This cleat is now the structural foundation for your sink bridge.
Leave Space for the Sink’s Plumbing and Disposal
The biggest mistake I see is people building a solid box that blocks the drain pipes. You aren’t building a floor; you’re building a “U” shaped support system. The cradle itself is a piece of plywood that spans between your two cleats. You need to cut a large enough hole in the center—or use two separate boards for the front and back edges—so the plumber can still reach the tailpiece and the disposal mounting ring. This kind of planning is exactly how innovative storage solutions for modern kitchen remodels actually function in the long run. By using this method, you can even design the cradle to sit slightly lower than the drain, creating a perfect structural shelf that supports the sink without hindering future repairs or necessary maintenance.It’s funny how we obsess over the sink support but then overlook the very bones of the cabinets themselves. One of the most common myths I encounter is the idea that 100% solid wood is always the sign of quality. I’ve had clients insist on solid wood door panels for a crisp, white-painted kitchen, only to call me six months later because they see tiny hairline cracks at every joint. The reality is that wood is a living material. According to the USDA Forest Products Laboratory, wood is hygroscopic, meaning it constantly gains or loses moisture to match its environment. This movement is the primary reason why solid wood door panels still need room to breathe in summer. For a painted finish, solid wood can actually be your worst enemy because those joints will inevitably shift.
Will your cabinet joints crack by next winter?
If you are going for that high-end painted look, you actually want to look at the best wood species for painted cabinets that will not crack at the joints, or even high-density fiberboard (HDF) for the center panels. HDF is incredibly stable and won’t expand and contract like a slab of oak or maple. It is a nuance that many DIYers—and even some contractors—miss because they are stuck on the all-natural marketing buzz.  Then there is the paint itself. I have seen homeowners try to save a few hundred dollars by using high-end cabinet-grade latex paint from a big-box store. That is a massive oops factor and a trap for the unwary. Standard architectural coatings are not designed for the chemical resistance needed in a kitchen, especially against the oils on your hands or the steam from a dishwasher. This is why using standard interior paint on your kitchen cabinets is a five-year mistake. You need a post-catalyzed conversion varnish or a dedicated industrial coating if you want that finish to survive. Another hidden mistake is over-engineering the storage. We all love those viral videos of innovative storage solutions for modern kitchen remodels, but some of them are just clutter in disguise. For instance, why narrow spice pull-outs are often harder to use than you think comes down to simple ergonomics. If you have to crouch and peer into a three-inch gap to find the cumin, the design has failed you. Instead, look for a pre-finished maple interior is better than melamine because it offers better long-term durability and visibility for your items. Have you ever fallen into the trap of choosing a material because it sounded expensive only to have it fail in a few months? Let me know in the comments.Once the sawdust settles and your kitchen remodel journey finally reaches completion, the real work begins: keeping everything moving as smoothly as it did on day one. I have walked into too many homes where a $50,000 project feels cheap because the drawers stick or the doors are crooked. If you hear a screeching sound when you pull out the silverware, it is not just annoying; it is a sign of premature wear. Understanding why your soft-close slides grind and the quick lubrication fix is the difference between a lifetime of service and a costly replacement in three years. I personally keep a can of dry PTFE spray in my junk drawer—never use WD-40, as it attracts dust like a magnet.
Don’t let your drawer slides sound like a gravel pit
Most people assume that once cabinets are installed, they are static objects. In reality, the weight of your heavy Dutch ovens and stacks of ceramic plates puts constant stress on the mechanical parts. I always recommend checking your alignment twice a year. According to technical documentation from Blum, their high-end moving systems are tested for 100,000 open-and-close cycles, but that rating assumes the tracks stay free of construction dust and grit. If you missed a spot during the post-remodel deep clean, those tiny particles act like sandpaper on the nylon rollers. To keep things perfect, learn the 5-minute hinge adjustment for fixing wonky cabinet reveals. A simple turn of a Pozi-drive screwdriver can lift a sagging door and prevent it from chipping the paint on the frame below. 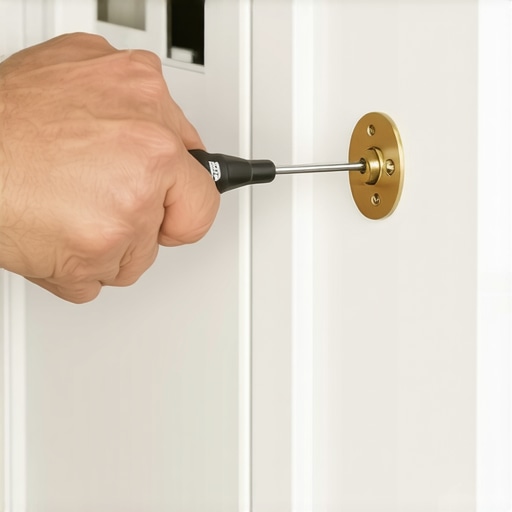
How do I maintain my custom cabinets for the long haul?
Beyond the mechanicals, the finish is what usually shows age first. You might notice a slight change in color near the windows or over the stove. This is often why your white cabinets are turning yellow and how to prevent it; UV exposure and cooking oils are the primary culprits. For cleaning, skip the harsh chemicals. A microfiber cloth with a tiny drop of Dawn dish soap is all you need to preserve that post-catalyzed lacquer. If you are worried about the future of your kitchen, the trend is moving toward integrated tech, but the fundamentals of maximize space with innovative storage solutions for every room still rely on solid joinery. To ensure your hardware looks as good as the wood, I swear by using the one tool you need for perfectly aligned cabinet knobs every time—a dedicated aluminum jig—whenever you decide to swap out handles for a fresh look. I predict that in the next five years, we will see a massive shift toward ‘smart’ sensor-driven lighting inside every drawer, which makes keeping those tracks clean even more critical for the electrical connections. My best advice? Take ten minutes this weekend to tighten your hinge screws and wipe down your tracks. It is the cheapest insurance policy you will ever find for your home.
Lessons from the Kitchen Trenches That Most Pros Skip
After decades of fixing sagging sinks and cracked joints, I have realized that the most important parts of a kitchen are the ones you can’t see once the granite is laid. First, never underestimate the power of mechanical fasteners. I’ve seen homeowners try to take shortcuts, but why you should never use silicone for cabinet joinery is a lesson learned in moisture-damaged cabinets. Second, always think about the weight distribution for your appliances; why your trash pull-out needs a bottom-mount slide is a perfect example of how the right hardware prevents future failures. Finally, remember that wood needs to move. Understanding why solid wood door panels still need room to breathe in summer will save you from the heartbreak of seeing your beautiful new faces warp or split during the first humid July.
My Go-To Toolkit for a Flawless Finish
Maintaining a high-end kitchen doesn’t require a workshop full of power tools, but it does require the right specialized items. I always keep a few essentials on hand to ensure my modern kitchen remodels stay in showroom condition. Dry PTFE Lubricant: This is non-negotiable for drawer tracks to prevent the grit buildup that leads to why your soft-close slides grind. An Aluminum Drill Guide: This is the one tool you need for perfectly aligned cabinet knobs, ensuring you never have a crooked handle ruining the symmetry of your custom cabinets. Pozi-Drive Screwdriver: Most cabinet hinges use Pozi-drive screws, not standard Phillips, and using the right one is the only way to master the 5-minute hinge adjustment without stripping the heads.
#IMAGE_PLACEHOLDER_E#
Crafting a Space That Truly Lasts
Your kitchen remodel journey is about more than just picking the right color or a trendy backsplash. It is about building a foundation that can handle the chaos of daily life, from heavy cast iron pots to the vibration of a powerful disposal. When you take the time to build a structural cradle or select wood species that won’t crack at the joints, you are investing in peace of mind. Don’t be afraid to demand these details from your contractor or to do them yourself. A truly successful remodel is one that looks just as good in ten years as it does on the day the plastic is peeled off the doors. Have you ever discovered a hidden shortcut in your cabinetry that you had to fix later? Let me know your experience in the comments below!