How to Scribe a Bench to a Stone Wall Without Any Gaps
I’ll never forget the feeling of looking at my first custom mudroom bench. I had spent hours in the shop, but the moment I slid it into place against a gorgeous, rugged fieldstone wall, my heart sank. There was a gap big enough to swallow a whole pack of gum. It didn’t look like a high-end built-in; it looked like a piece of furniture that just didn’t fit. I tried to hide it with caulk (big mistake), which only highlighted the disaster. That’s the reality of stone—it’s never flat, never plumb, and it doesn’t care about your feelings. But here’s the good news: you don’t have to settle for those ugly shadows. Today, I’m walking you through the exact process to make your bench look like it was carved directly out of the mountain. We aren’t just talking about a “close enough” fit; we are aiming for that seamless transition that makes guests ask, “How on earth did you do that?”
Why Your Bench Looks Like a DIY Disaster Against Stone
Most people think they can just push the wood up to the rock and call it a day. But stone is a beast. If you’ve ever tried to scribe a pantry end panel to a stone backsplash, you know the frustration. The texture is random, and the depth varies every half-inch. Without a proper scribe, your beautiful built-ins that elevate your living rooms functionality will look like an afterthought. I learned the hard way that a standard compass just won’t cut it for deep stone undulations. My first attempt resulted in a jagged mess because I didn’t account for the angle of the tool. It was a humbling moment, but it taught me that precision requires a specific set of rules. Have you ever stood back from a project only to realize the wall was much “curvier” than you thought? Drop a comment below if you’ve ever fought a losing battle with a wonky wall!
Is it actually possible to get a zero-gap fit on natural stone?
It sounds like a pipe dream, right? Natural stone is jagged, pitted, and inherently irregular. Many homeowners fear that any attempt to fit wood flush will result in a “hacked-up” edge that looks worse than the gap itself. The secret isn’t just in the cutting; it’s in the way you transfer the profile. While solid wood tops can crack over heaters if not handled correctly, they are actually the best material for a deep scribe because you have the “meat” to work with.
The Day I Realized a Pencil and a Compass Weren’t Enough
When I first started doing modern kitchen remodels featuring custom cabinets and built-ins, I thought my standard carpentry kit was all I needed. I was wrong. Scribing to stone isn’t like scribing to a wavy plaster wall. It requires a “tick-sticking” or a specialized offset tool. According to the Forest Products Laboratory, wood can expand and contract significantly depending on the species and environment, which means your scribe has to be perfect or the seasonal movement will make those gaps reappear. I once ruined a $400 slab of walnut by being too impatient with my jigsaw. I didn’t leave myself enough “waste” wood to fine-tune the fit with a sander. It was a costly lesson in slowing down. If you want your bench to look like a permanent part of the home’s architecture, you have to treat the scribe as the most important part of the entire build.
Stop Guessing and Start Templating
The biggest mistake you can make is bringing your expensive, finished bench top anywhere near that stone wall for the first cut. Think of your bench like a custom-tailored suit; you wouldn’t cut the silk before making a muslin mockup. To get a perfect fit, start by creating a template using 1/4-inch plywood or even heavy strips of cardboard. I learned this lesson during a particularly stressful job in a rustic cabin where the fieldstone had chunks sticking out three inches. I tried to freehand it and ended up with a piece of wood that looked like it had been chewed by a beaver. Now, I always rip a 4-inch wide ‘scribe strip’ of scrap material to the exact length of the bench. This strip acts as your proxy. You can mess up a piece of scrap ten times, but you only get one shot at your final slab. If you’ve ever had to how to scribe a bookshelf to a brick fireplace for a zero-gap look, you know that the template is the only thing standing between you and a wasted afternoon.
The Cheap Plywood Trick That Saves Expensive Hardwood
Once your template strip is tucked firmly against the highest point of the stone, you need to secure it so it cannot move. I use a few dabs of hot glue or 2P-10 adhesive to tack it to the bench frame. This is your baseline. If the template shifts even an eighth of an inch, your scribe is toast. In my early days, I used a standard pencil, but it would roll in my hand, changing the offset and ruining the line. Now, I use a dedicated scribing tool with a locked-in brass point. This ensures that the distance between the stone and my pencil remains constant, no matter how much the rock dips and dives. 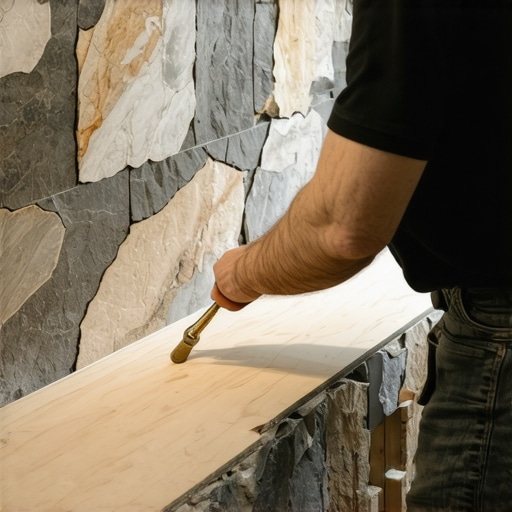
Nail the Profile With a Weighted Compass
Set your compass to the widest gap between the wood and the stone. As you drag the point along the rock, keep the tool perfectly perpendicular to the wall. If you tilt it, you’re essentially drawing a lie. Think of it like a 3D scanner; you are capturing every crater and peak. I once spent forty-five minutes scribing a single six-foot span because the stone was so erratic. The result? When I finally transferred that line to the actual bench top, it slid into place with a satisfying ‘thunk’ that didn’t require a single bead of caulk. This level of detail is what separates a standard built-ins that elevate your living rooms functionality from a true architectural masterpiece.
Back-Beveling Makes the Impossible Possible
The secret to a ‘carved-in’ look isn’t just following the line; it’s the angle of your cut. When you take your jigsaw to the wood, don’t cut straight down at a 90-degree angle. Instead, tilt the base of the saw to a 5-degree or 10-degree back-bevel. This removes more material from the bottom of the wood than the top, leaving a sharp ‘knife edge’ on the visible surface. This thin edge is much easier to fine-tune with a belt sander or a flap disc. During a modern kitchen remodels featuring custom cabinets and built-ins project, I used this technique to fit a breakfast bar against a slate wall. The back-bevel allowed the top edge to ‘bite’ into the stone’s irregularities, hiding the fact that the wood was actually flat. This is particularly important when you’re incorporating a the mudroom bench trick for storing tall winter boots, as the weight of the boots and people sitting down can cause slight shifts over time; a back-beveled edge stays looking tight even as the house breathes. If you find the wood is still hitting a high spot, don’t reach for the saw again. Use a power carver or a coarse sanding drum to ‘tickle’ the back of the bevel until it seats perfectly.Most homeowners assume that “custom” means everything is glued and screwed into a monolithic, unmoving block. That’s the first mistake. In fact, if you don’t allow for wood movement, the house will literally tear your work apart. I see this all the time in modern kitchen remodels featuring custom cabinets and built-ins. People want that tight, zero-gap look, but they forget that wood is a living material. According to the Architectural Woodwork Institute (AWI), seasonal shifts in relative humidity can cause a wide panel to expand by as much as a quarter-inch. If you’ve pinned that panel tight against a stone wall or a rigid frame, something has to give—usually the wood itself, resulting in those heart-breaking cracks. This is exactly why you should never glue cabinet doors into the frames; they need that tiny “reveal” to breathe. If you ignore the inset cabinet gap re-aligning doors after seasonal humidity changes, you’ll be making service calls for years.
Does solid wood always mean higher quality for built-in storage?
Actually, no. This is one of the most persistent myths in the industry. While people love the sound of “solid wood,” for the structural boxes and long spans of shelving, the reality is that why plywood box construction still beats particle board for kitchens is only half the story. Solid wood is actually less stable than high-grade cabinet plywood when it comes to warping. If I’m building a deep pantry, I’ll almost always explain why we recommend plywood shelves over solid wood for long spans because they won’t sag or cup over time. Solid wood is great for the “show” pieces, like your bench top, but for the guts of the system, engineered stability wins every time. If you choose why we love rift sawn oak for modern kitchen cabinets, you’re getting the best of both worlds: the beauty of real timber with a grain pattern that minimizes movement.
Avoid the Wedge Effect in Your Drawer Boxes
One “oops” factor that separates the pros from the weekend warriors is hardware mounting. You can buy the most expensive soft-close slides in the world, but if you use the wrong fasteners, you’re wasting your money. I’ve been called to fix dozens of “luxury” kitchens where the drawers were literally falling out because of the cabinet screw mistake that causes heavy drawers to fail. Standard wood screws have a tapered head that acts like a wedge, slowly splitting the wood and loosening over time. This is especially dangerous when you are dealing with why your trash pull out needs a bottom mount slide for better weight handling. The constant weight and vibration will back those screws out. 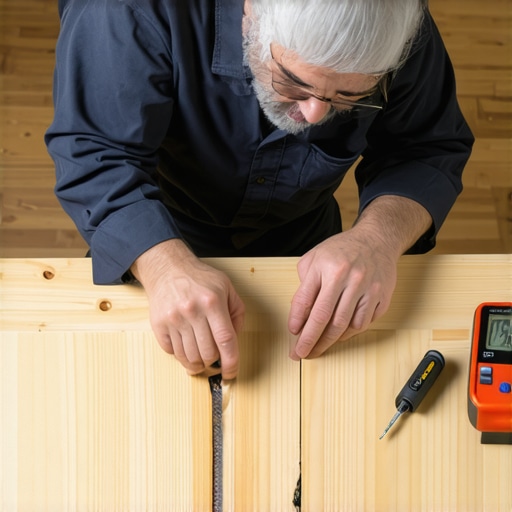 Have you ever fallen into the trap of choosing aesthetics over structural reality? Maybe you picked a beautiful but unstable wood species, or tried to fight the laws of physics with a tube of caulk? Let me know in the comments—I’ve probably made the same mistake once or twice! When you’re aiming to maximize space with innovative storage solutions for every room, remember that the best design is the one that accounts for the house moving around it. Even in a smart storage ideas to maximize your kitchen space this year project, those small nuances in joinery and material choice are what keep the “custom” in custom cabinetry for decades. Don’t let a the hardware mistake that makes expensive cabinets look cheap ruin your hard work.
The Specialized Gear That Saves Your Sanity
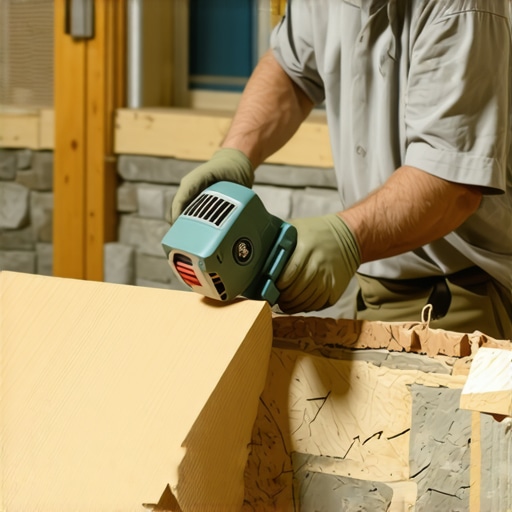
I’ve learned the hard way that a standard jigsaw is a blunt instrument for the final stages of a stone scribe. When you get within a hair’s breadth of that fieldstone, you need a 4.5-inch angle grinder equipped with a 60-grit flap disc. This tool allows you to ‘whisper’ away the wood, contouring the back-bevel with a level of control a saw blade simply can’t offer. I also swear by the AccuScribe Pro; it locks the offset firmly, preventing the ‘pencil roll’ that ruins so many profiles. According to the National Kitchen & Bath Association (NKBA) technical manuals, functional clearances for adjacent cabinet doors must be factored into the depth of your scribe to ensure that the stone doesn’t obstruct movement. This is why custom cabinets as a game changer in your kitchen remodel journey rely as much on the tools used for the installation as the ones used in the shop.
How do I keep my custom built-ins looking new for years?
Maintenance is about more than just a quick dusting; it’s about monitoring the mechanics of the piece as the house settles. If you notice your drawers aren’t gliding like they used to, it’s often the real reason your cabinet drawer slides are grinding—dust and debris caught in the ball bearings. Before you consider replacing hardware, check out why your soft-close slides are failing and the quick cleaning fix. For the wood itself, especially on a mudroom bench where wet coats and boots are common, you need to be proactive. If a spill goes unnoticed, you’ll need to know how to remove stubborn water rings from natural wood cabinet surfaces without eating through the protective topcoat. In the coming years, I predict we will see more handheld CNC technology entering the residential job site, allowing us to scan stone walls and cut perfect scribes in minutes, but for now, nothing beats a steady hand and a sharp eye.
Precision is a Moving Target
The house you are working in today will not be the same shape in five years. Foundations shift, and wood breathes. This is why I always leave a tiny ‘micro-gap’ at the very bottom of my scribes that is hidden by the floor molding or the natural shadow line of the stone. It prevents the wood from binding and cracking when the summer humidity hits. If you want to elevate your craftsmanship to the next level, I challenge you to try a 15-degree back-bevel on your next project. It creates a ‘knife edge’ that bites into the stone’s irregularities so tightly that you’ll never even think about reaching for a tube of caulk again. This level of detail is exactly what we focus on when we maximize space with innovative storage solutions for every room, ensuring that the ‘custom’ look remains flawless for the life of the home.
Three Truths About Stone That No YouTube Video Mentions
After years of wrestling with jagged rock faces, I’ve realized that the wood always tells the truth about your patience. First, never trust your eyes—trust your scribe tool. If a gap looks like a quarter inch, it is likely closer to half. Second, your back-bevel is your best friend because it allows for micro-adjustments with a simple sanding block rather than a scary re-cut. Finally, remember that stone is a heat sink; condensation can happen in high-humidity seasons, so sealing the ‘hidden’ scribe edge is just as important as the top surface to prevent swelling. These are the small nuances that elevate standard work into custom cabinets ideas that transform your homes style.
The Tools I Pack for Every Stone Install
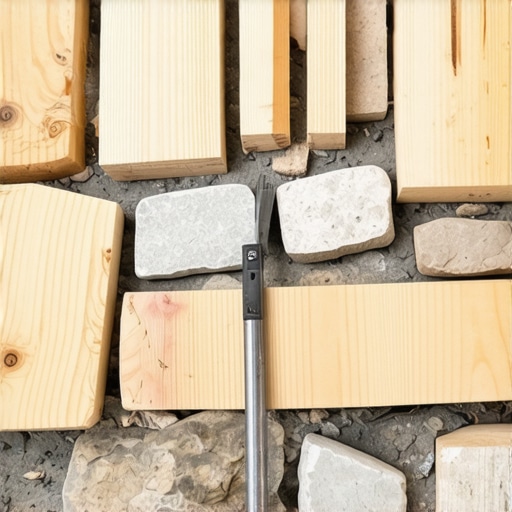
If you are serious about mastering these transitions, you need a specialized kit that goes beyond the standard hammer and nails. I always keep a 60-grit flap disc on my angle grinder for that final ‘whisper’ of wood removal; it is much more controllable than a jigsaw for fine-tuning. For marking, a dedicated scribing tool with a brass locking nut is the only thing I have found that does not slip on bumpy fieldstone. I also recommend keeping a stash of 1/4-inch luan plywood for templating; it is cheap insurance against ruining a prime slab of walnut. When you combine these techniques with built-ins and storage hacks for a sleek functional kitchen, you create furniture that looks like it grew out of the foundation.
Your Legacy is in the Details
Scribing a bench to a stone wall is a rite of passage. It is the moment you stop building boxes and start creating architecture. While it feels daunting to take a saw to a finished piece of wood, the result is a seamless look that defines innovative storage solutions for modern kitchen remodels. Don’t be afraid to fail on a few templates before you get it right; that is where the real skill is born. Your home deserves that level of care, and once you see that zero-gap fit for the first time, you will never reach for a tube of caulk again. Have you ever faced a stone wall so crooked it made you want to walk off the job? Let me know your biggest ‘wonky wall’ struggle in the comments below!