How to Level a Kitchen Island on a Significantly Sloped Floor
I’ll never forget the sound of that first marble slab hitting the island base in an old Victorian I was helping renovate. It didn’t just sit there; it groaned. As I stepped back, I realized the juice from my morning orange was literally rolling off the counter and toward the sink. The floor had a slope so dramatic it felt like we were building on the side of a mountain. It’s a gut-wrenching feeling when you realize your dream kitchen layout is fighting against gravity. If you’ve ever felt like your kitchen is slowly sinking into one corner, you aren’t alone. Today, I’m going to walk you through exactly how we conquer these gravity-defying slopes so your island stays rock-solid and perfectly level.
Stop Fearing the Slope and Start Leveling
When I first started out, I made a massive mistake that I still cringe about today: I thought I could just “stack enough shims” and call it a day. I used those cheap, plastic composite shims on a heavy island, and within three months, the weight of the stone had compressed them into nothing. The island sagged, and the mitered edges of the stone started to pop. It was an expensive lesson in physics. You need to understand the proper way to shim a cabinet on a slanted slab floor if you want your work to last longer than a season. According to data from structural engineering studies, a floor that slopes more than 1 inch over 10 feet isn’t just a cosmetic issue; it creates uneven weight distribution that can actually crack your expensive stone countertops over time.
Is it actually worth the hassle to level an island on a bad floor?
You might be thinking, “Can’t I just live with a slight tilt?” Believe me, you can’t. Every time you try to roll out dough or set a wine glass down, you’ll be reminded of that slope. It’s a game changer in your kitchen remodel to get this right. Whether you are dealing with a century-old house or a settling concrete slab, we have to talk about why every base cabinet needs adjustable feet on uneven concrete. These aren’t just for show; they are your primary defense against a lopsided workspace. Have you ever tried to install a heavy island only to realize the floor was doing its own thing? Shoot me a message—I’d love to hear your floor from hell stories. We also need to look at the countertop support move that keeps your breakfast bar from sagging, because a sloped floor multiplies the stress on those overhangs. In this guide, we are moving past the quick fixes and into the professional techniques that ensure your kitchen stays level even when the ground beneath it isn’t.
Find the High Point Before You Touch a Screw
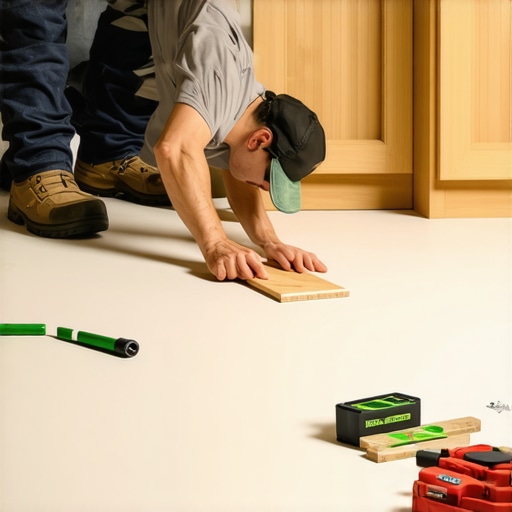
You can’t just start plopping cabinets down and hope for the best. I remember a job in Indianapolis where the subfloor looked like a frozen wave. If you start at the low end, you’ll end up with an island that’s five inches higher than your perimeter counters. You have to find the peak of the floor. Set your laser level in the middle of the room and map out the footprint of the island. Mark the highest point on the floor; this is your zero point. Everything else will be shimmed or adjusted up to meet this height.
Stop Using Shims that Crush Like Crackers
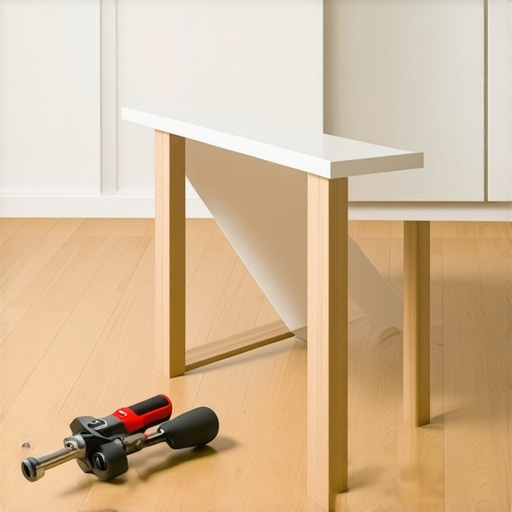
I once spent six hours leveling a massive oak island with cedar shims. A week later, after the granite was installed, the shims had compressed under the 800-pound load, and the whole thing was out of whack again. Now, I only use high-density plastic shims or, better yet, heavy-duty adjustable legs. This is the proper way to shim a cabinet on a slanted slab floor. You want materials that won’t rot if a dishwasher leaks and won’t flatten under the weight of a stone slab. 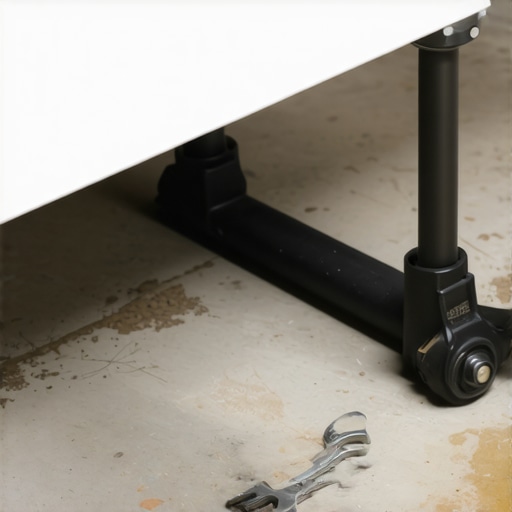
Why Every Island Needs a Solid Foundation
When you’re dealing with serious weight, why every base cabinet needs adjustable feet on uneven concrete becomes obvious the second you try to turn a wrench. These feet allow you to micro-adjust each corner without having to lift the entire cabinet. It’s like a car jack for your kitchen. If you choose to transform your kitchen with custom cabinets expert guide for 2025, you can often specify integrated leveling systems that save hours of frustration on the job site.
Anchor the Base So It Never Budges
Once the island is level, you have to lock it to the floor. A floating island is a recipe for a plumbing disaster. I use cleats—2×4 blocks screwed into the subfloor that the cabinet box slides over. But don’t just use any hardware. This is why your base cabinets should be secured with 3-inch rugged screws. Drywall screws will snap under the lateral pressure of someone leaning against the island. You need screws with a high shear strength to ensure that if the floor settles further, the island stays put.
Protect Your Overhangs from Gravity
If your design includes a breakfast bar, the slope of the floor actually increases the stress on those supports. A slight tilt toward the seating area puts extra leverage on the brackets. You need to master the countertop support move that keeps your breakfast bar from sagging. On that Victorian project, we ended up using hidden steel plates recessed into the top of the cabinets. It was overkill, but ten years later, that granite hasn’t moved a millimeter. This level of detail makes custom cabinets as a game changer in your kitchen remodel journey.
The Hidden Scribe: Making the Gap Vanish
When you level an island on a slope, you’re going to have a gap at the bottom on the low side. Do not just fill it with caulk. That’s a rookie move. You need to scribe your base molding or toe kick to the floor. It’s like tailoring a suit; you’re cutting the wood to match the exact topography of your tile or hardwood. This is where the kitchen island pivot when to choose legs over a solid base can really save you, as furniture-style legs often look better on dramatic slopes than a solid box base that highlights the unevenness of the ground.
Once you’ve conquered the physics of a sloped floor, it is tempting to think the hard part is over. But honestly, that’s just the foundation. I’ve seen homeowners spend thousands on a perfectly level island only to ruin the daily experience with storage choices that look great on Pinterest but fail in a working kitchen. Let’s dig deeper into the nuances of interior organization that most people—and even some contractors—miss during the heat of a project.
Deep Pantries Are Often Where Good Intentions Go to Die
Everyone tells you that you need the deepest cabinets possible to maximize space. In my experience, this is the biggest myth in kitchen design. A 24-inch deep pantry shelf without a pull-out mechanism is just a graveyard for expired cans of pumpkin puree and half-used bags of flour. You’ll never see what’s at the back, so you’ll keep buying duplicates. This is exactly why a pull-out pantry beats deep walk-in shelves for visibility every single time. By bringing the back of the cabinet to the front, you stop the ‘hidden clutter’ cycle that plagues most standard remodels. Integrating innovative storage solutions for modern kitchen remodels means thinking about access, not just raw square footage.
The Frustrating Reality of Ultra-Narrow Spice Pull-Outs
Another ‘oops’ factor I see constantly is the 3-inch or 6-inch spice pull-out right next to the range. They look sleek in photos, but they are a nightmare for anyone with a collection of spice jars larger than a standard supermarket size. These units often have thick wooden frames that eat up 2 inches of that 6-inch width, leaving you with a tiny sliver of usable space. You will find that why narrow spice pull-outs are often harder to use than you think becomes your daily frustration when your favorite sea salt grinder won’t fit. Have you ever fallen into this trap? Let me know in the comments—I’ve had to swap these out for clients more times than I can count.
Can Your Custom Shelving Actually Handle a Heavy Workload?
When we talk about expert tips on selecting storage solutions for a perfect kitchen upgrade, we have to talk about structural integrity. A common mistake is assuming solid wood is always the best choice for long shelf spans. While it sounds premium, solid wood is prone to warping and ‘creep’ over time when under heavy loads. According to a technical study by the Forest Products Laboratory, high-quality plywood actually offers superior dimensional stability for shelving because of its cross-laminated layers. This is why we recommend plywood shelves over solid wood for long spans, especially if you plan on stacking heavy cast-iron Dutch ovens or a collection of cookbooks. 
Furthermore, if you are building in a basement or a kitchen near the coast, you need to consider moisture. Standard furniture board will swell and crumble if a pipe leaks even slightly. This is why plywood box construction still wins over furniture board in wet areas like the sink base. When creating seamless kitchen remasters with built-in storage solutions, the ‘invisible’ materials inside the cabinet are just as important as the paint on the outside. Don’t let a contractor cut corners on the carcass just to save a few bucks on the quote; you’ll pay for it in ten years when the drawers start to bind.
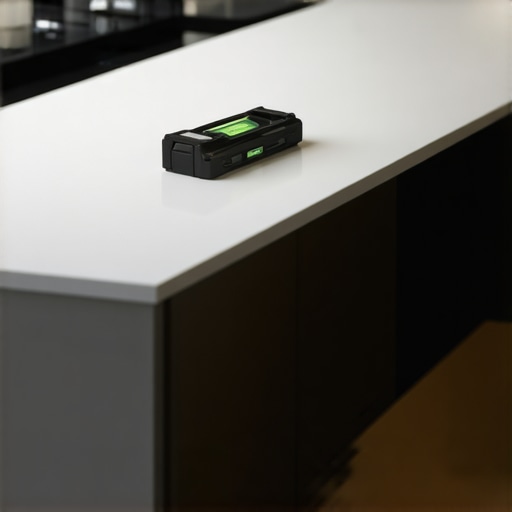
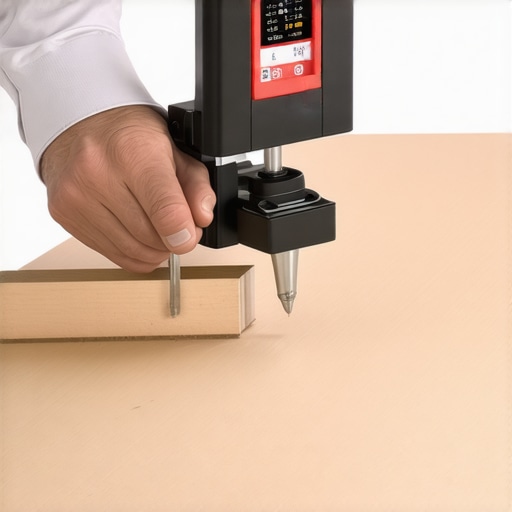
Once you’ve selected the right materials, the installation doesn’t just happen with a hammer and a prayer. I personally never walk onto a job site without a Wixey Digital Angle Gauge. While your laser level shows you the horizon, this little device tells you exactly how many degrees that floor is fighting you. It’s the difference between ‘looks okay’ and a truly level surface that prevents drawer slides from grinding. If you want to avoid a headache, invest in the one tool you need for perfectly aligned cabinet knobs every time: a dedicated drilling template. I’ve seen contractors try to eyeball hardware on a $50,000 remodel, and it’s heart-breaking when a handle is even an eighth of an inch off. It ruins the symmetry and the resale value instantly.
How do I maintain my custom kitchen cabinets over time?
Maintaining that ‘just installed’ feel is about more than just a damp rag. You need to keep an eye on the moving parts. If your drawers start to feel gritty, it’s usually dust from the installation or kitchen grease getting into the ball bearings. You’ll want to check out why your soft close slides are failing and the quick cleaning fix to keep things smooth. Beyond cleaning, seasonal humidity is your biggest enemy. Wood expands and contracts, which can throw off your reveals. Knowing how to adjust European hinges for a perfectly level door reveal is a skill every homeowner should have in their back pocket. It takes ten seconds with a Pozi-drive screwdriver and saves you from looking at crooked doors for the next decade. According to the KCMA (Kitchen Cabinet Manufacturers Association) A161.1 standard, high-quality cabinets are tested for 25,000 door swing cycles, but that durability only holds up if the hardware stays clean and aligned.
Prepare for the Next Wave of Kitchen Tech
The next five years are going to shift from ‘more space’ to ‘smarter space.’ We are already seeing a rise in voice-activated trash pull-outs where a simple command triggers a motor—a lifesaver when your hands are covered in flour. We are also seeing a massive move toward smart storage solutions for small kitchens in 2025, where built-in pieces are doubling as hidden workstations. I predict we will see more integrated sensors that notify you if a leak starts under your sink before the wood even has a chance to swell. Integrating these built-ins and storage hacks for a sleek functional kitchen ensures your home stays ahead of the curve. If you’re ready to stop fighting your floor and start building something that lasts, check out our transform your kitchen with custom cabinets expert guide for 2025. Try this today: find the one drawer that always jams, pull it out, clean the tracks with a shop vac, and see how much it changes your morning routine.
Hard-Earned Lessons from the Kitchen Remodel Front Lines
After years of wrestling with stubborn floors and heavy stone, I’ve realized that the small details determine if a project feels like a success or a source of stress. First, never trust your eyes alone—a floor can look flat and still have a half-inch dip that ruins your stylish kitchen overhaul. Second, always plan for the ‘worst-case’ leak; waterproof liners in your sink base are non-negotiable. Finally, don’t rush the scribe; that thin line of wood between your cabinet and the floor is what separates a DIY job from a professional masterpiece.
#IMAGE_PLACE_HOLDER_E#
The Gear That Makes My Custom Projects Bulletproof
I’ve wasted thousands of dollars on tools that didn’t work, so here is what I actually carry in my truck for every kitchen remodel using built-ins. A high-quality self-leveling cross-line laser is my first priority—it’s the only way to establish a true horizontal line across a whole room. I also swear by FastCap 2P-10 adhesive for those tricky mitered toe-kick corners where screws just won’t fit. For those seeking expert tips on selecting storage solutions, I highly recommend the book Kitchen Think by Nancy Hiller—it changed how I view the ergonomics of a workspace.
Stop Overthinking and Start Building Your Dream Kitchen
It’s easy to get paralyzed by the fear of making a mistake, especially when the floor is sloped or the budget is tight. But remember, every expert started with a project that felt a little bit over their head. Whether you are installing a tiny island or a massive suite of built-in storage solutions, the key is to take it one level line at a time. If you hit a wall and don’t know how to proceed, don’t hesitate to reach out to us for professional guidance.
Have you ever struggled with an uneven floor during a renovation? Let me know in the comments below!