The Best Way to Support a 4-Foot Granite Overhang
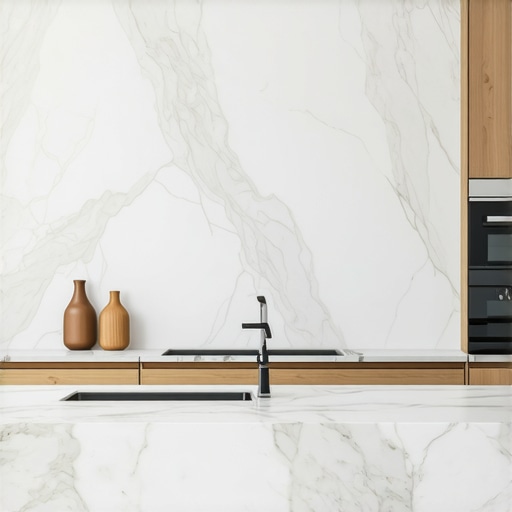
I remember standing in my half-finished kitchen, staring at a massive slab of granite that cost more than my first car. I wanted that deep, four-foot overhang for a luxurious breakfast bar where the whole family could gather. But as I leaned on the edge to test it, I heard a sound that haunted my dreams: a faint, structural groan. I’d made the classic amateur mistake of thinking a few flimsy wooden brackets would hold up 600 pounds of stone. It wasn’t just a design flaw; it was a safety hazard waiting to happen. If you are currently in the middle of a custom cabinets as a game-changer in your kitchen remodel journey, you know that the ‘pretty’ parts are easy, but the structural parts are what keep you up at night. Today, I am going to show you exactly how to avoid the heart-stopping moment of a sagging slab by choosing the right support system.
Your Granite Island Shouldn’t Double as a Guillotine
Granite is deceptively heavy. According to the Natural Stone Institute, a 3cm thick granite slab weighs approximately 18 to 20 pounds per square foot. When you extend that out four feet without a wall underneath, you aren’t just decorating; you are engineering. In my early days, I tried to skip the heavy-duty steel, thinking I could hide the support with the countertop support move that keeps your breakfast bar from sagging by using just extra-thick plywood. I was dead wrong. Plywood flexes, and stone does not. When stone flexes, it snaps. Ensuring your modern kitchen remodels featuring custom cabinets and built-ins stay intact requires a ‘stealth’ approach to steel. You can’t just slap a bracket on the outside of a cabinet and call it a day. The leverage exerted by a forty-eight-inch span will rip the screws right out of the cabinet face if you aren’t careful.
Is a four-foot overhang actually safe for your family?
I get this question a lot from skeptical homeowners who fear the ‘tumble’ effect. The short answer is yes, but only if you stop thinking about supports as an afterthought. You have to integrate them into the cabinet boxes themselves. If you are planning an open layout, remember that why your open concept kitchen island needs a 4-foot clearance rule applies to more than just walking space; it applies to the leverage exerted on your base cabinets. Have you ever noticed a slight gap forming between your stone and the cabinets? That’s the first sign of trouble. Drop a comment below if you’ve ever felt your countertop move when you sat down—I’ve been there, and it’s terrifying. To do this right, we need to talk about steel I-beams and custom-welded brackets that disappear into the cabinetry.
Forget wood and go straight for the steel
To achieve that high-end ‘floating’ look without a forest of wooden legs, you must use 1/2-inch thick cold-rolled steel plates. Think of these as the bridge girders for your coffee mugs. When you are planning modern kitchen remodels featuring custom cabinets and built-ins, the support isn’t something you slap on top; it’s something you build into the frame. These steel brackets should extend to within four inches of the granite edge. If you leave too much ‘naked’ stone hanging out there, you are just begging for a hairline fracture. I once worked on a project in Lake Tahoe where the client insisted on a massive slab of Blue Bahia with no visible supports. I spent three hours with a router, carving channels into the cabinet tops so the 1/2-inch steel sat perfectly flush. If that steel is even a sixteenth of an inch too high, your stone will rock like a seesaw; if it’s too low, it’s not doing its job. The result was a breakfast bar that looked like it defied gravity, and even after three years of heavy use, there isn’t a single crack in the grout lines. 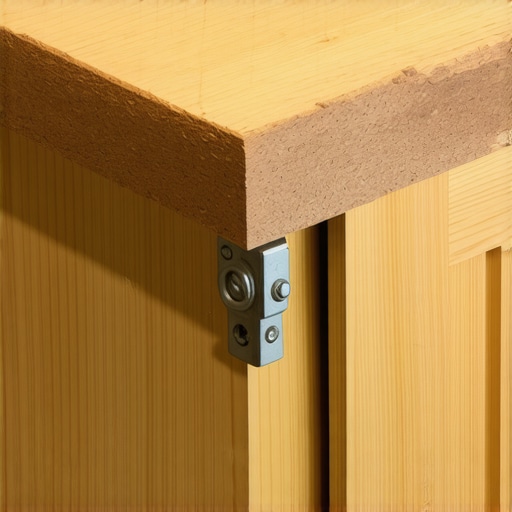
Route the channels for a level stone surface
You cannot simply lay steel on top of your cabinets and expect the granite to sit flat. You need to create a recessed ‘trench’ in the top of the cabinet box. This is where why plywood box construction still beats particle board for kitchens becomes incredibly clear. Plywood has the structural integrity to handle being routed without crumbling. If you tried this with particle board, the weight of the steel and the granite would eventually turn the cabinet wall into sawdust. Use a plunge router and a straight bit to create a path for the steel. This ensures the stone makes direct contact with the cabinet walls while the steel provides the cantilevered strength.
Anchor everything into the subfloor
A four-foot overhang creates a massive amount of leverage. If you don’t anchor your island to the subfloor, a couple of people leaning on that overhang could literally tip the entire island over. This is exactly why your base cabinets should be secured with 3-inch rugged screws into the floor joists or a solid 2×4 ‘cleat’ bolted to the concrete. When I was starting out, I saw an island shift nearly an inch because the installer only used finish nails to ‘tack’ it down. Now, I use heavy-duty lag bolts. If you are integrating custom cabinets ideas that transform your homes style, make sure the interior of the cabinet hides these structural reinforcements.
Don’t forget the cabinet screw mistake
When mounting your hidden brackets, avoid the common cabinet screw mistake that causes heavy drawers to fail by ensuring your bracket screws aren’t interfering with your drawer glides. You need to pre-drill every hole in that steel. Attempting to drive a screw through a steel bracket without a pilot hole is a recipe for a snapped head and a very bad day. I always use a cobalt drill bit for the steel and then a standard wood bit for the cabinet frame. This double-layered approach ensures that once that granite is laid down, those brackets aren’t going anywhere. This level of detail is what separates a DIY disaster from custom cabinets as a game-changer in your kitchen remodel journey.
Everyone tells you to maximize every square inch by packing in as many cabinets as possible, but in my experience, over-cabinetry is a real design disease. I’ve walked into multi-million dollar homes where the owners were frustrated because they had sixty cabinets but still couldn’t find a place for their oversized stand mixer. The contrarian truth? Fewer, more strategically designed units are always superior to a wall of standard boxes. When you are planning modern kitchen remodels featuring custom cabinets and built-ins, the goal isn’t volume; it’s accessibility. If you can’t see the back of the shelf without a flashlight, that shelf is failing you.
Stop building deep walk-in pantries that hide your food
The biggest myth in kitchen design is that a deep walk-in pantry is the gold standard. I disagree. Most walk-in pantries become ‘food graveyards’ where cans of beans go to die in the dark corners. Instead, I advocate for the shallow approach or integrated pull-outs. This is why a pull-out pantry beats deep walk-in shelves for visibility every single time. By bringing the contents to you, you eliminate the need to dig. According to the National Kitchen & Bath Association (NKBA), the most significant factor in kitchen efficiency isn’t square footage, but the ‘storage-at-the-point-of-use’ principle. If you are baking, your flour and sugar should be in a dedicated zone, not buried in a closet down the hall.
Is your current cabinet depth actually working against your workflow?
I see this advanced mistake constantly: homeowners sticking to the ‘standard’ 24-inch base cabinet depth for everything. If you have specialty items, you need to break the rules. For example, the cabinet depth secret for storing large pizza stones and trays often involves going slightly deeper or using vertical dividers. If you don’t account for these ‘outlier’ items during the design phase of your transforming your kitchen with custom cabinets expert guide for 2025, you’ll end up with cluttered countertops later. Have you ever fallen into the trap of thinking a standard cabinet would fit your unique appliances? Let me know in the comments, because I’ve had to rebuild many a face frame for a toaster that was just a half-inch too wide.
The ‘oops’ factor of trash pull-out placement
Here is a specific warning you won’t hear from a big-box store salesman: never place your trash pull-out directly next to your oven or dishwasher. It sounds convenient, but the heat from these appliances accelerates the decomposition of organic waste, leading to a lingering odor that no amount of cleaning can fix. This is a classic example of how why your garbage pull-out should never be next to the oven is a rule written in the sweat of past mistakes. Instead, integrate it into your prep zone, away from heat sources. When you focus on expert tips on selecting storage solutions for a perfect kitchen upgrade, you start to see that the best designs aren’t just about how things look—they are about how they smell, sound, and feel three months after the contractor leaves. If you’re looking for ways to truly elevate the space, consider how built-ins that elevate your living rooms functionality can extend this same logic to the rest of your home, creating a cohesive, high-performance environment.
Building the dream is one thing; keeping it from turning into a creaky, misaligned nightmare is where the real professionals earn their keep. I’ve seen stunning modern kitchen remodels featuring custom cabinets and built-ins lose their luster in six months just because the homeowner didn’t have a plan for the ‘settling’ phase. Precision isn’t just for the install day. It starts with the tools you use to set the hardware. I never, ever ‘eye-ball’ a handle. I use a dedicated aluminum drilling jig because the one tool you need for perfectly aligned cabinet knobs every time isn’t a tape measure—it’s a template that locks onto the door. If you are off by even a hair, the hardware mistake that makes expensive cabinets look cheap becomes a glaring daily reminder of a rushed job.
Precision tools for a lifetime of use
Beyond the drill, you need a high-quality humidity sensor. According to the USDA Forest Products Laboratory’s Wood Handbook, wood is a hygroscopic material, meaning it constantly gains or loses moisture to stay in equilibrium with the environment. This is why the inset cabinet gap re-aligning doors after seasonal humidity changes is a skill you must learn. If your house drops to 20% humidity in the winter, your doors will shrink. If it spikes to 80% in the summer, they’ll swell and rub against the frames. I always tell my clients to invest in a whole-home humidifier to keep things stable, but even then, you need to know how to adjust european hinges for a perfectly level door reveal. It takes five minutes with a screwdriver, yet most people just live with crooked doors for a decade. 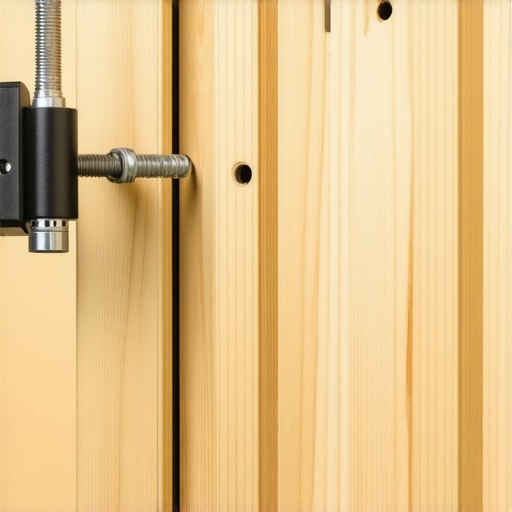
How do I maintain my custom storage systems over time?
Maintenance isn’t just about cleaning; it’s about lubrication and tension. If you notice your heavy drawers aren’t closing all the way, why your soft-close slides grind and the quick lubrication fix usually involves a dry PTFE spray, not a greasy oil that attracts dust. I also recommend checking your sink base regularly. Use the vancouver plumber trick why waterproof liners are mandatory for custom sink bases to ensure a small drip doesn’t turn into a structural rot issue. Looking toward 2025 and beyond, I predict we will see more integrated ‘smart’ sensors within cabinet boxes that alert your phone the second moisture levels rise or a hinge loses tension. For now, the best tool is your own eyes and a simple Pozidriv screwdriver. Go into your kitchen right now and check the gap on your most-used cabinet door—if it’s not perfectly even, give that hinge adjustment screw a quarter turn and see the difference it makes. This simple action is the first step in treating custom cabinets as a game-changer in your kitchen remodel journey.
Hard-Earned Truths from a Decade of Sawdust
After years of installing high-end cabinetry, I’ve realized that the most expensive kitchen isn’t always the best one; the best one is the one that stays functional under pressure. Here is what the glossy magazines won’t tell you:
- Quality hardware is your engine: I’ve seen homeowners drop fifty thousand dollars on wood only to use bargain-bin hinges. If your doors are sagging in two years, the wood species doesn’t matter. This is why the hardware mistake that makes expensive cabinets look cheap is the one error I refuse to let my clients make.
- Design for the invisible items: Most people forget where the broom, the dog food, and the oversized stockpot will live. When you are planning smart storage solutions for small kitchens in 2025, you have to account for the items that usually clutter the floor.
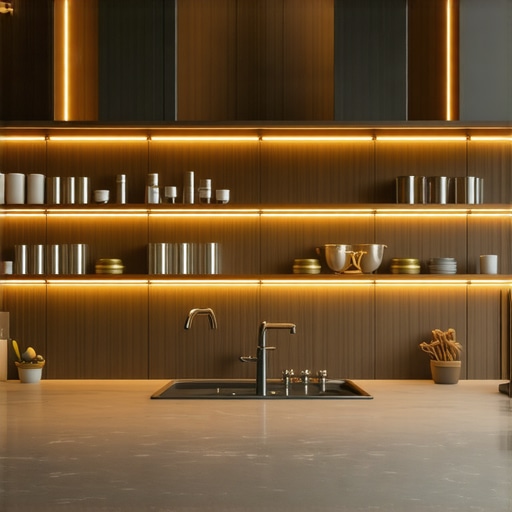
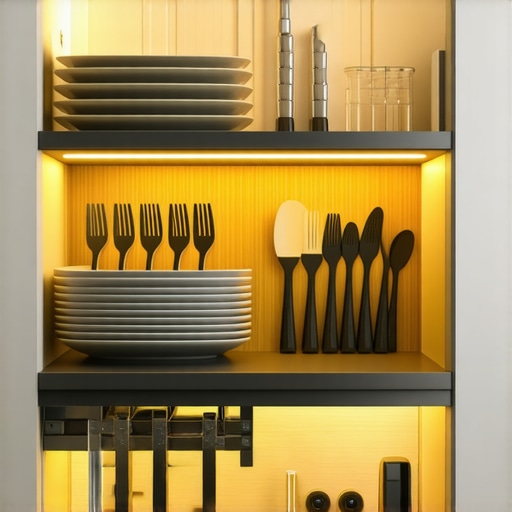
- Light reveals the truth: Dark corners are where organization goes to die. If you can’t see into the back of your built-ins and storage hacks for a sleek functional kitchen, you’ll never use them. Integrated LED lighting isn’t just about aesthetics; it’s about accessibility.
Tools for the Unapologetic Perfectionist
If you are tackling any part of this yourself or just want to hold your contractor to a higher standard, these resources are non-negotiable for me. I trust them because they remove the guesswork from the equation:
- Self-Centering Vix Bits: You cannot align a hinge perfectly with a standard drill bit. These bits ensure your screws are dead-center every single time, preventing the dreaded crooked door syndrome.
- The NKBA Planning Guidelines: This is the guide for kitchen design. It covers everything from landing area requirements to walkway widths, ensuring your layout is as safe as it is beautiful.
- Aluminum Drilling Templates: Stop using paper templates. A solid metal jig ensures that your pulls and knobs are consistent across fifty drawers, keeping the lines of your cabinetry sharp and professional.
#IMAGE_PLACE_HOLDER_E#
Your Vision Deserves Structural Integrity
At the end of the day, your kitchen is the heart of your home, and it needs a strong skeleton to survive the daily rhythm of life. Whether you are reinforcing a massive granite slab or meticulously aligning an inset door, remember that custom cabinets as a game-changer in your kitchen remodel journey are only as good as the structural foundations they sit upon. Take the time to do it right, use the steel where it counts, and never settle for good enough when it comes to safety.
Have you ever noticed a gap in your cabinetry or felt a countertop shift under your weight? Let me know in the comments below—I’d love to help you troubleshoot your specific structural challenges!