The Best Way to Seal the Gap Between Your Cabinet and the Floor
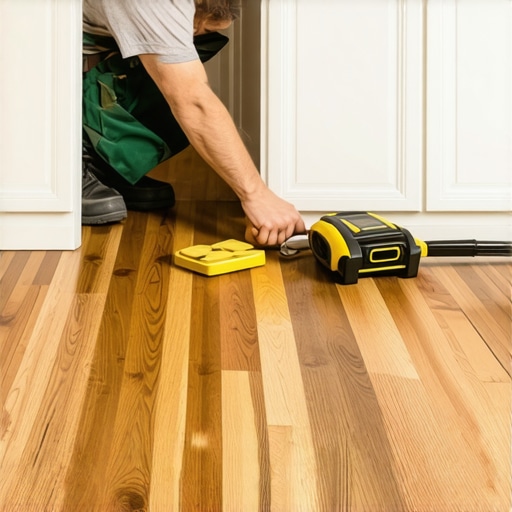
I was on my hands and knees, squinting into the abyss under my kitchen island. A wayward pen had rolled under the toe kick, and as I fished it out, I realized I’d discovered a new ecosystem. It was a dusty, crumb-laden gap that seemed to go on forever. I’d spent thousands on a modern kitchen remodel, yet there was this glaring, ugly space between my beautiful wood and my tile. It bothered me every time I mopped. That moment of frustration was my lightbulb moment. I realized that a custom cabinets game-changer isn’t just about the doors or the finish; it’s about how those cabinets actually meet the rest of your house. Today, I am going to show you exactly how to close that gap for good so you can stop cleaning out the same dust bunnies every single week.
Stop the Crumb Graveyard Under Your Cabinets
If you have ever felt a cold draft hitting your ankles while you’re washing dishes, you know exactly what I’m talking about. We spend so much time obsessing over innovative storage solutions and high-end hardware, but we often overlook the transition where the base cabinet meets the floor. I made a massive mistake early on by trying to glob silicone into a half-inch gap. It looked like a kindergarten art project gone wrong. It collected dirt, peeled up within weeks, and looked totally amateur. Sealing this gap isn’t just for the sake of your sanity during cleaning; it is actually a vital part of home maintenance. According to the National Center for Healthy Housing, unsealed gaps in kitchen areas can provide a highway for pests and allow moisture to seep under your flooring, which is a recipe for mold. You want a finish that is airtight, water-resistant, and aesthetically pleasing.
Is a tiny gap really worth all this trouble?
You might be thinking, “Hey, I’m the only one who sees it, right?” Wrong. Your vacuum sees it. Your toddler’s spilled juice sees it. If you’ve ever had to level a kitchen island on a sloped floor, you know that floor variations are the enemy of a tight fit. Leaving that gap open means you are inviting grime to live where you can’t reach it. Have you ever found yourself dreading the deep clean because you know what’s hiding under those cabinets? Let me know in the comments if you’ve found any weird ‘treasures’ in your cabinet gaps!
The Secret Sauce of Scribing and Shoe Molding
In my first house, I didn’t understand the power of a scribe. I thought floors were flat. Spoiler alert: they aren’t. Not even in brand-new builds. If you want that high-end look seen in built-ins that elevate functionality, you need to embrace the trim. Whether you use shoe molding, quarter round, or a custom-scribed toe kick, the goal is a seamless transition. Before you start, make sure your foundation is solid. I’ve seen people try to trim cabinets that were barely attached to the wall. Ensure your base cabinets are secured with 3-inch rugged screws first. A moving cabinet will crack any seal you put down, no matter how good the material is. We’re going for a permanent fix here, not a weekend band-aid.
Start with a Rock-Solid Foundation
Before you even think about the decorative trim, you have to ensure the “bones” are set. If your cabinets shift even a millimeter when you lean on them, your seal will fail. I learned this the hard way during a modern kitchen remodel where I rushed the installation. I thought “good enough” was fine, but three months later, the caulk line looked like a jagged mountain range because the floor settled under the weight of the granite. This is why your base cabinets should be secured with 3-inch rugged screws directly into the wall studs and floor plates. A rock-solid attachment prevents the vibration and settling that causes gaps to reopen as soon as you step near them.
The Proper Way to Shim the Gap
If you find a massive void because your floor dives down in one corner, don’t just bridge it with trim and hope for the best. You need to support the weight properly. Learn the proper way to shim a cabinet on a slanted slab floor before you worry about the aesthetics. This ensures the cabinet box isn’t under stress, which is a common custom cabinets game-changer that many DIYers overlook. Support the structure first, then style the transition later.
Master the Art of the Scribe Line
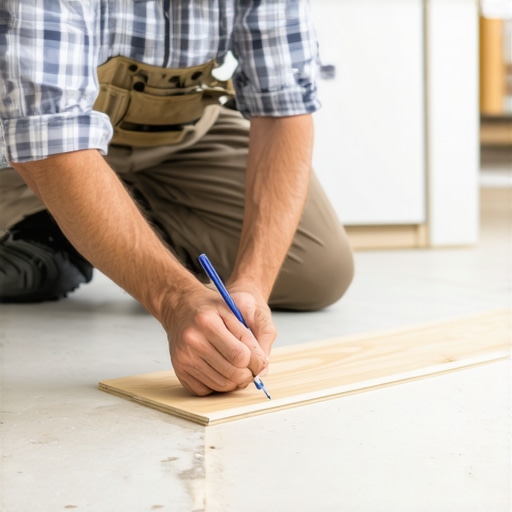 Scribing is the professional’s secret for making a straight piece of wood follow a crooked floor. Think of it like a tailor fitting a bespoke suit; the wood needs to hug the unique contours of your home. I once tried to install built-ins that elevate functionality in a library with an old uneven stone wall. I thought I could just “caulk the difference.” It looked horrific, like a white plastic scar running down the side of the wood. I ended up having to pull the whole thing out and start over. Now, I use a simple carpenter’s compass for everything.
The Compass Trick for a Perfect Fit
Set your compass to the width of the largest gap you see. Run the metal point along the floor while the pencil side marks the cabinet’s toe kick or shoe molding. This transfers the exact “wave” of your floor onto the wood. It’s the same technique used when you need to scribe a bench to a stone wall without any gaps. Once you have that line, use a jigsaw or a hand plane to shave the wood down to the mark. When you slide that piece back into place, it will look like it grew out of the floor.
Choose the Right Material for the Final Seal
Not all trim is created equal. If you are working in a high-moisture area, like near a sink or dishwasher, you want a material that won’t swell at the first sign of a spill. While many innovative storage solutions use MDF for interiors, I always recommend solid wood or a high-quality PVC for the actual pieces touching the floor.
Nail Your Trim Without Splitting the Wood
When you finally go to attach your shoe molding or scribed toe kick, use a 23-gauge pin nailer. It leaves a hole so small you barely have to fill it with a wax stick. If you use a heavy-duty framing nailer, you’re going to split that delicate trim and be back at the lumber yard by noon. Angle your nails into the cabinet base, not the floor itself. This allows the floor to expand and contract naturally without pulling your trim away or causing it to buckle. This attention to detail is a vital part of creating seamless kitchen remasters with built-in storage solutions.
Don’t Let Pretty Paint Hide a Weak Box
Most homeowners think the “custom” in custom cabinets just means picking a unique Pinterest color. But the biggest trap is focusing on the facade while ignoring the carcass. I’ve seen $50,000 kitchens where the boxes were held together by nothing but optimism and a few drops of wood glue. In my experience, your cabinet boxes should be stapled, glued, and screwed if you want them to last through a decade of slamming doors and heavy cast iron. If the joinery is weak, that expensive paint job will crack at the seams within two years because of micro-shifts in the structure. Everyone says the wood species is the most important choice, but the hardware and the box construction are what actually carry the weight of your investment.
Why Your Panels Need Room to Breathe
Here’s a hot take: Solid wood isn’t always the absolute “best” for every part of your kitchen. People often turn their noses up at high-end engineered cores, but solid wood moves. It breathes. If you don’t account for that, your beautiful custom cabinets game-changer turns into a nightmare of sticking drawers and warped doors. According to the Architectural Woodwork Institute (AWI), solid wood can expand significantly across the grain depending on humidity levels. That’s why solid wood door panels still need room to breathe in summer. If your builder glues those panels into the frame, they will crack the stiles and rails as they expand. 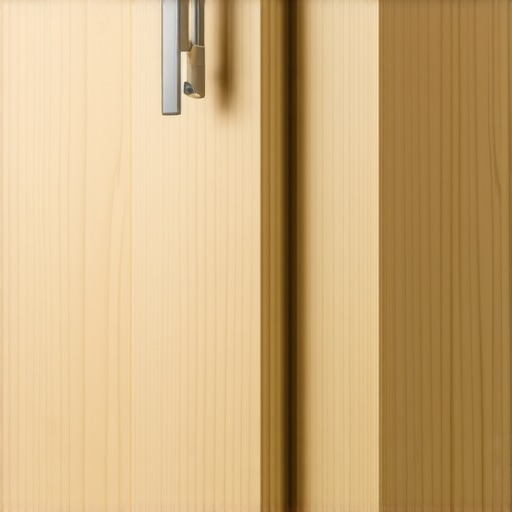
Does your cabinet finish actually stand up to daily chemicals?
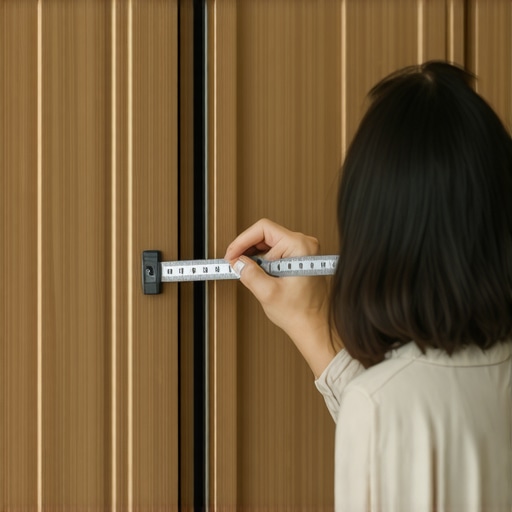
Then there’s the finish. I see so many DIYers and even some pros using standard interior paint on kitchen cabinets. It’s a five-year mistake that leads to “sticky” feeling doors that eventually peel. You need to understand the difference between pre-catalyzed and post-catalyzed cabinet lacquer. One is a convenient solution, while the other provides a chemical-resistant shield that laughs at spilled red wine and citrus cleaners. If you’re doing a modern kitchen remodel that involves painting existing frames, the #1 place where people fail is the cleaning stage. You can buy the most expensive spray gun in the world, but if there is a microscopic layer of cooking oil on that wood, the paint won’t bond. I always insist on a proper way to prep cabinets before the first coat, which always includes a heavy-duty de-greaser. Have you ever noticed your cabinet paint peeling specifically around the stove or the handles? That’s likely because of “invisible” oil residue. Have you ever fallen into this trap? Let me know in the comments.Now that your paint is cured and your boxes are solid, we need to talk about the ‘jewelry’—the hardware. I spent years trying to measure every drawer front with a ruler and a prayer, often resulting in lopsided pulls that drove me crazy. If you want professional results, you need to stop guessing. I personally use a heavy-duty aluminum drilling template for every project; it is the one tool you need for perfectly aligned cabinet knobs every time. It removes the human error that ruins expensive custom doors. This level of precision is exactly what defines built-ins that elevate your living rooms functionality. I also recommend keeping a 23-gauge pin nailer in your arsenal for those final trim pieces. It creates a hole so small you don’t even need to putty it most of the time. When you are creating seamless kitchen remasters with built-in storage solutions, the difference between a ‘good’ job and a ‘masterful’ one is often the absence of visible fasteners. 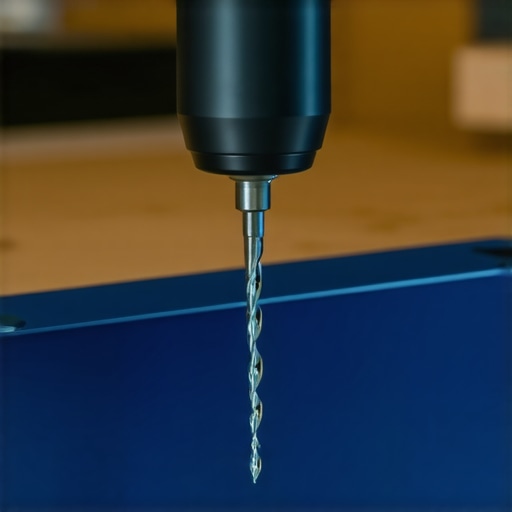
Keep Your Drawers Gliding Like Silk
Even the most expensive storage solutions for a perfect kitchen upgrade will eventually require a bit of mechanical TLC. If you start to hear a gritty sound when you open your drawers, don’t just pull harder. Usually, your soft-close slides grind because they need a quick lubrication fix or a simple cleaning of the ball bearings. For the slides, I specifically recommend a clear synthetic grease with PTFE. Standard WD-40 is actually a degreaser, not a long-term lubricant, and using it on your tracks is a recipe for a sticky mess six months down the road. According to the Blum Technical Manual, their high-end hinges and slides are rated for 200,000 opening cycles, but that durability relies entirely on the hardware staying square and clean. If you notice your cabinet doors are slamming despite having soft-close hinges, it’s often a sign that the hydraulic piston has been over-taxed by an un-level door.
How do I keep my custom cabinets looking new for years?
The secret isn’t a special cleaner; it’s the ‘annual walk-around.’ Once a year, I take a Pozi-drive screwdriver and check every reveal. Learn the 5-minute hinge adjustment for fixing wonky cabinet reveals to ensure that doors aren’t rubbing against the face frame. This prevents the friction that leads to chipped paint and worn-out wood. If you let a door sag, it doesn’t just look bad; it slowly saws away at the finish of the neighboring door every time it closes.
The Future of High-End Storage
Looking ahead to 2025 and beyond, we are seeing a massive shift toward ‘invisible’ functionality. We aren’t just talking about innovative storage solutions like pull-out spice racks anymore; the trend is moving toward motor-assisted touch latches and integrated LED lighting that triggers when a sensor detects motion. This ‘smart’ cabinetry will make the mechanical maintenance I mentioned even more critical. If the box isn’t square, the sensors won’t align. I challenge you to try the ‘Hinge Walk-through’ this weekend—go through your kitchen and adjust just one door that’s been slightly crooked. You’ll be amazed at how much ‘newer’ the whole kitchen feels when the lines are perfectly straight.
The Hardest Lesson My Uneven Kitchen Floor Taught Me
Over the years, I’ve realized that the difference between a DIY-looking job and a professional installation isn’t just the tools—it’s the patience. Floors are never flat, and assuming they are is the quickest way to end up with a mess. I learned that you should never use silicone to bridge a gap larger than an eighth of an inch; it just becomes a dirt magnet that eventually peels and looks unsightly. Another ‘lightbulb moment’ for me was discovering that if you don’t clean the area perfectly before sealing, you’re essentially entombling debris that can attract moisture or pests later. Finally, remember that the toe kick area takes a lot of hits from mops and vacuum cleaners, so choosing a material that can withstand moisture and impact is non-negotiable for long-term durability.
The Precise Tools That Make Scribing Simple
If you want to achieve that high-end look without the headache, there are a few items I never start a project without. First, a reliable carpenter’s compass is the one tool you need for transferring floor variations to your wood with surgical precision. I also swear by a 23-gauge pin nailer because it allows you to attach trim with virtually no visible holes, a technique I also apply when designing a mudroom bench that stays clean. For those looking for deeper technical knowledge on material selection, I always point people toward the AWI standards; they offer expert tips on selecting storage solutions that are built to last a lifetime. #IMAGE_PLACEHOLDER_E#
Take the Leap and Close the Gap
Tackling those small gaps might seem like a minor detail, but it’s the final step in truly mastering your modern kitchen remodel. When you close up those ‘crumb graveyards,’ you aren’t just making the room easier to clean—you’re protecting the integrity of your home and ensuring your custom cabinets look as good in ten years as they do today. Don’t be afraid to take your time with the scribe line; that extra thirty minutes of work will pay off every single time you look down at your beautiful, seamless floors. Have you ever discovered any ‘hidden treasures’ while cleaning out the gaps under your old cabinets? Let me know in the comments below!