How to Fix a Drawer That Won’t Close All the Way
There I was, standing in my newly finished kitchen, admiring the investment I’d just poured into modern kitchen remodels, and there it was—the stubborn inch. One drawer sat just slightly ajar, catching my hip every time I walked past. It felt like a personal insult from the universe. I’d spent months planning how custom cabinets as a game-changer would elevate my life, only to have a single piece of hardware defy my sanity. You know that feeling, right? That tiny gap that ruins the clean lines of your beautiful space and makes everything look just a bit unkempt. Today, we’re going to end that frustration. I’m going to show you exactly how to hunt down the culprit and make your storage solutions feel high-end again without calling in a contractor.
Stop Slamming Your Cabinetry and Look Inside
Early in my woodworking journey, I made the classic rookie mistake: I thought more force was the answer. I’d shove the drawer hard, thinking it just needed to break in. All I ended up doing was bending the metal tracks and chipping the face frame. It was an expensive lesson. The truth is, drawers are delicate ecosystems of alignment. Whether it’s a wayward spatula or a loose adjuster screw, the fix is usually much gentler than a hammer. Believe it or not, even minor shifts in home humidity can swell wood drawer boxes enough to cause friction. According to experts at the Woodworking Network, moisture is often the hidden enemy of seamless joinery in residential kitchens.
Is this small fix actually worth your time?
You might think it’s just a minor annoyance, but a drawer that won’t close is often the canary in the coal mine for your built-ins and storage hacks. It could mean your slides are grinding or your cabinet box is actually out of square. Before you consider a total overhaul, we’re going to look at the three most common reasons things go sideways. Have you ever noticed your drawers getting stickier or more stubborn during the humid summer months? This isn’t just your imagination; it’s physics, and it’s something we can tackle together in about ten minutes with a screwdriver and a little bit of patience.
Ditch the Clutter and Check the Tracks First
I’ll never forget the time I took apart an entire base cabinet in one of my early modern kitchen remodels because a drawer wouldn’t shut properly. I was convinced the slides were defective and had already started drafting an angry email to the manufacturer. After thirty minutes of frustration, I found a rogue corn cob holder wedged behind the back panel. It was embarrassing, but it taught me a valuable lesson: always start with the simplest explanation. Before you reach for tools, empty the drawer completely. Often, the ‘fix’ for better smart storage solutions for small kitchens in 2025 is just making sure nothing has fallen behind the box. Drawers are like a puzzle; if one piece is out of place, the whole picture stays messy.
Clear the Ball Bearings Without a Mess
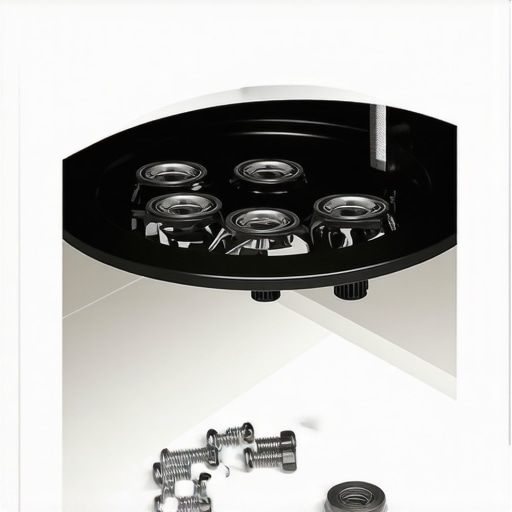
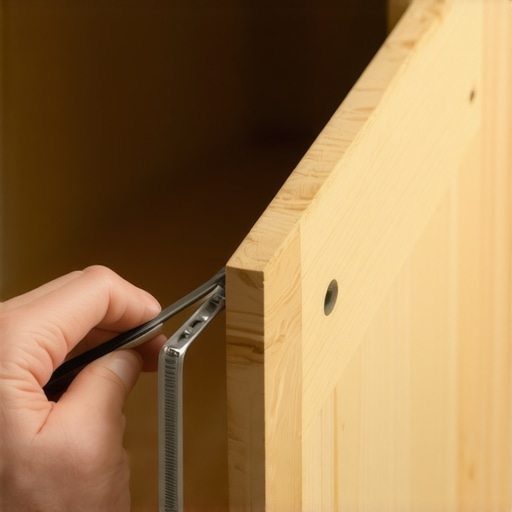
If the drawer is empty and still sticks, your slides are likely the culprit. Think of these slides like a bicycle chain; they need to stay clean and grit-free to move smoothly. If you hear a grinding or crunchy sound, it’s time to learn why your drawer slides are grinding and how to clear the ball bearings. I use a small, stiff brush and a vacuum to suck out sawdust or kitchen grease that’s turned into a sticky paste. Whatever you do, resist the urge to spray heavy oil or WD-40 everywhere. These lubricants often attract more dust, creating a sludge that makes the problem worse in the long run. Use a dry PTFE spray if you must lubricate at all. #IMAGE_PLACE_HOLDER_B#
Tweak the Adjuster Screw to Square the Face
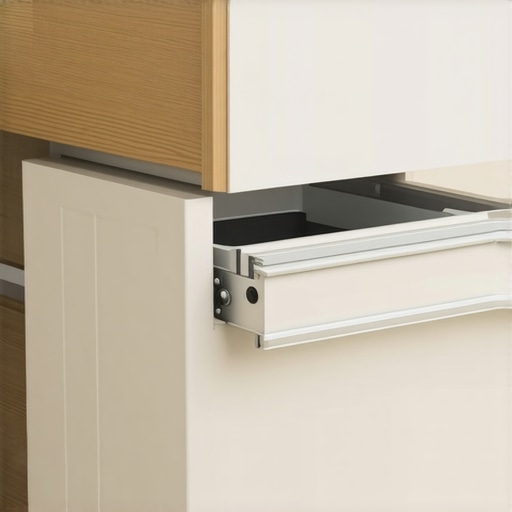
Most modern built-ins and storage hacks for a sleek functional kitchen use European-style slides with built-in adjustment points. If your drawer closes but looks tilted—with a larger gap on one side than the other—you don’t need to reinstall the whole hardware set. Look for a small plastic or metal dial on the side or bottom of the slide. This is your secret weapon. Mastering why your drawer fronts are crooked and the adjuster screw fix allows you to raise or lower the front by mere millimeters. I once fixed a client’s entire ‘failed’ kitchen renovation just by spending twenty minutes turning these screws. It’s like tuning a guitar; small turns make the biggest difference in the final harmony of your kitchen’s vertical lines.
Stop the Sway by Checking the Box Integrity
If software adjustments don’t work, we have to look at the ‘skeleton’ of the drawer itself. In premium builds, the reason why we use solid maple for drawer boxes instead of poplar becomes obvious here; maple resists warping and holds its shape under the weight of heavy pots. If your drawer box is out of square, it will bind no matter how much you clean the tracks. Use a speed square to check the internal corners. If it’s wonky, you might need to reinforce the joints. Just remember a golden rule of woodworking: why you should never use silicone for cabinet joinery—it doesn’t provide structural strength and makes future repairs impossible. For those dealing with a chaotic mess that causes jams, consider the drawer within a drawer move for organizing your junk drawer to keep small items from ever interfering with the slide mechanism in the first place.
Stop Over-Engineering Your Storage Solutions
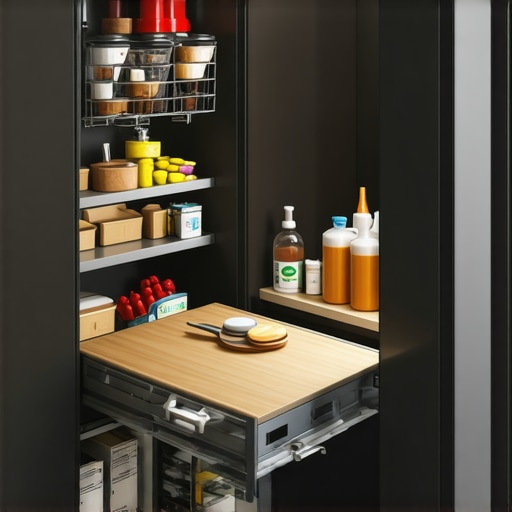
Here’s the hard truth: most people think that more gadgets equals a better kitchen. They fill every base cabinet with innovative storage solutions like motorized lifts and complex pull-out racks. But in my experience, the more moving parts you add, the more points of failure you create. I’ve seen homeowners lose nearly 30% of their actual storage volume to bulky hardware housings. Sometimes, a well-placed adjustable shelf is superior to a fancy pull-out that only fits three specific cans. When planning modern kitchen remodels featuring custom cabinets and built-ins, the goal should be efficiency, not complexity. Have you ever fallen into the trap of buying a gadget you never used? Let me know in the comments.
Why do your drawers feel heavy even when they are empty?
It’s a question I get all the time from clients who just invested in premium builds. Usually, it’s not the wood; it’s the lack of a seasonal expansion gap. Wood is a hygroscopic material—it breathes. Even in high-end custom cabinets, if you don’t account for humidity, those tight tolerances will betray you. According to the National Kitchen & Bath Association (NKBA), failing to maintain a consistent indoor climate is the number one cause of hardware misalignment in residential kitchens. If you’re noticing friction, check your home’s humidity levels before you start sanding down your solid maple drawer boxes. Often, a dehumidifier is a better tool for your kitchen than a screwdriver.
#IMAGE_PLACE_HOLDER_C#
Stop Believing the All-Wood Cabinet Myth
There’s a common misconception that “custom” must mean every single square inch is solid hardwood. In reality, using solid wood for cabinet boxes can lead to warping and instability because solid slabs move too much. This is why we advocate for high-quality engineered substrates for the box itself. In fact, understanding why pre-finished maple interior is better than melamine is an essential step for anyone reading the ultimate guide to custom cabinets for a stylish kitchen overhaul. Furthermore, many homeowners panic when they see their bright white kitchens change color. Understanding the real reason your white painted cabinets are turning yellow—which is often just chemical off-gassing from oil-based paints or UV exposure—can save you thousands in unnecessary replacements.
The Most Common Layout Mistake Professionals See
The biggest “oops” factor I see involves heat and moisture management. For instance, knowing why you should never place a dishwasher directly against a wall is a lesson in steam damage and preventing mold. Similarly, people often ignore the “smell” factor in their layout; why your garbage pull-out should never be next to the oven is a nuance that separates a functional kitchen from a fragrant disaster. Heat from the range accelerates the decomposition of organic waste, making your luxury kitchen smell like a landfill. Focus on the workflow first, then the aesthetic. If you’re ready to avoid these pitfalls and build something that lasts, contact us today for a design that actually works.
Your Toolbox Needs a Digital Level and a Gentle Touch
I’ve spent a decade in this trade, and if there is one thing I’ve learned, it’s that your eyes can lie to you, but a digital level never will. When we talk about custom cabinets ideas that transform your homes style, we often focus on the wood grain or the paint color. But the long-term magic happens in the hardware. If you want your kitchen to feel like a showroom five years from now, you need to own a high-quality Pozi-drive screwdriver. Most European hinges use Pozi heads, not standard Phillips, and using the wrong one is the fastest way to strip your adjustment screws. I also keep a digital level handy to check the settling of the house. Houses breathe, and as they shift, your perfectly level island might develop a slight tilt. Catching this early means you can adjust the feet before the stone countertop starts to stress.
#IMAGE_PLACE_HOLDER_D#
How do I maintain my cabinetry over time?
The secret to longevity isn’t in a magic cleaning spray; it’s in the structural integrity of the build. This is why your cabinet boxes should be stapled glued and screwed from the very beginning. Once a year, I recommend doing a ‘hardware audit.’ Open every drawer and door. Listen for squeaks. Feel for resistance. If a drawer feels heavy, check the load ratings. Technical documentation from manufacturers like Blum indicates that their premium slides are rated for dynamic load capacities of up to 100 lbs, but even the best hardware can fail if the weight is unevenly distributed. For those looking at smart storage solutions for small kitchens in 2025, this maintenance is even more critical because every inch of space is being pushed to its mechanical limit.
What the Future Holds for Your Kitchen Layout
As we look toward the next decade of kitchen design, the trend is moving away from ‘more cabinets’ and toward ‘smarter integration.’ We are seeing a massive shift toward hidden utility. For example, why every kitchen should have a dedicated charging station for laptops is becoming a standard request in our custom builds. The kitchen is no longer just for cooking; it’s the tech hub of the home. I predict that within five years, wireless charging pads will be routed directly into the underside of wood countertops, making the clutter of wires a thing of the past. When you are planning the ultimate guide to custom cabinets for a stylish kitchen overhaul, think about how your tech will live in the space. Don’t just plan for pots and pans; plan for the devices that run your life.
Master the Small Tweaks Yourself
You don’t need to be a professional joiner to keep your kitchen looking sharp. In fact, most service calls I get could be solved by the homeowner in under ten minutes. If you notice a door is hanging just a hair lower than its neighbor, don’t panic. Learning the 5-minute hinge adjustment for fixing wonky cabinet reveals is the most empowering skill you can acquire. It’s about taking ownership of the investment you’ve made. Before you decide to swap out handles or drill new holes, make sure you know the best way to drill holes for new cabinet hardware so you don’t splinter your beautiful finish. I challenge you to go into your kitchen tonight, find that one door that’s been bugging you, and spend five minutes with a screwdriver. You’ll be amazed at how much better the whole room feels when the lines are perfectly straight again.
Hard Lessons from the Back of a Base Cabinet
After years of wrestling with stubborn hardware, I’ve realized that the ‘silent’ issues are usually the most disruptive. One thing I’ve learned is that skipping the small stuff, like the structural assembly of the box, always catches up to you. This is why your cabinet boxes should be stapled glued and screwed; if the foundation isn’t rigid, those expensive slides won’t ever glide quite right. Another lightbulb moment for me was realizing that heat management is as important as storage. If you place a dishwasher too close to wood panels, you’re asking for trouble later on. Lastly, remember that a house is a living thing; it moves and settles, and your cabinets need to be adjusted periodically to stay in sync with that movement.
Gear That Actually Saves Your Sanity
You don’t need a massive workshop to keep your kitchen running smoothly, but you do need the right essentials. I swear by a Pozi-drive screwdriver for European hardware—it prevents the stripping that ruins many DIY repairs. I also recommend keeping a small can of dry PTFE spray nearby for those grimy tracks, as it doesn’t attract dust like traditional oils. For ensuring everything remains level as your home settles, a 12-inch digital level is worth its weight in gold. If you’re just starting out, mastering the 5-minute hinge adjustment for fixing wonky cabinet reveals is the best way to get familiar with how your space functions without the risk of breaking anything expensive.
Build a Kitchen That Breathes With You
Your home should be a source of pride, not a list of chores. By taking ten minutes here and there to tune your hardware, you ensure that your investment in modern kitchen remodels and custom cabinets continues to pay off for decades. Don’t be afraid to get your hands dirty and make those tiny tweaks; you’re not just fixing a drawer, you’re mastering your environment. If you run into a problem that feels too big to handle alone, contact us and we’ll help you get back on track. Have you ever found a rogue object jammed behind your drawer tracks that was the secret cause of all your frustration? Let me know in the comments below!