The Best Way to Support a 15-Inch Granite Overhang
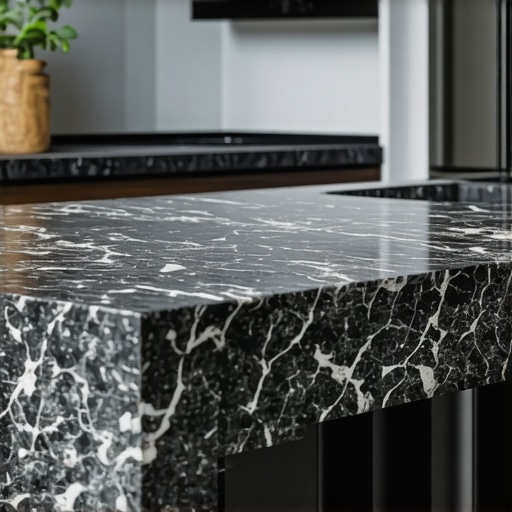
I’ll never forget the sound of my coffee mug vibrating on the edge of my brand-new granite island. We’d just finished a massive kitchen remodel, and that 15-inch slab of stone looked like a masterpiece. But every time my kids climbed onto their stools, I held my breath. I had this visceral fear that the whole thing would just snap off under the weight. I realized then that while I’d spent weeks choosing the right white paint for the kitchen, I’d spent about five minutes thinking about what was actually holding that stone up. Sitting there, watching the stone flex ever so slightly, I knew I had to fix it before my dream kitchen became a safety hazard. Today, I’m going to share the hard-won secrets of structural support so you don’t have to live with that same anxiety.
Stop the Sway Before the Stone Snaps
If you’re staring at a 15-inch overhang right now, you’re in a tricky spot. Most standard cabinets are only 24 inches deep, which means nearly 40% of your heavy stone is just hanging out in the air, waiting for gravity to do its thing. I’ve seen homeowners try to get away with just a bead of silicone and a prayer, but that’s a recipe for a very expensive disaster. When you are planning custom cabinets for a stylish kitchen overhaul, you have to prioritize the bones of the island. A 15-inch overhang is the sweet spot for fixing cramped island seating, but it’s also the point where physics starts working against you. We need to ensure that the cabinet boxes are stapled, glued, and screwed properly before we even think about adding that heavy granite.
Does my island really need heavy steel braces?
I used to be a skeptic too. I thought, “It’s stone! It’s hard! It can’t just break.” Boy, was I wrong. Early in my DIY journey, I installed a smaller overhang using those cheap, thin wooden corbels you find in the clearance aisle of big-box stores. They looked pretty, but they weren’t structural. Within six months, the seam at the backsplash started to pull away because the stone was slightly dipping. According to the Natural Stone Institute, any overhang exceeding 10 inches for 3cm granite requires structural support to prevent cantilever failure. If you skip this, you aren’t just risking a crack; you’re risking a 300-pound slab landing on someone’s lap. Have you noticed any slight movement when you lean on your counter, or are you still in the planning phase trying to avoid my early mistakes? It is vital to remember that granite is incredibly strong under compression but surprisingly brittle when it’s under tension. Without the right reinforcement, a simple lean could be the end of your beautiful countertop.
Hidden Steel Brackets Outperform Decorative Corbels Every Time
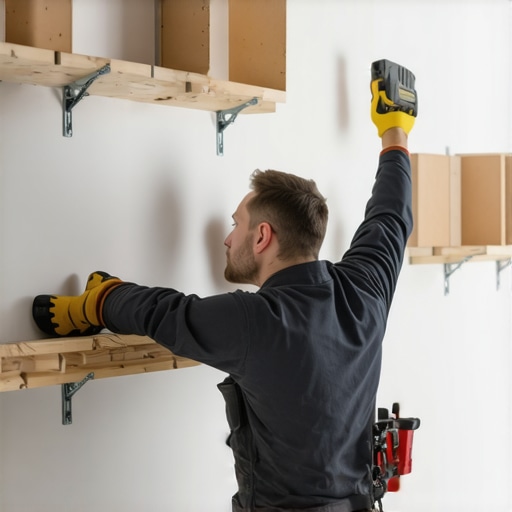
Think of a 15-inch stone overhang like a diving board. When someone leans on the edge, it creates immense leverage against the cabinet. If you rely solely on decorative wooden corbels, you are essentially asking a piece of jewelry to do the job of a structural beam. I learned this the hard way on a project where I used oak corbels that looked sturdy but were only held by a few finish nails and some wood glue. Within a month, the weight of the granite caused the glue joints to fail. Now, I only use flat steel countertop support brackets. These are typically 1/2-inch thick steel plates that are recessed into the top of the cabinet frame. By routing a channel into the cabinet wall, the bracket sits flush with the wood, allowing the stone to lay perfectly flat while the steel carries the weight back to the floor. This is a critical part of making custom cabinets as a game changer in your kitchen remodel journey.
Route Your Channels for a Flush Fit
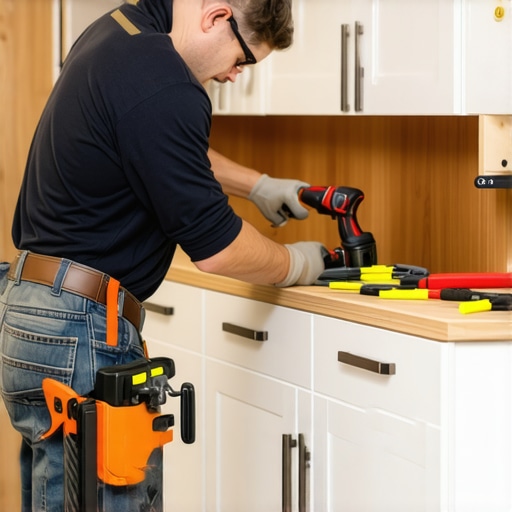
To install these correctly, you cannot just slap the steel on top of the wood. You need to create a notch. Use a plunge router to remove exactly the thickness of the steel from the top rail of your cabinet. If the bracket sits even a hair too high, the stone will rock; if it’s too low, it won’t provide support until the stone has already started to sag. I remember a humid Tuesday in July when I rushed this step and ended up with a bracket that was 1/8th of an inch too low. I had to pull the whole thing apart and start over because that gap would have eventually led to a hairline fracture in the granite. Precision here is what separates a professional job from a DIY headache. 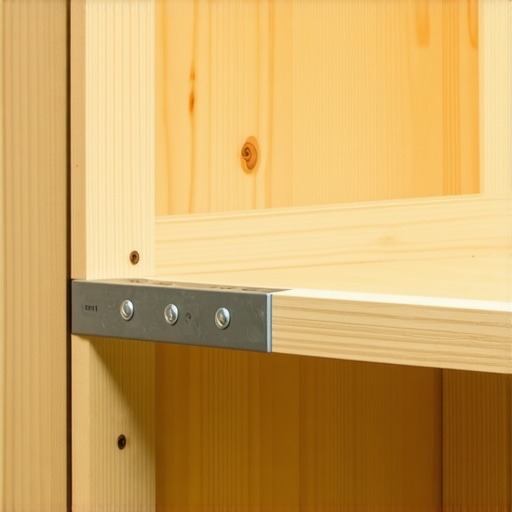
The Foundation Must Be Perfectly Level
Even the strongest steel won’t save a lopsided island. Before you even think about the stone delivery, you must ensure your proper way to shim cabinets on a high spot in the floor is handled. If the cabinets aren’t level, the weight distribution on those 15 inches of overhang will be uneven, putting torsion on the stone. I always use a 4-foot level across the entire span. If there’s any daylight under that level, I adjust the base shims until it is dead-on. This ensures that when the granite is set, every square inch of the bracket is making contact with the stone. It’s also the time to double-check that your built-ins and storage hacks for a sleek functional kitchen are fully secured; once that stone is down, those cabinets aren’t moving again.
Secure the Cabinet to the Subfloor
A common mistake is forgetting that a 300-pound slab hanging off one side can actually tip a light cabinet island if it isn’t anchored. You need to bolt the island into the subfloor using 2×4 cleats. This prevents the entire assembly from shifting when kids inevitably use the overhang as a jungle gym. While you’re at it, ensure you’re using high-quality fasteners; why you should never use silicone for cabinet joinery is a lesson in why mechanical fasteners like screws are superior for structural loads. As you transform your kitchen with custom cabinets expert guide for 2025, remember that the invisible work—the steel, the routing, and the floor anchoring—is what actually makes the luxury possible.Most homeowners I talk to have the same goal: ‘I want to maximize every single square inch of storage.’ It sounds logical, right? But after a decade in the trenches of modern kitchen remodels featuring custom cabinets and built-ins, I’ve realized that this ‘more is better’ philosophy is actually a trap. When you over-pack an island or a pantry with hyper-specific dividers and stationary racks, you’re stripping away the flexibility your kitchen needs to grow with you. I’ve seen people spend a fortune on a specialized spice pull-out only to realize two years later they’ve switched to larger containers that simply don’t fit. True expertise isn’t about filling space; it’s about creating adaptable volume that stands the test of time.
Stop Obsessing Over Every Last Inch of Cabinet Space
In my experience, the biggest mistake is choosing specialized inserts over open, heavy-duty capacity. We see it all the time with built-ins and storage hacks for a sleek functional kitchen. People get so excited about a ‘custom’ spot for their current juicer that they forget appliances change shapes. Instead of a narrow, dedicated slot, I always recommend the deep drawer move for storing blenders and food processors. It gives you the depth for heavy machinery but the flexibility to swap items out as your cooking style evolves. If you lock yourself into a rigid layout now, you’re basically scheduling another remodel five years down the line when your habits change.
Does your high-end corner unit actually save you any time?
The ‘blind corner’ is the bane of every kitchen designer’s existence. The common belief is that you must fill it with a complex mechanical system to be efficient. However, the National Kitchen & Bath Association (NKBA) points out that while high-tech pull-outs increase accessibility, they often reduce the actual weight capacity compared to a standard, well-built shelf. I’ve gone back to homes where expensive swing-out trays have jumped their tracks because someone put a heavy cast-iron Dutch oven on them. This is why I often tell clients they should skip the lazy susan and install lemans pull-outs instead, or in some tight layouts, simply ‘dead-end’ the corner to allow for larger, more robust drawers on either side. Precision engineering matters, but so does common sense durability. 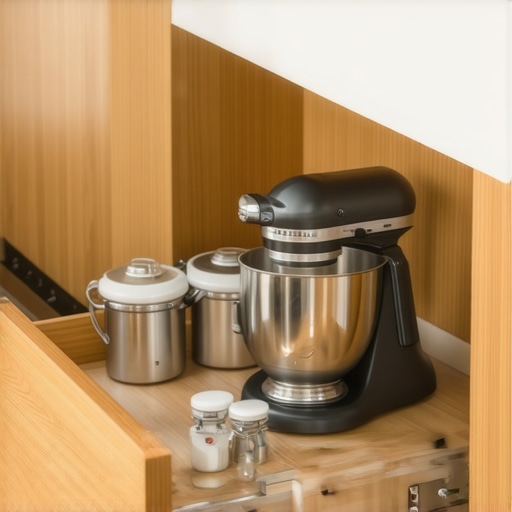
Avoid the Specialized Organizer Trap
Here is the ‘oops’ factor no one tells you: the more moving parts you have, the more points of failure you’re inviting into your home. A common trap is the fixed-shelf pantry. It looks great in the showroom, but why your pantry shelves should be adjustable not fixed becomes painfully obvious the moment you buy a giant box of cereal or a bulk pack of paper towels. I once saw a beautiful custom pantry where the shelves were glued into place; the homeowner had to store half their groceries on the floor because the spacing was off by a mere inch. When you are looking for innovative storage solutions for modern kitchen remodels, look for hardware that allows for user adjustment. Another nuance often overlooked is the internal environment of your storage. For instance, putting a microwave or toaster behind a closed door—the ‘appliance garage’—is a dream for minimalist aesthetics, but a nightmare for your cabinetry if you don’t plan for heat and steam. You absolutely need to ensure you need a flush mount outlet inside your toaster garage that is positioned to prevent cord strain, and more importantly, use materials that won’t delaminate from the heat. This level of foresight is what separates a pretty kitchen from a functional masterpiece. It’s all part of the journey when you use custom cabinets as a game changer in your kitchen remodel journey. Have you ever fallen into the trap of over-organizing only to find it doesn’t fit your life? Let me know in the comments.
The trap of over-organizing often leads to one final oversight: the long-term maintenance of those heavy-duty systems. Once your drawers are finally packed with heavy Dutch ovens and your pantry is stacked to the ceiling, the physics of your kitchen shift. I’ve found that even the most expensive custom cabinets for a stylish kitchen overhaul require a ‘settling’ period where hardware needs a slight tune-up. Wood is a living material, and the weight of your lifestyle will eventually cause micro-movements that can lead to doors that don’t quite click or drawers that feel a bit sluggish.
Keep Your Hardware From Driving You Crazy
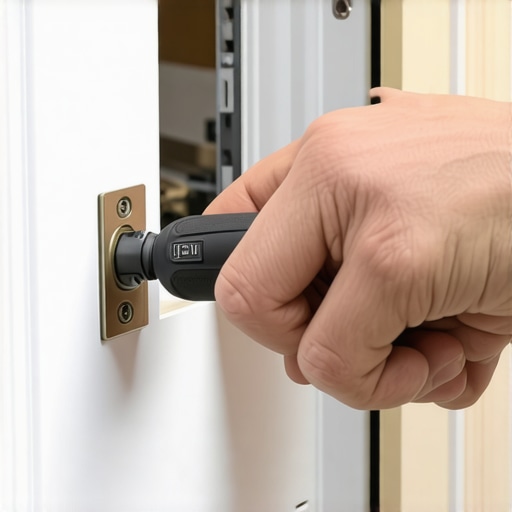
About six months after a project ends, I always go back with my favorite Wera Kraftform Kompakt screwdriver. I prefer this specific tool because the laser-treated tips bite into the screw head, preventing the cam-out that ruins the finish on high-end hardware. You will likely notice that your most-used cabinets start to show slight gaps. This isn’t a sign of failure; it is simply the cabinet settling into the floor. You can usually fix this in seconds using the 5-minute hinge adjustment for fixing wonky cabinet reveals. If you ignore these small shifts, the doors can start to rub against the frame, eventually chipping the paint or damaging the wood fibers.
How can I keep my custom cabinets looking new for years?
Maintenance is less about deep cleaning and more about using the right chemistry. I’ve seen beautiful finishes ruined by generic ‘orange’ cleaners that actually contain harsh solvents. For your surfaces, stick to a microfiber cloth and a very mild dish soap solution. This is especially true if you need to know how to clean matte black cabinet hardware without scratches, as the oils from your hands can break down the matte coating over time. According to the technical documentation from Blum, their hardware systems are rated for up to 100,000 open-and-close cycles, but this longevity is cut in half if dust and grit are allowed to accumulate in the ball-bearing tracks. While you are at it, make sure you are using the best way to clean your new granite countertops to avoid dulling the sealant that protects your stone from those 15-inch overhang stresses we discussed earlier.
Precision Tools That Save Your Sanity
If you are the type who wants to handle your own upkeep, stop using that cheap multi-tool from the junk drawer. I recommend keeping a dedicated ‘cabinet kit’ that includes a high-quality 2-foot box level and a small bottle of thread locker. Use the thread locker when you are learning how to fix a loose cabinet knob that keeps spinning; a tiny drop on the screw threads ensures that the vibration of daily use won’t back the screw out again. For larger built-ins, I actually suggest using a 360-degree laser level once a year to check for floor sinkage. It sounds overkill, but catching a 1/16th-inch drop early allows you to adjust the base shims before the stone countertop develops a stress fracture.
Why Modular Internals Are the Next Big Thing
Looking toward the next decade, the industry is moving away from permanent, glued-in dividers and toward ‘floating’ internal systems. This trend addresses the problem of rigid organization I mentioned earlier. We are seeing a massive shift toward magnetic divider systems that can be repositioned in seconds without tools. This adaptability is the core of custom cabinets as a game changer in your kitchen remodel journey because it allows the kitchen to evolve from a ‘toddler-friendly’ space to a ‘gourmet-focused’ one without a single hammer swing. My prediction? Within five years, we will see sensors integrated into drawer slides that alert your smartphone when a hinge is out of alignment or a slide needs lubrication. Until then, stay proactive. Try this today: Grab a piece of standard printer paper and try to slide it through the gap between your two main sink cabinet doors. If the paper snags or the gap looks uneven, it’s time to spend five minutes with a screwdriver to prevent long-term frame wear.
What 15 Years of Sawdust Taught Me About Storage
After a decade and a half in the trades, I’ve realized that the best smart storage solutions for small kitchens in 2025 aren’t the ones that look like a puzzle box; they’re the ones that leave room for life to happen. Here is the wisdom I wish I had on day one: First, never prioritize beauty over physics. That 15-inch granite overhang is a structural challenge first and a breakfast bar second. Second, storage needs to breathe. If you pack your cabinets so tightly that you need a map to find the whisk, you’ve built a cage, not a kitchen. Finally, silence is a sign of quality. If your doors are banging or your drawers are grinding, the house is telling you it’s out of alignment. Paying attention to these small signals saves thousands in repairs later on.
Tools That Earned a Permanent Spot in My Truck
To keep your kitchen in peak condition, I recommend a few specific resources that go beyond basic hardware store advice. I swear by Wera Kraftform screwdrivers because their laser-etched tips prevent stripping the finish on high-end hardware. For design inspiration that actually functions, I always point people toward NKBA planning guidelines; they are the gold standard for safety and ergonomics. If you’re feeling overwhelmed by choices, looking through custom cabinets ideas that transform your homes style can help you narrow down your aesthetic without sacrificing structural integrity. These resources ensure your the drawer within a drawer move for organizing your junk drawer remains as functional in year ten as it was on day one.
Stop Dreaming and Start Routing
The transition from a ‘someday’ project to a finished masterpiece happens in the details—the steel brackets, the perfectly level shims, and the adjustable shelves. Don’t let the technical requirements stop you from creating the home you deserve. When you invest in high-quality custom cabinets, you aren’t just buying boxes; you’re buying a daily experience of ease. If you hit a snag or need a professional eye to review your support plan, you can always contact us for expert guidance. Your kitchen is the heart of your home; make sure it has a foundation that can withstand the weight of a thousand family dinners. Have you ever had a kitchen project where the ‘invisible’ work ended up being the most important part? Let me know in the comments below!