The Best Way to Sand Between Coats of Cabinet Paint
I remember standing in my kitchen at 2 AM, staring at my freshly painted cabinet doors with a sinking feeling in my gut. I had spent a small fortune on a custom shade of sage green, but up close, the surface felt like 60-grit sandpaper. I thought I could outsmart the process by skipping the intermediate sanding, assuming the second coat would just level itself out. It didn’t. Instead, every tiny dust nib and brush mark was magnified, turning my hard work into a textured mess. That failure was my greatest teacher. Today, I am going to show you how to avoid that heartbreak and achieve a surface so smooth you would swear it came straight from a high-end showroom. [IMAGE_PLACEHOLDER]
Why Your Smooth Finish Actually Starts With a Little Grit
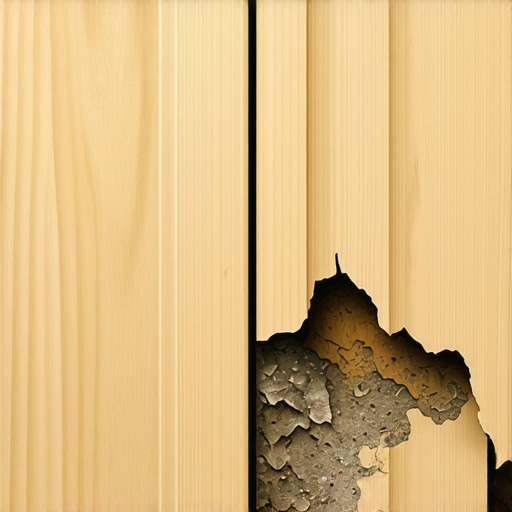
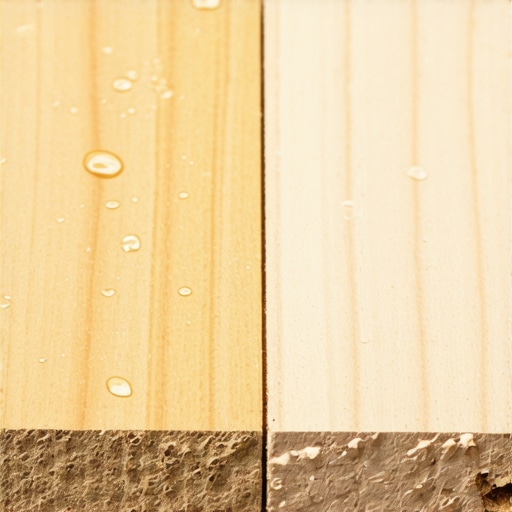
Most DIYers view sanding between coats as a chore they can negotiate their way out of, but paint is a magnifying glass, not a filler. If you are working on custom cabinets, you quickly realize that the first coat of primer or paint often raises the wood grain, creating a fuzzy texture known as grain raise. If you don’t knock those fibers down, your final finish will always feel hairy. When I first started experimenting with modern kitchen remodels, I mistakenly used a heavy-duty orbital sander between coats and blew straight through the finish on the corners. It was a nightmare. Now, I know that a gentle touch with the right high-grit paper is the secret sauce for that buttery feel. This step is also vital for adhesion; paint needs those microscopic scratches to grab onto the previous layer. Without them, you risk the dreaded peeling effect that haunts cheap cabinet painting jobs just a few months later.
Is all this extra dust actually worth the effort?
I hear it all the time: “Won’t I just sand off all the color I just put on?” It is a valid fear, but the goal isn’t to remove the paint; it is to level it. Professional standards from organizations like the Painting and Decorating Contractors of America suggest that surface prep accounts for nearly 80% of a coating’s durability. By taking twenty minutes to scuff-sand, you are ensuring your cabinets don’t just look good today, but stay looking good for a decade. Have you ever finished a project only to realize the texture felt more like an orange peel than a professional finish? I want to hear about your most frustrating paint moments in the comments. Let’s get into the specific tools and techniques that will turn those frustrations into a glass-like reality.
Don’t Touch That Sanding Block Until the Paint Is Ready
One of the biggest mistakes you can make in modern kitchen remodels is rushing the dry time. If the paint feels even slightly cool to the back of your hand, it is still off-gassing and soft. Sanding too early creates “pilling,” where the paint rolls into tiny, sticky beads that tear into the finish rather than leveling it. I learned this the hard way on a set of custom cabinets for a client in Indianapolis; I tried to sand a door that was “dry to the touch” after only two hours. The sandpaper grabbed the soft finish and ripped a jagged line right down the center of a shaker panel. I had to strip the entire door back to the wood and start over. Now, I give it at least four to six hours, or even overnight if the humidity is high, to ensure a crisp powder when the paper hits the surface.
Why 320 Grit Is the Magic Number
For your first coat of primer, a 220-grit sandpaper is perfect for knocking down the raised grain. But once you move into the actual color coats, you need to switch to 320 or 400-grit. Think of it like this: 220 grit is for leveling structural imperfections, while 400 grit is for polishing the aesthetics. If you stay with a coarse grit, you will leave visible scratch marks that the next coat of paint won’t be thick enough to hide. This is especially true if you are avoiding the trap of using standard interior paint on your kitchen cabinets, as professional-grade cabinet enamels dry much thinner and harder than wall paint. 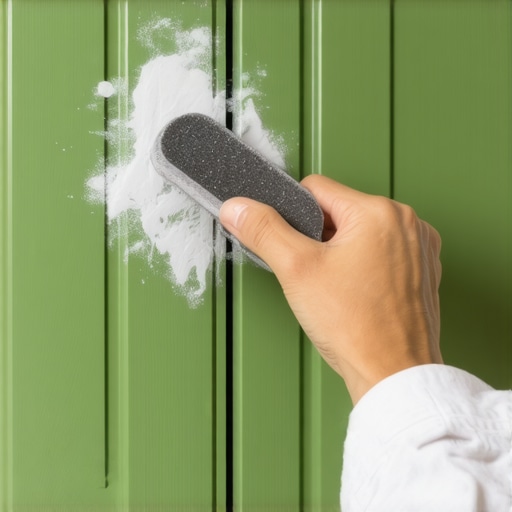
Keep Your Pressure Light and Your Strokes Long
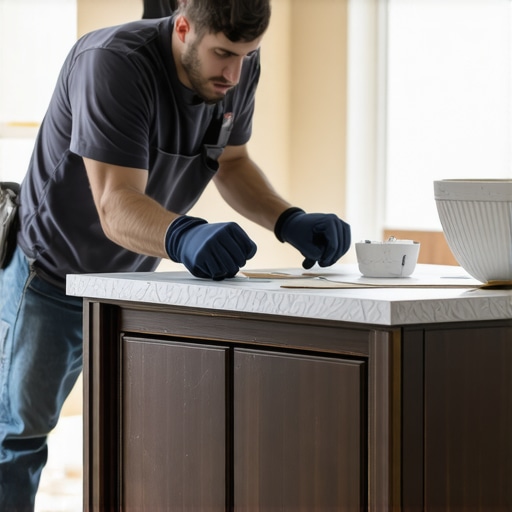
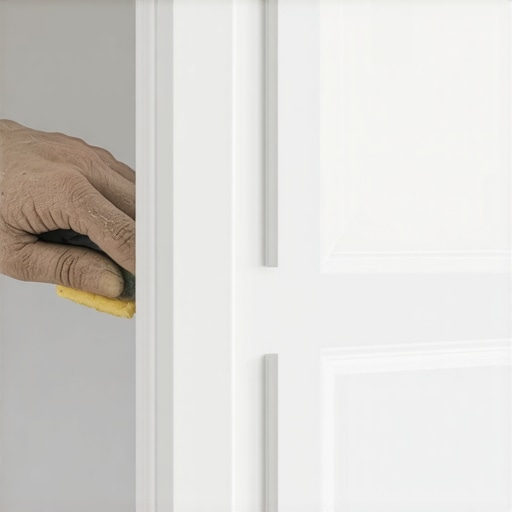
When you start sanding, treat the cabinet door like it is made of thin glass. Use long, sweeping motions that span the entire length of the rail or stile. The goal is to remove the “nibs”—those tiny bumps of dust that settled while the paint was wet—without removing the paint layer itself. If you focus too hard on one spot, you will create a divot that will be glaringly obvious once the light hits the final finish. I always use a foam-backed sanding pad for this. It contours to the profiles and decorative grooves of custom cabinets much better than a hard wooden block. I once watched a helper use a palm sander on the edges of some built-ins; in three seconds, he had burned through the paint and the primer, exposing the raw wood. It took us half a day to build that edge back up with new coats.
Dust Is Your Secret Enemy
After you have finished scuffing the surface, the door will be covered in a fine white powder. If you just paint over that, you are essentially mixing sandpaper grit into your fresh coat, ruining the smooth surface you just worked for. Vacuuming isn’t enough to get deep into the corners. You need to use a high-quality tack cloth or a microfiber rag dampened with denatured alcohol. I keep my finishing supplies neatly organized using the same logic I suggest for organizing your cleaning supplies under the sink, so I can always grab a fresh cloth without searching. Wipe the surface until your hand glides across it without catching a single speck of grit. This intense attention to detail is exactly why your cabinet paint quote varies so much from one pro to the next; that high-end look is earned during the cleaning phase.Everyone thinks that to maximize a kitchen, you need to cram every square inch of wall space with upper cabinets. In my years of doing modern kitchen remodels, I have found the opposite to be true: over-cabinetizing is the fastest way to make a high-end space feel like a claustrophobic closet. We often feel the urge to add ‘more’ to justify the cost of custom cabinets, but true luxury lies in the negative space. When you prioritize innovative storage solutions over raw volume, you create a kitchen that breathes. I have seen homeowners insist on extra uppers only to realize they can’t even open the dishwasher and the oven at the same time without hitting a handle. This is where the ‘oops’ factor kicks in—ignoring the clearance needed for built-ins and storage hacks to actually function.
How much weight can your high-end pull-outs really handle?
This is the question that separates the pros from the hobbyists. Many people install massive 36-inch wide drawers and fill them with cast iron le creuset pots, only to wonder why the slides start grinding six months later. According to architectural standards from the National Kitchen & Bath Association (NKBA), the ‘work zone’ efficiency is vastly more important than total shelf mileage. If you don’t match your hardware’s load rating to your intended use, you’ll end up with grinding drawer slides that ruin the experience. 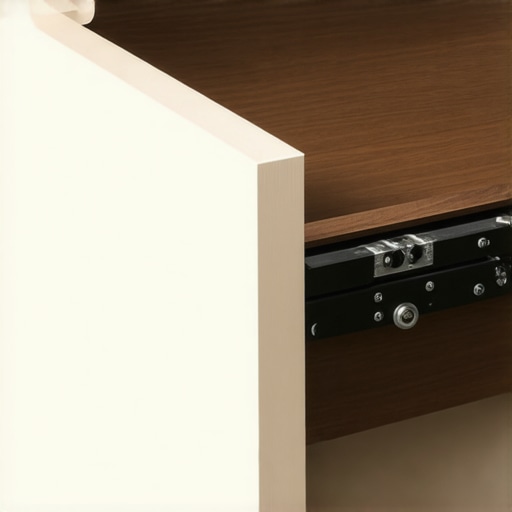 I always advocate for quality over quantity. For instance, installing heavy pantry pull-outs requires a specific understanding of cabinet box reinforcement that many DIYers overlook. If the box isn’t stapled, glued, and screwed correctly, the weight of a fully stocked pantry can actually rack the entire cabinet frame. Another common trap is the ‘fixed shelf’ syndrome. I’ve seen beautiful kitchen remasters fail because the designer forgot that appliances change sizes over time. This is why your pantry shelves should be adjustable—it allows your kitchen to evolve with your lifestyle. Have you ever fallen into the trap of choosing aesthetics over actual weight-bearing capacity? Let me know in the comments. Let’s look at how to ensure your ‘dream layout’ doesn’t become a functional nightmare.To handle the weight of those heavy cast-iron pans I mentioned earlier, you can’t just rely on standard hardware store slides. I personally swear by the Blum Movento system. It provides the vertical and lateral stability needed to ensure that even a 36-inch drawer filled with Dutch ovens doesn’t rack or bind. When you are selecting storage solutions for a perfect kitchen upgrade, the gear you use to install them is just as vital as the wood itself. I never show up to a job site without my Festool CT HEPA dust extractor. Dust isn’t just a mess; it is a mechanical abrasive that gets into your drawer slides and hinge cups, shortening the life of your kitchen. According to the Architectural Woodwork Institute (AWI) Quality Standards Manual, maintaining a stable indoor environment where wood moisture content stays between 4% and 9% is the absolute gold standard for preventing the warping of your custom cabinets. If you ignore the humidity levels in your home, even the most expensive cabinetry will eventually fail at the joints.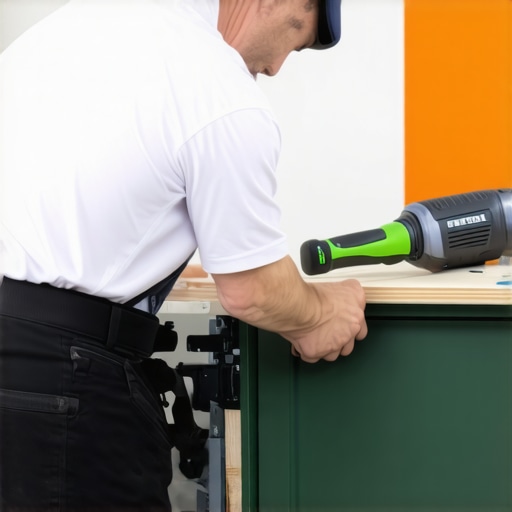
Is Your Pantry Ready for the Smart Home Revolution?
Looking ahead, I predict that the next five years will see a massive shift toward ‘adaptive cabinetry.’ We are already seeing the beginning of this with innovative storage solutions for modern kitchen remodels that include integrated LED lighting and hidden charging docks. But the real game-changer will be AI-integrated inventory systems built directly into your pull-outs. Imagine a pantry that pings your phone when you are low on olive oil because it detected a weight change on the shelf. While it sounds like science fiction, the infrastructure for this starts with how we design our current built-in storage solutions. We are moving away from static boxes and toward dynamic furniture that interacts with the homeowner.
How do I maintain these high-traffic storage solutions over time?
The secret to longevity is proactive adjustment. Every six months, you should perform a ‘hardware audit.’ This means checking that your soft-close mechanisms are still engaging smoothly and knowing how to fix a cabinet hinge that squeaks every time before the friction wears down the metal pin. If your drawers start feeling sluggish, don’t just pull harder; check for debris. I’ve written extensively on why your drawer slides are grinding and how to clear the ball bearings to keep them gliding. For a truly high-end feel, I also recommend dampening your cabinet doors with high-quality silicone bumpers to eliminate that ‘clatter’ when they close. I want you to try one thing this weekend: take a screwdriver and check the tension on your most-used kitchen drawer. You might be surprised at how much a quarter-turn can improve the feel.
Hard Truths from the Sawdust Pile
After years of getting my hands dirty, I have realized that the clock is often your greatest enemy. If you try to rush the drying process, the paint will always fight back with sticky pills and torn layers. I have learned that the “finger test” is far more reliable than the drying time printed on the can; if the surface feels even slightly cool or tacky, walk away for another hour. It is also vital to understand that custom cabinets are not just boxes, but mechanical systems that respond to their environment. I once saw a beautiful set of uppers pull away from the wall because the homeowner didn’t account for the sheer weight of a heavy dinnerware collection. This is exactly why your pantry shelves should be adjustable and your hardware should be rated for the life you actually lead. Lastly, remember that your initial investment dictates the final outcome; understanding why your custom cabinet quote varies so much between shops often comes down to the hundreds of hours spent on these invisible finishing details.
The Gear That Actually Earns Its Keep
I don’t believe in buying every gadget on the shelf, but these three items are non-negotiable in my workshop. First, a high-quality sanding block with a soft foam backing allows you to follow the decorative profiles of your doors without rounding over those crisp, sharp edges. Second, a Festool HEPA dust extractor is the only way to keep your finishing environment clean enough for a mirror-like shine. When you are selecting storage solutions for a perfect kitchen upgrade, I always point clients toward Blum Movento slides because they handle the heavy lifting without binding. Finally, keep your workspace organized by using the same logic as organizing your cleaning supplies under the sink; if your tack cloths and sandpaper are easy to reach, you will never be tempted to skip the most important prep steps.
Your Path to a Showroom Reality
Taking the time to sand between coats might feel like you are moving backward, but it is the only way to move toward excellence. You are building something that will hold your family’s meals and memories for decades. Treating your custom cabinets as a game changer in your kitchen remodel journey means respecting the craft and the patience it requires. Don’t be afraid of the dust or the extra hours; the first time you run your hand across that buttery-smooth finish, every second of effort will feel like an absolute bargain. [IMAGE_PLACEHOLDER] Have you ever had a project where the texture turned out more like sandpaper than silk? Let me know about your most challenging finishing moments in the comments below!