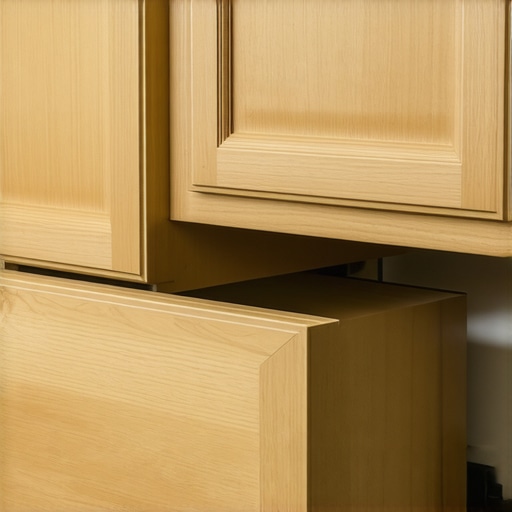
How to Build a Hidden Drawer Behind a Standard Cabinet Toe-Kick
I was staring at my kitchen floor, frustrated and slightly out of breath after another incident where my cookie sheets decided to stage a protest and slide out of the cabinet all at once. My kitchen wasn’t small, but it felt crowded. Then I looked down—really down—at those dark, recessed strips of wood beneath my base cabinets. The toe-kicks. It’s funny how we walk over square footage every day without realizing we could actually use it. That’s when it hit me: why am I letting four inches of height across the entire perimeter of my kitchen go to waste?
Turn That Wasted Floor Space Into Secret Storage
If you’re like me, you’ve spent hours looking for innovative storage solutions for modern kitchen remodels, only to find that most of them involve buying expensive wire racks that still take up your existing shelf space. But the toe-kick drawer is different. It’s like finding a hidden room in your house that you didn’t know existed. Today, I’m going to show you exactly how to build a hidden drawer behind a standard cabinet toe-kick, turning that dead zone into a functional asset.
I’ll be honest: my first attempt at this was a bit of a disaster. I made a classic cabinet screw mistake that left my drawer sagging and scratching my expensive flooring within a month. I didn’t account for the weight of what I was storing. I just wanted a place for my flat items. But once I figured out the mechanics—especially the hidden toe-kick drawer move for storing step ladders—it changed the game for my kitchen workflow.
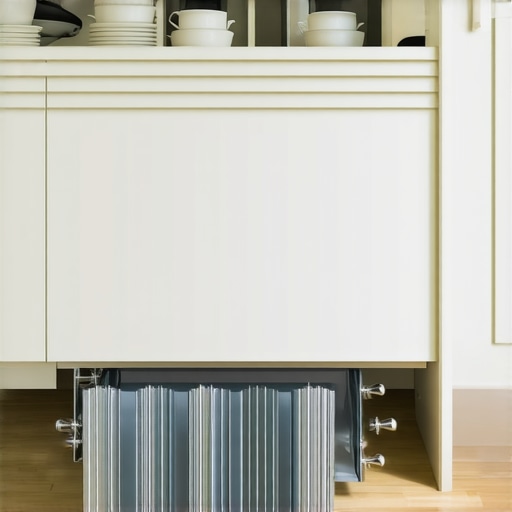
The goal is simple. We want to create a stealthy, push-to-open drawer that stays completely out of sight until you need it. Whether you’re tucking away baking sheets or building a hidden toe-kick step stool to reach the high cabinets, this project adds immense value without cluttering your visual space.
Can You Really Fit More Than a Few Pizza Stones Under There?
I hear the skepticism already. It is only four inches high, so what is the point? Here’s a surprising fact: According to data from the National Kitchen & Bath Association, homeowners frequently cite a lack of specialized storage as a top three frustration during daily kitchen use. When you realize that 10 feet of toe-kick space equals nearly 3.5 cubic feet of storage, it starts to look a lot more appealing. That’s more than enough room for muffin tins, cutting boards, or even a hidden dog bowl station.
Before we pick up the drill, have you ever felt like you were drowning in kitchen clutter despite having enough cabinets? I certainly did. The secret isn’t more cabinets; it’s smarter use of the ones you have. We need to make sure your base cabinets are secured correctly before we start adding moving parts to the bottom of them. If the foundation is solid, we can build something that lasts decades, not just until the first heavy tray is dropped inside. So, let’s stop talking about it and get into the nitty-gritty of the build.
The first mistake most people make is assuming every toe-kick is a standard size. While four inches is the norm, older homes often have variations that can ruin your project before the first screw goes in. You need to measure the height from the finished floor to the bottom of the cabinet carcass. If you have thick luxury vinyl plank or tile, your actual clearance might only be three and a half inches. I learned this the hard way when I built a beautiful box for my pizza stones, only to find out the grout lines on my new floor were just high enough to snag the bottom of the drawer every single time it opened. When you are planning modern kitchen remodels featuring custom cabinets and built-ins, precision is your best friend. Use a laser level if you have one to ensure the floor isn’t sloping toward the cabinets. If it is, your drawer will need even more clearance at the front to avoid grinding against the floor as it extends. Knowing how to install a secret toe-kick drawer for spare keys and flat items starts with respecting those tiny fractions of an inch. 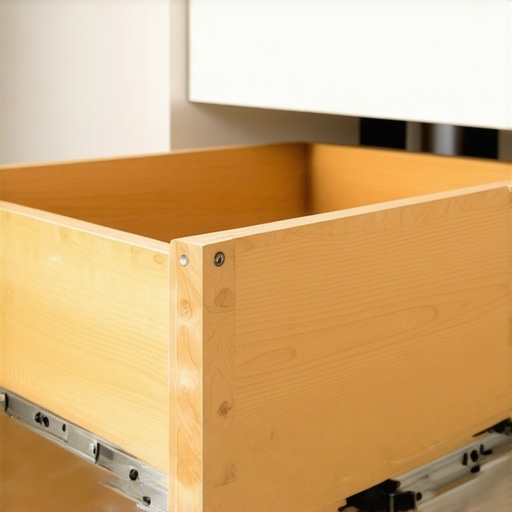
Why Bottom-Mount Slides Save Your Flooring
Choosing the right hardware is like choosing the right tires for a car; if you pick wrong, the ride is going to be miserable. For toe-kick drawers, I strictly recommend heavy-duty, bottom-mount slides. Side-mount slides are great for standard drawers, but in a toe-kick, they eat up too much of your precious horizontal space. More importantly, why your trash pull out needs a bottom-mount slide for better weight handling applies here too: the weight of heavy baking sheets or cast-iron pans needs to be supported from underneath to prevent the drawer from bowing over time.
I once used a cheap pair of friction slides on a quick weekend project. By Sunday night, the drawer was sagging so badly it left a permanent scratch on the hardwood. Now, I only use touch-release (push-to-open) slides. This eliminates the need for any visible handles, keeping the look completely seamless. It’s the same logic we use for the hidden toe-kick drawer move for storing step ladders—the mechanism should do the work so your kitchen aesthetic doesn’t have to suffer.
Build Your Box Like a Tank
Don’t be tempted by thin particle board or leftover scraps of MDF. It’s the fast track to a collapsed drawer. You want 1/2-inch or 5/8-inch pre-finished maple plywood. There’s a reason why plywood box construction still beats particle board for kitchens: it holds screws better and won’t swell if someone spills a glass of water nearby. I remember my first prototype where I used a single piece of 1/4-inch luan for the bottom; it lasted exactly three days before my stack of cast iron skillets turned it into a taco-shaped disaster. Now, I reinforce everything.
When assembling, make the drawer box about 1/2 inch shorter than the total opening height. This gap gives you room for the slides and any minor floor imperfections. We often discuss why we use solid maple for drawer boxes instead of poplar in high-end work, and the same principle of durability applies here. You’re building a hidden compartment that will likely get kicked, stepped on, or bumped by a vacuum cleaner; it needs to be rugged. Make sure your base cabinets are secured with 3-inch rugged screws before you ever think about attaching these slides, or you’ll find the whole cabinet shifting when you pull the drawer out.
Let’s dig deeper into the construction nuances that separate a hobbyist’s weekend project from a professional-grade installation. The most common myth I encounter is the belief that more cubic feet of storage automatically makes a kitchen better. In reality, I have seen massive kitchens that still feel cluttered because the storage is generic and inaccessible. A well-engineered 4-inch toe-kick drawer is worth more than a deep corner cabinet where plastic containers go to disappear forever. You should revolutionize your kitchen remodel using built-ins and creative storage that targets your specific workflow rather than just filling empty air.
Stop Obsessing Over Total Cabinet Count
Many homeowners think they need more cabinets, but the real secret is the mechanical health of the units you already have. The National Kitchen & Bath Association (NKBA) notes that over-loading drawers is the primary cause of guide failure in residential kitchens. If you have noticed the real reason your cabinet drawer slides are grinding, it is rarely the fault of the slide itself; it is usually because the cabinet box has twisted under the weight of heavy items. When you are planning modern kitchen remodels featuring custom cabinets and built-ins, you must prioritize the structural integrity of the base before adding specialized features.
Why Does My Push-to-Open Drawer Keep Popping Open on Its Own?
This is a sophisticated frustration that plagues even high-end custom builds. If your secret toe-kick drawer refuses to stay latched, the culprit is almost certainly the floor slope. If a floor dips even an eighth of an inch over the depth of the cabinet, gravity will fight the spring-loaded latch. This is where knowing the proper way to shim a cabinet on a slanted slab floor becomes critical. You aren’t just leveling for the countertop; you are leveling for the kinetic energy of the hardware. If the box isn’t perfectly plumb, your high-end hardware will never behave as intended.
The Trap of Ignoring Your Hidden Utilities
The biggest “oops” factor that ruins custom projects is the hidden obstacle course beneath your cabinets. Toe-kicks are the secret highways for dishwasher drain lines, HVAC ducting, and electrical runs. I have seen gorgeous custom drawers ripped out because they blocked a furnace vent, causing the HVAC system to cycle and eventually burn out. Before you commit to a permanent installation, consider the removable cabinet back move that simplifies your next drain pipe repair. Designing for future accessibility ensures your storage isn’t just clever, but sustainable for the long haul.
Have you ever fallen into this trap where a smart storage solution blocked a necessary utility? Let me know in the comments. When you apply these expert tips on selecting storage solutions for a perfect kitchen upgrade, remember that the most advanced design move is building for the environment your cabinets live in, not just the items they hold. 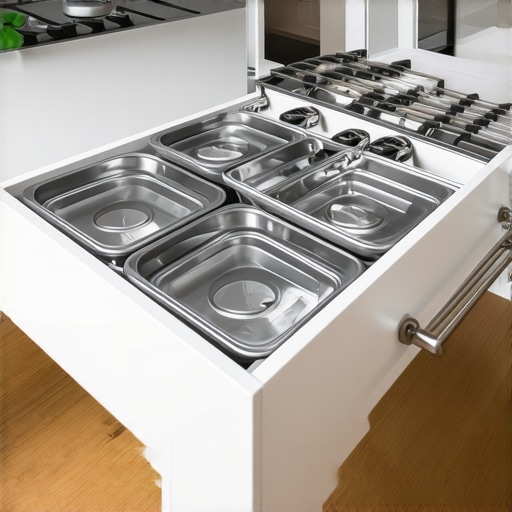
Precision Tools That Actually Solve the Floor Slope Problem
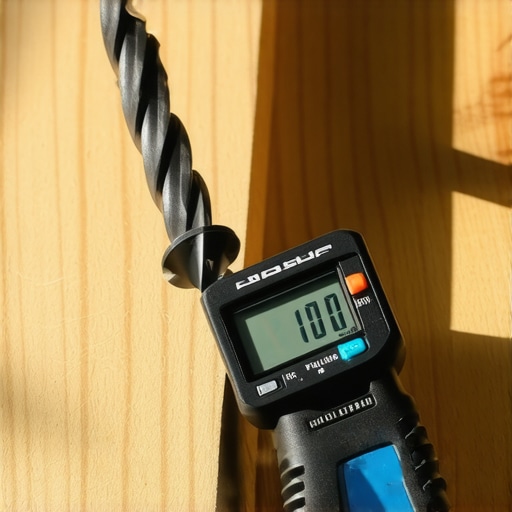
When you are deep in the weeds of a project, the difference between a drawer that feels like a dream and one that feels like a chore is often found in your toolbox. I don’t just mean having a hammer; I mean having the right self-centering bits. I swear by the Vix-bit for every single slide installation. Even if you have the one tool you need for perfectly aligned cabinet knobs every time, you need that same level of pinpoint accuracy for your toe-kick slides. If your screw is off by even a millimeter, the slide will bind, and you’ll be left wondering why your ‘push-to-open’ feature is more of a ‘shove-to-frustrate’ feature.
I also highly recommend investing in a high-quality digital level, like a Stabila. Standard bubble levels are fine for hanging a picture, but when you are trying to level a kitchen island on a significantly sloped floor, you need to know the exact degree of the pitch. This allows you to shim the drawer box precisely so it doesn’t roll open every time a heavy truck drives past your house. Precision at the start is the only way to ensure your custom cabinets ideas that transform your homes style actually function as intended for the long haul.
Stop the Grinding Before It Ruins Your Floor
One of the most common questions I get is about the noise. People love the storage but hate the sound of metal on wood. If you hear a screech, don’t ignore it. Usually, why your soft-close slides grind and the quick lubrication fix involves more than just a squirt of WD-40. In fact, never use WD-40 on cabinet slides; it attracts dust like a magnet, creating a grinding paste that will destroy the bearings. Use a dry PTFE spray. It creates a slick surface without the oily residue, which is essential when your drawers are living four inches from the floor where dust bunnies roam free.
Maintenance isn’t just about grease; it’s about structural checks. Every six months, I pull my toe-kick drawers all the way out to inspect the cabinet boxes that should be stapled, glued, and screwed. According to Blum’s TANDEM technical documentation, for every 10 lbs of weight added over the 75-lb dynamic load rating, the slide’s lifecycle can be reduced by nearly 25%. If you are storing heavy cast iron in a toe-kick, you are pushing those limits. Check the mounting screws to ensure they haven’t started to back out due to the vibration of the kitchen floor.
How do I keep these hidden drawers sliding smoothly for years?
The secret is a combination of weight management and cleanliness. Because these drawers are so low, they are the first to catch crumbs and pet hair. I make it a habit to vacuum the slide tracks whenever I mop the floor. If you allow debris to build up in the ball bearings, you’ll eventually face the real reason your cabinet drawer slides are grinding, which usually requires a full hardware replacement. I predict that in the next few years, we will see more integrated brush-guards on these low-profile slides, similar to industrial machinery, to keep the internals clean.
I also see a massive trend toward adding motion-sensor lighting to these areas. Applying the same logic from the strategic way to light glass front cabinets without glare, you can install a slim LED strip inside the toe-kick. It acts as a perfect path light for midnight snack runs and highlights your innovative storage solutions for modern kitchen remodels simultaneously. If you want to elevate your kitchen immediately, try this: swap out one standard side-mount slide for a high-quality bottom-mount this weekend. You’ll see the difference in stability instantly.
What No One Tells You About Those Bottom Four Inches
Building these drawers taught me more about the structural quirks of my house than any other project. I realized that my floor was actually waving across the kitchen, which is why leveling a kitchen island on a significantly sloped floor is a skill every homeowner should understand before they start drilling. A toe-kick drawer isn’t just for stuff; it’s for regaining control of your environment. Here are a few lightbulb moments from my own workshop:
- Finish the inside properly: Even if nobody sees the box, knowing why pre-finished maple interior is better than melamine becomes clear the first time a wet mop splashes against it.
- Respect the weight limits: You might be tempted to store your entire cast iron collection, but remember the slide ratings. Overloading leads to sagging and ruined floors.
- The Grain Match Trick: Use a scrap of your actual toe-kick material for the drawer face to ensure the wood grain matches perfectly. It makes the seam virtually disappear.
The Gear That Keeps My Shop Running Smoothly
I don’t believe in buying every gadget on the shelf, but for precision storage work, a few items are non-negotiable. I always reach for my Vix-bits; these self-centering bits ensure every screw for your innovative storage solutions for modern kitchen remodels is centered perfectly so the slides don’t bind. I also trust Stabila digital levels because when you’re working with 1/16th-inch clearances, close enough is never good enough. For long-term maintenance, keep a can of Dry PTFE Spray nearby. It is the only way to stop hardware noise without turning your drawer tracks into a sticky magnet for kitchen dust.
Take Your Kitchen Back One Inch at a Time
There is a unique satisfaction that comes from sliding open a drawer that everyone else thinks is just a piece of baseboard trim. It is about more than just finding a spot for your muffin tins; it is about realizing that your home has more potential than you ever imagined. Whether you are planning to revolutionize your kitchen remodel using built-ins and creative storage or just want to tackle one cabinet this weekend, don’t let that floor space go to waste. You have the tools, the measurements, and the plan—now it is time to build something that makes your daily workflow feel like a dream. Have you ever discovered a ‘hidden’ storage spot in your house that changed how you organized your kitchen? Let me know in the comments below!