Why Your Kitchen Island Needs a 12-Inch Overhang for Real Seating
I remember the exact moment I realized my kitchen wasn’t quite as functional as I thought it was. It was during a casual brunch with friends, and I watched as everyone struggled to find comfortable seating around my new kitchen island. The overhang was just a few inches—barely enough for people to rest their elbows, let alone sit and enjoy a meal. That lightbulb moment made me question whether I’d overlooked a crucial detail in my remodel planning. If you’re like I was, you might be facing the same frustration—blissful about your beautiful new countertops but annoyed when guests can’t sit comfortably or when breakfast prep feels cramped.
The Game-Changer: Why Your Kitchen Island Needs a 12-Inch Overhang
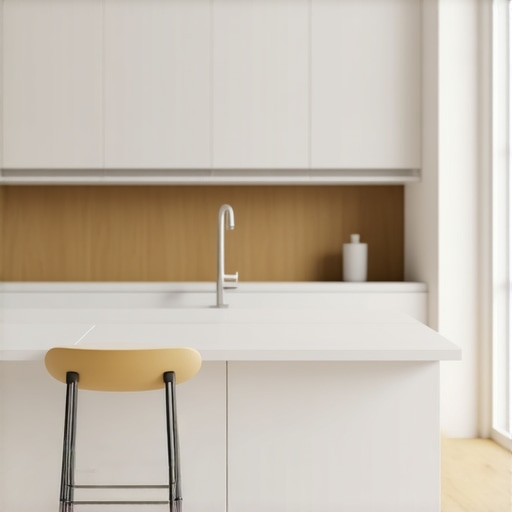
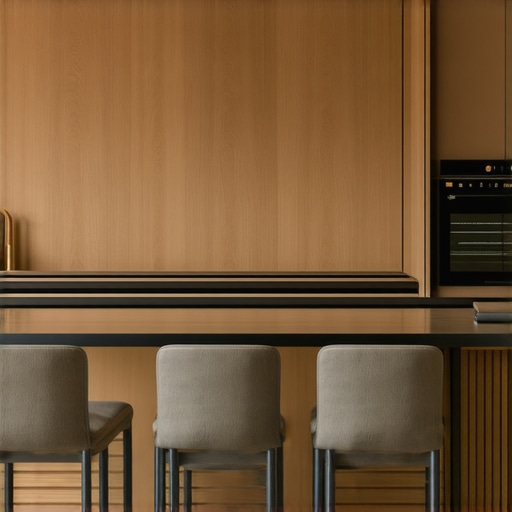
Fast forward a few months, and I dove into research—reading articles, consulting experts, and experimenting with my own space. The consensus became clear: a 12-inch overhang is the sweet spot for creating genuine seating arrangements on your kitchen island. Why? Because it strikes the perfect balance between functionality and aesthetics, providing enough legroom for comfort while maintaining the visual integrity of your countertops. Plus, it encourages more family time and lively gatherings, making your kitchen the heart of your home. I’ll show you exactly how this small but impactful detail can make a big difference in your daily routines.
Skeptical if Overhangs Are Truly Worth It?
Admittedly, I was cautious at first—thinking, “Is this really necessary?” I made the mistake of skimping on the overhang during my initial design, which meant I lost valuable seating space and didn’t fully utilize my island’s potential. That experience taught me that skipping this detail can lead to regret down the line, especially when you’re hosting or trying to squeeze in quick breakfasts. A well-designed overhang isn’t just a stylistic choice; it’s a practical upgrade that can significantly enhance your kitchen’s usability. Want to see how I solved this issue and what you need to consider for your own remodel? Keep reading, and I’ll walk you through everything.
Measure and Plan Precisely for Your Overhang
Start by accurately measuring your kitchen island’s length and width, then decide how much you want the overhang to extend. For a 12-inch overhang, mark the countertop edges where the extension will occur, ensuring there’s enough space for comfortable seating. Use a measuring tape and painter’s tape to visualize the overhang, paying close attention to the visual balance and functionality. During my remodel, I marked these measurements myself, which helped me avoid costly mistakes later. This step is crucial because an overhang that’s too short won’t provide seating comfort, while one that’s too long could compromise stability.
Selecting the Right Material and Support
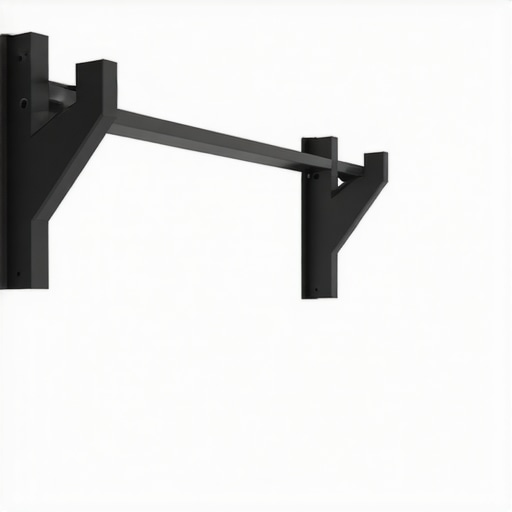
The material of your countertop influences the support system needed. For example, lightweight materials like laminate may require less reinforcement, whereas heavy stone or quartz countertops necessitate sturdy structural support. Think of it like building a bridge: choosing the appropriate supports ensures strength and safety. I found that using steel brackets as supports behind my stone countertop offered the perfect balance of strength and discreet appearance. When planning support, always consider the weight distribution and consult support diagrams or hardware specifications—more info on innovative storage solutions can be found at this resource.
Install Reinforcements for Stability and Durability
To securely hold the overhang, install steel or metal brackets beneath the countertop. These brackets act like the backbone of your extension, supporting the weight and preventing sagging over time. Position supports every 24 inches for optimal load distribution—think of it as placing studs in a wall for maximum stability. During my installation, I used a level to ensure each bracket was perfectly aligned, avoiding uneven overhangs. Proper installation also involves anchoring brackets into wall studs or a reinforced framing system, similar to how built-ins are secured to avoid wobbling, as discussed in this article. If you’re new to support installation, don’t hesitate to ask experts via the contact page.
Finish with Seamless Aesthetic Details
After mounting supports and securing your countertop, consider finishing touches that enhance both appearance and function. For instance, installing a decorative moulding or scribing the edge can create a polished look. Additionally, sealing the material properly prevents water damage and staining—especially important for natural stone or wood. In my own project, I opted for a rounded edge profile to match my kitchen’s overall style, which also made the seating area safer and more inviting. This detail complements built-ins and custom cabinets, as seen at this link, blending form with function seamlessly.Many homeowners believe that choosing high-end materials or following the latest trends guarantees a perfect kitchen, but in my experience, these assumptions often lead to costly mistakes. One widespread myth is that more storage equals better design, yet overloading cabinets without considering accessibility can create clutter and reduce functionality. Advanced storage solutions, like pull-out shelves and hidden compartments, require precise planning to truly enhance usability, not just fill space. Moreover, a common oversight involves underestimating the importance of structural support—especially for custom cabinets and heavy countertops—which can cause long-term issues like sagging or damage. Overlooking these nuances frequently results in expensive repairs down the line. According to design expert Sarah Richardson, attention to detail in support and material choice is key to durable, beautiful results, so don’t fall for the trap of prioritizing aesthetics over function. Curious about how to avoid these pitfalls and elevate your project? Explore our insights on modern kitchen remodels with custom cabinets and built-ins for expert tips. Make sure your remodel truly benefits from thoughtful planning—not just the latest trends. Have you ever fallen into this trap? Let me know in the comments.
To ensure your thoughtfully designed kitchen, built-in features, and custom cabinets maintain their beauty and functionality over the years, investing in the right tools and establishing effective maintenance routines is crucial. I rely heavily on specialized equipment and proven techniques that I can personally attest to, ensuring that my kitchen remains a joy to use and visually appealing long-term.
Invest in a Quality Cordless Drill for Ongoing Adjustments
A versatile cordless drill, like the DeWalt DCD791D2, has become my go-to tool for periodic tightening of cabinet screws, adjusting support brackets, and installing new storage accessories. Its lightweight design and powerful motor make quick work of small maintenance tasks without causing fatigue. Keeping your hardware tight prevents issues like cabinet sagging or door misalignment, which can develop over time. Regularly checking and tightening fasteners with this drill can prevent costly repairs down the line.
Use a Digital Level to Keep Your Installations Precise
Precision in installation impacts long-term durability and aesthetic appeal. I recommend the Stabila 196-2 Digital Level for its accuracy and ease of reading. It’s invaluable for ensuring that shelves, counters, and support brackets remain perfectly aligned, which prevents uneven wear and unnecessary stress on joints. A well-leveled setup extends the lifespan of built-ins and custom cabinets, preserving your investment.
Apply a Multi-Purpose Cleaner for Routine Upkeep
Maintaining your cabinet surfaces and countertops is simplified by a reliable multi-purpose cleaner like the Magic Eagle All-Purpose Cleaner. I use it weekly to wipe down surfaces, preventing buildup that can cause stains or degrade finishes. Regular cleaning with gentle yet effective products preserves the integrity of your chosen materials, whether wood, quartz, or laminate, and keeps your kitchen looking fresh.
Embrace Modern Software for Planning Long-Term Improvements
Digital tools like SketchUp offer great value for planning future upgrades or modifications. I often revisit my designs, experiment with new storage solutions, or consider layout tweaks—saving time and avoiding costly rework. These programs are especially powerful when combined with real-world measurements and support diagrams, such as those discussed in this resource.
Predicting Future Trends in Maintenance and Tools
As smart home technology advances, integrated monitoring systems could alert homeowners to loose hardware, moisture buildup, or structural stresses before they become visible. Think of it as having a digital maintenance assistant. Staying updated with these innovations can help maintain your kitchen’s functionality with less effort and prevent major issues down the line.
How do I keep my kitchen components in top shape over time?
Establishing a routine with these tools—regularly tightening screws, checking levels, cleaning surfaces, and updating your planning software—ensures your kitchen remains as functional as the day it was installed. A proactive approach not only prolongs the lifespan of custom features but also keeps the space inviting and efficient for years to come. Want to enhance your maintenance routine? Try using a digital level before your next adjustment; it truly makes a difference. For more detailed tips on preserving your cabinetry and built-ins, explore our articles on modern kitchen remodels.
The Hardest Lesson I Learned About Kitchen Remodels and Custom Cabinets
One of my most impactful realizations was that overlooking support structures can lead to long-term instability. I once believed that high-quality materials alone would ensure durability, but it was only after a sagging countertop that I understood proper reinforcement makes all the difference. Trusting the process and paying attention to every detail—from materials to supports—can save you from costly repairs in the future.
Secrets Top Designers Keep About Storage and Built-ins
I’ve discovered that innovative storage solutions, like hidden compartments or pull-out shelves, maximize space and reduce clutter. These clever ideas are often kept behind the scenes during design planning, but they can transform your kitchen into a highly functional environment. Learning to blend form with function—like integrating storage into decorative features—can truly elevate your remodeling experience.
Why Skipping the Small Details Costs More Than You Think
Many homeowners underestimate the importance of finishing touches—sealed edges, polishing, and support support placement. These minor details ensure longevity and aesthetic appeal. My own project taught me that investing time in these small but vital steps prevents imperfections that can degrade over time, keeping your kitchen beautiful and efficient for years to come.