Why Your Base Cabinets Should Be Secured with 3-Inch Rugged Screws
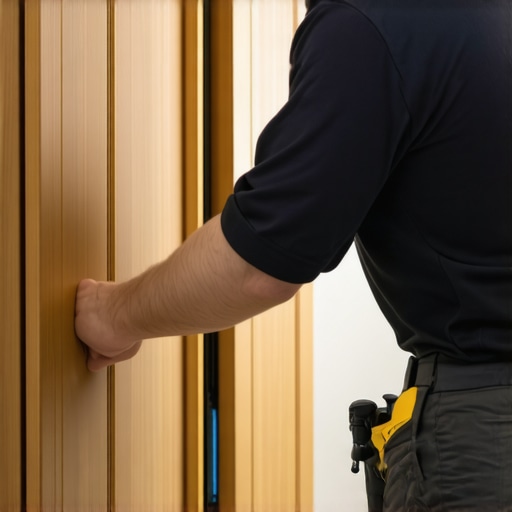
The sound was like a dry branch snapping under a heavy boot, but it came from inside my kitchen wall at two in the morning. I stumbled out, half-asleep, only to find my beautiful new island—part of a massive custom cabinets project I’d just finished—leaning at a terrifying angle. I had made a classic rookie move. I used standard drywall screws because they were cheap and I had a full box sitting right there on the workbench. It was the exact cabinet screw mistake that experts warn about, and I learned the hard way that weight doesn’t just push down; it pulls out. Today, I want to save you from that middle-of-the-night heart attack by explaining why those 3-inch rugged screws are the only thing that should be standing between your expensive countertops and a very expensive disaster. [image_placeholder]
Stop Your Cabinets from Sagging Before They Start
When you are deep in a kitchen remodel, it is easy to get distracted by the finish colors or the fancy drawer glides. But your base cabinets are the literal foundation of your kitchen’s functionality. A standard 34.5-inch base cabinet might not seem heavy on its own, but once you add a 3-centimeter slab of granite or quartz, you’re looking at hundreds of pounds of constant downward pressure. If you aren’t using 3-inch rugged screws that bite deep into the center of your wall studs, you’re essentially building a house on sand. I’ve seen cabinets installed with 2-inch screws that barely penetrated the drywall and just grazed the wood behind it. That is a recipe for a slow-motion collapse that ruins your plumbing and cracks your stone.
Is it really worth spending more on rugged fasteners?
I get the skepticism. A screw is just a screw, right? Wrong. According to tests by independent hardware labs like GRK Fasteners, structural screws—often called “rugged” or “RSS” screws—feature a much higher shear strength than your run-of-the-mill hardware. While a standard screw might snap under the lateral stress of a shifting cabinet, a rugged screw is designed to bend but never break. It features a built-in washer head that pulls the cabinet back tight against the wall, creating a bond that won’t wiggle loose over time. If you’re investing in smart storage ideas, the last thing you want is for the “storage” part to end up on the floor. Have you ever noticed a tiny, hairline gap forming between the back of your cabinet and the wall? That is your hardware begging for help. Tell me, have you ever had a “close call” with a heavy cabinet or shelf pulling away? We are going to dive into the physics of why that extra inch of screw length makes all the difference in keeping your kitchen safe and level for the next twenty years.
The Step-by-Step Method for Bulletproof Base Cabinets
I remember my first solo install in a tight kitchen where I thought I could cut corners. I was rushing through a custom cabinets project and skipped the pre-drilling phase on a beautiful rift-sawn oak cabinet. I drove a fastener straight into the frame, and crack—the sound of expensive wood splitting is something you never forget. It didn’t just ruin the aesthetic; it compromised the structural integrity of the entire unit. Since that day, I’ve followed a strict protocol that ensures every 3-inch rugged screw does its job without causing collateral damage.
Find the Studs or Face the Consequences
Before a single cabinet moves into the room, you need to map out your wall like a minefield. Use a high-quality stud finder and mark the center of every 2×4. If you miss the stud by even half an inch, that 3-inch screw is just hanging out in the insulation, doing absolutely nothing to support the weight of your expertly selected storage solutions. I always draw vertical lines up the wall that extend above where the cabinet will sit, so I can see exactly where to drive my fasteners once the boxes are in place. If you are dealing with a modern kitchen remodel, these marks are your lifeline.
#IMAGE_PLACE_HOLDER_B#
Why Pre-Drilling is Not Negotiable
Rugged screws are thick. If you try to force them into a cabinet back without a pilot hole, you are inviting the wood to split or the screw to bind. I use a bit that is slightly smaller than the shank of the screw. This creates a path for the threads to bite into without displacing so much wood that the pressure causes a fracture. This is especially critical when you are working with plywood box construction, which is far more durable than particle board but still susceptible to delamination if you’re reckless with a drill. Think of it as clearing the road before the heavy trucks arrive.
The Secret Art of Shimming
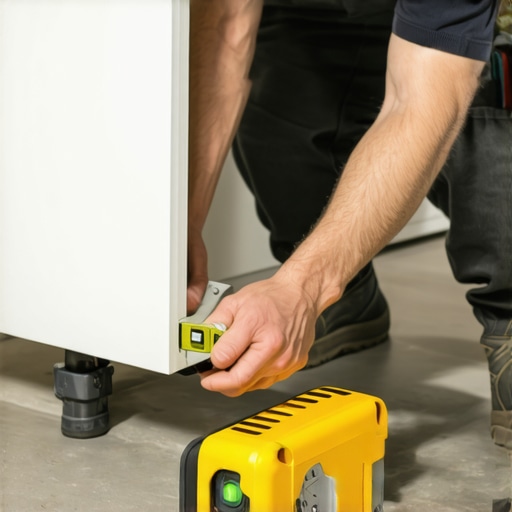
Walls are never straight and floors are rarely level. If you screw a cabinet tight against a bowed wall without shims, you will pull the cabinet out of square, which is the real reason your cabinet drawer slides are grinding later on. You need to slide cedar shims behind the cabinet at the screw locations until the box is perfectly plumb and level. Check out the proper way to shim a cabinet on a slanted slab floor to avoid the common mistake of over-tightening. If the cabinet isn’t sitting naturally against the wall, the screw will force it into a curve, and your doors will never align properly. Even if you use adjustable feet on uneven concrete, the wall attachment remains the final anchor.
Drive the Rugged Screw Home
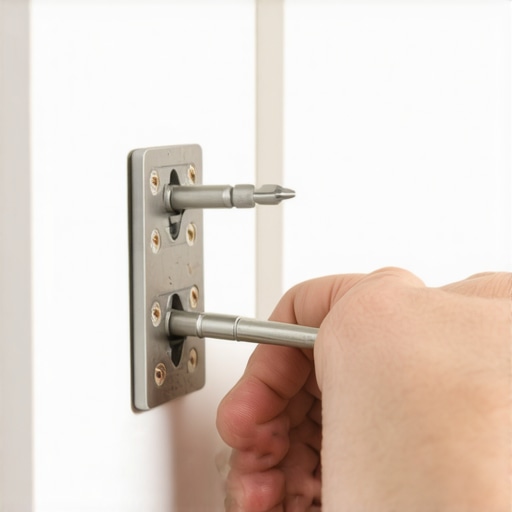
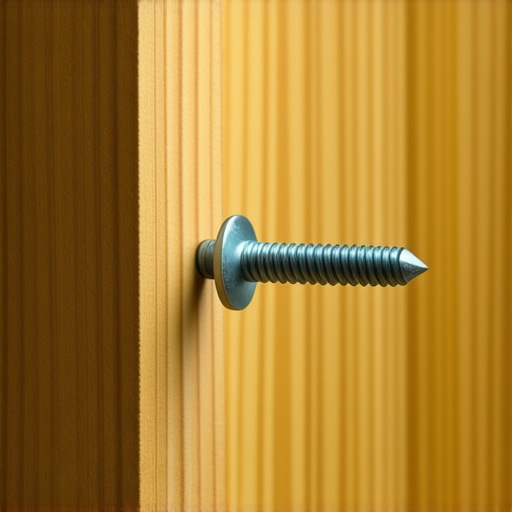
Once you’re level and pre-drilled, it’s time for the heavy lifting. Position your 3-inch rugged screws through the hanging rail—that thick piece of wood at the top back of the cabinet. These fasteners should penetrate the stud by at least 1.5 inches. The washer-style head of a structural screw is designed to pull the cabinet tight without sinking through the wood. This creates a massive amount of friction between the cabinet and the wall, which helps with the countertop support move that keeps your heavy stone surfaces stable. When you feel that screw grab the stud and pull the cabinet those last few millimeters, you’ll know it’s not going anywhere for the next two decades.
Let’s dig deeper into the psychology of a kitchen. Everyone tells you that the key to a successful project is maximizing every cubic inch of wall space with boxes. But in my experience, the ‘more is more’ approach is exactly how you end up with a kitchen that feels claustrophobic and functions poorly. When you view custom cabinets as a game changer in your kitchen remodel journey, the real power isn’t in how much you can fit, but in how little effort it takes to get what you need.
The Counter-Intuitive Truth About Filling Every Inch
Most homeowners are terrified of ‘dead space,’ so they cram cabinets into every corner, including those dreaded blind-corner units that eventually become graveyards for old Tupperware. A study by the National Kitchen & Bath Association (NKBA) highlights that ‘storage density’ is actually less important than ‘access efficiency,’ suggesting that many homeowners lose nearly a third of their usable space simply because it is physically frustrating to reach. Sometimes, a well-placed window or even a blank wall segment provides the visual ‘breathing room’ that makes smart storage ideas to maximize your kitchen space this year actually work.
Why Deep Shelves are Often a Black Hole for Groceries
Here is the trap: people assume a 24-inch deep pantry is better than a 12-inch one because it holds more. In reality, anything pushed beyond the 14-inch mark in a standard cabinet is effectively lost to time until you move out. This is exactly why a pull-out pantry beats deep walk-in shelves for visibility every single time. By bringing the back of the cabinet to you, you eliminate the need to get on your hands and knees with a flashlight. #IMAGE_PLACE_HOLDER_C#
Should you prioritize specialized inserts or flexible open space?
I often see clients get seduced by hyper-specific hardware—things like built-in wine racks or ultra-thin spice pull-outs. But be careful: why narrow spice pull-outs are often harder to use than you think is usually down to the fact that they lock you into a specific bottle size. If you switch brands or buy in bulk, that expensive custom insert becomes a hindrance. Instead, I recommend the pantry zone method using adjustable internal divisions. This gives you the structure of built-ins and storage hacks for a sleek functional kitchen without the rigid ‘oops’ factor of permanent cubbies. Have you ever fallen into this trap of over-customizing only to find it didn’t fit your actual life? Let me know in the comments.
If you want your kitchen to look professional, you have to stop eyeballing your hardware placement. I spent years using a tape measure and a prayer until I finally invested in a dedicated aluminum cabinet hardware jig. It is the one tool you need for perfectly aligned cabinet knobs every time because it eliminates the common human error of a slipping drill bit. When you are looking down a long row of ten identical drawers, being off by even an eighth of an inch looks like a glaring mistake. Using a jig allows you to set the stop-block once and drill twenty holes with zero variation, ensuring your stylish kitchen overhaul doesn’t look like a weekend amateur job.
How do I keep my custom cabinets working like new?
The biggest threat to your investment isn’t actually daily use; it is the atmospheric shift inside your home. Wood is a living material, and solid wood door panels still need room to breathe in summer as humidity levels climb. If your doors start to stick or the reveals between drawers look uneven, do not panic and start sanding the wood. Usually, it is just a matter of knowing how to adjust European hinges for a perfect level door reveal. A simple turn of a Philips head screw on the hinge plate can move a door up, down, or sideways. I also recommend keeping a can of dry PTFE spray in your tool kit because your soft-close slides might grind if kitchen dust and flour settle into the tracks. According to the Kitchen Cabinet Manufacturers Association (KCMA) A161.1 performance standards, high-quality cabinetry is tested to withstand thousands of cycles, but that longevity assumes the hardware is kept clean and properly aligned.
#IMAGE_PLACE_HOLDER_D#
Looking toward the future, I expect the custom cabinets expert guide for 2025 to focus heavily on ‘invisible’ technology. We are already seeing a massive shift where finger pull channels are replacing traditional handles to create a monolithic, sleek look. But these designs require even tighter tolerances. Whether you are re-aligning doors after seasonal humidity changes or investigating why soft close hinges fail and the simple tension adjustment needed to fix them, the goal is a kitchen that remains a precision machine. Grab a screwdriver this weekend and do a ‘hinge audit’—you will be surprised how much better your kitchen feels when every door closes with that satisfying, perfectly centered click.
The Reality Check Most Contractors Skip
After years of installing custom cabinets and navigating the chaos of a kitchen remodel, I have realized that the most expensive mistakes are often the ones you cannot see until it is too late. First, never underestimate the power of the environment; even the finest craftsmanship can be undone by moisture, which is why solid wood door panels still need room to breathe in summer. Wood is an organic material, and fighting its natural expansion is a losing battle. Second, remember that depth is a double-edged sword. A massive cabinet might look impressive on a floor plan, but why a pull-out pantry beats deep walk-in shelves for visibility becomes obvious the moment you lose a jar of honey in the dark recesses of a 24-inch shelf. Finally, do not let your budget run dry before you reach the details. Using bargain-bin handles on high-end wood is the hardware mistake that makes expensive cabinets look cheap and ruins the tactile experience of your new space.
The Three Tools I Never Start a Project Without
If you are tackling the installation yourself or just want to keep your contractor honest, there are a few non-negotiables in my toolkit. I always carry a dedicated hardware template because it is the one tool you need for perfectly aligned cabinet knobs every time—consistency is what separates a DIY look from a professional finish. I also keep a stash of high-quality cedar shims on hand to master the proper way to shim a cabinet on a slanted slab floor, ensuring the weight is distributed evenly. Lastly, never underestimate a laser level; it is the only way to ensure your built-ins stay true across long spans of a modern home. [image_placeholder]
Bring Your Dream Kitchen to Life
Embarking on a renovation can feel overwhelming, but seeing custom cabinets as a game-changer in your kitchen remodel journey helps you focus on what really matters: longevity and ease of use. Whether you are integrating storage solutions that hide the clutter or choosing built-ins that elevate your home’s architecture, the goal is a space that serves your family’s unique rhythm. Take it one step at a time, prioritize structural integrity over fleeting trends, and you will end up with a kitchen that feels as good as it looks for decades to come. Have you ever had a cabinet shelf sag or a screw pull loose over time? Let me know about your experiences in the comments below.