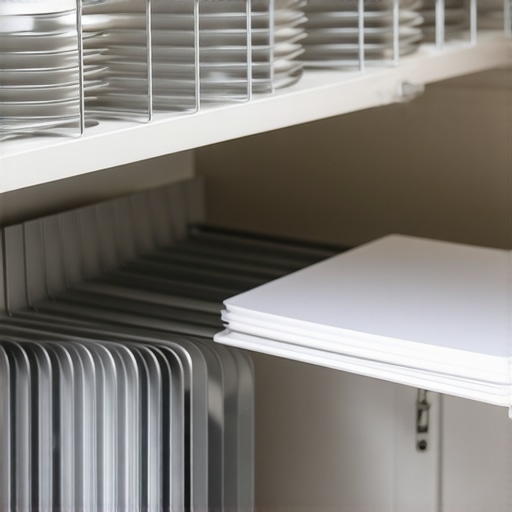
How to Organize Your Baking Sheets with Simple Vertical Dividers
I was reaching for my favorite muffin tin last Tuesday night—trying to be quiet because the kids were finally asleep—when it happened. One wrong tug and *CLANG*. A literal metal landslide of baking sheets and cooling racks came crashing out of the cabinet. It’s that familiar, soul-crushing sound of a disorganized kitchen. If you’ve ever felt like you’re playing a high-stakes game of Jenga just to bake a batch of brownies, you know exactly what I’m talking about. We spend thousands on a beautiful kitchen remodel, yet we often end up shoving our most-used pans into a dark, horizontal pile. I’ve been there, and frankly, I was tired of the noise and the scratches on my expensive non-stick surfaces. Today, I want to show you how to fix that for good with a solution so simple you’ll wonder why you didn’t do it years ago.
Stop Digging Through a Metal Haystack
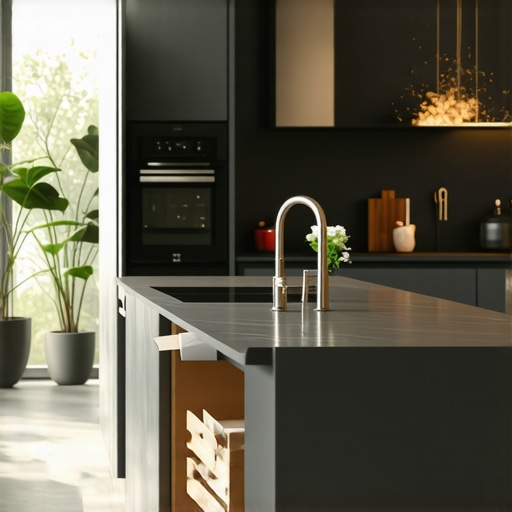
When I first started looking into custom cabinets ideas that transform your homes style, I realized that the best storage isn’t always about more space; it’s about better access. Stacking your pans horizontally is a recipe for frustration. You always need the one at the very bottom, don’t you? By implementing smart storage ideas to maximize your kitchen space this year, you can turn a chaotic cabinet into a library of bakeware. Imagine just sliding out exactly what you need without touching anything else. It’s a game-changer for your workflow, especially if you find yourself baking under pressure during the holidays. [IMAGE_PLACEHOLDER]
Will this really make your kitchen feel bigger?
The short answer is yes. It’s not just about the physical inches; it’s about the mental bandwidth you reclaim. I made a massive mistake early on by trying those cheap, rubber-coated wire organizers from a big-box store. I thought I was being thrifty. Instead, every time I leaned a heavy pizza stone against them, the whole thing tipped over like a house of cards. They were flimsy, they slid around, and they looked cheap in my beautiful kitchen. You need something sturdy. Specifically, the vertical cookie sheet divider that ends the cabinet clatter is the robust solution that actually stays put. According to researchers at the Princeton University Neuroscience Institute, physical clutter in your environment competes for your attention, which leads to increased stress and decreased focus. When you clear that visual and audible chaos of clanging pans, your kitchen becomes a place of peace rather than a chore. Have you ever had a baking sheet avalanche right when you were in a hurry? It’s the worst, isn’t it? Let’s dive into how we can build something that actually lasts.
Stop the Stacking Madness Now
Getting your kitchen in order starts with a simple realization: horizontal stacks are the enemy of efficiency. When you are knee-deep in a Saturday morning pancake session, the last thing you want is to lift four heavy pans just to find the one griddle that isn’t warped. To truly master the best way to store baking sheets so they dont avalanche, you need to transition to vertical storage. This isn’t just about sticking a few wires in a drawer; it is about creating a structural system that treats your cookware like books on a shelf. This approach is one of the most effective innovative storage solutions for modern kitchen remodels because it utilizes the full height of your base cabinets, which is often wasted space. I remember a time I tried to ‘hack’ this with tension rods I bought for five dollars. I thought I was a genius until I slid in my heavy cast-iron griddle and the whole thing snapped, sending rods flying into the back of the cabinet. It was a mess that took an hour to fish out. That’s when I learned that weight-bearing storage requires real materials.
Find the Perfect Spot for Your Baking Zone
The first step is identifying where these items should live. Most people shove pans wherever they fit, but why your kitchen workflow needs a dedicated baking zone becomes obvious the moment you start prepping a big meal. You want your sheets, cooling racks, and muffin tins within arm’s reach of your primary prep area or the oven itself. If you are planning a larger project, you’ll see that custom cabinets as a game-changer in your kitchen remodel journey because they allow you to specify the exact width of these slots. For example, a three-inch wide slot might be perfect for a stack of three cookie sheets, but your heavy ceramic pizza stone might need its own reinforced space. 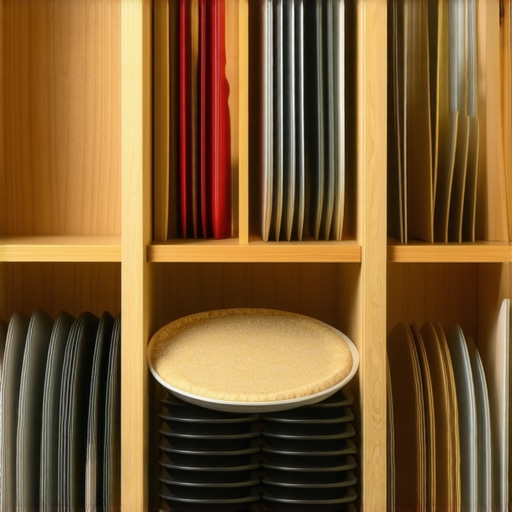
Measure Once and Solve the Pizza Stone Problem
Before you start installing dividers, you have to account for your largest items. Many standard cabinets aren’t deep enough for professional-grade oversized sheets. Understanding the cabinet depth secret for storing large pizza stones and trays ensures you aren’t left with a door that won’t quite shut. Measure your largest tray—usually the one you use for Thanksgiving turkey or a large pizza—and ensure your cabinet depth can handle it plus the thickness of the back panel.
Build Dividers That Actually Hold the Weight
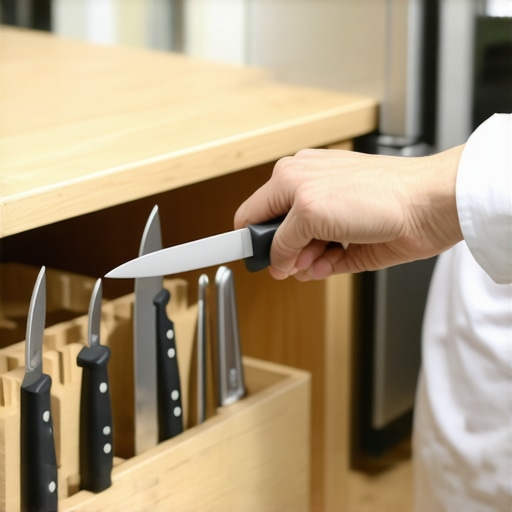
Quality matters when you are sliding metal against wood day after day. This is exactly why plywood box construction still beats particle board for kitchens; the screws and grooves for your dividers need a solid substrate to bite into. If you use flimsy materials, the constant friction and weight of the pans will eventually cause the dividers to lean or sag. For a truly professional feel, use 1/4-inch or 1/2-inch plywood inserts finished to match your cabinet interior. You can either cut grooves (dadoes) into the top and bottom of the cabinet or use simple wooden cleats to hold the dividers in place. This creates a rock-solid ‘file folder’ system for your kitchen. When I finally installed my own plywood dividers, the silence was immediate. No more clanging, no more scratching, and I could grab my favorite jelly roll pan with one hand while holding a bowl of batter in the other. That is the kind of functional luxury that makes a kitchen feel truly custom.
The Segmentation Trap Most Designers Forget to Mention
Most people believe that the more dividers you have, the more organized you are. In my years of doing this, I’ve found the opposite is often true. We call it the ‘clearance tax.’ When you add a vertical divider for every single pan, you are actually losing about half an inch of horizontal space for every piece of wood you insert. If you have ten dividers, that is five inches of wasted cabinet width. This is why narrow spice pull-outs are often harder to use than you think—they prioritize the container over the content. Instead of a slot for every single sheet, I recommend grouping similar items into 3-inch or 4-inch wide channels. It gives you the flexibility to add a new cooling rack without having to remodel the whole box. When you are looking for expert tips on selecting storage solutions for a perfect kitchen upgrade, always remember that flexibility is the ultimate luxury.
Is Your Choice of Solid Wood Secretly a Maintenance Nightmare?
Another mistake I see constantly is the insistence on solid wood for every internal component. While it sounds high-end, solid wood is actually a poor choice for thin vertical dividers in a kitchen environment. According to the USDA Forest Products Laboratory, wood is a hygroscopic material, meaning it expands and contracts significantly based on humidity levels. In a kitchen where you are boiling pasta or running a dishwasher, a thin solid wood divider can cup or twist within months. This is why solid wood door panels still need room to breathe in summer, and your internal dividers are no different. High-quality, pre-finished plywood is actually the superior choice here because the cross-grain layers prevent that warping, ensuring your pans always slide in smoothly. If you ignore this, you might find your custom inserts jamming against the cabinet floor during a humid July. [IMAGE_PLACEHOLDER_C#]
How do you handle wood movement without losing the custom look?
The secret is in the joinery. Many people make the mistake of gluing their dividers permanently into place. Don’t do that. By using a ‘stopped dado’ or adjustable metal tracks, you allow the cabinet box and the dividers to move independently. This prevents the cabinet sides from bowing over time. It’s also where the hardware mistake that makes expensive cabinets look cheap usually happens—if the dividers aren’t seated correctly, they rattle. A truly professional install feels like a single solid unit, yet allows for the natural physics of the material. I’ve seen homeowners spend a fortune on a revolutionize your kitchen remodel using built-ins and creative storage plan only to have the dividers snap because they were pinned too tight. Have you ever fallen into this trap where you over-organized only to find your pans didn’t fit a year later? Let me know in the comments.To really make these vertical dividers work for the long haul, you have to look beyond the wood and into the hardware. I’ve seen homeowners invest thousands into a high-end build only to have the aesthetics ruined by misaligned handles. I always tell my clients that the one tool you need for perfectly aligned cabinet knobs every time is a professional-grade aluminum hardware jig. Don’t trust a paper template; a metal jig ensures that every hole is identical down to the millimeter, preventing that ‘crooked’ look that screams amateur. This level of precision is what separates a standard remodel from the transform-your-kitchen-with-custom-cabinets-expert-guide-for-2025 standards. When you are sliding heavy trays in and out, that vibration can actually loosen standard screws over time. This is exactly why your base cabinets should be secured with 3-inch rugged screws rather than standard drywall screws that can snap under the lateral pressure of a fully loaded kitchen. [IMAGE_PLACEHOLDER_D#]
Why Construction Methods Determine Your Kitchen’s Lifespan
I’ve taken apart enough ‘budget’ kitchens to know where the bodies are buried. Most failures happen at the joints because people skip the essentials. You need to understand why your cabinet boxes should be stapled glued and screwed to handle the weight of modern appliances. According to technical specifications from Blum, a leading global manufacturer of furniture fittings, high-quality drawer slides are rated for ‘dynamic load capacities,’ which means they are tested to open and close 100,000 times under full weight. If your cabinet box isn’t rigid, those expensive slides will eventually bind. By integrating built-ins and storage hacks for a sleek functional kitchen into a rock-solid box, you ensure that the ‘library’ of pans we built earlier doesn’t turn into a sagging mess by year three.
How do I keep my custom organization systems working like new?
Maintenance in a kitchen isn’t just about wiping down the counters. For your vertical storage and pull-outs, you should perform a ‘hardware audit’ every six months. Check the mounting screws on your dividers and the glide path of your drawers. If you notice a change in the sound of your kitchen, why your soft close slides grind and the quick lubrication fix is usually a matter of using a dry silicone spray to clear out dust and debris. Avoid using heavy oils like WD-40, which actually attract kitchen grease and turn into a sticky paste that ruins your bearings. A quick wipe and a shot of the right lubricant will keep everything silent.
The Future of Smart Modular Storage
Looking ahead, I predict we are moving away from fixed wooden dividers entirely. The next big shift in innovative storage solutions for modern kitchen remodels is ‘Magnetic Modular Rails.’ Imagine the interior of your cabinet lined with a magnetic stainless steel sheet, allowing you to snap dividers into place and move them in seconds as your cookware collection grows. No tools, no dadoes, just total flexibility. Until that becomes the standard, the best thing you can do today is check your heaviest drawer—if those screws aren’t flush, swap them for 3-inch rugged versions this weekend to prevent a structural failure before it starts.
Three Things I Learned While Digging for My Pizza Stone
After years of redesigning cabinets, I’ve realized that the most common mistake is over-engineering. You don’t need a custom slot for every single cookie sheet; in fact, trying to do so is one of the smart storage ideas to maximize your kitchen space this year that often backfires by wasting too much room on wood dividers. Instead, grouping three or four similar items into a wider channel provides the same organization with half the footprint.
Another lightbulb moment came when I stopped using glue for my vertical inserts. By keeping them removable, you can easily pull them out to wipe down the cabinet floor, which inevitably collects flour and crumbs. Finally, always prioritize the weight of your items. Your heavy cast-iron griddles should live in the center of the cabinet box, where the floor is most supported, rather than out on the edges where the box can experience lateral stress. These small shifts in thinking are what truly lead to expert tips on selecting storage solutions for a perfect kitchen upgrade.
Items That Belong in Your Professional Installation Kit
If you are ready to tackle this project, skip the generic hardware store aisles and look for these specific components that I use on every job. I always keep a stash of 3-inch rugged screws because standard wood screws simply cannot handle the vibration of heavy pans sliding in and out over a decade. For layout, I swear by the technical load-capacity charts from Blum; they take the guesswork out of how much weight your drawer slides can actually support before they begin to fail.
I also recommend using a high-quality aluminum hardware jig for your pulls. It prevents that frustrating ‘crooked handle’ look that can ruin even the most expensive custom cabinets ideas that transform your homes style. Lastly, keep a bottle of dry silicone lubricant on hand. It is the only way to ensure your tracks stay smooth without attracting the grease and dust common in a high-use kitchen.
[IMAGE_PLACEHOLDER_E]
Your Path to a Clutter-Free Baking Zone Starts Today
It is time to stop dreading the simple act of reaching for a muffin tin. By shifting from horizontal stacks to a vertical ‘library’ system, you are doing more than just cleaning up a mess; you are creating seamless kitchen remasters with built-in storage solutions that respect your time and your sanity. You deserve a kitchen that works for you, not one that feels like a trap. Whether you are doing a full renovation or just adding a few dividers this weekend, the impact on your daily workflow will be immediate and profound. Start small, use the right materials, and enjoy the silence of a well-organized home. Have you ever lost your mind searching for a specific baking sheet at the bottom of a heavy stack? Let me know your worst kitchen avalanche story in the comments below!