The Proper Way to Shim Cabinets on a High Spot in the Floor
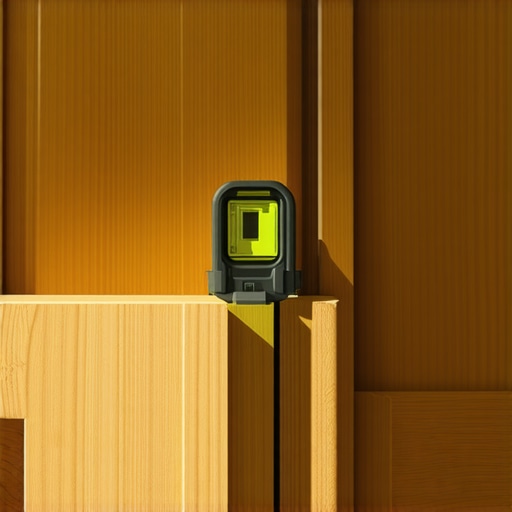
I stood there with my laser level, watching a red line dance across the room like it was mocking me. It should have been a straight, reassuring horizontal beam. Instead, it revealed that my kitchen floor had a hump right in the center that would make a camel jealous. This was my first major project involving custom cabinets, and I almost walked away right then. I had spent thousands on materials, but I hadn’t accounted for a concrete slab that refused to play nice. I tried to ignore it. I tried to just ‘start at the corner.’ That was a disaster.
Stop Fighting the Floor and Find the High Spot First
If you start shimming from the lowest corner without knowing where the ‘mountain’ is, you are setting yourself up for a nightmare where your wall cabinets are pulling away from the drywall by the end of the week. I learned this the hard way during a renovation in an old bungalow where the floor dipped nearly two inches across the kitchen. My biggest mistake was assuming I could just add shims as I went. By the time I hit the high spot, my base cabinet was sitting way too high for the smart storage ideas I had planned for the countertop. To do this right, you have to find the absolute highest point in the room using a level and a straightedge. This spot becomes your ‘zero’ point. Everything else in the room—every shim, every screw, and every box—will be measured relative to this one peak. This ensures that your kitchen island remains level even on a sloped floor.
Is all this tedious measuring actually worth the effort?
You might be tempted to just ‘close enough’ it and hide the gaps with a thick toe kick. Don’t. While you can hide a gap, you cannot hide a countertop that makes a spilled glass of water migrate toward the stove. According to the National Kitchen & Bath Association, an out-of-level cabinet is the primary cause of premature hardware failure. If you don’t have a level foundation, you will find yourself constantly having to adjust European hinges because the cabinet box is literally twisting under the weight of the stone. Have you ever spent hours getting one cabinet perfect, only to find the next one in the run is a half-inch too low? I want to hear your horror stories in the comments—let’s commiserate over our crooked subfloors.
Draw the Line That Saves Your Sanity
Once you have identified that pesky high spot, grab your pencil and a long straightedge. You need a reference line on the wall that is perfectly level. Think of this line as the horizon on a ship; no matter how much the floor waves, your cabinets must follow this line. I once tried to ‘eyeball’ it in a laundry room remodel—big mistake. The built-ins and storage hacks I spent all weekend on looked like they were sliding down a hill once the tile went in. To avoid this, measure up from your high spot to the standard base cabinet height—usually 34.5 inches—and strike a level line across the entire workspace using a laser or a 6-foot spirit level.
Mastering the Art of the Shim
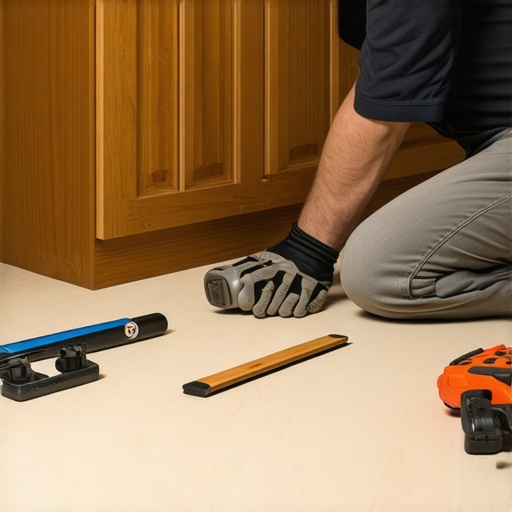
Now comes the patience-testing part. You aren’t just shoving wood scraps under the box to fill a gap; you are essentially building a bridge over the floor’s imperfections. The proper way to shim a cabinet on a slanted slab floor involves placing shims under the cabinet corners until the top edge perfectly kisses that level line you just drew. If you leave gaps or use flimsy shims, the weight of the countertop—especially heavy granite or quartz—will crush the cabinet frame over time. I remember a job where I rushed the shims on a heavy kitchen island; six months later, the owner called because the drawer fronts were crooked. The floor had settled slightly, and the un-shimmed middle section of the cabinet had bowed under the weight of the stone. 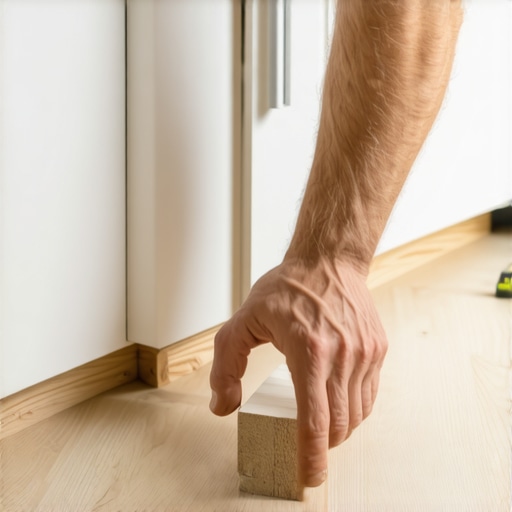
Align the Boxes Like a Professional
When you have multiple cabinets in a run, they have to act as a single, rigid unit. Use heavy-duty clamps to pull the face frames together before you ever drive a screw into the wall. If the faces aren’t flush, your innovative storage solutions for modern kitchen remodels won’t function correctly because the drawer slides will be out of parallel. I remember my first solo kitchen where I didn’t clamp the frames first. I just screwed them to the wall one by one. By the fourth cabinet, I had a gap large enough to fit a coin between the frames at the top, while the bottoms were touching. I had to back every screw out and start from scratch. Always clamp, pre-drill, and screw the frames together first to ensure the seamless look found in modern kitchen remodels featuring custom cabinets and built-ins.
Why Three Inches of Steel Matter
Once the run of boxes is level and clamped, you must lock them into the wall studs. This isn’t the time for dainty finish nails or brittle drywall screws. Why your base cabinets should be secured with 3-inch rugged screws becomes obvious the second you start loading up those drawers with heavy cast iron. These rugged screws act like anchors. During a custom cabinets as a game changer in your kitchen remodel journey, I saw a DIYer use 1.5-inch screws. Halfway through the granite installation, we heard a terrifying ‘pop’—the screws had pulled right out of the pine studs. Drive your screws through the hanging rail at the back of the cabinet. If you miss the stud, find it. A single missed stud is the difference between a lifetime of service and a sagging mess that ruins your backsplash.Most homeowners believe that ‘custom’ simply means making a box fit a specific width. In reality, the true value of custom cabinets as a game changer in your kitchen remodel journey lies in the engineering you never see. I often see people obsessing over the color of the paint while completely ignoring the joinery method. For instance, there is a common myth that all glue is the same. I have seen beautifully finished vanities fall apart in three years because the builder used silicone instead of structural adhesives. Understanding why you should never use silicone for cabinet joinery is a lesson usually learned only after the first steam-heavy shower causes a joint failure.
The Great Corner Cabinet Lie
Everyone will tell you that a lazy susan is the ultimate way to ‘save’ a corner. In my experience, they are a massive waste of potential. Because a lazy susan is a circle in a square hole, you lose nearly 25% of your usable volume in the corners. Instead, I always recommend looking at expert tips on selecting storage solutions for a perfect kitchen upgrade that include blind-corner pull-outs. Once you see the mechanics, you will understand why you should skip the lazy susan and install lemans pull-outs instead; it is the difference between digging for a pot and having it glide out to meet you. 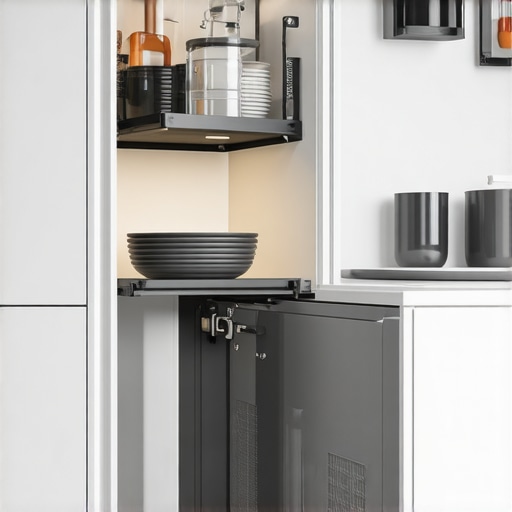
Stop Putting Your Trash Can Next to Your Range
Here is the ‘oops’ factor that ruins more high-end kitchens than I care to admit. It seems convenient to have the trash right next to your prep area and stove, but the reality of why your garbage pull-out should never be next to the oven comes down to heat and biology. The constant heat cycling from a modern oven can accelerate the breakdown of organic waste in your bin, leading to odors that no amount of cleaning can fix. It can also warp the delicate adjustments on your drawer slides over time. Keep the heat and the waste separate for a truly functional layout.
Is it really overkill to specify solid maple for every drawer box?
Advanced DIYers and homeowners often ask if they can save money by using poplar or even high-grade plywood for the drawers. While plywood is stable, why we use solid maple for drawer boxes instead of poplar is about the ‘hardness’ of the dovetail joint. According to the Architectural Woodwork Institute (AWI), the density of the wood species directly impacts the long-term shear strength of the joinery. Maple resists the ‘ovaling’ of screw holes and the compression of joints far better than softer hardwoods. If you are investing in modern kitchen remodels featuring custom cabinets and built-ins, do not cheap out on the parts you touch every day. Have you ever fallen into this trap of prioritizing the ‘look’ over the ‘bones’? Let me know in the comments—I would love to hear how your hardware is holding up. Finally, pay attention to the chemistry of your finish. I see many people get confused by the difference between pre-catalyzed and post-catalyzed cabinet lacquer. If you want a finish that survives high-acidity spills, you need to understand cross-linking. If you have questions about your specific layout, feel free to contact us.Installing the boxes is only the first half of the battle; the real victory is ensuring they remain as functional and beautiful ten years from now as they are on day one. I have seen countless homeowners spend thirty thousand dollars on a kitchen only to let a lack of maintenance turn their dream into a squeaky, sagging mess. To avoid this, you need more than just a screwdriver; you need a strategy for long-term stability.
The One Tool That Never Leaves My Tool Belt
When I’m finishing a project, I never trust my eyes alone for the hardware. You might think you can measure each door individually, but human error is inevitable. I swear by the True Position Cabinet Hardware Jig. It is the only way to ensure that your pulls are identical across twenty different drawers. Using the one tool you need for perfectly aligned cabinet knobs every time saves you from the heartbreak of a ‘slightly off’ handle that you’ll notice every single morning while you make coffee. Beyond the installation, I always keep a bottle of dry PTFE lubricant handy. If you notice why your drawer slides are grinding and how to clear the ball bearings, a quick blast of dry lube is the secret. Never use WD-40; it attracts dust like a magnet and will eventually gum up the mechanism, turning a minor annoyance into a full slide replacement. 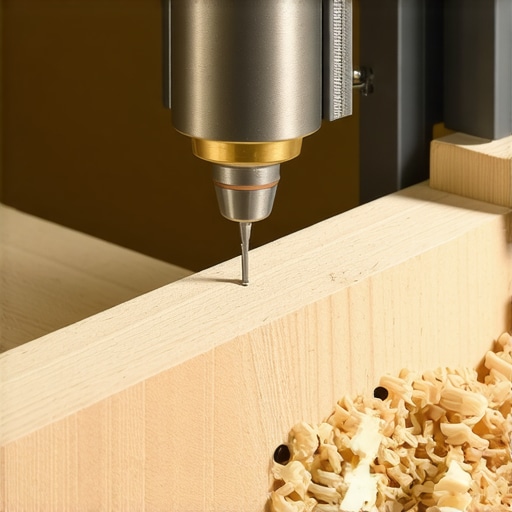
How do I keep these cabinets looking brand new for a decade?
Maintenance isn’t just about the hardware; it’s about the finish. I always tell my clients that the worst thing they can do is use ‘orange oil’ or wax-based cleaners on a modern catalyzed finish. These products create a sticky film that actually traps grease. Instead, a simple damp microfiber cloth is usually all you need. If you do run into trouble, knowing how to remove stubborn water rings from natural wood cabinet surfaces can save your island from a permanent scar. For those deeper cleaning days, I follow the guidelines set by the Architectural Woodwork Institute (AWI), which suggests that pH-neutral cleaners are the only safe bet for high-performance coatings. If you’re dealing with built-ins that elevate your living rooms functionality, remember that dust is an abrasive. Regular dusting prevents the micro-scratches that eventually dull a high-sheen finish.
The Future of Custom Storage is Smarter Than You Think
Looking ahead, I predict we are moving toward ‘invisible integration.’ We are already seeing a massive uptick in requests for wireless charging coils embedded directly into the wood of a countertop or a built-ins and storage hacks for a sleek functional kitchen. No more unsightly cords on the backsplash. The tech is becoming part of the joinery itself. This is why I always suggest leaving a small, accessible channel in your cabinet design for future wiring. Even if you don’t want ‘smart’ cabinets today, you’ll want the option five years from now when voice-activated lighting becomes the standard. I challenge you to go into your kitchen tonight and check the alignment of your two most-used cabinet doors. If they aren’t perfectly flush, try a quarter-turn on the adjustment screw—it’s the easiest way to start your journey into professional-grade maintenance. If you’re feeling overwhelmed by a larger project, don’t hesitate to contact us for a professional consultation.
The Hard-Earned Lessons That Transformed My Cabinetry Game
After years in the shop, I’ve realized that the most expensive kitchen isn’t necessarily the best—it’s the one where the installer didn’t cut corners. Here are a few “lightbulb moments” from my career that changed how I approach every project:
- The ‘Invisible’ Foundation: I used to think the finish was everything. Now I know that a cabinet is only as good as the wall it’s attached to. If you haven’t mastered the proper way to shim a cabinet on a slanted slab floor, even the most expensive custom cabinets will eventually fail due to structural stress.
- Maintenance is Non-Negotiable: A kitchen is a living, breathing part of your home. Screws loosen, wood expands, and hinges drift. Checking your alignment once a year is the difference between a minor five-minute tweak and a major repair down the road.
- Hardware is the Heartbeat: Never settle for “builder grade” slides or hinges. When you follow expert tips on selecting storage solutions for a perfect kitchen upgrade, you are choosing hardware designed to withstand 50,000 cycles of opening and closing without sagging.
The Gear and Guides That Keep My Workshop Running
If you want to move beyond basic DIY, you need to rely on the same resources and precision tools that the pros use. I personally trust the Architectural Woodwork Institute (AWI) standards for every project; they provide the gold standard for joinery and finish durability. For the actual physical work, I never start a job without my Stabila Plate Level. It’s a significant investment, but it ensures that your built-ins that elevate your living rooms functionality are truly plumb and square. Finally, I always recommend keeping FastCap 2P-10 adhesive on hand for those tiny trim pieces that are too small for a nail gun—it’s my secret weapon for achieving a seamless, high-end look.
#IMAGE_PLACEHOLDER_E#
Building a Kitchen That Outlasts the Trends
It is easy to get caught up in the stress of a renovation, but remember that you are building the backdrop for your life’s best memories. Whether you are installing a full suite of custom cabinets or just adding a few high-end built-ins to a mudroom, take your time and enjoy the process of creation. The precision you put in today is what will make you smile every time you reach for a coffee mug ten years from now. You’ve got the tools and the knowledge; now it’s time to pick up the drill and make it happen.
Which part of the cabinet installation process makes you the most nervous—the shimming or the drilling? Let me know in the comments below!