The Heavy-Duty Bracket Fix for Floating Kitchen Shelves
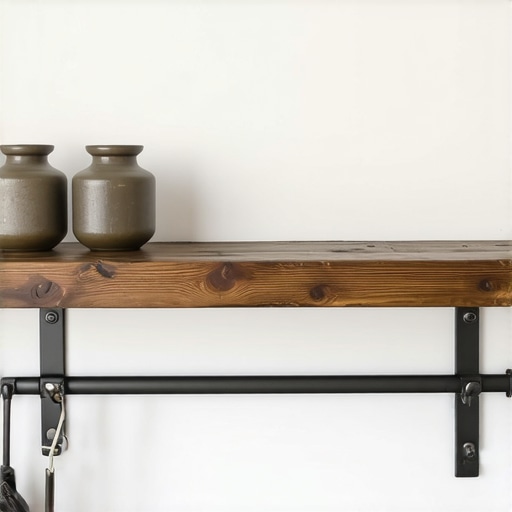
I will never forget the sound of my favorite ceramic pasta bowl meeting its demise on my quartz countertop at two in the morning. It was not a burglar or a clumsy cat. It was gravity finally winning a six-month battle against a poorly installed ‘floating’ shelf. I had fallen for the trap of those flimsy, decorative brackets that look great in a staged photo but cannot handle more than a bag of cotton balls. If you are tired of watching your shelves slowly tilt toward the floor, you are in the right place. We are going to fix this for good.
Stop Trusting Tiny Screws for Your Heavy Dishes
If you are planning modern kitchen remodels featuring custom cabinets and built-ins, the floating shelf is likely at the top of your wishlist. It is clean. It is airy. But it is also a structural nightmare if you do not respect the physics of leverage. Early in my career, I made a massive mistake: I thought I could skip the structural prep and just ‘find a stud’ later with some standard long screws. I was wrong. Without the right reinforcement, even a small shelf acts like a crowbar against your drywall, slowly crushing the gypsum until the whole thing sags. You cannot just wing it with innovative storage solutions for modern kitchen remodels if you plan on actually putting your Le Creuset collection on display.
Are these heavy-duty systems actually worth the extra effort?
You might be looking at the price of professional-grade steel brackets and thinking that a few L-brackets from the hardware store will do the same job. They will not. I have seen too many homeowners invest thousands into their kitchen only to have the finish ruined by a sagging shelf that was never meant to hold real weight. According to structural engineering insights from Fine Homebuilding, the pull-out force on a floating shelf’s top fastener is often three to four times the actual weight of the load due to the cantilever effect. This is why we use similar logic to why your floating vanity needs structural blocking before the tile. Have you ever noticed your shelves leaning just a fraction of an inch after you loaded them up? That is the warning sign of an impending disaster. We need a solution that mimics the best way to support a 15-inch granite overhang—pure, unyielding steel anchored directly into the framing. [IMAGE_PLACEHOLDER] To get this right, you have to look past the aesthetics and focus on the skeleton of the wall. If you have ever felt that sickening ‘give’ when you set a heavy pot down on a shelf, then you know exactly why we are taking the time to do this properly today. Let’s dive into the hardware that actually holds up.
Strip the Drywall Back to the Studs
If you want a shelf that can hold more than a few empty glass jars, you have to stop mounting things on top of the wall and start mounting them inside it. This is the same principle I use when planning modern kitchen remodels featuring custom cabinets and built-ins. You need to expose the framing. I once worked on a project where the homeowner insisted on mounting heavy oak slabs over finished tile using toggle bolts. I refused. Why? Because the weight of the wood alone was enough to create a pivot point that would have cracked the grout within a month. Instead, we cut out a strip of drywall, installed solid 2×6 blocking between the studs, and then repaired the wall. This creates a solid foundation that allows you to use the ultimate guide to custom cabinets for a stylish kitchen overhaul as a blueprint for weight distribution.
Choose Steel Brackets with a Backplate
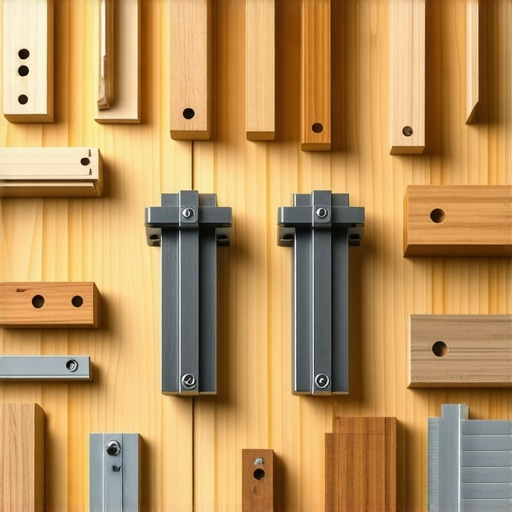
Forget those individual rods you see in cheap kits. You want a single-piece steel bracket with a long backplate that spans multiple studs. This plate acts like a spine, distributing the downward pressure across a larger surface area of your home’s skeleton. It is a critical component of innovative storage solutions for modern kitchen remodels because it prevents the shelf from acting like a pry bar against a single point of failure. 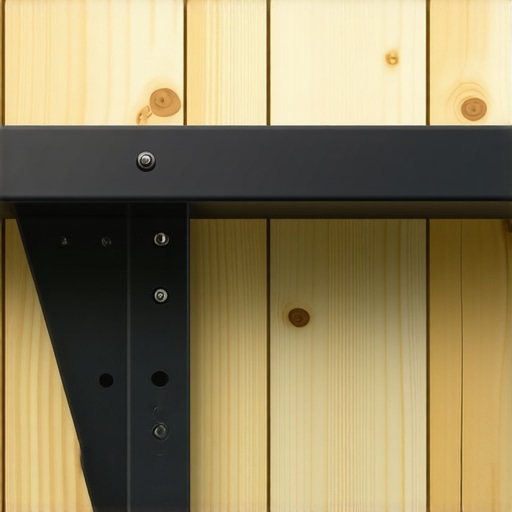
Anchor Directly into the Center of the Framing
Precision is the difference between a shelf that stays level and one that becomes a landslide. I learned this the hard way years ago while rushing a pantry job. I thought hitting the edge of a stud was ‘good enough.’ It felt tight initially, but as soon as the client loaded it with heavy canned goods, the screw pulled sideways, tearing through the soft pine of the stud. Now, I always use a small pilot bit to ‘feel’ for both edges of the stud to find the exact center. This ensures the 3-inch lag bolts have maximum bite. This level of detail is similar to why your floating vanity needs structural blocking before the tile; if the hidden support isn’t perfect, the finished product will eventually fail.
The Secret to a Perfect 90-Degree Angle
Even with heavy-duty brackets, the weight of the shelf can cause a slight dip. To counter this, I often shim the bottom of the bracket backplate just a hair—about the thickness of a business card. This creates a tiny upward tilt that levels out perfectly once the shelf is fully loaded with dishes or equipment. If you are integrating these shelves near other units, you might also need to know the proper way to shim cabinets on a high spot in the floor to ensure all your horizontal lines across the kitchen are consistent. When you are reaching for a heavy mixer, you need to know that the shelf isn’t just hanging there; it’s practically part of the house’s foundation. It is the same peace of mind you get when you store heavy small appliances in a base cabinet that has been properly reinforced for the load.Let’s dig deeper into the biggest myth in the industry: the idea that every square inch of your wall must be filled with a cabinet to maximize utility. In my experience, volume is a liar. I have seen homeowners fight for a nine-inch base cabinet that inevitably becomes a graveyard for dusty baking sheets when they could have had a more functional layout. Instead, you should maximize space with innovative storage solutions for every room by choosing fewer, wider drawer stacks. A single 36-inch drawer is infinitely more useful than two 18-inch units because you lose less horizontal clearance to drawer slides and internal framing. This is a common point of failure when creating seamless kitchen remasters with built-in storage solutions. Most people prioritize the count of doors and drawers rather than the actual cubic inches of accessible storage.
Don’t Let Your Sink Fall into the Gravity Trap
The most dangerous ‘oops’ factor in a kitchen remodel usually happens right under the faucet. You spend weeks picking out a massive fireclay or cast iron sink, but the installer simply attaches it with epoxy and thin metal clips. I call this the gravity gamble. According to structural standards from the Kitchen Cabinet Manufacturers Association (KCMA), the dynamic load of a full sink can exceed 300 pounds. Those tiny clips are not enough. This is why the best way to reinforce a sink base for heavy farmhouse sinks involves building a dedicated plywood cradle. If you ignore this, you will eventually see a hairline gap between the counter and the sink rim. To avoid a flooded cabinet and cracked stone, you have to understand why most undermount sink clips fail and the plywood cradle fix before the plumber even arrives. 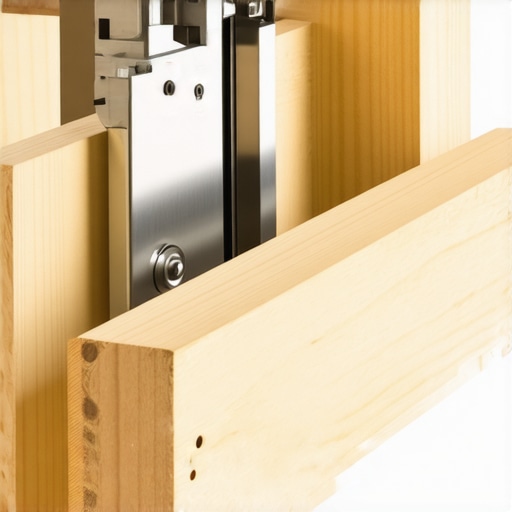
Is your ‘Custom’ quote hiding a factory-built secret?
Many homeowners assume that ‘custom’ always equates to superior strength, but that is a dangerous assumption. Some shops sell custom-sized fronts over particle-board boxes with stapled-on backs. If the quote seems too good to be true, they are likely skipping the why your custom cabinets should feature dovetail drawers requirement. True longevity comes from mechanical joinery, not just glue and finishing nails. When you are transforming your kitchen with custom cabinets, you are paying for the engineering of the box, not just the color of the paint. Another nuance is the seasonal behavior of your hardware. Have you ever noticed the real reason your soft close drawers are sluggish in winter? It is often the viscosity of the hydraulic fluid in low-end dampers. High-performance slides maintain their ‘feel’ regardless of the temperature. Using custom cabinets as a game changer in your kitchen remodel journey means looking at the static load rating of every slide. Have you ever fallen into the trap of picking a cabinet because it looked pretty, only to have the drawers start sagging a year later? Let me know in the comments.
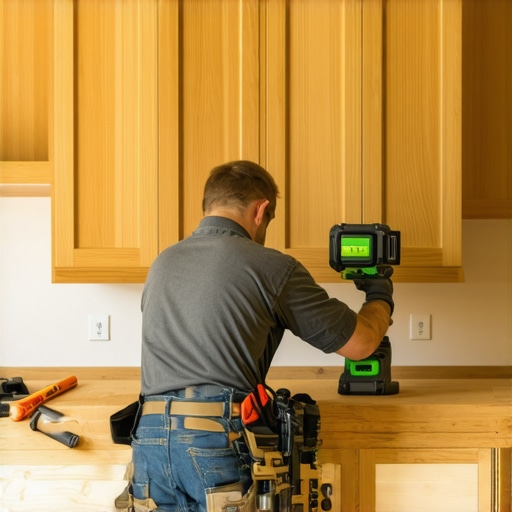
I stopped relying on a traditional bubble level five years ago, and I have never looked back. If you are still trying to balance a four-foot yellow stick against a wall while holding a cabinet box in the air, you are making your life significantly harder. I personally swear by the Bosch GLL3-330CG three-plane laser level for all my modern kitchen remodels featuring custom cabinets and built-ins. The reason is simple: the 360-degree green beam allows me to set a single, consistent benchmark across the entire room. If you are off by even a sixteenth of an inch at the start of a run, your crown molding will highlight that error like a neon sign once it hits the ceiling. This precision is the backbone of expert tips on selecting storage solutions for a perfect kitchen upgrade because it ensures that every drawer slide and hinge is operating on a perfectly horizontal plane, reducing friction and wear over time.
How can I keep my custom kitchen working like day one?
Maintenance is where most homeowners drop the ball. Custom cabinetry is an investment, yet I often see people use harsh chemicals that eat through the conversion varnish. When cleaning your matte black cabinet hardware without scratches, you should avoid anything abrasive; a simple microfiber cloth and a drop of pH-neutral soap are all you need. Furthermore, you should perform a ‘hinge audit’ every six months. If you notice a door is hanging slightly lower than its neighbor, don’t wait for it to start rubbing. Taking the time to learn how to fix a cabinet hinge that squeaks every time or simply adjusting the depth screw can prevent the wood from chipping where the door meets the frame.
As we look toward the future of home design, the integration of technology is becoming unavoidable. I predict that by 2026, we will see a shift from manual pull-outs to motorized, sensor-driven systems as a standard feature in smart storage solutions for small kitchens in 2025 and beyond. This isn’t just for luxury; it’s an accessibility win for aging-in-place homeowners. However, high-tech features require even higher installation standards. According to the Architectural Woodwork Institute (AWI) Quality Standards, premium-grade cabinetry must maintain a vertical plumb tolerance of less than 1/8 inch over 96 inches. If your installer is ‘eyeballing’ the shim process, they are setting your high-tech hardware up for a mechanical failure within the first year.
When you are drilling holes for new cabinet hardware, always use a dedicated aluminum jig. Plastic templates flex, and a flexed template means a crooked handle. If you want to elevate your kitchen’s longevity, try this advanced tip: apply a small amount of clear thread-locker to your handle screws before the final tighten. It prevents the constant vibration of opening and closing from loosening the hardware over the years. This weekend, I encourage you to check your sink base; if you haven’t already, installing a simple drip tray is the single best move you can make to protect your cabinetry from the inevitable slow leak of a soap dispenser or a loose P-trap.
The Expensive Mistakes I’ll Never Make Again
After years of tearing out failed DIY projects, I’ve realized that the biggest errors aren’t usually aesthetic—they are structural. First, never prioritize ‘more’ storage over ‘better’ storage. A deep corner cabinet without a pull-out is just a cave for expired canned goods. I always recommend homeowners look into smart storage ideas to maximize your kitchen space this year rather than just adding more boxes that you can’t actually reach into. Second, don’t ignore the vertical potential. If you are blessed with height, understanding why your pantry needs a ladder if you have high ceilings becomes a conversation about true accessibility, not just visual luxury. Finally, remember that the kitchen is a high-moisture environment; your joinery needs to be mechanical, like a dovetail, rather than just relying on glue and finishing nails.
My Personal Shortlist for a Lifetime Kitchen
When I’m planning a build, I don’t just look at the wood. I look at the standards and the hardware that will take the abuse of daily life. [IMAGE_PLACEHOLDER] I highly recommend familiarizing yourself with the AWI (Architectural Woodwork Institute) standards—they provide the baseline for the ‘premium grade’ construction you should demand from any custom shop. For hardware, I strictly stick to Blum or Grass for soft-close mechanisms because they offer the most consistent performance in varying humidity levels. If you want to see how these structural principles apply outside the cooking area, check out built-ins that elevate your living room’s functionality to see how hidden blocking and steel supports work in every room of the house.
Build Something That Outlasts the Trends
At the end of the day, your kitchen should be a place of joy, not a source of structural anxiety. Whether you are installing a single floating shelf or planning full-scale modern kitchen remodels featuring custom cabinets and built-ins, the secret to success is always hidden behind the drywall. Use the right steel, find the exact center of your studs, and never settle for hardware that isn’t rated for the dynamic load of your heavy dishes. By focusing on the ‘bones’ of the project first, you ensure that your custom cabinets ideas that transform your home’s style remain as functional and sturdy as they were on the day they were installed. Have you ever discovered a ‘shortcut’ an old installer took that eventually caused a sagging shelf or a crooked door in your home? Let me know in the comments below.