Why You Need a Heat Shield Next to Your Oven Cabinets
I still remember the smell of roasting garlic that Sunday afternoon, but it wasn’t the lasagna I was worried about. It was the faint, plastic-like scent of my brand-new, ivory-white cabinet doors slowly succumbing to the 425-degree heat of my oven. I’d just finished a massive kitchen remodel, and within three months, the edges of the doors flanking my range looked like they’d spent a decade in a sauna. They were yellowing, peeling, and—frankly—breaking my heart. I realized too late that I had committed a cardinal sin of kitchen design: I ignored the heat shield. When I was looking for custom cabinets, I was so focused on the aesthetics that I forgot the physics of the kitchen environment. Today, we are going to fix that. I’ll explain why these tiny metal strips are the most important twenty dollars you will ever spend on your home.
Your Oven is a Cabinet Killer in Disguise
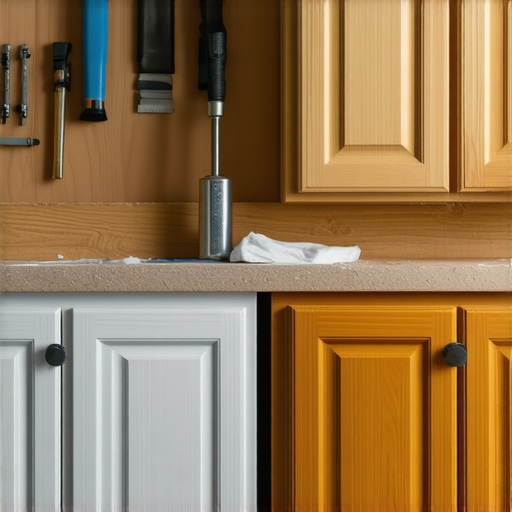
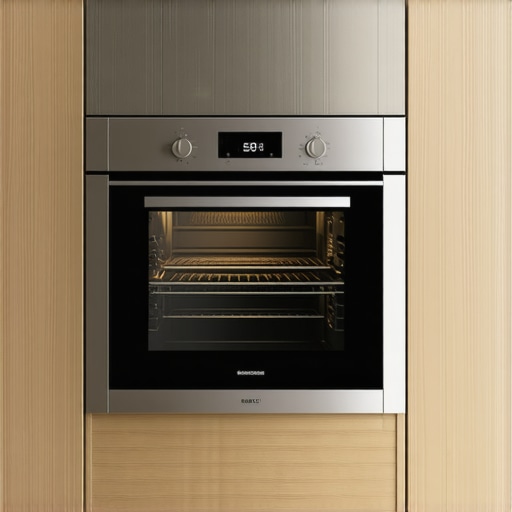
Modern ovens are marvels of engineering, but they are also incredibly efficient at venting heat out of the sides during specific cycles like self-cleaning or high-heat roasting. When you have a tight fit—which is exactly what you want for that high-end, built-in look—that heat has nowhere to go but directly into the stiles and rails of your cabinetry. [image_placeholder] If you’ve been researching modern kitchen remodels featuring custom cabinets and built-ins, you know the trend is toward seamless, flush designs. This looks amazing, but it creates a thermal trap. According to the Architectural Woodwork Institute (AWI), many furniture-grade finishes are tested for heat resistance, but sustained exposure to temperatures exceeding 150 degrees Fahrenheit will inevitably lead to finish failure or wood shrinkage. I learned this the hard way. I thought a standard 1/8-inch gap was plenty of breathing room. It wasn’t. Heat doesn’t care about your budget or how many custom cabinets ideas you pinned to your vision board.
Is This Just Another Unnecessary Kitchen Gimmick?
I get the skepticism. When you’re already bleeding money on a remodel, another ‘required’ accessory feels like a cash grab. But think of a heat shield like the gasket on your car engine; it’s a small part that prevents a total system failure. These shields are essentially just thin L-shaped strips of metal that deflect radiant heat away from the cabinet edge and back into the room. They don’t just protect the paint; they protect the structural integrity of the door itself. I’ve seen cabinet doors warping in the summer heat just from ambient humidity, so imagine what a 450-degree blast can do to a delicate door frame. Even when you are trying to align double oven cabinets for that perfect look, the shield must be part of the equation. Have you ever noticed your cabinet edges feeling a bit tacky or looking slightly discolored near the range? Let me know in the comments, because catching it early is the only way to save the finish.
Stop the Slow Burn with Professional-Grade Deflectors
Picking out the right hardware is where most people get tripped up. I remember helping a neighbor who was halfway through their first big project, and they were trying to use adhesive foil tape from the hardware store. It looked like a high school science project gone wrong. When you revolutionize your kitchen remodel using built-ins and creative storage, you need something more substantial than tape. Real heat shields are stainless steel or aluminum strips that screw directly into the cabinet stile. Think of these as a bulletproof vest for your finish. They sit between the range and the wood, catching the brunt of the heat before it can reach the sensitive paint or stain. Many homeowners assume their ultimate guide to custom cabinets for a stylish kitchen overhaul will include these by default, but you often have to request them specifically. 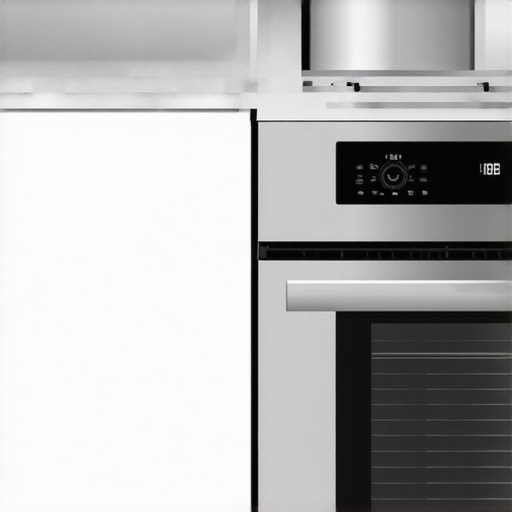
Mounting the Shield for a Flush Aesthetic
The trick is in the alignment. I once spent four hours at a client’s house in Indianapolis because we had to align cabinet doors when your walls are out of plumb, and the heat shields were making the doors kick out just a fraction of an inch. To avoid this, you want to pre-drill your holes into the cabinet face frame or the side panel of the cabinet box. If you are working with a frameless design, this is even more critical because there is no ‘lip’ to hide behind. The shield should sit just a hair back from the front edge of the door. This ensures that when the door is closed, the shield is invisible, but when you open the oven and that 500-degree gust of steam hits, the metal catches the heat. If you’ve already seen signs of damage, you might be looking at why cheap cabinet painting quotes lead to peeling surfaces in six months, as heat accelerates the failure of poor-quality primers.
Don’t Ignore the Self-Cleaning Cycle Trap
This is the part where most people lose their cabinets. I had a client call me in a panic because their brand-new navy blue cabinets were bubbling. They had run the ‘self-clean’ cycle on their oven for the first time without shields installed. The self-cleaning cycle can reach temperatures over 900 degrees inside the oven, and the exterior venting can easily bake a cabinet door in under an hour. When you incorporate custom cabinets as a game-changer in your kitchen remodel journey, you have to protect that game-changer. My rule of thumb is simple: if the range is within two inches of the wood, the shield is mandatory. Even if you are using expert tips on selecting storage solutions for a perfect kitchen upgrade, the best organization in the world won’t matter if your doors look like they’ve been toasted over a campfire. I’ve had to how to fix a cabinet door that is rubbing the frame because heat caused the wood to swell and contract so many times that the hinges literally pulled out of the material. Installing the shield prevents that thermal expansion from ruining the structural integrity of your build.Most contractors will tell you that the easiest fix for heat is to just pull the cabinets back another quarter inch. In my experience, that’s lazy design that compromises your aesthetic. When you revolutionize your kitchen remodel using built-ins and creative storage, you aren’t looking for gaps; you’re looking for precision. The real secret isn’t more space—it’s controlled airflow. If you leave a huge gap without a deflector, you’re actually creating a chimney effect that draws hot air upward, concentrating the damage on the upper corners of your doors. I’ve seen homeowners spend thousands on custom cabinets ideas that transform your homes style only to have the ‘extra breathing room’ accelerate the peeling. Have you ever fallen into this trap? Let me know in the comments.
The Hidden Nuance of Thermal Bridging
Let’s dig deeper into the physics. The Kitchen Cabinet Manufacturers Association (KCMA) notes that finish degradation often occurs not just from direct heat, but from the rapid cycling of temperatures which causes micro-fractures in topcoats. This is why why cheap cabinet painting quotes lead to peeling surfaces in six months; the coating simply isn’t elastic enough to handle the expansion. If you are building a high-end space, you need to account for ‘thermal bridging’ where the metal oven handle or the range frame itself transfers heat into the wood through contact. This is why I always insist that why your kitchen remodel budget needs a contingency fund for professional-grade insulators. [image_placeholder]
Why Does High-End Hardware Fail Faster Near the Stove?
It’s a common frustration: you invest in the best soft-close hinges, but they start acting up after the first big holiday meal. The grease and heat from the range can actually break down the factory lubricants inside your hardware. I’ve written about the real reason your soft-close drawers are sluggish in winter, and the same principle applies to heat—it changes the viscosity of the dampening fluid. Without a shield, your hardware is essentially being ‘cooked’ every time you roast a chicken. When you are looking at innovative storage solutions for modern kitchen remodels, don’t just look at the trays and racks; look at the protection. Even your sink area isn’t safe; I always tell clients why your sink cabinet needs a drip tray right now because the combination of humidity and cleaning chemicals is just as caustic as the oven’s heat. If you’re using custom cabinets as a game-changer in your kitchen remodel journey, you have to treat them like the fine furniture they are.Keeping a high-end kitchen looking pristine isn’t just about the initial install; it is about the kit you keep in your junk drawer for the long haul. After years of building and repairing, I’ve found that the biggest difference between a kitchen that looks ‘five years old’ and one that looks ‘twenty years old’ is the owner’s willingness to use professional-grade maintenance tools. For instance, I never touch a new handle installation without my True Position Drill Guide. It might seem overkill for a single set of doors, but when you need to drill holes for new cabinet hardware, a plastic template from the big-box store will eventually flex, leaving your handles slightly crooked. A hardened steel bushing jig ensures that every pull is perfectly vertical, preventing the dreaded ‘diagonal sag’ that plagues so many modern kitchen remodels featuring custom cabinets and built-ins. 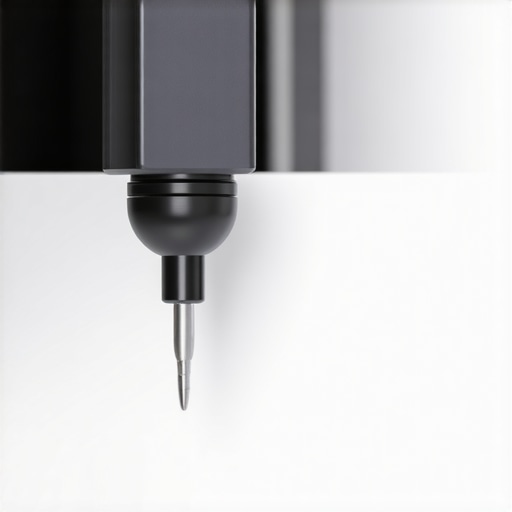
The Secret to Removing Grease Without Stripping the Varnish
We need to talk about the ‘gunk’ that accumulates near the stove hood. Most people reach for a heavy-duty degreaser or, heaven forbid, a scrubby sponge. That is a fast track to ruining your topcoat. I personally use a 50/50 mix of warm water and Murphy Oil Soap applied with a microfiber cloth—never a paper towel, which is surprisingly abrasive. If you are struggling with how to remove grease from wood cabinets without ruining the finish, the key is the ‘dry-off’ step. Any moisture left on the surface can seep into the micro-cracks around the joints, leading to swelling. This is especially true if you didn’t include built-ins and storage hacks for a sleek functional kitchen that keep your high-heat appliances away from the cabinetry. According to the Architectural Woodwork Institute (AWI) Quality Standards, maintaining a consistent relative humidity between 25% and 55% is the single most important factor in preventing finish failure and wood movement.
How do I maintain my custom cabinets over time?
Beyond cleaning, you have to keep an eye on the hardware. Every six months, I do a ‘hinge walk.’ I open every door and check for resistance. If a door starts to sag, don’t just tighten the screw into the soft wood—you’ll eventually strip it. If you find yourself needing to fix a stripped screw hole in a solid wood cabinet door, use the toothpick and wood glue trick to give the screw fresh material to bite into. As we look toward the future, I predict we will see more ‘smart’ cabinetry equipped with internal humidity sensors that alert your smartphone when the environment is becoming too dry or too damp for your specific wood species. For now, a simple hygrometer inside your pantry is the best ten dollars you can spend to protect your ultimate guide to custom cabinets for a stylish kitchen overhaul.
Don’t Let the Soft-Close Lose Its Magic
High-end hinges like those from Blum are rated for 200,000 cycles, but they aren’t invincible. Dust and aerosolized cooking oils are the silent killers of soft-close mechanisms. If your drawers are starting to feel gummy, avoid the temptation to spray WD-40 in there. Instead, use a compressed air can to blow out the piston area. If you’ve been following expert tips on selecting storage solutions for a perfect kitchen upgrade, you know that accessibility is everything. I highly recommend keeping a small ‘cabinet first aid kit’ containing a #2 PoziDriv screwdriver (standard for European hinges), a bottle of color-matched touch-up paint, and some paraffin wax for wood-on-wood slides. Go ahead and check your sink cabinet right now—if you don’t have a waterproof liner down yet, that should be your very next project.
The Expensive Reality of Cutting Corners Near Your Range
Reflecting on years of cabinetry work, I’ve realized that the most beautiful custom cabinets in the world are only as good as the protection you provide them. It is easy to get swept up in the excitement of a kitchen remodel, but the ‘invisible’ work—like installing heat shields—is what actually preserves your investment. I have seen thousands of dollars in finish work ruined by a single holiday turkey because someone forgot a twenty-dollar metal strip. It’s not just about the heat; it’s about the peace of mind knowing your built-ins won’t warp when the oven is at full blast.
- Heat is a cumulative enemy: It’s rarely the first time you cook that causes the peel; it’s the hundredth time the wood expands and contracts.
- Self-clean is the nuclear option: Never run this cycle without checking your shields first.
- Storage isn’t just about space: Using smart storage solutions for small kitchens in 2025 helps keep high-heat gadgets away from delicate paint.
The Maintenance Kit for a Forever Kitchen
If you want your kitchen to look like the day it was installed, you need a specific set of tools. I trust these implicitly because they have saved my own projects time and again. First, always have a PoziDriv screwdriver on hand; standard Phillips heads will strip your European hinge screws in seconds. When you need to fix a stripped hinge hole with a simple wooden matchstick, having the right glue and wood pins nearby is a lifesaver. I also recommend a dedicated microfiber cloth set just for your cabinetry—never mix your counter rags with your door wipes. To truly level up, ensure your custom cabinets feature dovetail drawers, which handle the mechanical stress of daily use much better than stapled boxes. Don’t forget that choosing the right finish for your hardware can also dictate how often you’ll need to clean off fingerprints and grease.
Build a Kitchen That Only Gets Better with Age
A successful kitchen remodel doesn’t end when the contractor drives away. It is a living part of your home that requires a bit of foresight and regular care. By investing in storage solutions that protect your surfaces and performing small checks on your hardware, you are ensuring that your home remains a place of beauty and function for decades. You’ve done the hard work of planning; now, give your custom cabinets the long-term respect they deserve. Have you ever noticed your cabinet edges getting warm or discolored after using the oven? Let me know in the comments below!