Why Your Kitchen Island Should Be Two Inches Taller Than Your Perimeter Counters
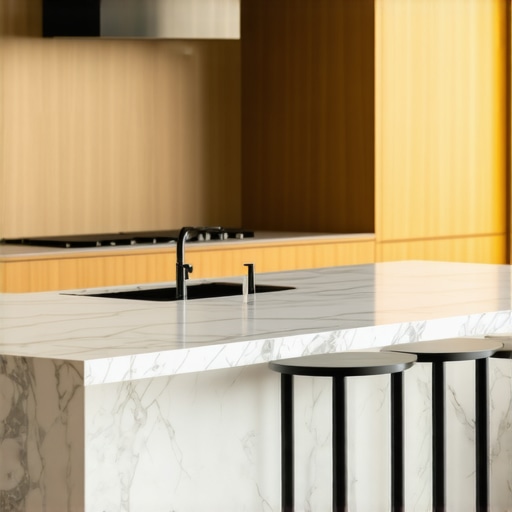
I remember the Sunday afternoon my lower back finally decided to go on strike. I was midway through prepping a three-course dinner on my brand-new, perfectly level, 36-inch-high kitchen island. By the time I hit the dessert prep, I was leaning into the marble like a marathon runner at mile 22. It didn’t make sense. I’d spent a fortune on a stylish kitchen overhaul, but every time I spent more than twenty minutes chopping veggies, I felt like I was eighty years old. The pain was dull at first. A little tug in the lumbar. Then, a sharp pinch. I stood up straight, cracked my neck, and looked at my beautiful, “correct” counters. They were the problem. My cabinets were gorgeous, but they were designed for an average height that hasn’t changed in decades. Most of us are taller than the “standard” 1950s homeowner, yet we keep building kitchens that force us to hunch. Today, I am going to show you why making your island just two inches taller than your perimeter counters is the secret to a pain-free prep zone.
How Two Inches Saved My Back from the Standard Height Trap
Early in my career as a cabinet enthusiast, I was a stickler for uniformity. I thought if everything wasn’t perfectly flush, the whole room would feel “off.” I even talked a client out of staggered heights once—a mistake I still regret. After living with my own “perfect” 36-inch counters, I realized that while that height is great for a dedicated baking zone with lower counters, it’s often too low for heavy-duty chopping. When I finally raised my own island to 38 inches, the relief was instant. You wouldn’t think two inches would matter, but in ergonomics, it’s a mile. According to the National Kitchen & Bath Association (NKBA), the “standard” height is merely a baseline, and work surfaces should actually be tailored to the user’s elbow height to prevent injury. In fact, ergonomic studies from Cornell University suggest that working at a surface even slightly too low forces the spine into a kyphotic curve, leading to significant musculoskeletal strain over time. It’s one of those expert tips for a perfect kitchen upgrade that most people overlook because they’re afraid to break the rules. Plus, that extra height allows for the deep drawer move for storing blenders and food processors that usually clutter the top.
Is This Height Difference Actually Worth the Hype?
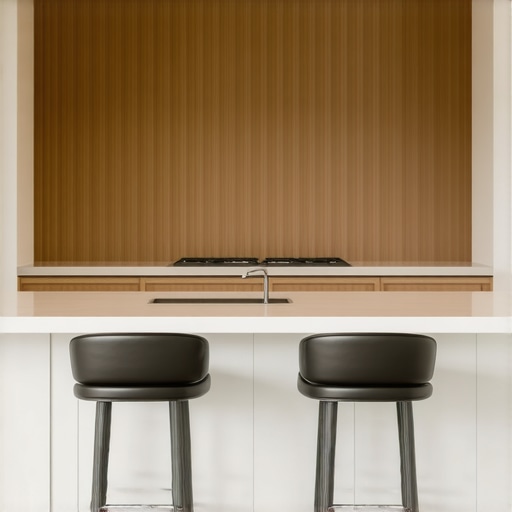
I know what’s going through your head: “Won’t it look like a construction error?” The short answer is no. A slightly elevated island actually helps define the space as a custom centerpiece rather than just more cabinetry. It also fixes the common issue where island seating feels cramped because it gives your knees more breathing room under the overhang. Have you ever finished a meal prep session feeling like you needed a heating pad and a nap? If you’ve been nodding along, you’re exactly who this fix is for. We’re about to dive into how to make this work without making your kitchen look like a puzzle gone wrong.
Find Your Natural Prep Height Before You Cut a Single Piece of Wood
Think of your kitchen counter like a pair of shoes. If they are too small, you’ll get blisters; if they are too big, you’ll trip. Designing an island is essentially tailoring a suit for your spine. To find your ideal height, stand comfortably and bend your arm at a 90-degree angle. Have someone measure the distance from the floor to the underside of your elbow. For optimal ergonomics, your prep surface should be about 4 to 6 inches below that elbow point. For many people, this lands right at 37 or 38 inches. When I applied this to a modern kitchen remodel featuring custom cabinets last year, the homeowner was skeptical about the ‘mismatched’ look. I told her to trust the tape measure. We mocked it up with some scrap plywood, and within five minutes of ‘air-chopping,’ she realized her standard perimeter counters felt like a kid’s table.
The Elbow Test for Better Chopping
To execute this shift, you aren’t just stacking extra wood under the stone. You need to account for the total stack-up. This includes the floor finish, the toe kick, the cabinet box, and the thickness of the stone. If you are aiming for that 38-inch sweet spot, you generally want to increase the height of your toe kick from the standard 4 inches to 6 inches. This is one of the most vital expert tips on selecting storage solutions because it keeps your cabinet boxes at a standard size, making it easier to swap out doors later if your style changes.
Executing the Build Without Looking Sloppy
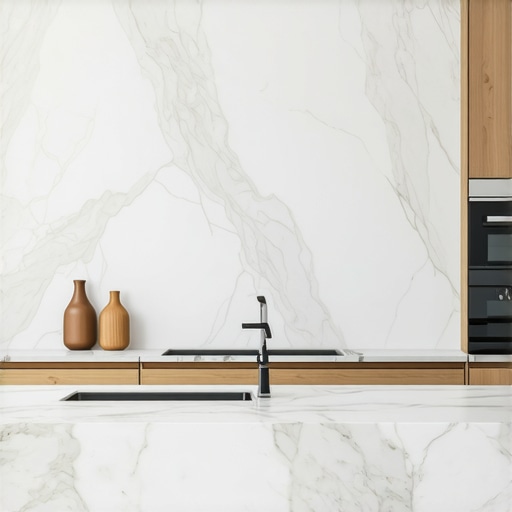
One of the biggest hurdles is making that height jump look intentional. If you just let the island sit higher without a plan, it looks like a mistake. I use the ‘Centerpiece Strategy.’ By using a contrasting color or a different species of wood for the island, the height difference feels like a design choice rather than a measurement error. In a particularly tricky job last spring, we had to figure out how to level a kitchen island on a significantly sloped floor while maintaining that extra two-inch height. We ended up using custom-tapered toe kicks that masked the floor’s slant while giving the homeowner that perfect 38-inch height at the work zone.
Beefing Up the Foundation
Because a taller island creates a different center of gravity, especially with a heavy stone top, you cannot skimp on the attachment points. While most people just use a few finish nails, your base cabinets should be secured with 3-inch rugged screws into the subfloor or internal blocking. This is especially true if you are planning an overhang for seating. A taller island means taller stools, and you need to ensure the countertop support move that keeps your breakfast bar from sagging is part of the initial frame. I once saw a DIY attempt where they used shims to get the height, but didn’t brace the back panel; the first time a guest leaned on the counter, the whole thing groaned like an old ship. Always build from the floor up, not the stone down.Let’s dig deeper into what the ‘standard’ showrooms won’t tell you. Most homeowners are led to believe that ‘solid wood’ is the gold standard for every single component of a cabinet. It sounds premium, right? But here’s the contrarian truth: using solid wood for your cabinet boxes is often a recipe for disaster. Solid wood expands and contracts with humidity, which leads to racking and stuck drawers. This is why why pre-finished maple interior is better than melamine or even solid wood for the carcass; it offers the structural stability of cross-grain plywood that keeps your kitchen square for decades. I see this mistake most often during modern kitchen remodels featuring custom cabinets. People spend $50k on a layout only to have their doors fail in three years. If you’re going for a painted look, you need to know the best wood species for painted cabinets that will not crack at the joints. If your builder uses solid oak for painted rails and stiles, those joints will open up like a parched desert the second your HVAC kicks on in the winter.
Are Those Narrow Spice Pull-Outs Really Saving Your Workflow?
It’s the most requested ‘hack’ in the book, but why narrow spice pull-outs are often harder to use than you think boils down to basic physics. A 3-inch or 6-inch pull-out loses nearly 2 inches of internal width to the drawer slides and the wood box itself. You end up with a tiny sliver of space where you have to stack jars three deep, making it impossible to see the labels in the back. Instead of these gimmicks, I always steer clients toward innovative storage solutions for modern kitchen remodels like vertical dividers or wide, shallow drawers that actually keep items accessible.  One massive ‘oops’ factor to watch for is the finish. A common trap is the ‘Cheap Paint Quote.’ If a quote seems too good to be true, it’s because the contractor is likely using house paint rather than a post-catalyzed conversion varnish. You need to spot the hidden red flags in a cheap kitchen cabinet paint quote before you sign. House paint is meant for walls, not for the chemical and physical abuse of a kitchen. According to a study by the Kitchen Cabinet Manufacturers Association (KCMA), finishes must pass rigorous tests involving boiling water and vinegar to be considered ‘cabinet grade.’ Standard latex paint will peel within months of regular cleaning. Even the most beautiful custom cabinets ideas that transform your homes style can turn into a maintenance nightmare if you ignore wood movement. Remember that why solid wood door panels still need room to breathe in summer is a matter of science, not just ‘craftsmanship.’ If your panels are glued into the frame, they will eventually split. Most contractors will tell you to just ‘fill the gap’ with a piece of trim if the cabinets don’t fit perfectly. This is lazy design. A truly stylish kitchen overhaul uses scribe molding or, better yet, custom-sized boxes to eliminate those dust-collecting filler strips. This level of detail is what separates a DIY look from professional built-in storage solutions. Have you ever fallen into this trap? Let me know in the comments.
Stop Eyeballing Your Hardware Placement
If there is one thing that drives me absolutely crazy, it’s walking into a high-end kitchen and seeing a drawer pull that is an eighth of an inch lower than the one next to it. It’s the visual equivalent of a pebble in your shoe. For years, I used a plastic template I bought for five bucks, but those things flex and wear out over time. Now, I never step onto a job site without my True Position Drill Guide. It is the one tool you need for perfectly aligned cabinet knobs every time because it locks into place with hardened steel bushings. When you are following the 5-inch rule for choosing the right size cabinet pulls for large drawers, you simply cannot afford a single slip. I use this tool because it eliminates human error and ensures that every single handle is a mirror image of its neighbor. I also swear by a self-leveling cross-line laser for the initial install. If you are building built-ins that elevate your living rooms functionality, a laser is the only way to ensure your shelving units do not look like they are sliding downhill. It is about the long-term results; cabinets that stay square do not bind, and they certainly do not fail. 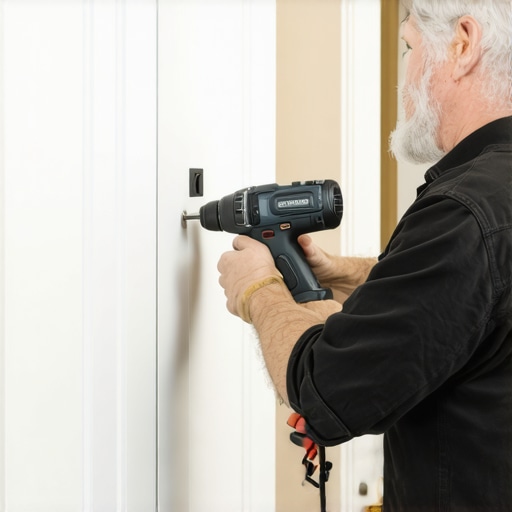
How do I maintain my custom woodwork over the years?
The biggest threat to your investment isn’t daily use; it is improper cleaning. I have seen homeowners use harsh citrus-based cleaners that eat through the finish in months. Because a professional shop uses a post-catalyzed conversion varnish—a finish that meets the rigorous performance standards set by the Architectural Woodwork Institute (AWI) for chemical and moisture resistance—you really only need a damp microfiber cloth for 99% of your cleaning. If you do run into trouble, knowing how to remove stubborn water rings from natural wood cabinet surfaces can save you from a costly refinishing bill. Avoid wax-based polishes at all costs; they create a silicone buildup that makes future touch-ups nearly impossible.
What the Future of Built-ins Looks Like for 2025
Looking ahead, we are moving away from the ‘static’ kitchen. We are seeing a massive shift toward hidden technology integration where the furniture does the heavy lifting. It is no longer enough to have a pretty island; it has to be a functional workstation. This is why every kitchen should have a dedicated charging station for laptops tucked inside a drawer, keeping the digital clutter off your stone. We are also seeing innovative storage solutions for modern kitchen remodels that prioritize motorization and soft-touch sensors. I predict that within five years, the ‘handle-less’ kitchen will be the standard, using magnetic latches and voice-activated pantry doors. If you want to elevate your space right now without spending a dime, go grab a screwdriver. Perform the 5-minute hinge adjustment for fixing wonky cabinet reveals on just one door today. You will be shocked at how much more expensive your kitchen looks when the lines are perfectly straight.
The Hard Truths About Cabinetry I Learned the Expensive Way
After years of installs, I’ve realized that the most common regret isn’t the color of the paint—it’s the height of the work surface. Many homeowners treat their custom cabinets as a game-changer in your kitchen remodel journey, yet they often forget that ergonomics should dictate the design, not just aesthetics. I once saw a beautiful kitchen where the homeowner insisted on keeping everything at 36 inches despite being 6’4″; three months later, they were calling me back to discuss a transform-your-kitchen-with-custom-cabinets-expert-guide-for-2025 approach to fix their aching neck. Another lightbulb moment was realizing that ‘all-wood’ isn’t always the flex people think it is; engineered cores provide the structural stability that keeps your drawers from sticking when the humidity spikes. Don’t let the fear of breaking ‘standard’ rules keep you from a kitchen that actually fits your body.
The Gear That Makes Professional Results Possible
If you are serious about tackling a smart storage solutions for small kitchens in 2025 project, you need more than just a level. I swear by the True Position Drill Guide for hardware, but I also recommend checking out the Architectural Woodwork Institute (AWI) standards. Their manuals are essentially the ‘Bible’ of the industry and will help you spot if a contractor is cutting corners. Finally, always ask for samples of post-catalyzed conversion varnish; it is the only finish I trust to survive a decade of spills and cleaning without yellowing or peeling. These tools and standards are the difference between a project that looks good in photos and one that stands up to real life.
#IMAGE_PLACEHOLDER_E#
Your Kitchen Should Work for You, Not the Other Way Around
At the end of the day, your home is a tool for living. Don’t be afraid to break the ‘standard’ rules if it means you can cook a meal without needing a chiropractor afterward. Whether you are adding built-ins that elevate your living rooms functionality or raising your island by two inches, the goal is a seamless blend of form and function. This tailored approach is what makes custom cabinets worth every penny. If you’re feeling overwhelmed by the technical details or need a professional eye on your layout, feel free to reach out and contact us—I’d love to help you get those measurements exactly right. Have you ever felt like your kitchen counters were just a little too low for comfort during a long prep session? Let me know your experience in the comments below!