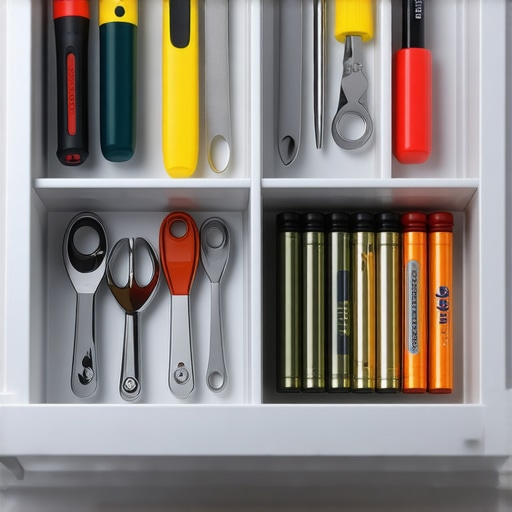
The Drawer-Within-a-Drawer Move for Organizing Your Junk Drawer
It was Tuesday evening, and I was frantically digging for a spare AA battery while my kid’s favorite toy wailed its low-power death rattle. I yanked the drawer, it jammed halfway, and a stray rolling pin—don’t ask why it was in there—wedged itself firmly against the frame. I almost cried. It wasn’t just the noise or the dead battery; it was the realization that my kitchen, the heart of my home, was being held hostage by a three-foot-wide box of absolute chaos. We all have that one drawer that serves as a graveyard for soy sauce packets, half-used rolls of tape, and mystery keys to locks we no longer own. For years, I just accepted it as an inevitable tax of adulthood. I thought a junk drawer had to be messy, but I was wrong. I finally discovered a design trick that changed everything, and I’m here to tell you that you don’t have to live this way anymore. We are going to reclaim your kitchen’s most valuable real estate using the drawer-within-a-drawer technique.
The Simple Shift That Saved My Kitchen Sanity
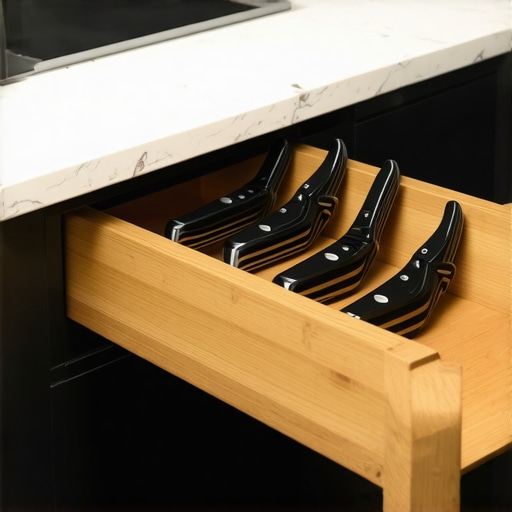
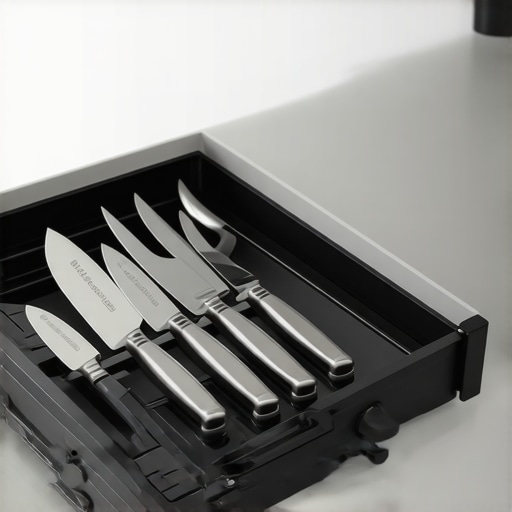
I used to think that organizing meant buying more plastic bins. I spent forty bucks on those flimsy interlocking trays from the dollar store, thinking I was a genius. It was a disaster. Every time I closed the drawer, the bins slid to the back like ice skaters, and the mess just redistributed itself. I realized I needed to maximize space with innovative storage solutions that actually fit the physical dimensions of my cabinets. The lightbulb moment came when I saw a custom setup in a friend’s house. It wasn’t just a drawer; it was a layered system. By installing a shallow sliding tray inside the main drawer box, you effectively double your surface area. It is the same logic why two-tiered cutlery trays are better than single-wide dividers; they utilize the vertical air that usually goes to waste. When you implement smart storage ideas to maximize your kitchen space, you stop looking for things and start actually using them. I’m going to show you how to set this up so your scissors are always on top and the emergency candles stay neatly tucked underneath. Have you ever found yourself wrestling with a jammed drawer while holding a ringing phone or a boiling pot? It is a special kind of stress that we can eliminate today.
Is This Just Over-Engineering a Simple Storage Space?
You might be thinking that a drawer inside a drawer sounds like a lot of work for some rubber bands and a screwdriver. I get the skepticism. I used to think custom cabinets ideas that transform your home were only for people with massive budgets and pristine lifestyles. But here is a surprising fact: according to the National Association of Professional Organizers, the average person spends over a year of their life looking for lost items. That is a lot of time spent digging for a postage stamp. When you have a dedicated upper tier for the things you grab daily—like your favorite pen or the box cutter—and a lower tier for the ‘occasionally useful’ stuff, the mental load of the room drops instantly. This isn’t just about aesthetics; it is about reclaiming your time and your sanity. My early mistake was trying to organize the clutter instead of designing a system that managed it for me. We’re going to fix that. [image]
Dump the Contents and Pick Your Winners
To start this transformation, you have to embrace the mess. I remember the Sunday I finally committed to this; I dumped the entire contents of my ‘junk drawer’ onto the kitchen island. Amidst the pens and batteries, I found a petrified lime from a party we hosted in 2019. It was a wake-up call. You cannot organize trash. Sort your items into two distinct piles: the ‘Everyday Essentials’ (scissors, pens, tape) and the ‘Once-a-Month Utilities’ (furniture sliders, extra coasters, that specific Allen wrench). This categorization is the foundation for innovative storage solutions for modern kitchen remodels because it dictates which tier an item earns. The top sliding tray is prime real estate—it is reserved for the things you grab while you are mid-recipe or rushing out the door. The bottom section is your deep-storage vault. This is the same logic professionals use when explaining the cabinet depth secret for storing large pizza stones and trays; put the heavy, awkward stuff at the bottom and the quick-access tools within reach.
Master the Math of Drawer Depth
Before you buy or build a tray, you must understand your vertical clearance. Most standard drawers have at least four to five inches of internal height, but we rarely use more than two inches of it. You are effectively building a bunk bed for your gadgets. Measure from the floor of the drawer box to the top of the opening, then subtract a half-inch for clearance. If you are working with high-end materials, you might notice that why we use solid maple for drawer boxes instead of poplar becomes clear during this stage—the thinner, stronger walls of maple give you more internal width for your sliding tracks. I once tried to ‘eyeball’ the height on a shallow drawer and ended up with a tray that hit the cabinet frame every time I pulled it out. Take the extra two minutes to measure twice. 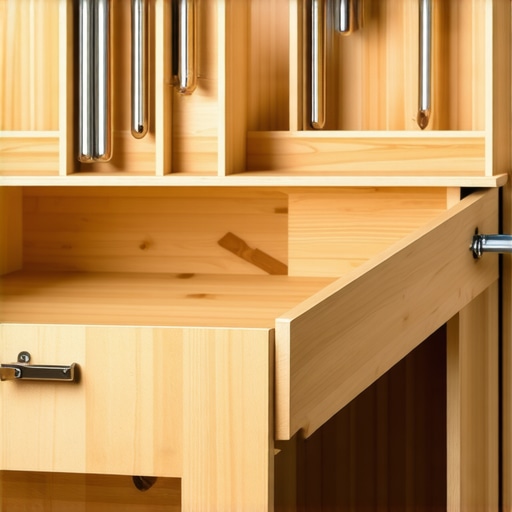
Choose Hardware That Wont Grind or Fail
The secret to a tiered system that feels like luxury instead of a DIY chore is the sliding mechanism. You have two main options: side-mounted tracks or a simple wooden lip. If you want that buttery-smooth glide found in two-tiered cutlery trays, small full-extension slides are the way to go. However, be careful with your fasteners. A common cabinet screw mistake that causes heavy drawers to fail is using screws that are too long, which can poke through the side of your beautiful cabinet finish. If you find your soft-close slides grind and the quick lubrication fix doesn’t help, it’s often because the drawer box is slightly out of square, putting pressure on the inner tray. Ensure your tracks are perfectly parallel. When I finally got my tracks aligned, the ‘click’ of the tray seating itself was the most satisfying sound in my kitchen. It transformed a chaotic pit into a tiered command center where everything has a home and nothing gets buried.Let’s dig deeper into the reality of high-end storage. Most homeowners assume that ‘custom’ is just a synonym for ‘expensive materials,’ but true expertise lies in the engineering of the space. A common myth is that solid wood is always the superior choice for every part of a cabinet. In reality, understanding why plywood box construction still beats particle board for kitchens is a fundamental lesson in longevity. Solid wood expands and contracts significantly with the seasons, which can lead to warping in large panels. This is exactly why solid wood door panels still need room to breathe in summer; if your builder didn’t leave a small expansion gap in the groove, you will eventually see cracks in your finish or sticking doors. 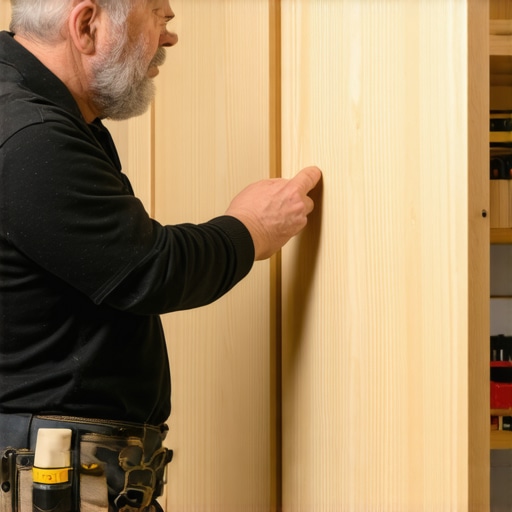
The Depth Trap Most Homeowners Forget
If you are investing in custom cabinets as a game-changer in your kitchen remodel journey, you have to look past the door style and check the ‘bones.’ Many people fall into the ‘depth trap’—they want the deepest drawers possible to hide away their bulky appliances. However, the National Kitchen & Bath Association (NKBA) points out that ergonomics matter more than raw volume. If a drawer is too deep without the tiered system we discussed, you end up stacking items, which effectively buries the things you need most. You should instead master the cabinet depth secret for storing large pizza stones and trays by using vertical dividers rather than just deeper, empty boxes.
Can Your Cabinet Design Survive a Typical Summer Humidity Spike?
The ‘Oops’ factor in kitchen design often comes down to the assembly and hardware choice. If you see a builder relying solely on nails for the drawer boxes, your tiered system is on borrowed time. For a drawer-within-a-drawer to stay aligned for twenty years, knowing why your cabinet boxes should be stapled, glued, and screwed becomes an essential technical requirement. Cheap construction will eventually rack and twist, causing those beautiful sliding tiers to grind and stick. This is often the hardware mistake that makes expensive cabinets look cheap: prioritizing the look of the handle over the load-bearing quality of the internal glide. According to a study by the Kitchen Cabinet Manufacturers Association (KCMA), structural integrity under load is the number one cause of long-term dissatisfaction in custom builds. Have you ever fallen into the trap of over-ordering deep drawers only to lose your smallest tools at the bottom? Let me know in the comments.
Stop Guessing Where the Screws Go
When I first started messing with my cabinets, I thought I could trust my eyes. I was wrong. If you want professional results, you need the one tool you need for perfectly aligned cabinet knobs every time. It’s a dedicated hardware jig. Without it, you’re just one distracted sneeze away from a lopsided handle that will haunt your dreams every time you walk into the kitchen. I personally use the Kreg jig because it locks into place, ensuring that even if my hand shakes, the drill bit doesn’t. Beyond the jig, I always keep a contour gauge handy. When you are trying to fit modern kitchen remodels featuring custom cabinets and built-ins into an older home with crooked walls, that little tool is the difference between a seamless fit and a massive gap filled with caulk.
How do I keep these tiered drawers from sticking over time?
Maintenance is the part of a perfect kitchen upgrade that most people ignore until something starts squeaking. If you notice your soft-close slides grind and the quick lubrication fix doesn’t seem to work, check the tracks for debris. I’ve found that even a stray grain of rice can derail a high-end slide. Use a vacuum with a brush attachment once a month to clear the tracks. For the slides themselves, avoid heavy oils which attract dust; instead, use a dry PTFE spray. According to the Architectural Woodwork Institute (AWI), maintaining the integrity of the slide’s load rating depends heavily on keeping the ball bearings free of grit. 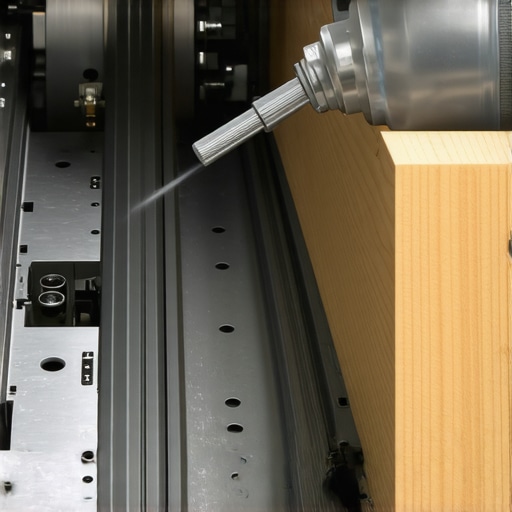 You also need to keep an eye on your doors. Settlement happens, especially in new builds. Learning the 5-minute hinge adjustment for fixing wonky cabinet reveals is a life skill that will keep your kitchen looking brand new. If a door looks slightly tilted, don’t panic—knowing how to adjust european hinges for a perfectly level door reveal is usually just a matter of a half-turn on a single screw. People often ask me about the long-term results of these custom systems. The reality is that if you use plywood shelves over solid wood for long spans, you won’t see that annoying sagging in five years. I’ve also noticed that people underestimate the impact of humidity on built-ins that elevate your living room’s functionality. Just like your kitchen drawers, your living room storage needs room to breathe as the seasons change. Looking forward, I expect we’ll see ‘smart slides’ that alert your phone when they need cleaning or when a drawer is overloaded. For now, try this: place a nickel on the side of your drawer box before you close it. If it slides off or gets caught, your clearance is too tight and you need to shim the tracks. Give it a shot and see if your alignment is as perfect as you think it is.
The Hard Truths About What Actually Fits in a Tiered Drawer
After years of trial and error, I’ve realized that the biggest mistake isn’t the hardware—it’s the psychology of what we keep. I used to think a drawer-within-a-drawer was for hiding the mess, but it’s actually for showcasing the tools you love. One lightbulb moment was realizing that weight distribution matters; if you put your heavy cast iron tools in a top sliding tray, you’ll wear out the bearings in months. Instead, follow these expert tips on selecting storage solutions for a perfect kitchen upgrade to ensure your layout matches your lifestyle. Another hard lesson? Don’t over-organize the bottom tier. If you have to move five things to get to one, the system is broken. Keep that lower space for the ‘once-a-year’ items like the turkey baster or the birthday candle stash.
#IMAGE_PLACEHOLDER_E#
The Three Tools I Never Start a Project Without
If you’re ready to tackle this, don’t just wing it with a screwdriver and a prayer. I rely on three specific resources to keep my sanity intact. First, the NKBA Planning Guidelines are the gold standard for ergonomics; they help you understand why certain heights feel ‘right’ while others feel cramped. Second, a digital caliper is non-negotiable for measuring the internal width of your drawer boxes to the millimeter. Finally, I always refer back to the ultimate guide to custom cabinets for a stylish kitchen overhaul when I need to remember the structural limits of different wood species. These tools take the guesswork out of the process and ensure your ‘weekend project’ doesn’t turn into a month-long headache.
Take the First Step Toward a Stress-Free Kitchen
You don’t need a massive budget to start feeling the benefits of a better system. Whether you are planning a full modern kitchen remodel featuring custom cabinets and built-ins or just trying to fix that one drawer that makes you crazy, the goal is the same: peace of mind. Your kitchen is the heart of your home, and it should be a place of creativity, not frustration. By implementing these built-ins and storage hacks for a sleek functional kitchen, you are giving yourself the gift of time. If you hit a snag or need professional eyes on your layout, feel free to contact us for advice. Have you ever discovered a ‘mystery tool’ in the back of a drawer that you forgot you even owned? Let me know in the comments below!