The Proper Height for a Built-In Desk in a High-Traffic Kitchen
I remember the exact moment I realized I had failed my own kitchen. I was sitting at my brand-new ‘command center’—a beautiful built-in desk I’d spent weeks planning as part of our custom kitchen remodel journey. I had the coffee brewing, the laptop open, and within ten minutes, my neck was throbbing and my knees were awkwardly jammed against the bottom of a pencil drawer. I had prioritized the look of the custom cabinets over the actual human sitting in the chair. It was a classic mistake: I treated the desk height like a kitchen counter instead of a workspace. Today, I am going to make sure you don’t repeat my $2,000 blunder by showing you exactly how to find the ergonomic sweet spot for your home.
The 30-Inch Myth and Why Kitchens Break the Rules
Most people think a desk is a desk. They grab a standard measurement from a big-box store catalog and call it a day. But in a high-traffic kitchen, you are dealing with different flooring thicknesses, chair heights, and the proximity to active cooking zones. If you go too high, you’re typing with your shoulders at your ears; go too low, and you’ll find that your seating feels cramped and unusable. I once built a desk at 32 inches because I wanted it to line up perfectly with the adjacent counters. It looked seamless, but it was an ergonomic nightmare. For most adults, the magic number for a seated desk is actually 28 to 30 inches from the floor to the top of the work surface. However, you also have to consider the best depth for a built-in home office desk to ensure your monitor isn’t right in your face.
Is a kitchen desk actually worth the square footage?
You might be wondering if a dedicated desk even belongs in a modern kitchen or if it’s just going to become a magnet for junk. It’s a fair concern! But when you integrate smart storage solutions for small kitchens, that desk becomes more than a place for a laptop; it becomes the brain of the home. According to the Mayo Clinic, proper desk ergonomics require your elbows to be at a 90-degree angle and your feet to be flat on the floor to prevent long-term strain. If your built-in desk is too high—which is the most common mistake I see—you lose that healthy posture immediately. Have you ever started a project only to realize the ‘standard’ measurements didn’t account for your actual height? I’d love to hear if you’ve struggled with a workspace that felt just a little ‘off’ in your own home. We’re going to dive into how to measure for your specific chair and how to account for that pesky pencil drawer that ruins your legroom.
Match the Desk to Your Favorite Chair
Before you ever pick up a drill or order custom cabinets, you must choose your seat. Most homeowners make the mistake of designing the desk first, only to realize their favorite ergonomic chair doesn’t fit under the apron. To get this right, sit in your chosen chair and measure the distance from the floor to the top of your thighs. You need at least 2 to 3 inches of ‘wiggle room’ between your legs and the bottom of the desk surface. If you are planning a sleek look, you might consider how to build a custom floating desk that wont pull away from the wall, which eliminates bulky side panels and gives you more lateral legroom. I once worked on a project in a historic home where the floors were so uneven we spent hours mastering the proper way to shim a cabinet on a slanted slab floor just to ensure the desk didn’t feel like it was downhill. If the floor is sloped, your chair will constantly roll away, ruining any ergonomic gains you made with height adjustments.
The Math Behind the Pencil Drawer Trap
The biggest ergonomical ‘gotcha’ is the pencil drawer. We all want one to hide our pens and mail, but a standard 4-inch drawer box can drop the clearance of a 30-inch desk down to 25 inches. For a tall person, that’s a knee-knocker. In my own kitchen, I insisted on a deep drawer to accommodate large drawer pulls that matched the rest of my kitchen. It looked stunning, but I couldn’t cross my legs. I eventually had to retrofit the cabinet with a thinner steel tray. If you must have storage directly above your knees, keep the total thickness of the desktop and drawer assembly under 3 inches. This allows you to maintain a standard 30-inch work surface while keeping 27 inches of clear space for your legs. 
Power Up with Hidden Charging Stations
A kitchen desk becomes a cluttered ‘junk zone’ the moment cables start sprawling across the granite. When creating seamless kitchen remasters with built-in storage solutions, you should always plan for internal power. This means installing outlets inside the back of a cabinet or even within a drawer. I strongly recommend researching why every kitchen should have a dedicated charging station for laptops to keep your workspace clear. By tucking the power strips behind a false back or inside a ‘cubby’ area, you maintain that clean, custom look without the spaghetti-mess of USB cords. In one remodel, we actually integrated a pop-up outlet into the wood top itself—it stayed hidden until it was time to plug in the blender or the laptop, keeping the flow of the kitchen uninterrupted and highly functional.
Everyone tells you that a successful custom kitchen remodel journey is about maximizing every square inch. But in my experience, homeowners often fall into the ‘Swiss Army Knife’ trap—trying to cram too many hyper-specific features into a small space. I’ve seen kitchens with three different pull-out spice racks and two specialized knife drawers, yet the owners still struggle to find room for a standard bag of flour. The nuance most people miss is that high-density storage is useless if it creates physical bottlenecks.
The Narrow Pull-Out Regret
One of the most frequent requests I get is for those 6-inch-wide spice pull-outs next to the stove. They look incredible in showroom photos, but here is the ‘oops’ factor: why narrow spice pull-outs are often harder to use than you think usually comes down to visibility and reach. If you are standing at the stove, you have to step back, pull the unit out fully, and then crouch down to read the labels on the bottom shelf. It breaks your cooking flow. Instead, I advocate for expert tips on selecting storage solutions that prioritize tiered drawer inserts where everything is visible at a glance from a standing position.
Why does my high-end hardware still feel sluggish?
If you spent a premium on custom cabinets but the drawers feel ‘heavy’ or ‘gritty,’ the culprit isn’t necessarily the brand of the slide. According to the National Kitchen & Bath Association (NKBA), structural integrity and weight distribution are the primary drivers of hardware longevity. Many contractors make the mistake of using under-rated slides for heavy trash bins or oversized pot drawers. This is why your trash pull-out needs a bottom-mount slide specifically designed for vertical load-bearing. Without it, the face of your expensive custom cabinet will eventually sag, ruining those perfectly aligned reveals you paid so much for.
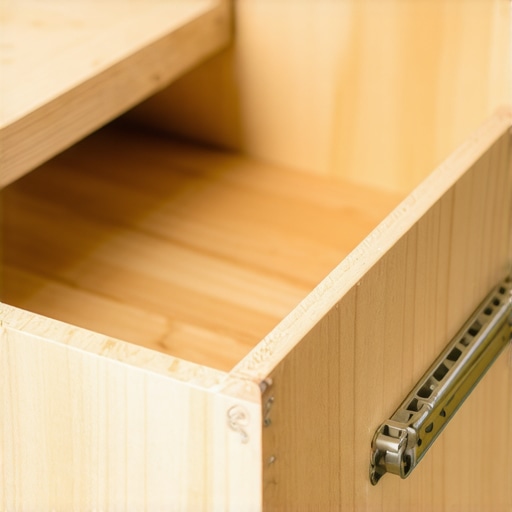
Beyond the slides, the ‘bones’ of the cabinet matter more than the finish. I will always maintain that why plywood box construction still beats particle board is due to screw-holding power. In a kitchen environment where humidity fluctuates, particle board can swell, causing your hinges to pull away from the frame. If you notice your doors aren’t closing right, it might not be a loose screw; it could be the material itself failing. Sometimes, however, it’s just a maintenance issue, which is why your soft-close slides grind—they often just need a quick cleaning to remove sawdust or kitchen grease.
Don’t Settle for Short-Term Aesthetics
Finally, watch out for the ‘nail-only’ finish. When installing crown molding or decorative end panels, why you should avoid using standard nails alone is a lesson in gravity. Over time, the vibration of slamming doors and the weight of the molding will cause those thin nails to back out. High-end builds utilize a combination of wood glue, specialized screws, and headless pins that are practically invisible but structurally sound. Have you ever fallen into this trap where a kitchen looked great for the first six months but then started to ‘rattle’ or sag? Let me know in the comments—I’d love to help you troubleshoot the fix.
I’ve spent years experimenting with different ways to speed up the install process, but if there is one thing I’ve learned, it’s that your eyes will lie to you. When I finally invested in a professional-grade hardware template, it changed everything. If you are doing this yourself, the one tool you need for perfectly-aligned cabinet knobs is a heavy-duty aluminum jig. It prevents that heartbreaking moment where you realize a pull is an eighth of an inch off. Trust me, in a kitchen full of custom cabinets, one crooked handle is all people will see. Maintenance is the part of the custom kitchen remodel journey that most people ignore until something starts squeaking. If you hear a noise, don’t just reach for the WD-40. According to technical documentation from Blum, the global leader in hardware, you should never use spray lubricants on high-precision slides because they attract dust and actually gum up the internal ball bearings. Instead, you need to know why your soft-close slides grind and how to use a dry PTFE lubricant only when absolutely necessary. Often, the real reason your cabinet drawer slides are grinding is just a tiny bit of construction debris or sawdust that needs to be blown out with a quick blast of compressed air. 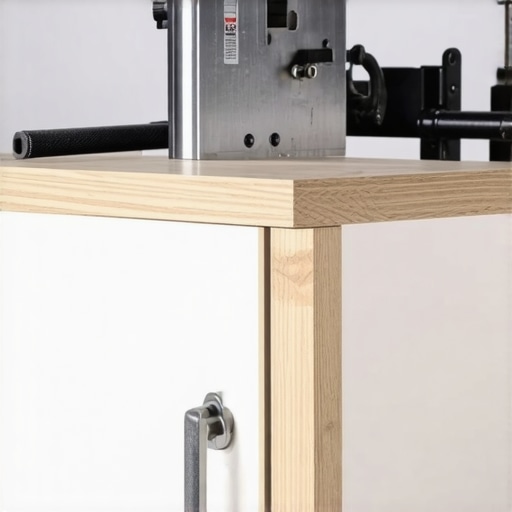
How do I maintain my custom built-ins over time?
The secret to a kitchen that looks brand new ten years later isn’t a magic cleaner; it’s the structural integrity of the initial build. When we talk about innovative storage solutions for modern kitchen remodels, I always emphasize that why your cabinet boxes should be stapled, glued, and screwed is to prevent the microscopic shifting that causes doors to go wonky. However, if they do shift due to house settling or seasonal humidity, don’t panic. You just need to master how to adjust European hinges for a perfectly level reveal. A simple turn of a screwdriver can fix a door that looks like it’s sagging in seconds. Looking ahead, I see the trend of built-ins and creative storage moving toward adaptive, motorized flex-zones. We are moving past static desks toward workstations that can transition from standing prep areas to seated laptop hubs with a single touch. If you want to scale your kitchen’s functionality today, start by looking at innovative storage solutions for every room that can be mirrored in your kitchen layout. I want you to try this right now: grab a flashlight and check the reveal—the gap—between your cabinet doors. If it’s uneven, take five minutes to adjust those hinge screws. It’s the easiest way to instantly elevate the look of your home without spending a dime on new materials.
Lessons from the Sawdust: What I Wish I Knew Sooner
Reflecting on dozens of projects, I’ve realized that the most beautiful modern kitchen remodels featuring custom cabinets and built-ins aren’t just about the wood species—they are about the invisible tolerances. One major ‘lightbulb moment’ was understanding that ‘custom’ doesn’t mean ‘complex’; it means ‘tailored.’ If you try to make a cabinet do too many things, it ends up doing nothing well. I also learned the hard way that you should always leave a 1/4-inch ‘scribe’ margin against walls because no house is perfectly square. Lastly, remember that your needs change; utilizing expert tips on selecting storage solutions that allow for adjustable internal shelving is far better than building fixed dividers that might not fit your next laptop or set of mixing bowls.
Gear and Guides That Save My Sanity
If you are tackling any part of this yourself or just want to keep your contractor honest, there are three resources I never work without. First, keep a bottle of dry PTFE lubricant in your utility drawer—it’s the only way to treat high-end hardware without ruining it. Second, I always reference the NKBA guidelines for clearance; they are the gold standard for why your seating feels cramped or perfectly spaced. Finally, don’t underestimate the power of the 5-minute hinge adjustment for fixing wonky cabinet reveals. A simple #2 Pozi-drive screwdriver can make a $500 cabinet look like a $5,000 one just by aligning the doors to a fraction of a millimeter.
#IMAGE_PLACEHOLDER_E#
Take the First Step Toward a Functional Home
Designing a workspace within your kitchen isn’t just about adding a desk; it’s about reclaiming your home’s flow and mental energy. Whether you are focusing on built-ins that elevate your living rooms functionality or creating a dedicated command center in the heart of the home, the key is to prioritize your body’s ergonomics over the catalog’s aesthetics. Your custom kitchen remodel journey is a marathon, not a sprint, and every small adjustment you make now will pay dividends in comfort for years to come. Go ahead, grab that screwdriver and fix that one sagging door today—you’ll be surprised how much better it makes you feel about your space. Have you ever designed a workspace only to realize later that your chair didn’t fit or the height was all wrong? Let me know your biggest ‘oops’ moment in the comments below!