The Best Way to Light Your Kitchen Island Tasks
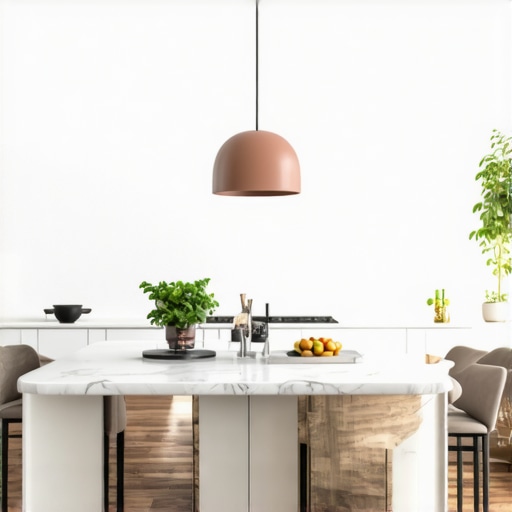
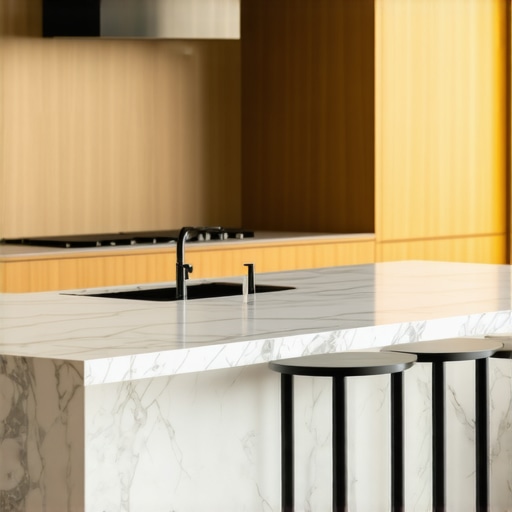
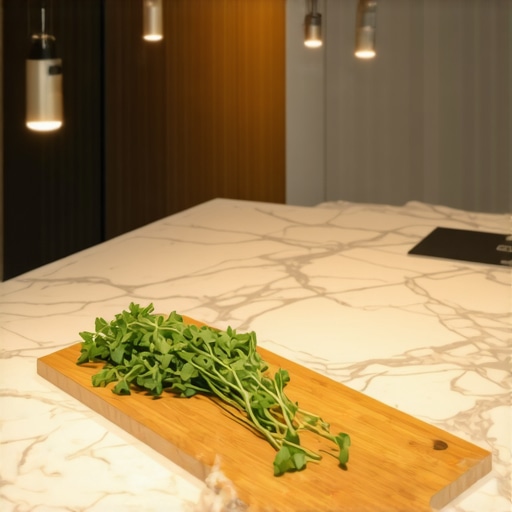
It was three minutes before my guests arrived, and I was frantically mincing garlic on my beautiful new marble island. My kitchen looked like it belonged in a magazine, but I had a major problem: I was working in a total shadow. My stylish pendants were glowing beautifully above me, but my cutting board was a dim, gray blur. I didn’t just slice the garlic; I nearly took off the tip of my thumb. That visceral moment of panic was my wake-up call. I realized that even the most expensive modern kitchen remodel is a functional failure if the lighting doesn’t support the actual work you do every day. Today, I am going to show you how to layer your island light so you never have to squint at a recipe or a chef’s knife again.
Stop Thinking About Fixtures and Start Thinking About Foot-Candles
When I first started obsessing over home design, I made the classic mistake of picking out light fixtures based solely on how they looked in a showroom. I fell in love with these heavy, opaque copper domes. They were gorgeous. The problem? They acted like blinkers on a horse, directing every bit of light straight down in a narrow beam while leaving the rest of the island in a moody gloom. It was a disaster for prep work. I have learned the hard way that why your kitchen remodel needs a lighting plan first is the most important lesson any homeowner can hear. You need to account for the work in workstation. If your island has integrated seating, you are not just chopping vegetables; you are helping with homework, reading mail, and maybe even doing a bit of remote work. Each of those tasks needs a different layer of light. Have you ever found yourself moving your cutting board to a different part of the kitchen just to see what you are doing? Let me know in the comments, because that is the first sign your setup needs a rethink.
Is high-end task lighting just an expensive gimmick?
It is easy to think that one or two big lights in the middle of the room should be enough. But the science of illumination says otherwise. According to the American Lighting Association, effective task lighting needs to be about two to three times brighter than the general ambient light in the room to truly prevent eye strain and accidents. It is not about making the room feel like a surgical suite; it is about contrast and focus. When you invest in custom cabinets and high-end surfaces, the last thing you want is for them to look muddy because of poor illumination. I have seen beautiful dovetail drawers and intricate millwork get completely lost in the shadows simply because the island lighting was an afterthought. We are going to fix that by looking at height, bulb temperature, and the secret third layer of light most people forget.
Hang Your Lights High Enough to See Your Guests
The biggest mistake I see in high-end remodels isn’t the color of the paint or the style of the handles; it is hanging the pendants at a height that cuts the room in half. You want your fixtures to be roughly 30 to 36 inches above the countertop. I learned this lesson the hard way during my first renovation. I fell in love with these massive, industrial-style bells and hung them low to create an intimate mood. The result? I couldn’t see my husband while he was sitting at the island. It felt like we were talking through a mail slot. We eventually realized that why your kitchen remodel should start with the floor plan applies to the vertical space just as much as the layout. If your sightlines are blocked, the island becomes a physical wall instead of a social bridge. 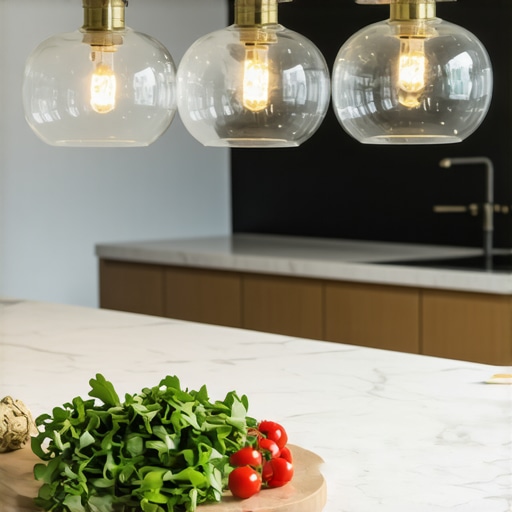
The Rule of Three for Perfect Spacing
Spacing is where the math meets the magic. If you have a standard six-foot island, three smaller pendants or two large ones provide the best coverage. You want about 30 inches between each light to prevent overlapping shadows. Think of it like an orchestra; if the musicians are too close, the sound is muddy; if they are too far apart, the melody is lost. This balance is crucial if you are aiming for transforming your kitchen with custom cabinets because the lighting should highlight the symmetry of your storage. If you find your lighting feels off, it might be because the scale is wrong for your surface area. Remember, why your kitchen island should be two inches taller than your perimeter counters affects the distance the light has to travel, so adjust your measurements accordingly to keep the intensity consistent.
Why 3000K is the Magic Number for Prep Work
The color of the light is just as important as the fixture. Light temperature is measured in Kelvins, and for a kitchen, you want to stay in the 3000K to 3500K range. Anything lower, like 2700K, and your white marble will look yellow and dingy. Anything higher than 4000K and your kitchen starts to feel like a high-security lab. I once used daylight bulbs in my prep area and every piece of produce looked unappetizingly blue. Using custom cabinets as a game changer in your kitchen remodel journey means you want to show off the natural grain of the wood or the crispness of the paint. Warm-white light achieves that while providing enough clarity for the best way to organize your kitchen tools for efficiency, ensuring you can actually see the difference between your paring knife and your utility knife in the drawer.
Add Dimmers for the Ultimate Flex
If you take nothing else away from this, remember that your island light should never be just on or just off. Dimmers allow your island to transition from a bright, focused workstation for morning meal prep into a soft, glowing centerpiece for evening cocktails. When you are planning your electrical, make sure your island lighting is on a separate circuit from your perimeter recessed lights. This level of control is the hallmark of a professional-grade kitchen. It allows you to focus the energy exactly where it is needed without over-lighting the entire room, preserving the ambiance of your adjacent living spaces.
Ditch the Fill Every Inch Mindset
While it is tempting to think that modern kitchen remodels require every square inch of wall to be covered in wood, I have actually found that ‘over-cabinetry’ is the fastest way to make a luxury kitchen feel cramped. The most common myth I see is the belief that more cabinets equals more storage. In reality, depth is the enemy of organization. If you cannot see the back of a 24-inch base cabinet, that space effectively does not exist. This is why I often suggest why we recommend 36-inch base cabinets for specific zones but only when paired with full-extension hardware. Have you ever fallen into the trap of buying more cabinets only to find you still cannot find your favorite pot? Let me know in the comments.
Why are your ‘space-saving’ pull-outs actually wasting your footprint?
Advanced homeowners often ask if those fancy corner carousels are worth the premium. Here is the nuance: most people think a Lazy Susan is the peak of efficiency, but the math often does not add up. The National Kitchen & Bath Association (NKBA) points out that accessibility in the ‘first-reach’ zone—the area between your waist and shoulders—is far more critical than total cubic volume. In my experience, you should almost always skip the lazy susan and install lemans pull-outs instead. These allow for heavier items like Dutch ovens to be brought fully out into the light, rather than spinning precariously in a dark corner. 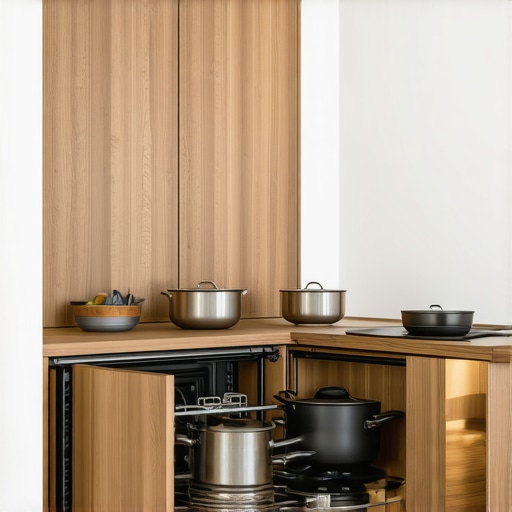
Don’t Cook Your Electronics Inside a Custom Cabinet
The ‘oops’ factor I see most often in high-end built-ins and storage hacks is the lack of ventilation for hidden appliances. I once saw a client install a beautiful microwave under the counter within a sealed custom box. Within three months, the steam had warped the expensive wood from the inside out. When you are planning innovative storage solutions for modern kitchen remodels, you must account for heat dissipation. This includes adding a flush mount outlet inside your toaster garage that is positioned to allow cord clearance without blocking the unit’s rear vents.
The Secret to Cabinets That Don’t Age Prematurely
Beyond the layout, the hidden nuance of custom cabinets as a game changer is the material science behind the finish. Most beginners focus on the color, but experts focus on the ‘joint-fill.’ If you are going for a painted look, the best wood species for painted cabinets that will not crack at the joints is essential because wood naturally expands and contracts. If your builder uses the wrong species, you will see ‘hairline fractures’ at every seam within a single season. This is not just an aesthetic issue; it is an entry point for moisture that leads to peeling. Always verify the substrate before the first drop of paint hits the surface to ensure your investment actually lasts.Even the most pristine setup eventually faces the daily grind. I’ve noticed that homeowners spend thousands on the install but forget that these are active mechanical systems. If you want your kitchen to stay functional for decades, you have to treat it like a well-tuned engine. One of the first things that fails is the hardware tension. I keep a dedicated #2 Pozidriv screwdriver in my kitchen drawer specifically for hinges. Most people use a standard Phillips, but many high-end European hinges are actually Pozidriv. Using the wrong tool is how to fix a loose cabinet knob that keeps spinning the wrong way, often stripping the head before you even get it tight.
How do I maintain my custom cabinets over time without a professional crew?
The secret isn’t a magic chemical; it’s environmental stability. The Architectural Woodwork Institute (AWI) recommends keeping your home between 30% and 50% relative humidity. If you live in a climate that swings wildly, your custom cabinets will breathe, expanding and contracting until the finish cracks. I personally use a simple hygrometer hidden inside my pantry to monitor this. Beyond the air, you need to watch the light. Ultraviolet rays are the primary reason why your white cabinets are turning yellow. I suggest applying a UV-protective film to any windows that hit your cabinetry directly during the afternoon sun. It’s a small fix that saves an entire refinishing job.
Clear the Path for Your Drawer Slides
If you start feeling resistance when you pull out your pots and pans, don’t just pull harder. I once forced a stuck drawer and ended up with ball bearings rolling across the floor like marbles. Understanding why your drawer slides are grinding and how to clear the ball bearings is a skill every homeowner should have. Use a can of compressed air once a year to blow out the dust that migrates into the grease. It sounds like overkill until you realize that grit is basically sandpaper for your hardware. While you’re down there, check your plumbing too. I tell everyone that why your sink cabinet needs a drip tray right now isn’t an option; it’s a requirement. One slow leak from a soap dispenser can rot out your base floor before you ever see a puddle on the tile. 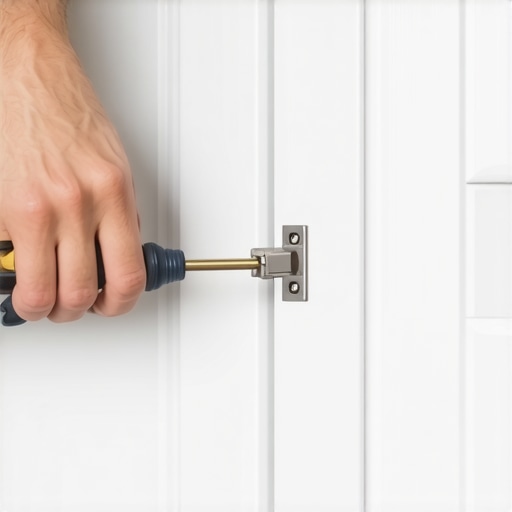
Future-Proof Your Storage with Predictive Tech
We are rapidly moving toward a world where smart storage ideas to maximize your kitchen space include load-sensing shelves. Imagine a pantry that alerts your phone because your heavy shelf is exceeding its weight limit and risking a bow. Until that becomes standard, I rely on why your pantry shelves should be adjustable rather than fixed. As your life changes—maybe you transition from baby bottles to a collection of heavy cast iron—you need to be able to redistribute that weight. If you’re currently in the planning phase, prioritize innovative storage solutions for modern kitchen remodels that allow for modularity.
Keep Your Hardware from Grabbing Your Clothes
It sounds like a small thing until you’ve ripped your favorite pair of jeans on a protruding handle. I’ve become obsessed with how to choose cabinet pulls that won’t catch on your pockets. Look for closed-end ‘D’ pulls or integrated finger channels. This is part of the long-term usability of a kitchen. I also recommend a seasonal door check. Learn how to align cabinet doors when your walls are out of plumb using the small adjustment screws on the hinges. Your house will settle, and your doors will shift. Taking ten minutes once a season to straighten them keeps the lines of your modern kitchen remodel looking sharp. Go grab a screwdriver today and check the three most-used doors in your kitchen—you’ll likely find they need a quick adjustment to be perfect again.
The Painful Lessons of My First Failed Remodel
After years of trial and error, I’ve realized that a high-end kitchen isn’t a museum piece—it’s a living workshop. One major lightbulb moment for me was realizing that your eyes and your hands have different needs; while the room needs to look pretty, your hands need that 3000K precision to work safely. Another hard-earned lesson is that “more” storage often just means more places to lose things. When you are looking for expert tips on selecting storage solutions, always prioritize visibility over sheer volume. Finally, never underestimate the environmental impact on your wood. I once ignored the humidity levels in my home and watched my beautiful custom cabinets develop tiny gaps that drove me crazy until I stabilized the air.
The Few Tools Every Homeowner Should Own
You don’t need a contractor’s van, but you do need a small kit. I swear by a dedicated #2 Pozidriv screwdriver; it’s the only way to avoid how to fix a loose cabinet knob that keeps spinning without damaging the screw. I also recommend a cheap digital hygrometer. Monitoring humidity is how you prevent why your cabinet doors are warping in the summer heat. Lastly, keep a can of compressed air near your island to keep those tracks clean, as it’s often the real reason your soft-close drawers are sluggish in winter when they start to stick.
#IMAGE_PLACEHOLDER_E#
Build a Space That Actually Works for You
Your kitchen should be the most hardworking room in your house, but it should also be the most inviting. Whether you are just starting to plan creating seamless kitchen remasters with built-in storage solutions or you are just looking to tweak your current lighting, remember that every small adjustment makes a difference. Don’t let the fear of a perfect “showroom” look stop you from making it functional. A modern kitchen remodel is successful only if you feel confident and comfortable in it every single day. Have you ever realized halfway through a project that you completely forgot about the lighting? Let me know your biggest remodel surprises in the comments below!