The Secret to Bracing a Heavy Floating Vanity on Metal Studs
I still remember the gut-wrenching sound of a slow, agonizing crunch in the middle of the night. It was the sound of a 72-inch white oak vanity—my pride and joy—slowly peeling away from the drywall in a sleek new condo. I had used the ‘strongest’ toggle bolts money could buy. I thought the metal studs would hold. I was dead wrong. By sunrise, there was a half-inch gap at the top, and my expensive quartz backsplash was under enough tension to shatter. It was a humbling, expensive lesson in why you can’t treat metal studs like their beefy wooden cousins. If you are planning a modern bathroom upgrade, you aren’t just looking for any mounting solution; you need to know how to anchor a heavy bathroom vanity to metal studs securely so you don’t end up with a disaster on your hands like I did.
Why Your Metal Studs Are Flexing Under the Pressure
Most residential metal studs are made of 25-gauge steel. They are designed to hold up drywall and vertical loads, not the massive cantilevered weight of a floating vanity. When you hang a heavy cabinet, you are creating a ‘lever’ effect. The bottom of the cabinet pushes into the wall, while the top pulls outward with incredible force. I once made the mistake of thinking that why plywood box construction still wins over furniture board in wet areas would be enough to keep the unit light, but the cabinet material doesn’t matter if the wall itself bows. According to the Marble Institute of America, a 3cm stone countertop weighs roughly 19 to 20 pounds per square foot. When you add the sink, the hardware, and the cabinet itself, those flimsy metal tracks will twist and buckle faster than you can say ‘remodel.’
Will This Really Stay Up for the Next Ten Years?
This is the question I get from every homeowner I visit. The skepticism is healthy. If you’ve ever leaned on a floating shelf and felt it dip, you know that ‘sinking’ feeling. But here is the truth: a floating vanity is only as strong as the blocking inside the wall. We are going to solve that today by moving beyond basic fasteners. Have you ever walked into your bathroom and noticed the grout lines in the corner starting to crack? That is the first sign of a mounting failure. Today, I’m showing you the ‘neighborly’ way to overbuild your bracing so you can literally stand on your vanity without it moving an inch. We aren’t just looking for basic expert tips on selecting storage solutions; we are talking about structural integrity.
How I Finally Fixed the Sagging Problem with Wood Blocking
The real secret isn’t a special screw; it’s a ‘bridge.’ To make a floating vanity work on metal studs, you have to open the wall and install wood blocking between the metal channels. I used to try to skip this step by using specialized ‘snap toggles,’ but even the best toggle can only distribute weight across a tiny area of the metal flange. By sistering 2×6 or 2×8 wood blocking into the metal stud cavities, you create a solid, continuous surface to bite into. This is the same logic we use when we discuss custom cabinets as a game changer in your kitchen remodel journey—the foundation determines the longevity of the finish. I’ll walk you through exactly how to notch that wood and secure it so the metal studs can’t twist under the load of your morning routine.
How to Brace the Wall Without Tearing Down the Whole House
To start, you need to mark the exact height of your vanity’s mounting rail. I usually go two inches higher and lower than the cabinet’s integrated cleat to give myself a wide ‘strike zone’ for the wood. You are going to cut a horizontal strip of drywall out between the metal studs. Don’t worry about the patch being ugly; the vanity itself will hide the surgery. Think of this like a heart transplant—you are putting a stronger muscle inside the ‘ribs’ of your wall. Once the cavity is open, you’ll see the thin C-channels that make up your modern framing. These are the culprits of the sag, and we are about to turn them into an ironclad foundation.
The Sistering Method That Turns Metal into Tank Armor
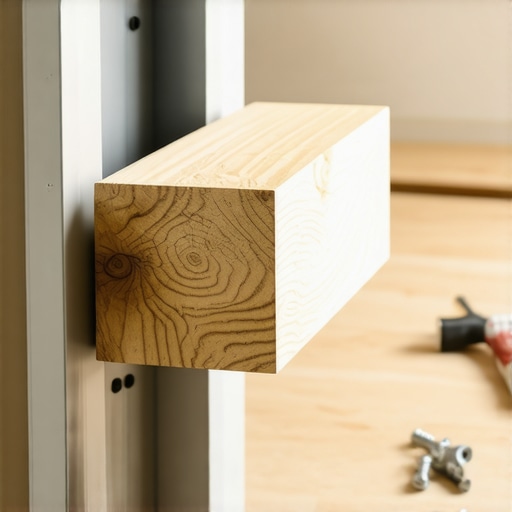
Take a kiln-dried 2×6 and cut it to fit the span between your studs. This is where the magic happens: you aren’t just placing the wood there; you are ‘sistering’ it. You need to slide the wood into the open side of the metal stud’s C-channel. If the metal flange is too tight, I’ve found that a quick hit with a dead-blow hammer or a slight pry with a flathead screwdriver does the trick. Once it’s tucked in, drive self-tapping screws through the face of the metal stud into the side of the wood. This creates a composite beam. This is the same structural logic I use when considering the countertop support move that keeps your breakfast bar from sagging—you are distributing the leverage across multiple points of contact rather than one single point of failure.
Why You Should Avoid Standard Screws and Use Rugged Fasteners Instead
I learned this the hard way on a high-rise project in Indianapolis. I was installing a double-sink unit and used standard drywall screws to ‘tack’ the blocking. Halfway through the stone install, I heard a pop. The heads of those brittle screws had simply snapped under the sheer weight. Now, I never touch a vanity install without GRK rugged structural screws or equivalent timber fasteners. You need a screw with a built-in washer head that won’t pull through the cabinet back. Since we’ve already established that why your base cabinets should be secured with 3-inch rugged screws is the gold standard for kitchens, it’s even more critical for a bathroom vanity that is literally hanging in mid-air. When the screw bites into that 2×6 blocking you tucked inside the metal, it should feel like it’s grabbing a solid oak tree.
Aligning the Cabinet for a Zero-Gap Finish
Once your blocking is solid, it’s time to hang the box. I always use a temporary ledger board—a scrap piece of wood screwed perfectly level into the studs at the bottom height of the vanity. This acts as a second pair of hands so you aren’t struggling with the weight while trying to find your marks. This is where the quality of your cabinet construction matters most. I always tell my clients that why you should avoid glue-only joinery for bathroom vanities is because the steam and moisture in a bathroom will eventually weaken those joints, especially when the wall is pulling at them. By having a mechanical connection to the wood blocking, the cabinet box stays square even if the house settles. As you tighten the screws, keep an eye on the side profile. If you see the drywall starting to crush, stop and add a shim. We are looking for a fit so tight that you could maximize space with innovative storage solutions inside the cabinet without ever worrying about a millimeter of movement.
Most people assume that more storage space is the end-all-be-all of a successful kitchen remodel. They push for 24-inch deep wall cabinets or massive ‘blind’ corners. But here is the nuance: volume is useless if it isn’t accessible. I’ve seen homeowners invest in beautiful built-ins and storage hacks for a sleek functional kitchen only to realize they can’t reach the back of the second shelf without a stool. In my experience, ‘dead space’ is often better than ‘unreachable space.’ If you can’t see it, you won’t use it, and eventually, that back corner becomes a graveyard for expired canned goods. This is a common pitfall when homeowners try to maximize space with innovative storage solutions without considering the ‘reach factor.’
Stop Falling for the High-Volume Storage Trap
The biggest trap I see is the ‘gadget overkill.’ People see a fancy, motorized spice rack or a heavy-duty corner unit and think it’s a must-have. However, these mechanical systems have weight limits. According to the National Kitchen & Bath Association (NKBA), the ergonomics of a workspace dictate that items should be stored within a ‘comfort zone’ of 15 to 48 inches from the floor for maximum efficiency. When you pack a heavy pull-out with 50 pounds of flour and cast iron, you are testing the limits of the hardware. This is why why a pull-out pantry beats deep walk-in shelves for visibility—it brings the items to you, but only if the slides are rated for that specific load. I once saw a high-end pantry pull-out fail because the installer didn’t account for the dynamic weight of the unit when fully extended. It’s a costly ‘oops’ that can warp your cabinet frames over time.
Why Does My Corner Cabinet Still Feel Like a Mess?
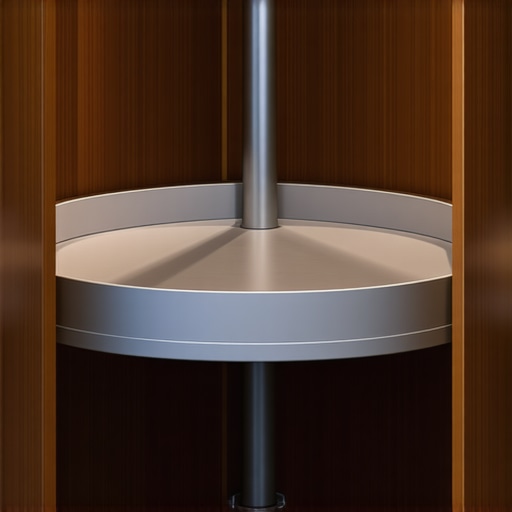
It’s because the old-school pole-mounted lazy Susan is fundamentally flawed. It creates tiny gaps where items fall off and get trapped in the cabinet’s ‘underworld.’ This is why I always tell my clients that why your corner cabinet needs a super susan not a pole mount. A Super Susan sits on a fixed shelf, providing a stable, high-capacity rotating platform without the flimsy central pole that limits your storage of larger pots. When planning the ultimate guide to custom cabinets for a stylish kitchen overhaul, you have to prioritize these mechanical nuances over raw square footage. Think about the frequency of use rather than just the volume of the container. Have you ever fallen into the ‘more space is better’ trap only to find your kitchen harder to navigate? Let me know in the comments below.
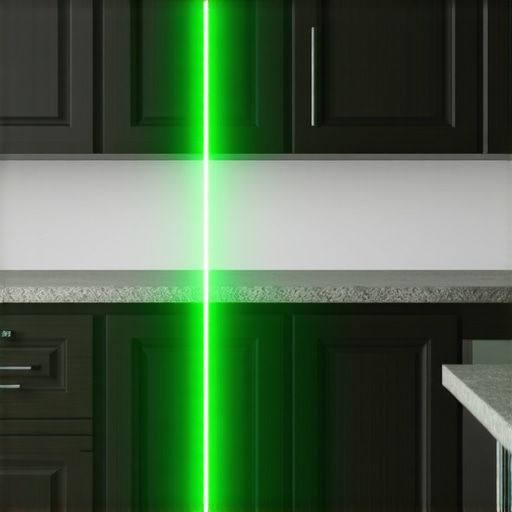
Once you’ve successfully anchored your vanity or finished a complex installation, the real work of longevity begins. I have a rule in my shop: if you can’t measure it twice with a laser, you aren’t really measuring. I personally never step onto a job site without my Bosch GLM green-beam laser. It allows me to verify that my cabinet runs are perfectly plumb over a 15-foot span, which is something a standard spirit level simply can’t do with the same accuracy. When you are following expert tips on selecting storage solutions, you quickly realize that even a 1/16th-of-an-inch lean can cause a drawer to drift open on its own. I’ve found that using a dedicated jig, like the Kreg Cabinet Hardware Jig, is the one tool you need for perfectly aligned cabinet knobs every time. It removes the human error that leads to ‘crooked-eye’ syndrome after a long day of drilling.
How do I keep my custom cabinets working like new?
Maintenance isn’t just about wiping down the surfaces; it’s about the mechanical health of the hardware. Every six months, I recommend a ‘hinge and slide’ audit. Houses settle, especially in climates with high humidity swings, and your doors will naturally shift. You need to know how to adjust european hinges for a perfectly level door reveal to prevent the edges from rubbing and chipping the finish. If you notice a clicking sound when you close a drawer, don’t ignore it. Usually, it’s just dust or debris in the ball bearings. I’ve written extensively on why your soft-close slides grind and the quick lubrication fix, which typically involves a simple blast of compressed air and a tiny amount of dry silicone spray. According to technical documentation from Blum, the industry leader in hardware, their runners are tested for 100,000 opening and closing cycles, but that rating assumes the tracks remain clean and properly aligned.
Prepare for the shift toward invisible hardware
As we look toward the future of kitchen design, I’m seeing a massive pivot toward ‘invisible’ functionality. We are moving away from bulky pulls and toward motorized touch-to-open systems and integrated finger channels. This is the next level of built-ins and storage hacks for a sleek functional kitchen. In five years, the ‘standard’ kitchen will likely feature voice-activated pantry doors and sensors that notify you if a leak is detected under the sink. This isn’t just sci-fi; it’s a response to our need for cleaner lines and more hygienic spaces. If you are currently drafting the ultimate guide to custom cabinets for a stylish kitchen overhaul, you should be looking at how to pre-wire your cabinets for this low-voltage future. It’s much cheaper to run those wires now than to retro-fit them when the tech becomes the new baseline. I strongly suggest you try upgrading one high-traffic drawer to a high-capacity under-mount slide this weekend just to feel the difference in structural stability. You won’t go back to the cheap stuff.
The 3 Metal Stud Myths That Almost Ruined My Business
Over the years, I’ve realized that the biggest danger in a renovation isn’t a lack of skill, but a misplaced sense of confidence in the ‘standard’ way of doing things. Here are the three things that changed the way I look at structural stability: First, a ‘rated’ fastener is only as good as the material it bites into. You can have a screw rated for 500 pounds, but if it is attached to 25-gauge steel, it will pull the steel out before the screw ever snaps. Second, the ‘shim’ is your best friend. Most people use shims to level, but I use them to prevent the drywall from crushing when the vanity pulls back against the wall. Finally, never trust a ‘factory’ cabinet back to hold the weight alone. I always reinforce the hanging rail with a secondary piece of 3/4-inch plywood because why you should avoid glue-only joinery for bathroom vanities is a lesson you do not want to learn when the unit is already full of heavy stone and toiletries.
The Load-Bearing Kit I Never Leave at the Shop
If you want to achieve results that look like a professional custom cabinets as a game changer in your kitchen remodel journey, you need the right arsenal. I personally rely on the Bosch GLM-165-25G for layout because the green beam is visible even in bright bathroom lighting. For the actual ‘bite,’ I only use GRK RSS Rugged Structural Screws; they have the sheer strength that standard deck or drywall screws lack. And for the final finish, I swear by the one tool you need for perfectly aligned cabinet knobs every time—the Kreg Jig—to ensure that once the structural work is done, the aesthetic details are just as precise. I trust these tools because they have survived hundreds of installs without a single failure callback.
#IMAGE_PLACEHOLDER_E#
Building a Bathroom That Lasts a Lifetime
Taking the extra two hours to open that wall and install wood blocking might feel like a hassle when you are in the middle of a project, but it is the difference between a vanity that lasts twenty years and one that fails in twenty months. When you are implementing expert tips on selecting storage solutions, always remember that the invisible structural work is just as important as the visible wood grain. You have the knowledge now to turn a flimsy metal-stud wall into a fortress for your modern bathroom. Don’t be afraid to overbuild—your future self will thank you for the peace of mind. Have you ever encountered a wall that felt too flimsy for your design ideas? Let me know below.