Why Your Drawer Fronts Are Crooked and the Adjuster Screw Fix
I spent six months planning my dream kitchen. Every tile, every light fixture, and every pull was curated. But the morning after the install, I sat down at my island and realized my beautiful custom cabinets looked like they were melting. One drawer was a quarter-inch higher than its neighbor. Another had a gap so wide on the left side it looked like a dark abyss. It felt like a betrayal. I thought I’d paid for precision, but what I actually had was a jigsaw puzzle put together by a toddler. This isn’t just about aesthetics; it’s about that nagging feeling that something is ‘off’ every time you reach for a spoon. Today, I’m going to show you how to banish those uneven gaps forever. We aren’t going to rebuild the cabinet, and we certainly aren’t going to drill new holes. We’re going to master the tiny, often-hidden adjuster screws that define the ‘reveal’ of your cabinetry. If you have ever felt like your functional kitchen was working against you because of a few crooked lines, you are in the right place.
Those Drawers Are Definitely Wonky and Your Eyes Aren’t Deceiving You
Early in my DIY journey, I assumed a crooked front meant the whole slide was installed incorrectly. I spent hours unscrewing slides, plugging holes with toothpicks and glue, and trying to move them up by ‘just a hair.’ It was a nightmare of wasted time and frustration. In fact, I once ruined a perfectly good solid maple drawer box by drilling so many ‘adjustment’ holes that it looked like Swiss cheese. If I had known about the internal adjustment mechanisms, I could have fixed it in thirty seconds without a single new hole. Most modern slides are designed for movement because houses settle and wood breathes. Even if you use the 5-minute hinge adjustment for your doors, the drawers need that same level of attention to look truly professional.
Is it really just a single screw standing between me and perfection?
Yes, it usually is. Most modern high-end slides have built-in adjustment tabs or dials located right under the drawer box or behind the front panel. According to industry research from the Kitchen Cabinet Manufacturers Association (KCMA), even a 1/32-inch variance in a drawer reveal can be detected by the human eye from across a room. That is why these screws exist; they are the manufacturer’s way of saying, ‘We know your walls aren’t level, and we’ve got your back.’ Have you ever stood in your kitchen, tilted your head to the side, and wondered if your floor was sinking or if your cabinets were just… off? Drop a comment below; I want to know if I’m the only one who gets kept up at night by a 2mm gap. Now, let’s dive into exactly where these adjusters are hiding and which way you need to turn them to get that crisp, designer look.
Look Beneath the Box to Find Your Secret Controls
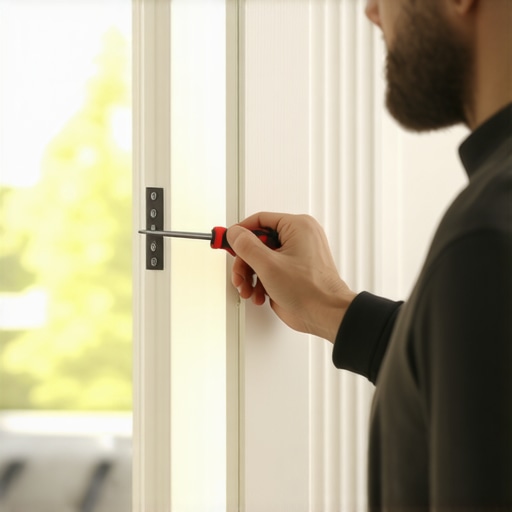
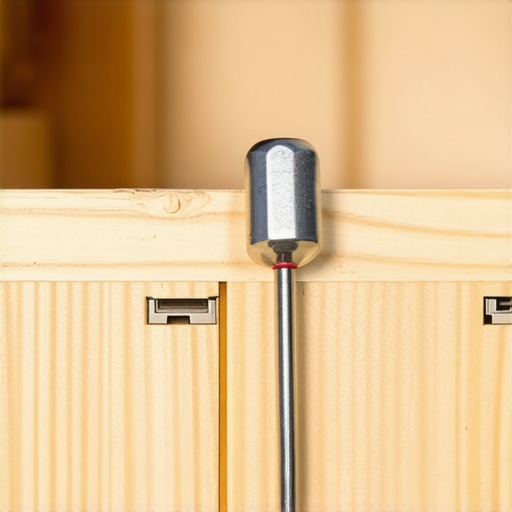
To fix a wonky drawer, you first have to understand that the magic isn’t happening on the outside; it’s happening underneath. If you reach under the front of your drawer, you’ll likely feel two plastic clips. These are your locking devices. Most people think these are just for clicking the drawer into place, but they are actually the command center for your alignment. Think of these clips like the lumbar support in your car seat—they allow for micro-adjustments that make a massive difference in how the unit feels and looks. If you’ve noticed your cabinet drawer slides are grinding, it might actually be because the box is sitting slightly crooked on the rails, putting uneven pressure on the ball bearings. Before you touch a screwdriver, pull the drawer out and get your eyes level with those clips.
Dial in the Height Without Ever Touching a Drill
The most common issue is a drawer that sits too low on one side, creating a lopsided ‘smile’ at the bottom. On your locking device, you’ll find a small wheel or a sliding tab. Moving this tab toward the back of the cabinet usually raises the drawer box. I remember a specific kitchen remodel journey where I spent two hours trying to shim a cabinet base, only to realize I could have leveled the drawer fronts with a simple flick of my thumb. By adjusting the height on just one side, you can pivot the entire front panel to match the line of the countertop or the drawer above it. It is much like the 5-minute hinge adjustment you use for doors; it’s about small, incremental movements rather than big, sweeping changes.
Fix That Side-to-Side Slant for a Perfect Reveal
Vertical gaps are only half the battle. If the space on the left of your drawer is wider than the space on the right, you need to adjust the horizontal plane. High-end innovative storage solutions often include a side-to-side adjustment feature located on the back of the slide or integrated into the front clip. Last year, while working on a stylish kitchen overhaul, I had a massive 36-inch pot drawer that looked like it was leaning. I almost unscrewed the whole rail. Instead, I reached under, found the side-adjustment tab, and shifted it a few millimeters. The ‘click’ as it moved was the most satisfying sound I’d heard all day. By moving the front of the drawer box left or right relative to the slides, you can center the faceplate perfectly within the cabinet opening.
The Final Frontier of Depth and Flushness
Sometimes the drawer looks straight from the front, but one side sticks out further than the other when it’s closed. This is a depth issue. If your custom cabinet ideas involve an inset design where the drawer sits flush with the frame, this is the hardest part to nail. Many modern slides have a depth adjustment at the very back of the track. You might need to reach all the way to the rear of the cabinet box to find a small dial that pushes the rail forward or pulls it back. If you don’t have this, you can slightly loosen the screws holding the slide to the cabinet wall and slide the entire track back a hair. This ensures that when you push the drawer shut, it hits the bumpers evenly on both sides, preventing that annoying ‘bounce back’ effect.While adjusting those drawer slides feels like a victory, the bigger battle is often the design choices you made months ago. I see a recurring mistake in almost every kitchen remodel journey: the obsession with filling every square inch of wall with upper cabinets. We are taught that more storage is better, but in reality, over-cabinetry can make a space feel claustrophobic and actually decrease efficiency. Sometimes, smart storage solutions are about what you leave out rather than what you cram in. By choosing fewer, deeper drawers instead of a wall of uppers, you create a more ergonomic workspace that keeps your tools at hip level rather than eye level.
Don’t Sacrifice Your Workflow for Extra Shelf Space
Most homeowners assume that the more cabinets they have, the more organized they will be. This is a common myth. In my experience, excessive cabinetry leads to ‘dead zones’ where seasonal items go to die, while your daily essentials get buried. A truly stylish kitchen overhaul focuses on accessibility. I often recommend swapping out standard base cabinets for deep drawers. This is why we prioritize materials like solid maple for drawer boxes; they need to handle the significant weight of cast iron pans and small appliances without sagging. If you have ever felt like you are ‘digging’ for a lid in a dark corner, you have fallen into the more-is-better trap.
Why Your Beautiful White Cabinets Might Turn Yellow Next Year
One of the most expensive traps is falling for a ‘bargain’ on custom finishing. I have seen homeowners save thousands upfront only to realize why their white painted cabinets are turning yellow within three years. It is usually because the contractor used a standard house paint or a low-quality lacquer that cannot handle UV exposure or kitchen grease. In fact, using standard interior paint on your kitchen cabinets is a five-year mistake that eventually requires a full strip and refinish. True durability comes from post-catalyzed conversion varnishes. Research from the Kitchen Cabinet Manufacturers Association (KCMA) confirms that finishes failing to meet their ANSI/KCMA A161.1 standards are significantly more likely to show premature wear and discoloration in high-humidity environments.
Is 24 Inches Really the Magic Number for Cabinet Depth?
While 24 inches is the industry standard for base cabinets, it is not a law. For a truly functional kitchen, you might find that 21-inch depths in certain zones reclaim valuable floor space without sacrificing storage. On the flip side, many built-in pantries fail because the shelves are too deep, causing items to get lost in the back. Then there is the issue of seasonal movement. People assume that ‘custom’ means ‘immovable,’ but solid wood door panels still need room to breathe in summer. If your cabinet maker does not account for humidity-driven expansion, those perfectly aligned doors we just talked about will start to bind or even crack. Have you ever noticed your cabinets ‘acting up’ when the seasons change? Tell me about your wood-warping horror stories in the comments—I have seen it all, and usually, there is a better way to design around it.I have seen $100,000 kitchens ruined by a single handle that was off by an eighth of an inch. It is the visual equivalent of a loud screech in a quiet room. If you are serious about your custom cabinets, stop trying to use a tape measure and a prayer. I personally rely on a T-square style hardware jig; it is the one tool you need for perfectly aligned cabinet knobs every time. You set it once, lock the bushings, and you can drill fifty doors with zero variation. It turns a high-stress afternoon into a twenty-minute victory lap.
Keep Your High-End Slides From Sounding Like a Gravel Pit
Maintenance is where most people fail. We assume that because the slides are ‘self-closing,’ they are also self-cleaning. They aren’t. Over time, dust from flour or general kitchen grime builds up in the tracks. If you hear a noise, you need to know why your soft-close slides grind and the quick lubrication fix that actually works. Pro tip: Never use WD-40. It is a degreaser, not a long-term lubricant for precision ball bearings. Instead, use a dry PTFE spray. According to the Blum TANDEM Technical Manual, the load-bearing capacity and smooth movement of under-mount slides rely heavily on keeping the synthetic running tracks free of sawdust and abrasive debris. Neglecting this leads to the failure of the soft-close piston, which is an expensive and annoying part to replace.
How do I keep my custom cabinetry looking brand new for a decade?
It comes down to two things: moisture control and the right cleaners. I always tell my clients to avoid anything with ammonia or bleach. A simple mixture of mild dish soap and warm water—wiped dry immediately—is all you need for post-catalyzed finishes. If you are still in the planning phase, looking for expert tips on selecting storage solutions will save you more maintenance headaches than any cleaning product ever could. Remember that wood is an organic material; keeping your home’s humidity between 30% and 50% is the single best way to ensure those tight gaps we just adjusted don’t turn into wide canyons by February.
The 2025 Shift Toward Stealthy, Integrated Tech
Looking toward the future, I see a massive shift in how we interact with our storage. By 2025, we will see more custom cabinets featuring integrated voice-activated opening mechanisms and built-in lighting that adjusts its color temperature based on the time of day. The ‘smart’ kitchen is moving away from clunky screens on refrigerators and toward invisible, functional technology hidden inside the joinery itself. Imagine drawers that illuminate when you walk into the kitchen at 2:00 AM for a glass of water, or upper cabinets that lower themselves to counter height for accessibility. This isn’t science fiction; it is the next frontier of high-end millwork. If you are feeling overwhelmed by all these technicalities, don’t sweat it. Whether you are fixing a single drawer or planning a total remaster, the goal is always the same: a kitchen that works as hard as you do. If you have questions about a specific layout or need a professional eye, feel free to contact us. Take ten minutes today to reach under your wonkiest drawer and try that height adjustment dial—you will be amazed at the difference it makes.
The Hardest Lesson I Learned About Planning a High-End Kitchen
After years of working with custom cabinets, the biggest lightbulb moment for me was realizing that perfection isn’t something you buy; it’s something you dial in. Even the most expensive millwork in the world will look mediocre if the reveals are off or the hardware is crooked. I used to think I could just maximize my kitchen space by adding more boxes, but I learned that quality of movement beats quantity of storage every single time. Precision is a process, not a destination.
Another “insider” truth? Don’t let your contractor talk you into standard finishes if you want longevity. I’ve seen too many homeowners regret a cheap paint quote within eighteen months when their beautiful island begins to chip. Your kitchen is a high-traffic, high-moisture environment, and your cabinetry needs to be built to withstand that reality without losing its luster. High-quality finishes are non-negotiable for a space that actually lasts.
My Essential Toolkit for Precision Cabinetry
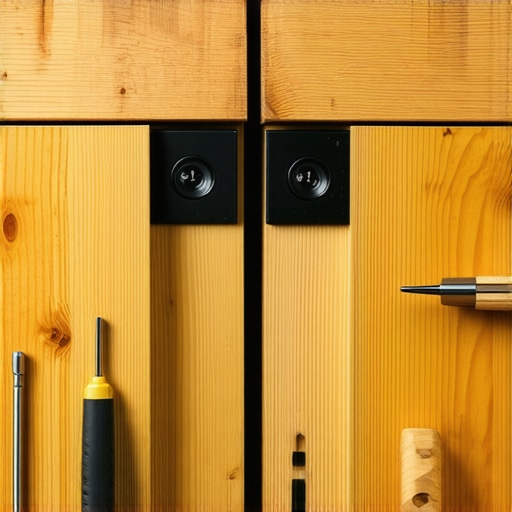
If you are tired of the guesswork and want results that look like they belong in a showroom, these are the tools I never go without. They turn a stressful afternoon into a series of small, satisfying victories:
- A High-Quality Hardware Jig: If you want to avoid a measuring disaster, the one tool you need for perfectly aligned cabinet knobs is a dedicated T-square style jig. It eliminates human error entirely.
- Dry PTFE Lubricant: Keep your drawers gliding like silk without attracting dust or flour. Understanding why your soft-close slides grind and using the right lubricant will save you from replacing expensive hardware prematurely.
- Precision Shims: Never trust your floors to be flat. Proper shimming ensures your base cabinets provide a perfectly level foundation for heavy granite or quartz countertops.
#IMAGE_PLACEHOLDER_E#
Step Into Your New Kitchen with Confidence
Taking control of your kitchen’s final look is incredibly empowering. Whether you are performing a simple five-minute adjustment or embarking on a full kitchen remodel journey, remember that you have the tools and the knowledge to fix those “wonky” details that catch your eye. Your home should be a place of beauty and ease, not a source of daily frustration. You’ve got this! By mastering the micro-adjustments of your cabinetry today, you are ensuring your kitchen remains a functional masterpiece for the next decade.
Have you ever spent hours trying to level a single drawer only to find a secret adjustment screw at the last minute? Let me know about your DIY wins or “aha” moments in the comments below! If you’re ready to take the next step in your home transformation, feel free to contact us for expert guidance.