Why You Should Skip the Lazy Susan and Install LeMans Pull-Outs Instead
I was on my hands and knees, head halfway inside a dark cabinet, smelling old bay leaf dust and feeling a mounting sense of rage. My “Super Susan” had just claimed another victim: a glass jar of expensive vanilla extract that had slid off the back and into the unreachable void. It’s a scene played out in thousands of kitchens every night. We’ve been told for decades that the spinning tray is the pinnacle of corner storage, but let’s be honest—it’s a spinning wheel of chaos. If you are planning a kitchen remodel journey, you have a chance to break this cycle. Today, I want to talk about why I stopped recommending Susans altogether and why the LeMans pull-out is the heavy-hitter your corner cabinet actually needs. We are going to fix your workflow and save your lower back in the process.
Get Your Kitchen Corner Working Harder Than You Do
The biggest problem with the traditional corner solution isn’t the spin; it’s the physics. When you spin a tray, centrifugal force wants to push your items toward the edge. In a smart storage layout, you want items to come to you, not fly away from you. This is where I made a massive mistake early in my career. I assumed that if I just bought a Susan without a center pole, the problem would vanish. It didn’t. Things still fell off, and the “dead space” in the back corners of the square cabinet stayed dead. Have you ever felt like you’re playing a losing game of Tetris every time you put away a crockpot?
Does the Price Tag Justify the Hype?
I get it—the LeMans unit is significantly more expensive than a plastic tray on a stick. But here is the reality: the LeMans swings the entire shelf out of the cabinet and places it directly in front of you. You aren’t reaching into anything. According to ergonomic data from the National Kitchen & Bath Association, optimizing “reach zones” in the kitchen can significantly decrease repetitive strain, making the kitchen safer as we age. When you look at selecting storage solutions, you have to weigh the one-time cost against fifteen years of never having to crawl on the floor again. We’re moving toward a world where innovative storage solutions aren’t just luxuries; they are the baseline for a functional home. Let’s look at how this hardware actually changes the way you cook.I learned the hard way that a corner cabinet is only as good as its narrowest point. I was working on a modern kitchen remodel for a client who had a massive collection of heavy cast-iron skillets. We installed a top-tier LeMans II unit, but I didn’t double-check the ‘swing path.’ Every time she opened it, the tray grazed the edge of the adjacent dishwasher handle. It felt like trying to park a luxury car in a cramped shed. We eventually fixed it by adjusting the door hinges, but it taught me a vital lesson: the hardware is only half the battle; the installation geometry is the rest.
Stop Measuring the Cabinet Box and Start Measuring the Door
When you look at innovative storage solutions, the manufacturer usually lists a ‘minimum cabinet size.’ Ignore that for a second. The only number that truly matters is the ‘clear opening width.’ This is the space between the face frame or the side of the cabinet and the door when it’s fully open at 90 degrees. If your door doesn’t clear the opening entirely, that expensive chrome shelf is going to gouge your wood the first time you pull it out. This is a common pitfall when transforming your kitchen with custom cabinets.
Don’t Let Your Hardware Become an Obstacle
You have to account for your cabinet pulls. I’ve seen beautiful custom cabinet ideas ruined because someone used oversized bars. If you follow the 5-inch rule for choosing the right size cabinet pulls, you need to ensure those five inches of metal don’t stick out so far that the LeMans shelf strikes them during its pivot. It’s like a choreographed dance—if one dancer misses a step, the whole show stops. I now always recommend a 110-degree hinge for corner doors to get that door completely out of the ‘kill zone’ of the swinging shelf. 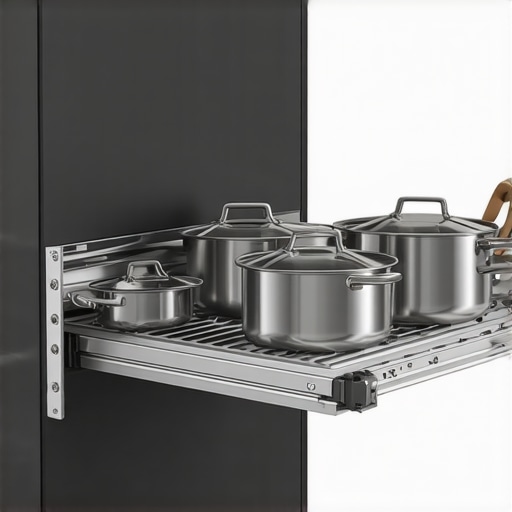
Load It Up Without Breaking the Tracks
One of the biggest perks of the LeMans is the weight capacity, but you have to be smart about how you distribute it. Each tray can typically hold about 55 pounds. That sounds like a lot until you start stacking Dutch ovens. I tell my clients to treat the bottom tray as the best way to organize heavy dutch ovens, keeping the center of gravity low. If you put all the heavy stuff on the top tray, you put unnecessary leverage on the main support post. When hardware fails, it’s rarely the metal breaking; it’s the screws pulling out of the cabinet side because of improper loading.
Secure the Foundation First
Since these units put a lot of torque on the cabinet carcass, you can’t just ‘tack’ the cabinet to the wall. This is exactly why your base cabinets should be secured with 3-inch rugged screws into the studs. If the cabinet shifts even an eighth of an inch under the weight of a fully loaded pull-out, the alignment will go wonky, and you’ll start hearing that dreaded metal-on-metal sound. If you ever find the real reason your cabinet drawer slides are grinding, it’s often because the cabinet box itself has racked or twisted. For a corner unit, a level box is non-negotiable.
The Deep Move for Bulky Appliances
Think of your corner as more than just a place for pots. It’s actually the deep drawer move for storing blenders and food processors that you don’t use every day but don’t want to dig for. By using a pull-out, you’re effectively turning a 24-inch deep ‘black hole’ into two easily accessible shelves. When you are selecting storage solutions, always visualize the tallest item you own. Adjust the shelf height of your LeMans before you load it up; it’s much harder to move those clips once the shelves are full of appliances.The hardware keeps the workflow smooth, but there is a deeper layer of “custom” that most homeowners—and even some contractors—get completely wrong. Most people believe that the gold standard for a custom look is having a painter finish the cabinets on-site once they are installed. In my experience, that is the fastest way to turn a massive investment into a five-year maintenance nightmare. The reality is that a shop-controlled environment is the only place to achieve a finish that actually lasts.
Why Your Painter Should Not Finish Your Custom Build
The myth of on-site finishing persists because it seems seamless, but you lose the chemistry of a factory bond. When we talk about the truth about pre-finished plywood vs on-site staining, we are talking about long-term durability. On-site paints are often air-dried, which makes them susceptible to oils, moisture, and heat. In contrast, shop-applied finishes use chemical hardeners that create a cross-linked shield. If you do not understand the difference between pre-catalyzed and post-catalyzed cabinet lacquer, you are essentially guessing at how your kitchen will look in 2030. According to the Architectural Woodwork Institute (AWI), moisture-related dimensional change is the primary culprit behind finish cracks at the joints. A brush and a bucket simply cannot compete with a baked-on conversion varnish applied in a dust-free booth.
Give Your Solid Wood Doors Some Room to Breathe
Here is the “oops” factor I see all the time: people want their custom cabinets to look like one solid piece of plastic with no visible seams. To achieve this, they often caulk the center panels of Shaker doors. This is a massive mistake. You have to remember why solid wood door panels still need room to breathe in summer. Wood is an organic material that expands and contracts with the seasons. If you lock that panel in place with caulk or heavy on-site paint, the wood will eventually move anyway, cracking the finish and leaving a jagged, unsightly line. High-end innovative storage solutions require precise engineering that accounts for the local climate and wood movement. 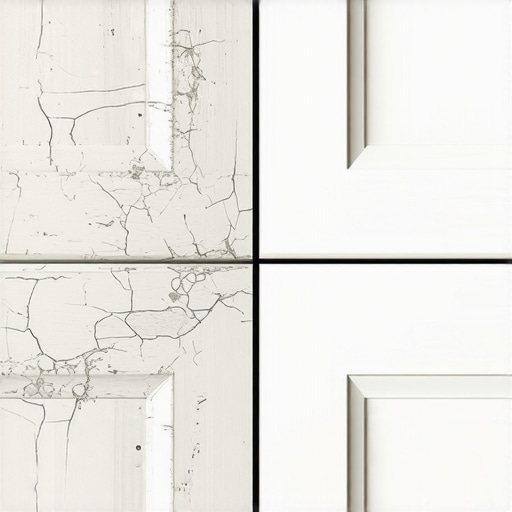
Why Does That Perfect White Cabinet Turn Yellow?
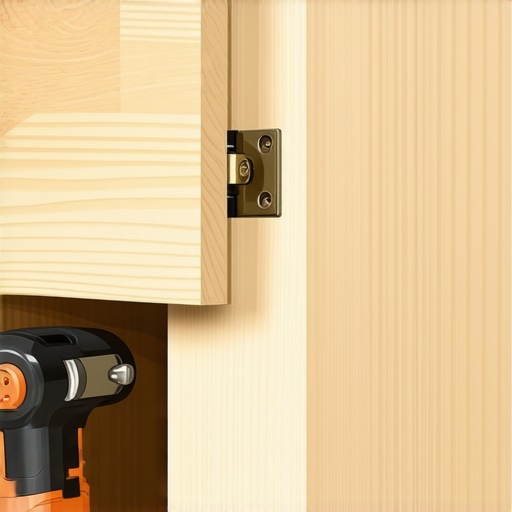
I often get asked why a client’s “Cloud White” kitchen looks like a “Manila Folder” after only three years. It is usually not the sunlight; it is the topcoat. If your builder uses an oil-modified finish or a cheap lacquer, it will amber over time. Understanding the real reason your white painted cabinets are turning yellow is the difference between a timeless kitchen and a dated one. It is these chemical nuances—like knowing why pre-finished maple interior is better than melamine—that separate a true craftsman from a box-assembler. We are not just building boxes; we are managing the physics of your home. When you are deep in the custom cabinets as a game changer in your kitchen remodel journey, do not get distracted by the fancy handles alone. Look at the chemistry, the wood species, and the joinery. Have you ever fallen into the “on-site painting” trap or noticed your cabinet joints cracking? Let me know in the comments; I would love to help you troubleshoot your next project.I’ve spent enough hours squinting at cabinet doors to know that a project isn’t truly finished until the hardware is laser-accurate. Even the most expensive modern kitchen remodels featuring custom cabinets and built-ins look like DIY disasters if the knobs are off by an eighth of an inch. I never go to a job site without my True Position Drill Guide. It is the one tool you need for perfectly aligned cabinet knobs every time because it eliminates the human error of a tape measure. When you’re dealing with the final details of a stylish kitchen overhaul, precision is the difference between ‘good enough’ and ‘professional gallery.’
How do I keep these doors level for a decade?
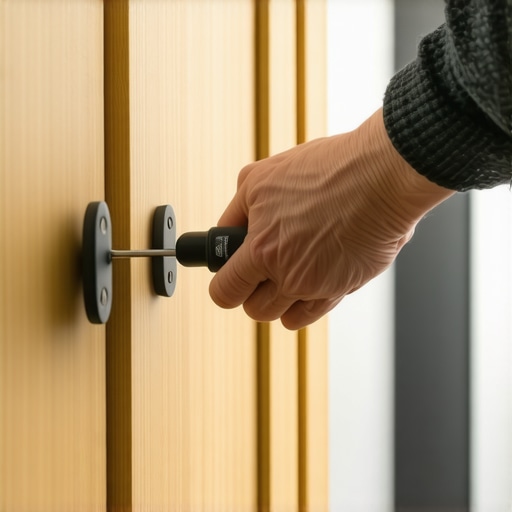
Your house is a breathing organism; it settles, it expands, and it shrinks. This means those perfectly level doors will eventually sag over time. You shouldn’t panic and call your contractor for a 5-minute hinge adjustment for fixing wonky cabinet reveals. Learning how to adjust European hinges for a perfectly level door reveal is the single most important maintenance skill you can possess. If you notice a door rubbing against a drawer, it’s rarely a build failure; it’s just the hinge doing its job and needing a slight turn of a screwdriver. 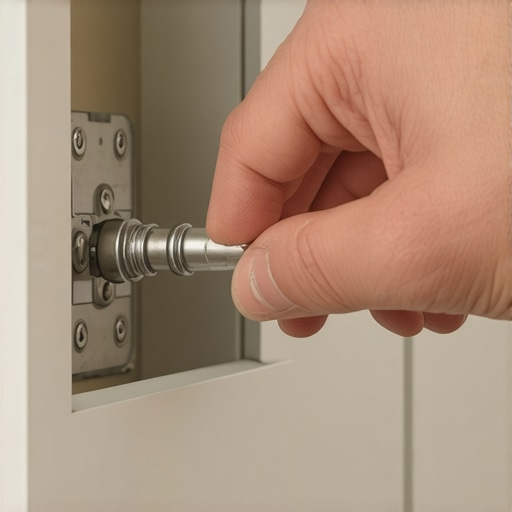
Give your hardware the spa treatment
High-end built-ins and storage hacks for a sleek functional kitchen rely on high-precision ball bearings and soft-close mechanisms. If you hear a click or a scrape, the quick lubrication fix is usually all it takes to clear the ball bearings. According to technical documentation from Blum, their hardware is cycle-tested for 200,000 openings—the equivalent of an entire kitchen’s lifetime—but that durability assumes they aren’t choked by construction dust or kitchen debris. I recommend a quick blast of compressed air and a silicone-based lubricant once a year. It’s a small price to pay to ensure your innovative storage solutions remain silent and smooth.
The next decade belongs to sensor-driven storage
Looking ahead, I see a shift from manual pull-outs to fully integrated tech environments. We are moving toward ‘touch-to-open’ cabinets that communicate with your home’s lighting system. Imagine opening a corner unit and having the interior automatically illuminate with targeted LEDs that adjust based on the time of day. This is the logical evolution of smart storage ideas to maximize your kitchen space this year. My advice? Try the ‘once-a-year screw tighten’—go through every drawer and door in your kitchen this weekend and check for loose hardware. It’s the easiest way to prevent a catastrophic failure before it starts.
The Hardest Lessons Learned from the Corner Void
Over the years, I have learned that the corner cabinet is the ultimate test of a kitchen’s functionality. My biggest lightbulb moment came when I realized that we often prioritize the ‘wow’ factor of a swinging tray over the basic physics of the cabinet box. If the box isn’t perfectly square and secured with 3-inch rugged screws, that expensive hardware will eventually fail. I also learned that you should never settle for an ‘okay’ door opening; if that door doesn’t swing past 90 degrees, you are essentially gambling with your cabinet’s finish every time you reach for a pot. Finally, always remember that accessibility is not just a luxury for today—it is an investment in your home’s future usability as you age. Moving toward innovative storage solutions for modern kitchen remodels is about more than just clearing clutter; it is about respecting your workflow.
Tools and Guides That Keep My Projects Precise
To achieve a professional result, I rely on a few specific resources that go beyond the basic hardware store shelf. For installation, I never work without a dedicated jig; it is the one tool you need for perfectly aligned cabinet knobs every time because even a hair of misalignment is visible to the naked eye. I also frequently consult the technical manuals from Blum and Grass to troubleshoot common issues, such as the reason your cabinet doors are slamming despite having soft-close hinges. For maintenance, a simple can of high-grade silicone lubricant and a set of long-reach screwdrivers for hinge adjustments are my best friends. These tools ensure that your modern kitchen remodels featuring custom cabinets and built-ins stay as crisp as the day they were installed.
Build a Kitchen That Serves You for Decades
Your kitchen should be a place of inspiration, not a source of physical frustration. By choosing high-quality finishes, choosing hardware that brings the items to you, and understanding the seasonal movement of wood, you are building a legacy in your home. Don’t be afraid to push for those extra details—like a shop-applied post-catalyzed finish—that ensure your space remains beautiful through years of heavy use. A successful remodel is measured by how little you have to think about your cabinets because they simply work. Have you ever had a corner cabinet ‘black hole’ that claimed your favorite kitchen tools? Let me know in the comments below!