The Secret to Installing Heavy Pantry Pull-Outs Solo
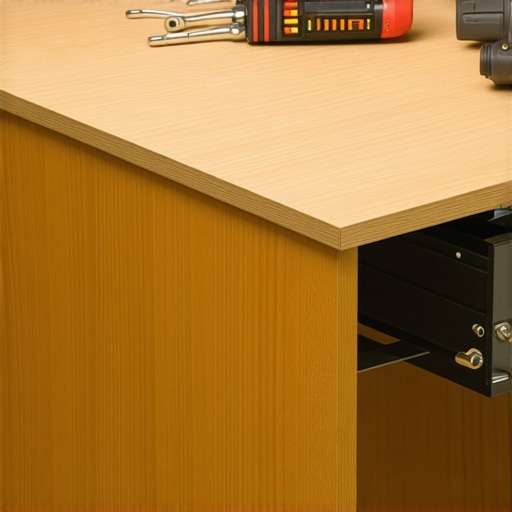
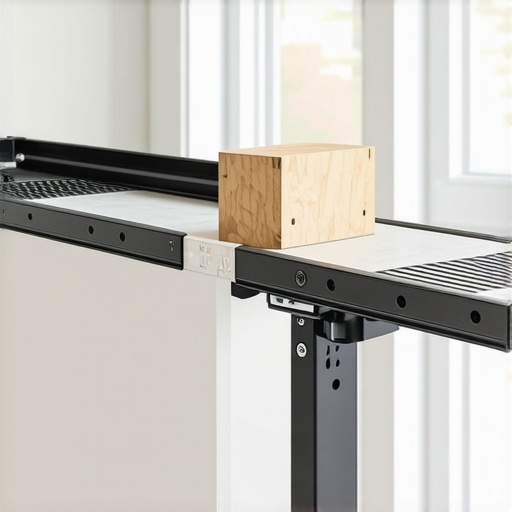
I remember the sound of the crash. It was a Tuesday night, and I was determined to finish my DIY kitchen upgrade before my wife got home. I had this massive, beautiful oak pull-out—the kind of innovative storage solutions we all dream about—and I thought I could bench-press it into place while simultaneously driving the slides. Spoiler alert: Gravity is a cruel mistress. I ended up with a gouged floor and a bruised ego. But that failure was the best thing that ever happened to my workshop skills because it forced me to figure out a system. If you’ve ever felt like you needed a third arm just to get a cabinet straight, you’re in the right place. [image_placeholder_1]
Stop Fighting Your Kitchen Cabinets and Start Winning
The secret isn’t more muscles; it’s smarter physics. When we talk about a modern kitchen remodel, we often focus on the finish, but the hardware is where the daily joy lives. If those pull-outs aren’t perfectly level, they’ll never feel like the luxury items they are. In my early days, I didn’t realize why your drawer slides are grinding—I just thought I bought a bad batch. The truth? I was installing them under tension because I didn’t use a support jig. According to woodworking experts at Fine Woodworking, even a 1/32-inch misalignment can cause significant friction in heavy-duty slides, leading to premature failure. Today, I’m going to share the exact method I use to hang even the heaviest custom cabinets ideas alone, without a single scratch on the face frame.
Is doing this solo actually worth the hassle?
You might be thinking, “Why not just wait for a friend?” Well, sometimes the itch to finish a project strikes at 11 PM, or maybe you’re like me and just enjoy the challenge of a solo build. Whether you are dealing with smart storage solutions for small kitchens or a massive floor-to-ceiling pantry, doing it yourself means it gets done on your timeline. Have you ever started a project only to realize you were way in over your head? Tell me about your “point of no return” moment in the comments—I’d love to know I’m not the only one who has fought a cabinet box and lost. We’re going to dive into the support-block method that keeps your hands free and your sanity intact.
The Ledger Board Strategy for Solo Installs
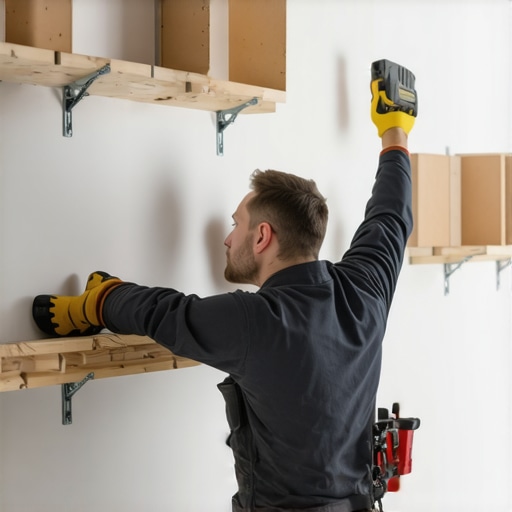
The first thing you need to realize is that your arms are not your primary tools for hanging cabinets; a scrap 2×4 is. When I was tackling a project involving modern kitchen remodels featuring custom cabinets and built-ins, I learned that a level line on the wall is merely a suggestion until you have physical wood to back it up. You need to create a temporary shelf, or a ‘ledger board.’ This is a straight piece of lumber screwed directly into the wall studs exactly at the height where the bottom of your upper cabinets will sit. It acts like a second pair of hands that never gets tired. If you skip this, you’re not just fighting gravity—you’re risking the structural integrity of the wall. I’ve seen cases where installers rushed the process, and that is exactly why your wall cabinets are pulling away from the drywall months later. By resting the box on a ledger, you can focus on driving the structural screws into the studs rather than trying to hold fifty pounds of plywood over your head. 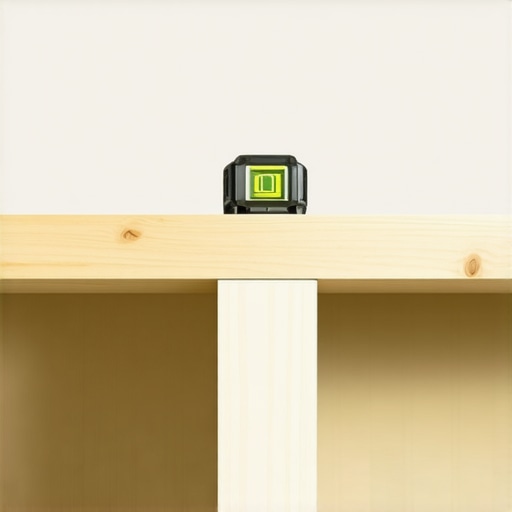
Stop the Sag Before You Drive the First Screw
Once your ledger is in place, you need to address the ‘potato chip’ wall phenomenon. No wall is perfectly flat, especially in older homes. When I was integrating custom cabinets as a game-changer in your kitchen remodel journey, I once ignored a slight hump in the plaster. By the time I reached the third cabinet, the face frames were so far out of alignment that I couldn’t even get the doors to hang straight. This is where you master the proper way to shim cabinets on a high spot in the floor or wall. Think of shims as the fine-tuning knobs on a radio. You slide them behind the cabinet at the stud locations until the box is perfectly plumb and level. If the box isn’t square, the internal hardware will bind. Before you even lift that box, do a quick inspection: why your cabinet boxes should be stapled glued and screwed is vital because the stress of hanging can pull apart a poorly made box.
The Tiny Blocks That Change Everything
For lower units and heavy pull-outs, I use support blocks—small 3/4-inch plywood scraps—to lift the slides or the cabinet base just enough to clear the flooring. When I was installing a set of custom cabinets ideas that transform your homes style, I used these blocks to ‘dry-fit’ the entire run before a single screw touched the wood. It allows you to see the gaps and adjust your plan without committing. I remember one specific kitchen where the floor sloped two inches from left to right. Without those support blocks, I would have been chasing a level line all day. Instead, I set the high point, blocked up the rest, and had the whole base run finished before lunch. It’s about creating a repeatable system so that when the heavy lifting starts, the ‘thinking’ is already done.Most people think that during a modern kitchen remodel, you should install your cabinets directly onto the subfloor and then run your flooring up to the toe-kick to save on material. I used to think that was the ‘pro’ move. I was wrong. In reality, why luxury vinyl plank should not be trapped under your base cabinets is one of the most critical lessons in expansion physics. If you pin a floating floor down with three thousand pounds of cabinetry, you are essentially creating a ticking time bomb of buckling planks. It is these hidden nuances that separate a weekend project from creating seamless kitchen remasters with built-in storage solutions. 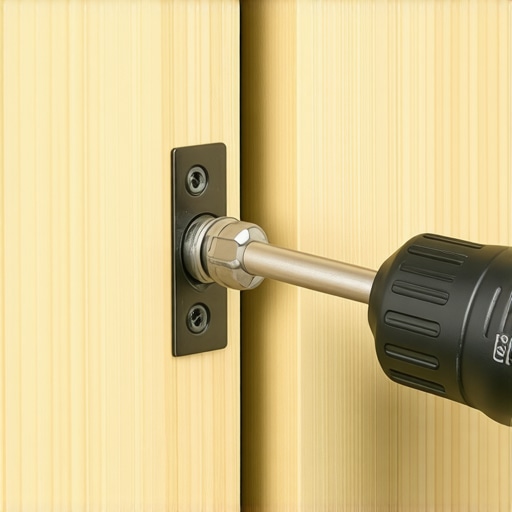
Your Flooring Needs Room to Breathe Under Those Cabinets
The common myth is that ‘more is more’ when it comes to storage. While we all want innovative storage solutions for every room, there is a point of diminishing returns. I call it the ‘clutter coffin.’ This happens when you over-pack a layout with so many deep cabinets that you lose the necessary clearances for your appliances to breathe. One ‘trap’ I see constantly? Homeowners get so excited about the ultimate guide to custom cabinets for a stylish kitchen overhaul that they forget about the ‘pinch.’ If you do not account for the thickness of your door plus the handle hardware, you will find that your beautiful built-ins and storage hacks for a sleek functional kitchen actually prevent your dishwasher from opening fully. I have seen high-end kitchens where the owner could not open the fridge more than 90 degrees because of a poorly placed decorative gable.
Is your hardware actually failing or just misaligned?
Often, I get calls from people complaining that their custom cabinets ideas are falling apart because the drawers are sticking. Before you rip everything out, try the 5-minute hinge adjustment for fixing wonky cabinet reveals. Wood is a living material; it shifts with the seasons. According to the Architectural Woodwork Institute (AWI) Quality Standards, even ‘Premium’ grade installations allow for minor seasonal movement. If you do not know how to use the three-way adjustment screws on a modern hinge, you are going to spend a fortune on repairs you could have handled with a Pozidriv screwdriver in sixty seconds. When you are selecting storage solutions for a perfect kitchen upgrade, always ask for hardware with built-in micro-adjustments. Have you ever fallen into the ‘pinched appliance’ trap? Let me know in the comments—I want to hear how you fixed it.If you want your kitchen to look like those high-end magazines, you have to stop relying on a standard tape measure for everything. I learned the hard way that when you are installing built-ins and creative storage, precision is your only friend. My go-to tool that I never start a project without is a 360-degree green beam laser level. While a bubble level is okay for a single shelf, a laser allows you to see exactly how your floor and ceiling are fighting each other across the entire room. This is crucial when you are trying to figure out the proper way to shim cabinets on a high spot in the floor. If your base cabinets aren’t perfectly flat, your granite or quartz countertop will eventually crack under the uneven pressure. 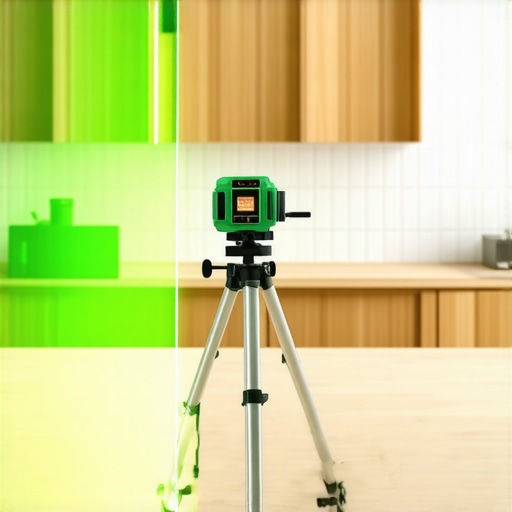
How do I keep my custom cabinets looking new for a decade?
Maintenance isn’t just about cleaning; it is about preventing mechanical fatigue. I always tell people that the most important thing they can do is check their hardware every six months. Just like a car needs an oil change, your custom cabinets ideas need a quick ‘tighten and tune’ session. If you notice a door is slightly lower than the one next to it, don’t wait for it to start rubbing. Grab a screwdriver and perform the 5-minute hinge adjustment for fixing wonky cabinet reveals. This prevents the finish from wearing down on the edges where the wood would otherwise strike the frame. For the surfaces, stop using harsh chemicals. I’ve seen beautiful finishes ruined by ‘all-purpose’ cleaners that are far too acidic. Stick to a damp microfiber cloth and a drop of mild dish soap; it’s all you need to maintain that factory-fresh glow without stripping the topcoat.
The Hardware Trick for Professional Results
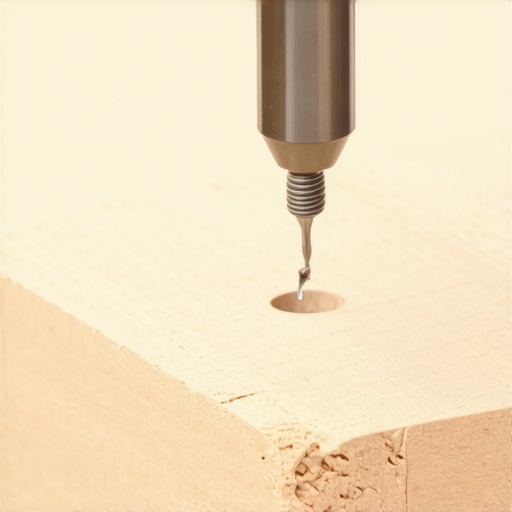
If you are doing your own hardware installation, buy a set of Vix bits—these are self-centering drill bits that ensure your screws go in perfectly straight. When I first started, I used a standard bit and my handles always looked slightly ‘drunk’ because the bit would follow the grain of the wood. Using a Vix bit is the best way to drill holes for new cabinet hardware and ensures that your hardware that does not snag your pockets actually stays flush against the drawer front. According to the technical specifications from Blum, a leading hardware manufacturer, ensuring that slides and hinges are installed perfectly parallel and within a 0.5mm tolerance can extend the life of the soft-close mechanism by up to 50,000 cycles. That is the difference between a kitchen that lasts fifteen years and one that starts squeaking in three.
Where the Future of Storage is Heading
I’m seeing a massive shift toward ‘active’ storage. We are moving away from just ‘boxes on walls’ and toward creating seamless kitchen remasters with built-in storage solutions that include integrated technology. Think about why every kitchen should have a dedicated charging station for laptops or tablets right inside a drawer. The goal for 2025 and beyond is to hide the clutter of modern life behind the beauty of modern kitchen remodels featuring custom cabinets. If you want to take your kitchen to the next level, I challenge you to try installing one ‘hidden’ feature this weekend—maybe it’s how to build a hidden drawer behind a standard cabinet toe kick to store those flat baking sheets that always get lost. It’s a small win that makes you feel like a pro every time you use it.
Hard Truths from the Cabinet Trenches
After years of wrestling with plywood boxes, I’ve realized that the most expensive tool in the world won’t save you if you ignore the basics. First, never trust your eyes—trust your level. Walls in older homes are rarely flat, and a small gap at the bottom can grow into a massive headache at the top. Second, always pre-drill every single screw hole. I know it’s tedious, but splitting a face frame on a Sunday afternoon is a heartbreak I wouldn’t wish on anyone. Third, use blue painter’s tape to layout your expert tips on selecting storage solutions for a perfect kitchen upgrade directly on the wall. Seeing the physical space the cabinets will occupy helps you catch clearance issues before you even unpack the boxes. If you find your doors aren’t lining up at the end, remember that why your drawer fronts are crooked and the adjuster screw fix is often just a turn away.
My Private Arsenal for Precision Builds
To get professional results, you need a few specialized items that go beyond the basic hammer and drill. I swear by Self-Centering Vix Bits; they are the only way to ensure your hardware is perfectly centered every time. I also recommend a 360-degree Green Beam Laser Level. Red lasers are fine, but green is much easier to see in a brightly lit kitchen. For those tackling organization, the Blum Hardware Catalog is my bible for technical clearances and weight limits. If you are debating materials, check out the truth about pre-finished plywood vs on-site staining to save yourself days of finishing work. And for the ultimate organization win, I always suggest the drawer within a drawer move for organizing your junk drawer.
Turn Your Blueprints into Reality
Taking on a modern kitchen remodel featuring custom cabinets and built-ins is a massive undertaking, but it is also one of the most rewarding things you can do for your home. Every time you open a drawer that glides smoothly or admire a perfectly aligned pantry, you’ll feel that sense of pride that only comes from building it yourself. Don’t let the fear of a perfect install stop you from starting. If you hit a wall or need professional advice to get your project over the finish line, feel free to reach out to us anytime. Your dream kitchen is waiting, one shim at a time. What is the one thing keeping you from starting your cabinet install today? Let me know in the comments below!