Why You Should Avoid Using Standard Nails for Cabinet Crown
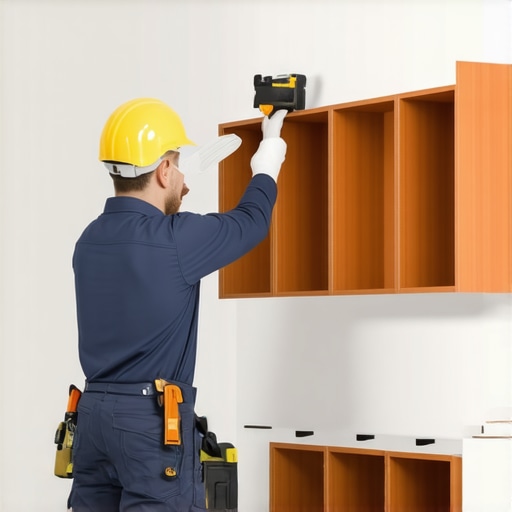
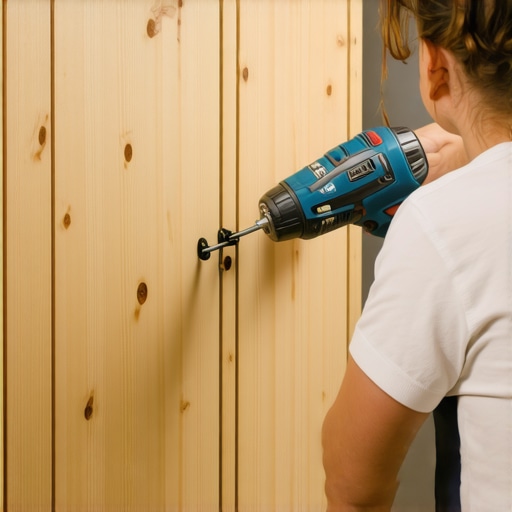
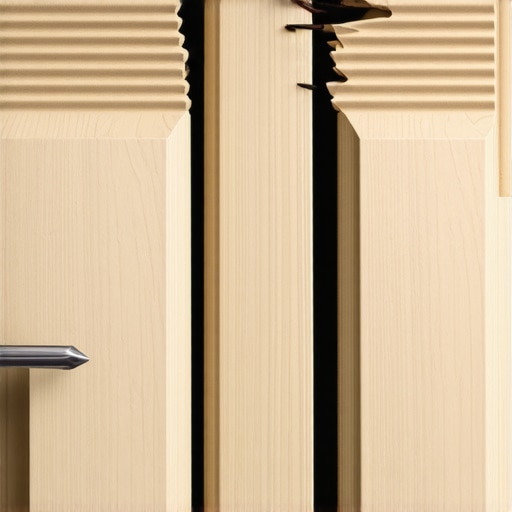
The kitchen was dead silent at 2 AM, except for a faint, rhythmic clicking sound that I couldn’t quite place. I stood there in the dark with a flashlight, feeling that familiar pit in my stomach. When I finally hit the top of the cabinets with the beam of light, my heart sank. A hairline gap had appeared between the ceiling and the crown molding I’d spent all Saturday installing. It was my first big [custom cabinets](https://artisancabinetworkz.com/custom-cabinets-as-a-game-changer-in-your-kitchen-remodel-journey) project, and I had done what everyone else does: I reached for my trusty brad nailer. I thought those 18-gauge nails were enough. I was wrong. The wood had moved, the nails had slipped, and my ‘perfect’ finish was literally pulling away from the wall. Today, I’m going to save you from that same late-night realization by explaining why standard nails are the hidden enemy of a high-quality [kitchen remodel](https://artisancabinetworkz.com/modern-kitchen-remodels-featuring-custom-cabinets-and-built-ins) and what you should be using instead. [IMAGE_PLACEHOLDER]
Standard Nails Just Can’t Handle the Pressure
I learned the hard way that speed is the enemy of stability. Early in my career, I valued finishing a job quickly over understanding the physics of the materials. I assumed that if the crown felt tight when I left the job site, it would stay that way forever. But standard, smooth-shank brad nails lack the mechanical ‘bite’ required to fight the constant movement of a home. According to the USDA Forest Products Laboratory, wood is a hygroscopic material that naturally expands and contracts with even minor shifts in humidity. When your crown molding decides to swell in the summer, it exerts hundreds of pounds of pressure against those tiny nails. Because standard nails have no threads, they act like a lubricated piston, sliding right out of the cabinet frame. This is actually a big reason [why we stopped using nails](https://artisancabinetworkz.com/why-we-stopped-using-nails-for-cabinet-backing-and-switched-to-screws) for several structural parts of our cabinetry. Using standard nails on crown is essentially betting against nature, and nature has a much bigger bank account than you do.
Is switching to screws really worth the extra hassle?
I hear this all the time from neighbors and DIYers who are worried about the extra time it takes to pre-drill and hide screw heads. They ask, ‘Isn’t a nail and a bit of wood filler enough?’ The short answer is no, not if you want your [built-ins](https://artisancabinetworkz.com/built-ins-that-elevate-your-living-rooms-functionality) to look professional five years from now. While nails are great for holding a piece in place while glue dries, they shouldn’t be the primary fastener for a heavy piece of crown that is fighting gravity and seasonal shifts. If you are working on a project with [no top rail](https://artisancabinetworkz.com/the-simple-trick-for-installing-crown-molding-on-cabinets-with-no-top-rail), the stakes are even higher because you have less surface area to grab onto. Screws provide a mechanical bond that physically cannot be pulled out without destroying the wood fibers. Have you ever noticed a gap opening up in your own kitchen trim and wondered if it was just the house settling? It probably wasn’t the house; it was likely those little nails giving up the ghost. Have you faced this specific problem before where your trim work just won’t stay put? It’s a frustrating cycle, but it’s one we can break by changing our approach to fasteners before the first piece of trim even touches the cabinet.To fix the gap problem permanently, we have to look at the physics of the fastener. A screw provides clamping force, which is the actual physical pressure that pulls two pieces of wood together and holds them there. Nails don’t have clamping force; they only have friction. In any high-end modern kitchen remodels featuring custom cabinets and built-ins, the stability of your finish work depends entirely on this mechanical grip. Think of a brad nail like a toothpick stuck in a marshmallow—it stays put as long as nothing moves it. But a screw is more like a bolt through a bridge; it is a structural component that refuses to budge even as the house breathes.
Pick a Screw That Bites Back
Not all screws are created equal, and choosing the wrong one is a fast track to ruined materials. If you use a standard drywall screw, you’re asking for trouble because they are brittle and snap under the lateral stress of wood movement. Instead, I always reach for trim screws with a small, tapered head. These are specifically designed for high-end trim work where you need the strength of a screw but the profile of a nail. I learned this the hard way on a project involving built-ins that elevate your living rooms functionality. I tried to use a thick-shank screw that split the delicate maple molding right down the middle because I was in a rush. Now, I exclusively use #6 or #8 trim screws with a reverse thread at the top to prevent ‘mushrooming’ of the wood. Furthermore, understanding why your base cabinets should be secured with 3-inch rugged screws will give you a better perspective on the sheer force required to keep cabinetry components stationary.
Pre-Drilling is Your Only Insurance Policy
You might think skipping the pre-drill saves time, but it’s a gamble that usually ends in a split piece of expensive wood. When I was working on the ultimate guide to custom cabinets for a stylish kitchen overhaul, I realized that most project failures happen in the final five percent of the job. Pre-drilling removes the ‘meat’ of the wood so the screw can enter without creating massive internal pressure. Use a bit that is slightly smaller than the shank of the screw, and ensure you are drilling deep enough to penetrate the cabinet’s top rail or the wall stud. 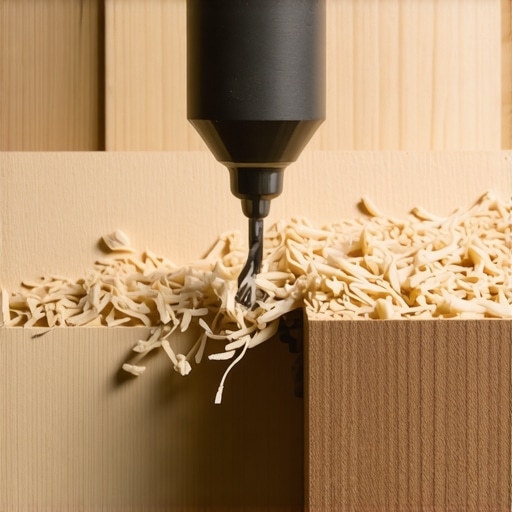
The Counter-Sink Trick for a Flawless Finish
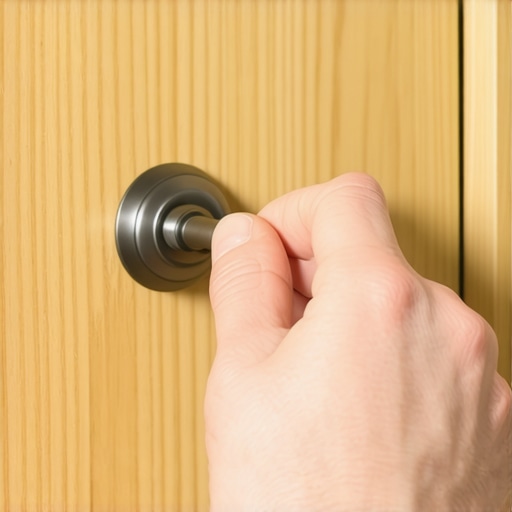
To make a screw disappear, you need to sink the head about 1/8th of an inch below the surface. This is where the magic happens. I once worked on a kitchen that had no top rail, and we had to screw directly through the face of the crown into the cabinet carcass. By countersinking and using a matching wood plug or high-performance wood filler, the fastener became completely invisible once the paint hit it. If you don’t countersink, the screw head will sit flush or slightly proud, and no amount of sanding or wood filler will hide that metallic bump.
Why Mechanical Fasteners Prevent Long-Term Failures
Beyond just the aesthetics, there’s a safety and longevity aspect to using screws. Think about the daily vibration a kitchen endures from closing doors and heavy appliances. If you used nails, eventually the cabinet screw mistake that causes heavy drawers to fail will haunt your trim work too. Gravity is a constant force pulling that molding down. A screw acts like a permanent anchor, whereas a nail is just a temporary pin. When I’m finishing a kitchen, I want to know that the client won’t see a gap in six months when the furnace kicks on and the air dries out. That peace of mind only comes from a threaded connection that physically cannot pull out.Most homeowners assume that the more gadgets you pack into a modern kitchen remodel, the more functional it becomes. I’ve seen people insist on every possible innovative storage solution, from tiered cutlery trays to pull-out spice racks. But here is the contrarian truth: over-engineering your storage often leads to analysis paralysis in the middle of a dinner rush. If you have to open three different pull-outs just to find a whisk and some salt, your layout has failed you. I always tell my clients that efficiency isn’t about the quantity of bins; it’s about the logical placement of those bins. For instance, why your garbage pull-out should never be next to the oven is a lesson in thermodynamics. The heat from your range can actually accelerate the decomposition of organic waste, leading to smells that even the most expensive custom cabinets cannot contain.
Stop Building Storage That Fails Under Pressure
One of the most expensive ‘oops’ moments I encounter involves pot and pan drawers. We all love the look of deep, wide drawers, but people often forget the sheer weight of cast iron. According to the National Kitchen & Bath Association (NKBA), standard drawer slides are often only rated for 75 to 100 pounds. When you factor in the weight of a heavy maple drawer box and five cast iron pots, you are red-lining that hardware on day one. This is exactly the cabinet screw mistake that causes heavy drawers to fail. If you aren’t using under-mount, heavy-duty slides rated for 150 pounds or more, those built-ins will start to grind and sag within eighteen months. 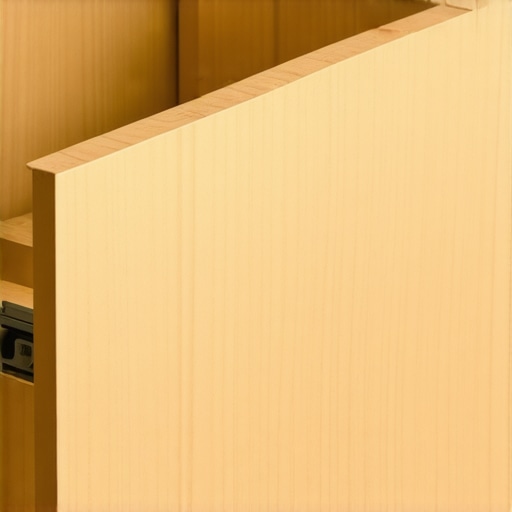
How much weight can your cabinet floor actually support?
It’s a question most people don’t ask until they see a crack in the finish. In a smart storage solutions for small kitchens setup, we are often trying to maximize vertical space by stacking heavy items. If your base cabinets aren’t built with a solid floor, you’re essentially building a house on sand. This is why plywood box construction still wins over furniture board in wet areas and high-stress zones. Plywood has cross-laminated grains that resist the bowing and snapping that happens to particle board under load.
The Subtle Art of Decluttering Your Design
When we work on built-ins and storage hacks for a sleek functional kitchen, the goal is to make the storage invisible. I see many DIYers make the mistake of choosing a narrow spice pull-out that is so skinny you cannot even read the labels on the bottles. Sometimes, a simple vertical cookie sheet divider is ten times more effective than a motorized rotating carousel. Efficiency is found in the simplest mechanical solutions, not the most complex ones. Have you ever fallen into this trap of over-complicating your kitchen storage only to realize it made cooking harder? Let me know in the comments below.The reality is that even the most expensive creating seamless kitchen remasters with built-in storage solutions will eventually succumb to the laws of physics if you treat them as ‘set and forget’ features. A kitchen is a high-traffic mechanical environment. Every time you pull a drawer, friction and vibration are working against your fasteners. According to the Architectural Woodwork Institute (AWI) standards, high-end cabinetry is engineered to operate within a specific climate range of 25% to 55% relative humidity; go outside that, and your precision hardware starts to fight the wood.
Keep Your Hardware From Eating Itself
Most homeowners ignore their drawer slides until they hear that tell-tale metallic screech. If you notice resistance, don’t just pull harder. Understanding why your soft-close slides grind and the quick lubrication fix can save you from replacing a hundred-dollar set of runners. I personally recommend using a dry PTFE spray rather than a wet oil, which only attracts the fine flour dust and pet hair that inevitably finds its way into your base cabinets.
The Only Tool I Use for Perfect Hardware Alignment
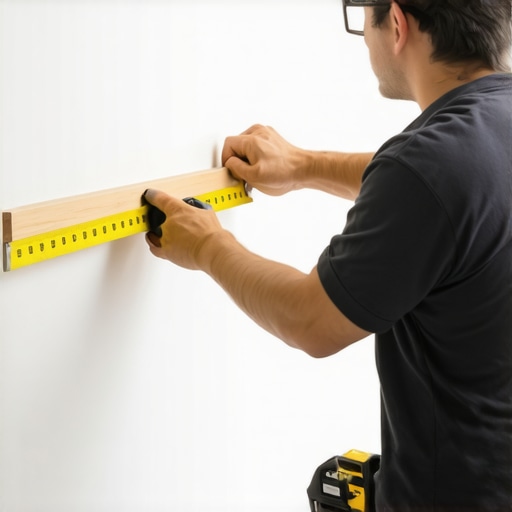
When people see my kitchens, they often ask how every single knob is within a sixty-fourth of an inch of its neighbor. It’s not because I have superhuman eyesight; it’s because I never drill a hole without a dedicated metal jig. If you are doing this yourself, the one tool you need for perfectly aligned cabinet knobs every time is a high-quality, adjustable drilling guide with bushings. Plastic templates flex and wear out, but a steel-bush jig ensures the bit never wanders. This precision is what separates a professional perfect kitchen upgrade from a weekend project that looks ‘just okay’ from a distance. 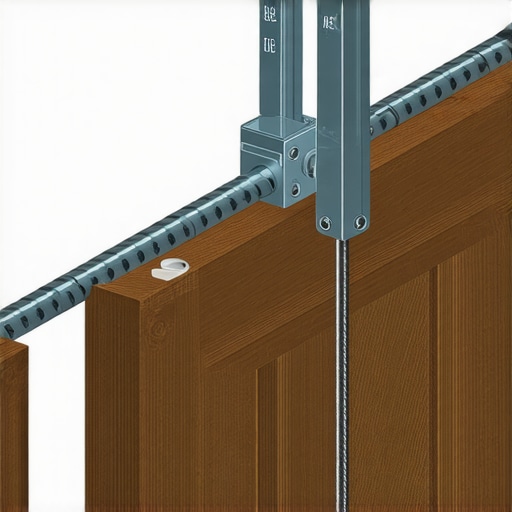
How do I maintain my custom cabinets over the long term?
Maintenance starts with a screwdriver, not a sponge. Twice a year, you should check the mounting screws on your hinge plates. Constant swinging causes these to back out slightly, which is often the reason your cabinet doors are slamming despite having soft-close hinges. Learning how to adjust European hinges for a perfectly level door reveal is a skill that takes ten minutes to learn but will keep your kitchen looking brand new for a decade. I predict that in the very near future, we will see the rise of haptic-feedback drawers and integrated moisture sensors within sink bases to alert homeowners to leaks before the wood even begins to swell. For now, the best ‘smart’ tech you have is a regular inspection routine. I encourage you to take five minutes this weekend to tighten one hinge on your most-used cabinet—you will feel the difference immediately in how the door seats against the frame.
What I Finally Realized After Fixing Three Sinking Drawers
Over the years, I’ve learned that the smallest components often dictate the lifespan of a kitchen remodel. One of the biggest shifts in my perspective came when I realized that high-quality custom cabinets aren’t just about the wood species—they are about the invisible tension holding everything together. First, never trust a ‘factory’ screw to hold a heavy spice rack; I now replace them all with rugged fasteners on day one. Second, if you aren’t checking the humidity in your kitchen, you’re building a project on a moving target. I also discovered that the hardware mistake that makes expensive cabinets look cheap is often just a lack of patience with the final alignment and a reliance on nails where screws were needed.
[IMAGE_PLACEHOLDER]
My Go-To Toolbox for a Professional Finish
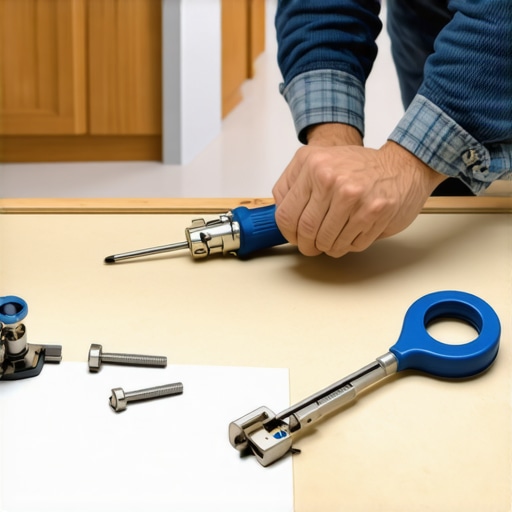
If you want to achieve results that mirror a high-end modern kitchen remodel, you need the right reinforcements. I personally swear by GRK Trim Head Screws because they provide the clamping force of a bolt with a head that disappears like a nail. I also never step onto a job site without a True Position Drill Guide; it is the one tool you need for perfectly aligned cabinet knobs every time. For long-term maintenance, a simple Pozi-drive screwdriver is essential for maintaining European hinges, ensuring you don’t strip the soft metal of the adjustment screws over time.
Build a Space That Actually Lasts
Taking the time to use screws instead of nails and choosing quality hardware might add a few hours to your weekend, but it adds decades to the life of your home. Your kitchen is the heart of your daily routine, and it deserves to be built with a mechanical foundation that doesn’t pull away when the seasons change. Whether you are deep into transforming your kitchen with custom cabinets or just fixing a single cabinet door, remember that precision is the ultimate form of craftsmanship. If you feel stuck or need professional guidance on your next project, don’t hesitate to contact us for expert advice. What is the most annoying gap or ‘squeak’ in your current kitchen that you are finally ready to fix for good? Let me know in the comments below!