How to Pick the Right Hinge Overlay for Frameless Cabinets
I’ll never forget the sinking feeling in my gut when I stood back to admire my brand-new kitchen remodel and realized none of the doors actually closed. It was 11:00 PM on a Tuesday. I had spent months planning a modern kitchen remodel featuring custom cabinets and built-ins, yet here I was with a bag of expensive hinges that were fundamentally wrong for my frameless boxes. I had assumed “overlay” meant the same thing for every cabinet type. I was wrong. It’s a mistake that happens to the best of us, but once you’ve lived through the frustration of drilling unnecessary holes and wasting money on shipping returns, you learn to measure twice and buy once.
Stop Guessing and Start Measuring Your Cabinet Reveals
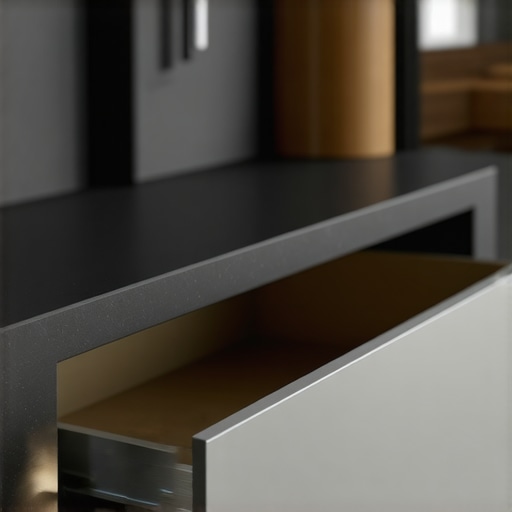
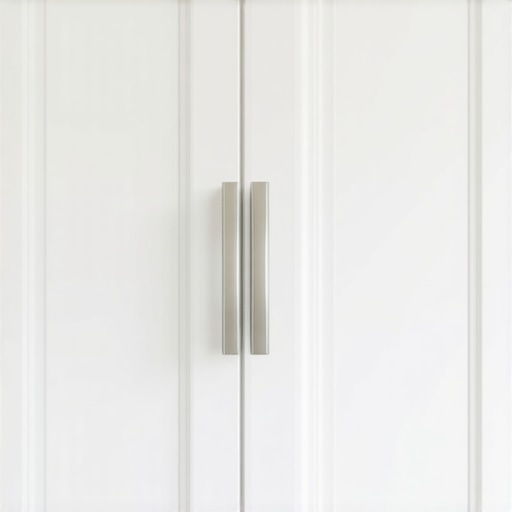
Frameless cabinets—often called European style—are sleek, but they are unforgiving. Unlike traditional face-frame cabinets where you have a wooden border to hide behind, frameless boxes rely on the hinge to determine how much of the cabinet edge is covered. If you get this wrong, your built-ins and storage hacks won’t just look “off”; they’ll be functionally broken. You need to decide if you want a full overlay, half overlay, or an inset look. I learned the hard way that knowing how to adjust European hinges for a perfect reveal only works if you have the right hardware to start with. The overlay refers to how much the door covers the side panel of the cabinet. In a frameless world, there is no frame to screw into; you are going straight into the carcass wall. Frameless cabinets are essentially boxes made of plywood or particle board where the doors cover the entire front face. Because there is no lip, the hinge must do all the heavy lifting of positioning the door. Have you ever bought a whole set of hardware only to realize it’s for the wrong cabinet type? It is a special kind of heartbreak. [IMAGE_PLACEHOLDER]
Is the math behind these hinges actually worth the headache?
It absolutely is. If you’ve ever felt like you’re back in high school geometry class just trying to hang a cupboard door, you aren’t alone. According to technical standards from Blum, a global leader in functional hardware, the “reveal”—the tiny gap between doors—is critical for preventing doors from binding against each other when opened. If you don’t account for the thickness of your cabinet walls—usually 5/8” or 3/4″—you’ll end up with doors that collide. When I was first starting out with custom cabinets as a game-changer for my kitchen, I ignored the millimeter specs and just “eyeballed” it. That cost me three days of work and a very frustrated spouse. Most people assume a “full overlay” means it covers the entire edge, but in frameless design, you actually need a small gap (usually about 1/8 inch) so the doors don’t rub. If your side panels are 19mm, you need a hinge specifically engineered to sweep the door around that corner. Understanding these tiny fractions is the difference between a high-end look and a DIY disaster. Today, we’re going to walk through exactly how to determine which overlay fits your specific box design so you can avoid the “crooked door” walk of shame. We will look at the three main types of hinges and why your cabinet wall thickness is the secret key to everything.
Identify the Wall Thickness Before You Buy Hardware
In the world of modern kitchen remodels featuring custom cabinets, the box is everything. Before you even look at a hinge catalog, you must measure the thickness of your cabinet side panels with absolute precision. Most frameless boxes are either 5/8-inch or 3/4-inch. While 1/8-inch sounds like a rounding error, in the world of European hinges, it determines whether your doors shut flush or stick out like a sore thumb. I remember a project in a Geist home where we used pre-finished maple interior panels that were slightly thicker than standard due to the veneer. I didn’t account for that extra millimeter and ended up with a door that rubbed against the adjacent dishwasher. I had to swap out twenty hinges because I was too lazy to use my calipers on day one. Don’t be like past-me. Measure the actual material, not what the label at the big-box store says. 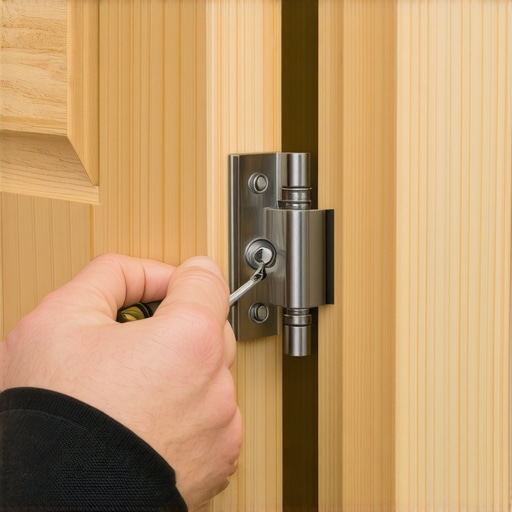
Pick an Overlay Style That Does Not Crowd the Neighbor
Once you know your wall thickness, you have to choose your coverage. Full overlay is the gold standard for innovative storage solutions for modern kitchen remodels because it hides the cabinet box entirely, creating a seamless wall of wood. Think of the hinge as a cantilever bridge; it has to swing the door out and around the edge of the panel. If you are doing a back-to-back configuration where two doors meet on a single partition, you need a ‘half overlay’ hinge. If you get this wrong, the doors will physically occupy the same space when they are closed. I once saw a DIY ‘save-a-buck’ job where they used full overlay hinges on a shared middle stile. The doors overlapped by half an inch in the middle. It looked like the cabinets were wearing a shirt three sizes too small. If you’re going for a more traditional look with frameless boxes, you might even consider hanging inset doors without leaving a gap, which requires a completely different crank in the hinge arm to pull the door inside the box.
The Boring Step That Actually Matters
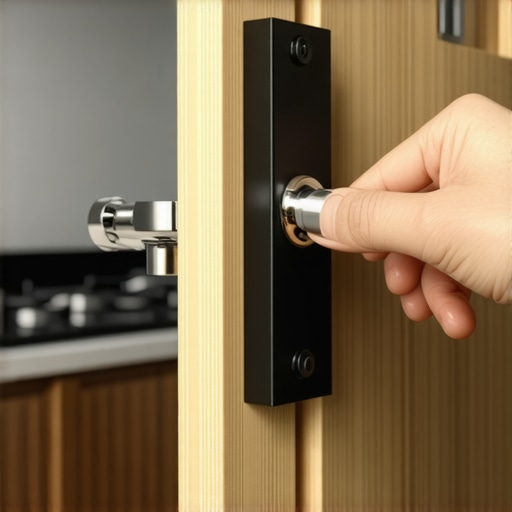
Your hinge is only as good as the hole it sits in. European hinges require a 35mm ‘cup’ to be bored into the back of the door. The ‘K’ distance—the distance from the edge of the door to the edge of the 35mm hole—is your final adjustment variable. Typically, this is 3mm to 6mm. Moving that hole just 2mm closer to the edge can change your overlay significantly. I always use a dedicated jig because ‘eyeballing’ a 35mm Forstner bit is a recipe for a ruined door face. Even after the holes are bored and the hinges are snapped into their mounting plates, you’ll likely need the 5-minute hinge adjustment for fixing wonky cabinet reveals to get the lines perfectly straight. Using the one tool you need for perfectly aligned cabinet knobs along with a self-centering bit for the mounting plate screws will ensure that the hinge doesn’t ‘crawl’ as you tighten it down. Professional results come from controlling these micro-variables before the screwdriver ever touches the wood. If you can master the math of the reveal, you can master how to adjust European hinges for a high-end look that lasts for decades.Most homeowners approach a remodel with the ‘more is better’ philosophy, assuming that filling every inch of wall space with boxes is the key to organization. In my years of experience with modern kitchen remodels featuring custom cabinets, I’ve found the opposite is often true. High-density storage without high-logic hardware creates ‘dead zones’—those deep, dark corners where tupperware lids go to die. The biggest myth in the industry is that a ‘standard’ layout works for everyone. If you aren’t planning your smart storage solutions for small kitchens in 2025 around your actual daily movement, you’re just paying for expensive clutter.
How Many Hinges Does Your Pantry Door Actually Require?
This is the sophisticated question most DIYers—and even some ‘pros’—get wrong. We often think two hinges for a standard door and maybe three for a tall one is a safe bet. However, technical documentation from the National Kitchen & Bath Association (NKBA) and hardware leaders like Blum suggest that door weight and height-to-width ratios are far more critical than a simple count. If you are using heavy hardwoods like white oak for a tall pantry door, three hinges might still lead to sagging within eighteen months. You might actually need five to distribute the tension correctly. I’ve seen beautiful custom cabinets for a stylish kitchen overhaul ruined because the homeowner insisted on massive, heavy doors but used budget-grade hinges that couldn’t handle the load. 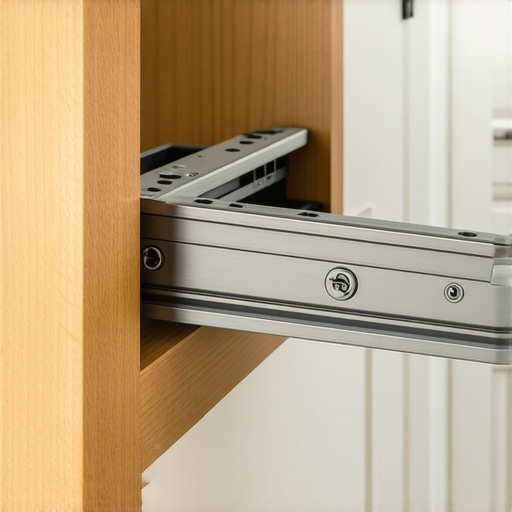
The Heavy Drawer Trap That Destroys Your Hardware
Here is the ‘oops’ factor I see constantly: people put their heavy 20-quart Dutch ovens into a deep drawer with standard 75-pound rated slides. Within six months, those slides are grinding, and the soft-close feature has given up the ghost. If you are planning the deep drawer move for storing blenders and food processors, you must specify 100-pound or even 150-pound heavy-duty undermount slides. If your drawer doesn’t feel like it’s gliding on butter, you’ve probably exceeded the dynamic load capacity. This is why clearing the ball bearings in your drawer slides is a common maintenance task that shouldn’t even be necessary if the hardware was sized correctly from the start.
Stop Installing Lazy Susans in Your Corner Cabinets
This is my most contrarian view: the traditional Lazy Susan is a waste of prime real estate. They are flimsy, items fall off the back into the ‘void,’ and they are a nightmare to clean. In my experience, a super susan without a center pole or a LeMans pull-out is a vastly superior use of space. These professional-grade innovative storage solutions for modern kitchen remodels allow you to actually see what you have. Don’t let a contractor talk you into the ‘old reliable’ corner cabinet just because it’s easier for them to install.
The Structural Mistake Most People Overlook
Finally, even the best hardware can’t save a poorly mounted box. I’ve seen cabinets literally pulling away from the drywall because they were hung with standard drywall screws. You must ensure your base cabinets are secured with 3-inch rugged screws directly into the studs. The weight of a quartz countertop plus a full set of dishes can put thousands of pounds of shear force on those fasteners. Have you ever fallen into the trap of prioritizing the ‘look’ of a cabinet over the weight rating of the hardware? Let me know in the comments.If you’ve invested in a modern kitchen remodel featuring custom cabinets, the work doesn’t end when the last screw is driven. I always tell my clients that a kitchen is a machine, and like any machine, it needs a tune-up. To get those pro-level results during the install, I swear by my Kreg Cabinet Door Mounting Jig. It’s not just about speed; it’s about repeatability. When you’re dealing with custom cabinets as a game-changer, a 1mm deviation across thirty doors looks like a mountain range. I also carry a small bottle of dry PTFE lubricant in my kit at all times. Standard WD-40 is a magnet for kitchen grease and dust; a dry lube keeps things silent without the sludge. This is exactly why your soft-close slides grind and the quick lubrication fix that actually works long-term.
How do I keep my custom cabinets working like new for ten years?
Maintenance is less about deep cleaning and more about monitoring tension. The Architectural Woodwork Institute (AWI) notes in their technical Quality Standards that even high-grade hardware requires periodic adjustment because seasonal humidity shifts cause wood to expand and contract, which puts physical stress on hinge plates. I recommend doing a ‘torque check’ every six months. Simply take a Pozi-drive screwdriver—not a standard Phillips, as they tend to strip European screws—and give each mounting plate screw a quarter turn to ensure they haven’t vibrated loose. If your doors have started to ‘clack,’ you might need to look into the secret to a quiet kitchen by dampening your cabinet doors with fresh silicone bumpers. 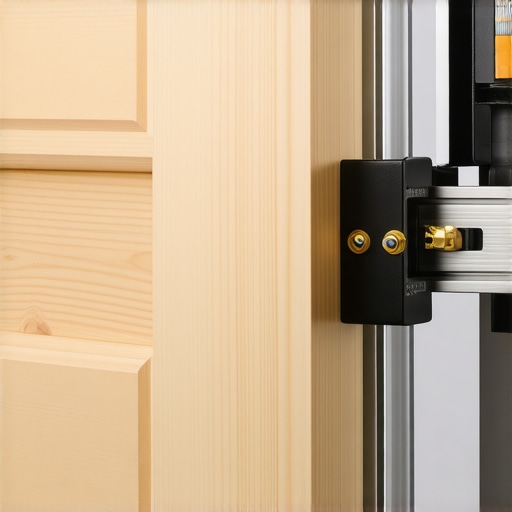
Stop Relying on Your Eyeballs and Use a Real Jig
Precision is the difference between a project that looks DIY and one that looks like a million bucks. I never drill a single hole for a handle without the one tool you need for perfectly aligned cabinet knobs—a stainless steel drilling template. For the long-term health of your cabinets, this prevents the ‘wallered out’ holes that occur when you have to re-drill a crooked handle. If you’re building built-ins and storage hacks for a pantry, use a self-centering shelf pin jig to ensure your shelves stay level under heavy loads.
Prepare for the Era of Smart Hardware
Looking ahead to smart storage solutions for small kitchens in 2025, we are already seeing the emergence of ‘smart hinges’ equipped with micro-sensors. These future-proof components will eventually alert your smartphone if a door has sagged out of its 2mm tolerance or if a heavy drawer slide is nearing its weight limit. For now, the best thing you can do is stick to the basics of high-quality mechanics. Try this today: Grab your screwdriver and perform the 5-minute hinge adjustment for fixing wonky cabinet reveals on just one troublesome door in your kitchen. Once you see those lines snap back into perfect alignment, you’ll never settle for crooked cabinets again.
Lessons from a Decade of Crooked Doors
After years of implementing custom cabinets ideas that transform your homes style, I have realized that precision is not just about tools; it is about mindset. First, never trust your eyes alone—a 1mm gap looks like a canyon when viewed against a straight ceiling line. Second, remember that cabinets are living structures. Seasonal humidity will cause the wood to breathe, meaning that your ‘perfect’ alignment in July might need a tweak come January. I have also learned that why your drawer fronts are crooked and the adjuster screw fix is often the most-visited section of my guides because people underestimate the power of the secondary adjustment screws. Finally, always buy two extra hinges. A factory defect is rare, but losing a specialized screw into the abyss of a floor vent is a rite of passage for every remodeler.
Gear That Makes Pros Look Good
To get results that match the photos in high-end magazines, you need more than just a screwdriver. I personally rely on three non-negotiable items: a digital caliper for measuring door overlays down to the decimal, a self-centering Vix bit to ensure mounting plate screws never ‘walk’ off-center, and a dedicated 35mm boring jig. These tools ensure that you are not just guessing but executing. I also recommend looking for the secret to choosing hardware that does not snag your pockets, because functional beauty is only half the battle—the other half is day-to-day comfort.
The Quiet Satisfaction of a Perfectly Hung Door
There is a specific kind of peace that comes when you finish modern kitchen remodels featuring custom cabinets and every single door closes with a silent, synchronized glide. It transforms the kitchen from a room of utility into a masterpiece of engineering. Do not let the fear of technical specifications stop you from starting. The math might be intimidating at first, but once you master the logic of the reveal, you have the keys to a professional-grade home. Have you ever spent hours chasing a tiny gap only to realize the cabinet box itself was slightly out of square? Let me know about your hardware battles in the comments below.