How to Fix a Cracked Cabinet Panel Without Replacing the Door
I remember standing in my kitchen at 6 AM, coffee in hand, when the morning sun hit my shaker cabinets at just the right angle. My heart sank. There it was—a jagged, hairline fracture running right down the center of the middle panel. I had just finished a kitchen remodel using built-ins and everything looked pristine until the humidity dropped in November. It felt like my entire custom cabinets as a game-changer dream was being derailed by one stubborn piece of wood. I immediately started dreading the cost and the headache of trying to find a matching door, especially since matching new cabinet doors to old frames is a nightmare I prefer to avoid. But here is the good news: you don’t have to throw the whole thing away. Whether you are dealing with age-old storage or a recent modern kitchen remodel, wood has a mind of its own. Today, I’m going to walk you through the process of saving that door and your budget.
Your Cabinets Aren’t Ruined Because of One Split
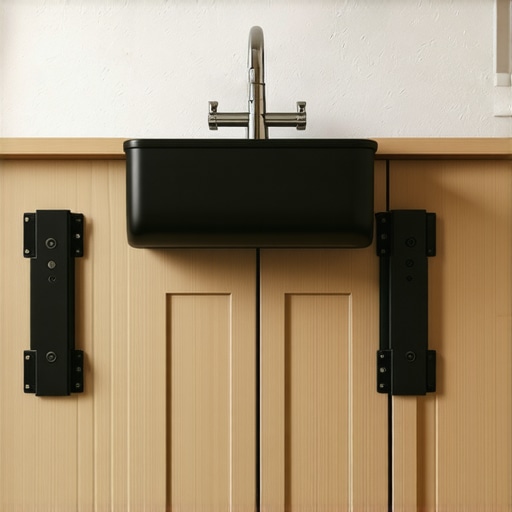
Most homeowners assume a crack is a death sentence for a door, but usually, it’s just a sign that your kitchen’s environment is working against the wood. It is a common frustration, especially if you didn’t start with the best wood species for painted cabinets that are designed to resist this exact type of movement. According to the USDA Forest Products Laboratory, wood is hygroscopic, meaning it constantly gains or loses moisture to stay in equilibrium with the air, which can cause significant dimensional changes. This movement is what eventually snaps those thin inner panels. I’ve spent years figuring out how to stop this cycle without the extreme measure of a full replacement. It is much easier than reinforcing a sink base for a heavy farmhouse sink, I promise.
Will this repair actually last through the winter?
It’s the question I get most often, and honestly, the answer depends on your technique. I learned this the hard way years ago when I thought I could just “caulk” my way out of the problem. I made the mistake of using silicone for cabinet joinery, which was a total disaster because nothing sticks to it, and it doesn’t solve the structural issue. If you use the right fillers and stabilization methods, the repair isn’t just a temporary band-aid; it becomes a permanent part of the door. Have you ever noticed a tiny crack in your kitchen and just hoped it would magically disappear on its own? Trust me, it won’t, but we can fix it before it gets worse. Let’s talk about the tools you actually need to get this done right.
Clean the Surface Before the Glue Touches the Wood
Every successful repair starts with a bit of unglamorous prep work. Wood panels in a kitchen are often coated in a fine layer of aerosolized cooking oils and dust, even in the most pristine modern kitchen remodels. If you try to apply glue or filler over that grease, it won’t bond. I remember a specific project where I tried to patch a hairline split in a rush; I skipped the de-greasing step, and the entire patch literally peeled off like a sunburned layer of skin three days later. To do this right, use a soft cloth and a bit of mineral spirits or a dedicated wood cleaner. This is just as critical as the proper way to prep cabinets before the first coat of paint because the goal is to get the repair material deep into the grain. Once the area is clean and dry, take a fine-grit sandpaper—think 220 grit—and lightly scuff the edges of the crack. You aren’t trying to sand it away; you are just creating ‘tooth’ for the adhesive to grab onto.
Inject the Adhesive Deep Into the Fracture
Forget about smearing wood glue on the surface with your finger. That is a surface-level fix that will fail the next time the humidity shifts. Instead, you want to treat the crack like a surgical site. I use a small plastic glue syringe to force PVA (polyvinyl acetate) glue deep into the split. If the crack is too thin for a needle, I’ve found that placing a bead of glue over the crack and using a shop vacuum on the opposite side of the panel can actually suck the glue through the wood, ensuring total saturation. This structural bond is the same reason why your cabinet boxes should be stapled, glued, and screwed; mechanical fasteners are great, but the glue does the heavy lifting long-term.
How to Clamp Without Crushing Your Finish
The mistake I see most often is ‘over-clamping.’ Homeowners crank down their bar clamps until the wood groans, thinking more pressure equals a better fix. In reality, too much pressure squeezes out all the glue, leaving you with a ‘starved joint’ that has no strength. You want just enough pressure to bring the edges together. When I was working on a set of custom cabinets last winter, I used blue painter’s tape as a ‘poor man’s clamp’ for a particularly delicate panel. I stretched the tape tightly across the crack, which provided enough tension to hold the wood in place without marring the paint. If you do use metal clamps, always place a scrap piece of softwood between the clamp and your door to prevent permanent indentations.
Matching the Finish to Hide the Evidence
Once the glue has dried for at least 24 hours and you’ve sanded the excess flush, you’re left with a visible line. This is where most people panic, especially if they are matching new cabinet doors to 20-year-old wood frames. If your cabinets are painted, use a high-quality wood filler to level any remaining depression, sand it smooth, and use a detail brush to apply your touch-up paint. For stained wood, you might need a wax fill stick that matches the darkest grain of your wood. To get that professional look, remember that the one paint finish that makes small kitchen cabinets feel larger is usually a satin or semi-gloss, which reflects light and helps hide the texture of the repair. If you can’t see the line from three feet away in the morning light, you’ve won the battle against the elements.Beyond the physical repair, there is a design philosophy I’ve developed over decades that challenges the standard ‘more is more’ approach. Most designers will try to sell you on filling every gap, but revolutionizing your kitchen remodel using built-ins isn’t about volume; it’s about strategic negative space. If you crowd your walls, even the most expensive custom cabinets will make the room feel heavy and dated.
How do I know if my cabinet walls can actually handle the weight?
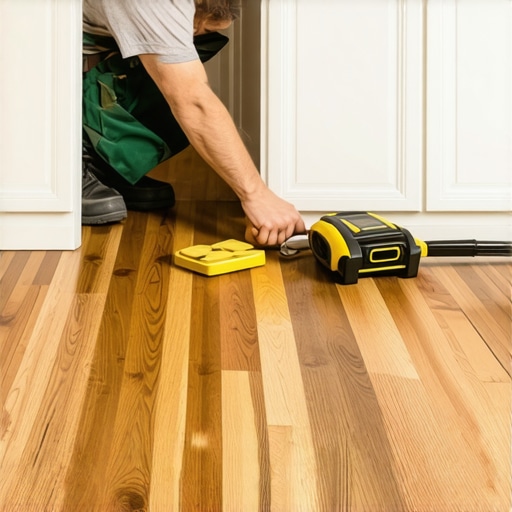
This is the professional nuance that separates a hobbyist from an expert. According to the Architectural Woodwork Institute (AWI), the ‘dead load’ of the cabinet is only half the battle. You have to account for the ‘live load’ of heavy stoneware and appliances. I’ve seen many DIY projects fail because they relied on the cabinet’s back panel for strength. This is exactly why your wall cabinets are pulling away from the drywall. To avoid this, I always install a hidden structural cleat. If you’re working with metal studs, the challenge doubles, which is why bracing a heavy vanity or cabinet on metal studs requires specific blocking behind the rock. 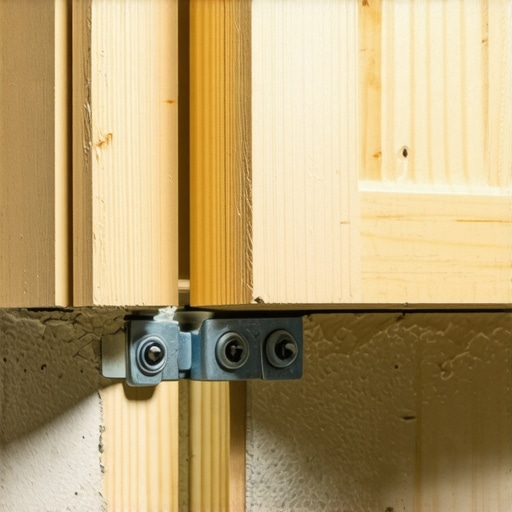 The ‘Oops’ factor often comes down to material choice in moisture-prone areas. Many people assume plywood is always superior to everything else, but in specific high-humidity zones like under the sink, a pre-finished interior is actually your best friend. Skip the standard wood and look for why pre-finished maple interiors are better than melamine for long-term durability. If you don’t plan for moisture, even the best repair won’t save you from the eventual ‘puffing’ of the grain. Another common trap is ignoring the floor. We focus so much on the boxes that we forget the foundation. I’ve fixed dozens of ‘crooked’ doors that were actually the result of a settling floor, not a bad hinge. Using the proper way to shim cabinets on a high spot is the only way to ensure your lines stay straight for a decade. Have you ever fallen into the trap of over-buying storage only to realize you can’t reach half of it? Let me know in the comments. Let’s keep the conversation going about how to build smarter, not just bigger.
Ditch the Hand Screwdriver for These Three Precision Tools
I’ve learned over a thousand installs that the difference between a DIY project and a professional result usually sits in your toolbox. When I’m tackling a modern kitchen remodel, I don’t just rely on a standard spirit level anymore. I use a self-leveling cross-line laser. Why? Because floors are never flat, and even a sixteenth of an inch off at the base becomes a glaring gap once you reach the crown molding. If you’re serious about creating seamless kitchen remasters, you also need a high-quality hardware jig. I personally use the True Position Drill Guide because it eliminates the ‘oops’ factor when you’re drilling into a door that cost $200 to replace. It’s the only way to ensure every handle is perfectly symmetrical, which is vital when you realize why your cabinet handles should be installed horizontally for a contemporary look. Finally, get a set of specialized cabinet claws. These clamps align the face frames of two cabinets while simultaneously pulling them together, leaving your hands free to drive the screws.
How do I keep my cabinets looking brand new for twenty years?
The biggest threat to your investment isn’t wear and tear; it’s environmental neglect. I’ve seen stunning custom cabinets ruined in five years because the homeowner didn’t manage the humidity or used the wrong cleaners. According to the Kitchen Cabinet Manufacturers Association (KCMA) A161.1 performance standards, cabinetry finish is tested for resistance to vinegar, lemon, orange, and grape juices, but that doesn’t mean you should let those acids sit. For daily care, skip the harsh chemicals. I always recommend a simple mixture of warm water and a drop of mild dish soap. This is especially important for dark finishes or if you need to clean matte black cabinet hardware without scratches. If you have white cabinets, you must be vigilant about UV exposure. I’ve written extensively on the real reason white cabinets turn yellow, and often it’s a combination of direct sunlight and aerosolized cooking grease reacting with the topcoat. 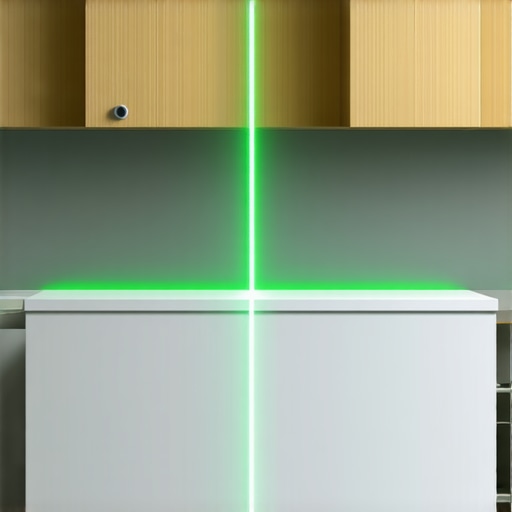
Smart Scaling and the Future of Storage
Looking ahead to 2025 and beyond, the trend is moving toward ‘dynamic storage.’ We are moving away from static shelves and toward modularity. This is why I suggest that your pantry shelves should be adjustable rather than fixed. The future of the kitchen is one that adapts to your life. In a few years, I expect to see more integrated tech, like sensors that monitor the weight on a shelf to alert you when you’re low on flour, or innovative storage solutions that utilize motorized pull-downs for high-up built-ins. If you want to stay ahead of the curve, focus on maximizing every cubic inch now by looking into smart storage solutions for small kitchens. My best advice? Try one ‘hidden’ upgrade this weekend. Whether it’s installing a hidden drawer behind a toe kick or simply performing a 5-minute hinge adjustment to fix a wonky door, taking small steps toward precision will change how you feel about your kitchen every single morning.
What I’ve Learned from a Decade of Seasonal Swells
Over the years, I’ve realized that most cabinet failures aren’t failures at all—they are just wood behaving like wood. One of the biggest lightbulb moments for me was realizing that preventing yellowing on white cabinets is just as much about environment as it is about paint quality. Here are a few pieces of insider wisdom I wish I had known on day one:
- Manage the air, not just the wood: A $15 hygrometer will tell you more about your cabinets’ health than any visual inspection. Keeping your kitchen between 35% and 50% humidity is the only way to stop those cracks before they start.
- Hardware is a tactile choice: Don’t just pick what looks pretty. I always guide my clients toward hardware that does not snag your pockets because if a handle catches your jeans and pulls a door hard enough, it can stress the frame and lead to new splits.
- Respect the gap: If you are hanging inset doors, that 3/32-inch reveal isn’t just for aesthetics; it’s a necessary expansion joint for when the Midwest humidity hits.
The Gear That Makes Me Look Like a Hero
You don’t need a massive workshop to achieve professional-grade repairs or installs, but you do need specific items that I never leave the shop without. First, Titebond III glue; it has a longer open time which is crucial when you’re trying to inject adhesive into a tight fracture. Second, a dedicated drill guide—it is the only way I can guarantee perfectly drilled hardware holes every single time without the stress of a misstep. Finally, I always carry a pack of soft-close dampers. Even if your hinges aren’t built-in with them, dampening your cabinet doors manually prevents the violent slamming that often vibrates panels loose over time.
Building a Kitchen That Breathes With You
Your kitchen isn’t a static museum piece; it’s the heartbeat of your home, and it’s going to move, settle, and age. Whether you are dealing with crooked drawer fronts or a hairline crack in a shaker panel, remember that these are fixable quirks of a natural material. Embracing custom cabinets as a game-changer means you’ve invested in quality that can be maintained for decades, not just replaced every few years. Don’t be afraid to get your hands a little dusty—the satisfaction of a DIY repair is worth the effort. If you ever feel like a project is getting bigger than you anticipated, feel free to reach out to us for a bit of professional guidance. Have you noticed any tiny fractures in your shaker doors this season? Let me know in the comments below and let’s troubleshoot them together!